
Contact forms are essential for any business because they provide a convenient way for clients to reach them. In this tutorial, I will show you how to add functionality to send emails from a form in React using a third-party service called EmailJS. EmailJS service is free as long as you do not exceed 200 emails/month.
Step 1. Setup EmailJS
We'll start by signing up by creating a free account.
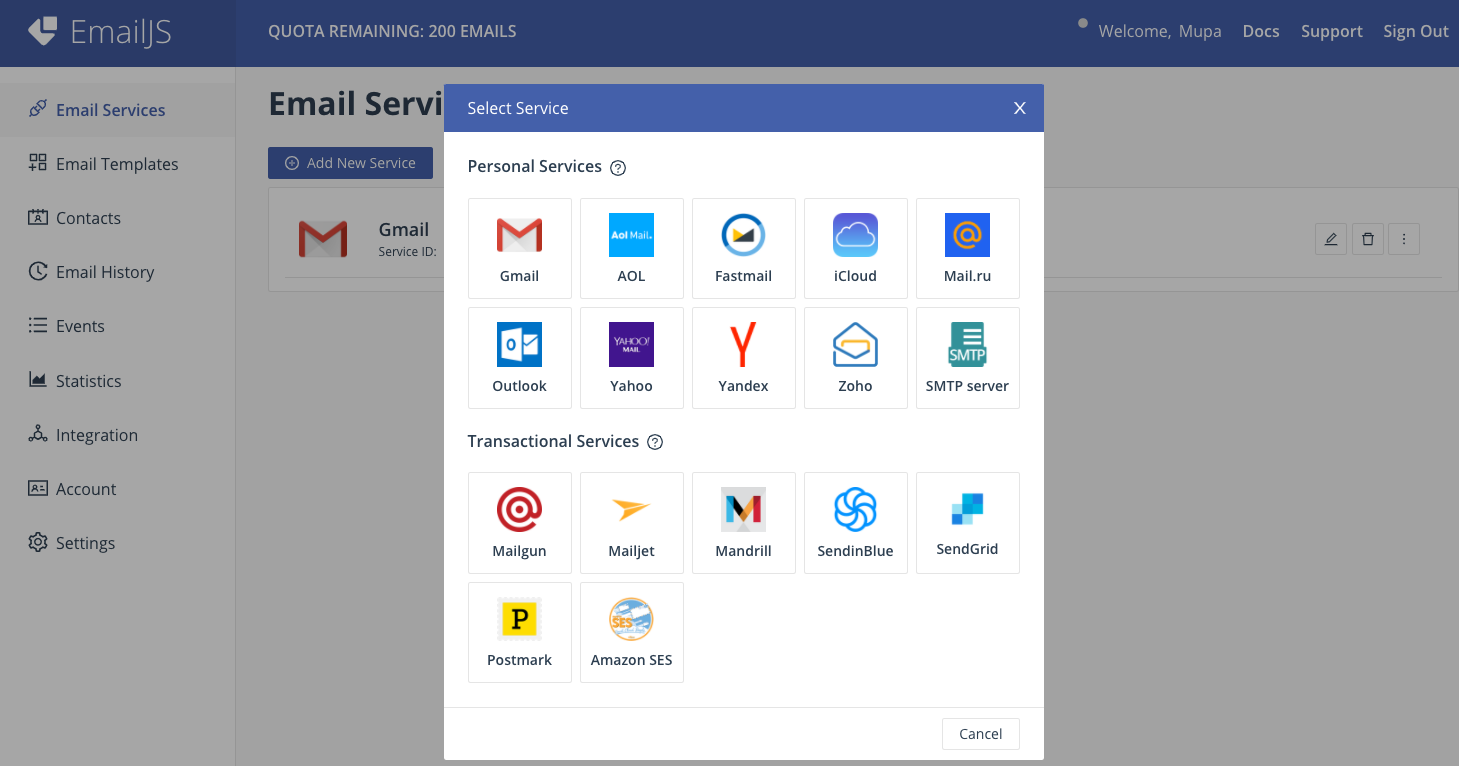
After creating an account, add an email service of your choice. I'm using Gmail as you can see in the picture below.
Next, go to the ‘Email Template' tab on the side menu and click on the ‘Create New Template' button. The variables in double curly brackets are dynamic based on the form's input. So, make sure to use the exact names on the emailjs.sendForm method in your React app.
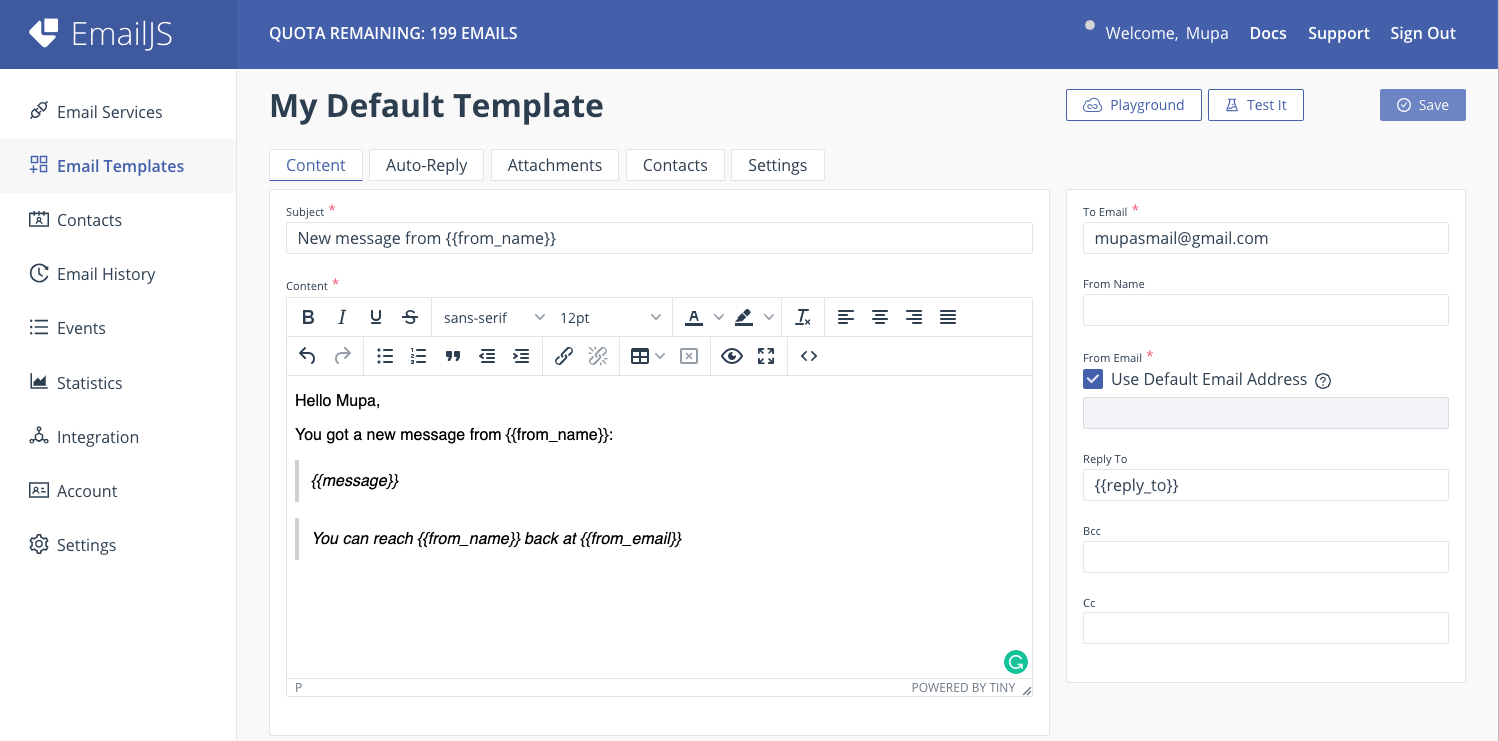
Make sure you set the ‘To Email' field on the right correctly because this is the email that will receive the contents from the form when someone sends a message. Click on save. We are done with the setup.
Step 2. React
You can include this step on an existing React app or create a new one by running npx create-react-app app-name. If you are new to React and would like to know more about creating, running, and updating to new versions, head over to this repository to learn more.
Inside the app's directory, we will install a few dependencies necessary for integrating emailjs, creating the contact form, and showing an alert after sending the email.
npm i emailjs-com semantic-ui-react semantic-ui-css sweetalert2
Next, we need to import the minified CSS file for Semantic UI in our app's entry file as shown below:
# index.js

import React from ‘react';
import ReactDOM from ‘react-dom';
import ‘semantic-ui-css/semantic.min.css';

import ‘./index.css';
import App from ‘./App';

ReactDOM.render(
  <React.StrictMode>
    <App />
  </React.StrictMode>,
  document.getElementById(‘root')
);
We will include the logic for our contact form inside the app.js file. However, you can include the logic in a different component.
Step 1. Building the contact form
Let's start by adding a form as shown below:
# app.js

import React from ‘react';
import { Form, Input, TextArea, Button } from ‘semantic-ui-react';

import ‘./App.css';

const App = () => {

  {/* --- handleOnSubmit method --- */}

  return (
    <div className=”App”>
      <Form onSubmit={handleOnSubmit}>
        <Form.Field
          id='form-input-control-email'
          control={Input}
          label='Email'
          name='user_email'
          placeholder='Email…'
          required
          icon='mail'
          iconPosition='left'
        />
        <Form.Field
          id='form-input-control-last-name'
          control={Input}
          label='Name'
          name='user_name'
          placeholder='Name…'
          required
          icon='user circle'
          iconPosition='left'
        />
        <Form.Field
          id='form-textarea-control-opinion'
          control={TextArea}
          label='Message'
          name='user_message'
          placeholder='Message…'
          required
        />
        <Button type='submit' color='green'>Submit</Button>
      </Form>
    </div>
  );
}

export default App;
Next, we'll add a few styles to the app.css file to make the form look pretty.
# app.css

.App {
  text-align: center;
  max-width: 300px;
  margin: 20px auto;
}

Form {
  border: 1px solid lightgray;
  border-radius: 10px;
  padding: 20px;
}
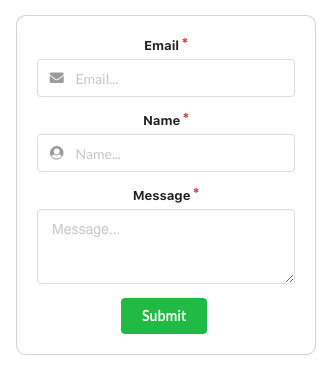
When you run your app by running npm start on the command line, you should get a form similar to the form below on your browser:
Step 2. Include logic to handle form submit.
We are almost done!
For this last step, we need to go back to emailjs.com to get the SERVICE_ID, TEMPLATE_ID, and USER_ID.
-
You can get your user ID from the Integration tab.
-
Service ID from the Email Services tab.
-
Template ID from the Email Templates tab.
Remember to replace the asterisk with the IDs from your own account. You can also add a .env file to store your IDs instead, just to keep them private.
Our app.js should look similar to the code below after adding the rest of the imports and the handleOnSubmit function.
# app.js

import React from ‘react';
import emailjs from ‘emailjs-com';
import { Form, Input, TextArea, Button } from ‘semantic-ui-react';
import Swal from ‘sweetalert2';

import ‘./App.css';

const SERVICE_ID = "**************";
const TEMPLATE_ID = "*******";
const USER_ID = "****************";

const App = () => {
  const handleOnSubmit = (e) => {
    e.preventDefault();
    emailjs.sendForm(SERVICE_ID, TEMPLATE_ID, e.target, USER_ID)
      .then((result) => {
        console.log(result.text);
        Swal.fire({
          icon: ‘success',
          title: ‘Message Sent Successfully'
        })
      }, (error) => {
        console.log(error.text);
        Swal.fire({
          icon: ‘error',
          title: ‘Ooops, something went wrong',
          text: error.text,
        })
      });
    e.target.reset()
  };

return (
    <div className=”App”>
      <Form onSubmit={handleOnSubmit}>
        <Form.Field
          id='form-input-control-email'
          control={Input}
          label='Email'
          name='user_email'
          placeholder='Email…'
          required
          icon='mail'
          iconPosition='left'
        />
        <Form.Field
          id='form-input-control-last-name'
          control={Input}
          label='Name'
          name='user_name'
          placeholder='Name…'
          required
          icon='user circle'
          iconPosition='left'
        />
        <Form.Field
          id='form-textarea-control-opinion'
          control={TextArea}
          label='Message'
          name='user_message'
          placeholder='Message…'
          required
        />
        <Button type='submit' color='green'>Submit</Button>
      </Form>
    </div>
  );
}

export default App;
Remember before I talked about the variables in curly brackets that will be used on emailjs.sendForm.
emailjs.sendForm(SERVICE_ID, TEMPLATE_ID, e.target, USER_ID) will be used to access our emailing service. The parameters consist of the 3 IDs plus the e.target which corresponds to the input fields on the form. Notice that the name attribute in the form has the same values as the onces from the curly brackets.
As long as you follow this setup completely emailjs will setup your customized template with the correct inputs from the form, and then send that completed template to the address set up to it.
So now when you send a message through the form, you should get an alert after clicking submit. If it's successful, we will get an alert similar to the image below:
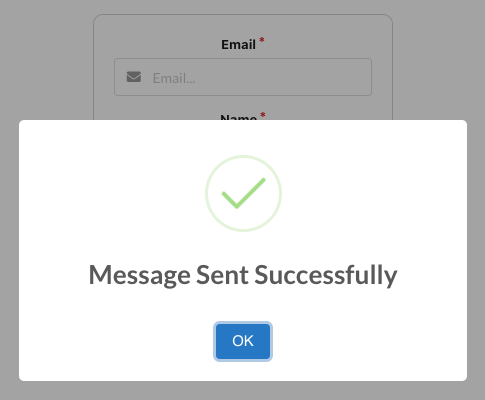
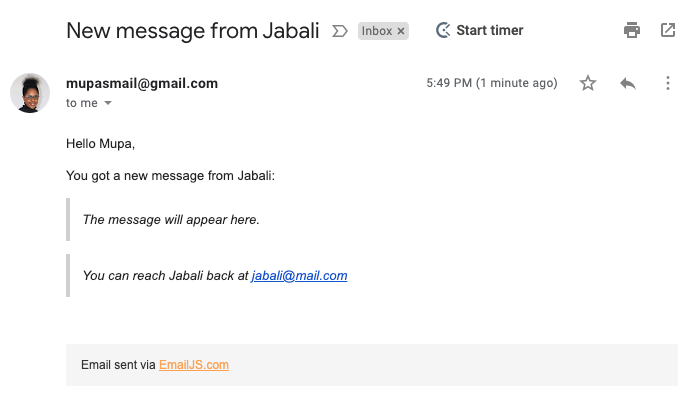
Then a few seconds after sending the message, you'll get an email in your inbox.
Conclusion
That is it! You now have a fully functional contact form on your website and your clients can be able to contact you when they visit your website.
I hope you found this article helpful. If you have any questions please feel free to reach out to me on Linkedin or on my Portfolio. Thanks for reading!
Comments
Loading comments…