Let’s say you have a Python Flask app. And you have a couple of images you want to display on your app frontend. Here’s how:
Folder Structure
static
  |- images
      |- apple.jpg
      |- orange.jpeg
      |- pear.jpeg

templates
  |- index.html

app.py
Note: be mindful of the image’s exact filename, as it won’t show up if we type it wrongly eg. replace jpg with jpeg and vice versa
Code in app.py
from flask import Flask, render_template

app = Flask(__name__)

@app.route('/')
def home():
    return render_template('index.html')

if __name__ == '__main__':
    app.run()
Code in index.html
<h3>This is an apple</h3>

<img src="{{ url_for('static', filename='images/apple.jpg') }}" class="image" />

<h3>This is an orange</h3>

<img
  src="{{ url_for('static', filename='images/orange.jpeg') }}"
  class="image"
/>

<h3>This is a pear</h3>

<img src="{{ url_for('static', filename='images/pear.jpeg') }}" class="image" />

<style>
  .image {
    width: 200px;
  }
</style>
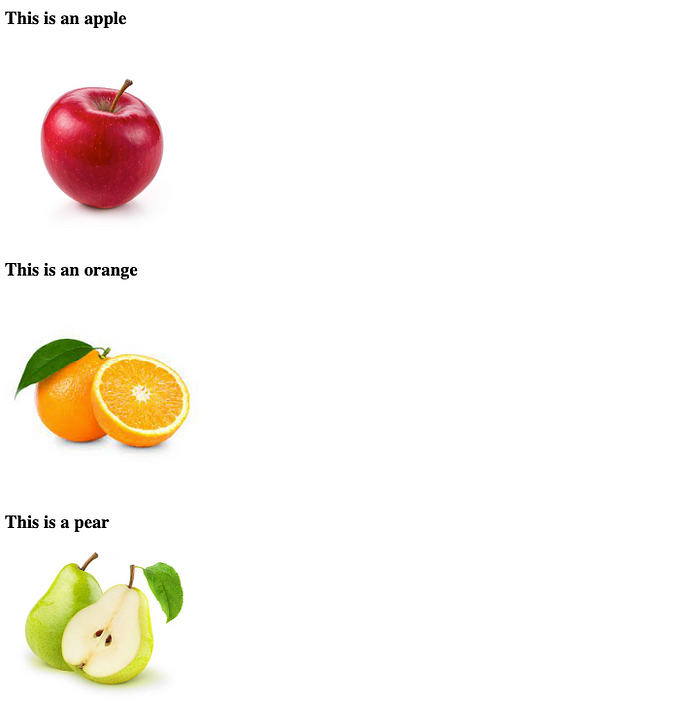
How Our App Looks
 Note: these images belong to the static folder.
What’s Happening In The Code?
<h3>This is an apple</h3>

<!-- The 'src' property points to our image path -->
<!-- The 'url_for' links the images inside our static folder here -->
<img src="{{ url_for('static', filename='images/apple.jpg') }}" class="image" />

<h3>This is an orange</h3>

<!-- Same as apple.jpg -->
<img
  src="{{ url_for('static', filename='images/orange.jpeg') }}"
  class="image"
/>

<h3>This is a pear</h3>

<!-- Same as apple.jpg -->
<img src="{{ url_for('static', filename='images/pear.jpeg') }}" class="image" />

<!-- CSS styling to force images to be of same size. Optional. -->
<style>
  .image {
    width: 200px;
  }
</style>
To pass a static image from the backend to the frontend, we need to use the url_for function inside the img tags.
Conclusion
Hope this was helpful!