Most videos do not fail because the creator lacks ideas. They fail because the gap between the idea and the first editable draft is so wide that the project never gets started. You open a blank timeline, stare at an empty track, and spend the first hour gathering clips, writing a rough script in your head, and deciding on a structure — before a single second of video exists. A prompt-to-video workflow closes that gap. You describe the video you want in plain language, get a working draft back, and spend your time on the part that actually needs a human: the decisions about story, pacing, and polish.
This guide walks through a ChatGPT video generator workflow that pairs ChatGPT's scripting and idea generation with CapCut's editing tools. The prompt becomes the starting point, not the finished product: ChatGPT helps you shape the idea into a script and a scene plan, CapCut turns that plan into an editable draft, and you stay in control of every cut, caption, and sound choice along the way. The result is a repeatable process you can run for a product demo on Monday, a tutorial on Wednesday, and a short social clip on Friday — without rebuilding your setup each time.
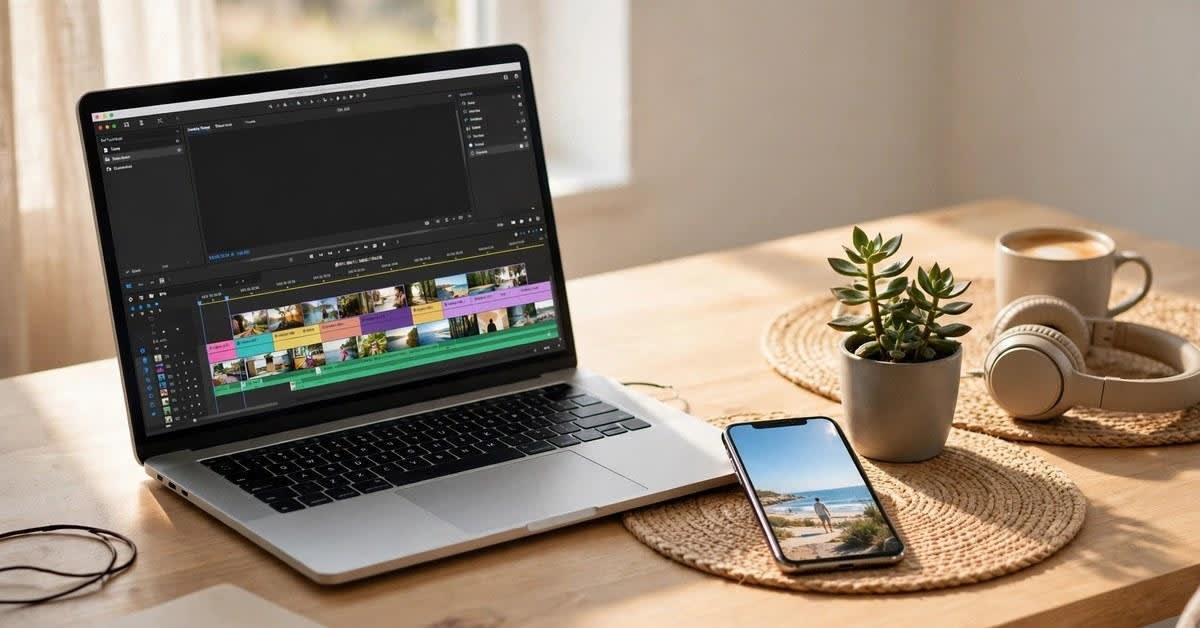
Why Prompt-to-Video Changes the Starting Point
Traditional editing starts with assets. You need footage before you can edit, and if you do not have footage, the project stalls. Prompt-to-video flips that order. The first thing you produce is language — a description of the subject, the action, the mood, and the audience — and the draft grows out of it. That matters for three kinds of creators in particular. Solo creators can test an idea in an afternoon instead of committing a weekend to it. Small teams can agree on a script and a scene list before anyone opens an editor, which means fewer revision rounds. And anyone making videos in a second language gets a script draft they can read, fix, and approve before a single clip is cut.
The other change is subtler but just as useful: the draft stays editable. Older text-to-video tools handed you a finished clip that you could either accept or throw away. In a connected workflow, the output is a timeline — scenes, tracks, captions, and timing that you can open, rearrange, and replace. If the second scene drags, you shorten it. If a line of narration sounds wrong, you rewrite it and regenerate only that part. The prompt does the heavy lifting at the start, and your judgment does the finishing.
Step 1: Write a Prompt That Directs, Not Just Describes
A good prompt reads like a brief you would hand to an editor, not like a search query. The difference is specificity about the things that shape a video: who it is for, what it should make them do, how it should feel, and how long it should run. Compare the two versions below. The first one leaves every creative decision open, so the draft it produces will be generic. The second one gives the workflow enough to work with.
“Make a video about our new water bottle.” That is a topic, not a brief. Now try this instead: “A 30-second vertical video for first-time buyers, upbeat and friendly, showing a commuter filling the bottle at a gym water fountain, dropping it in a bag, and drinking from it on a train. End with the bottle on a desk next to a laptop. No voiceover, captions only, warm natural light.” The second prompt answers the questions an editor would ask anyway — audience, length, format, scenes, style, and sound — so the draft comes back already close to what you had in mind.
Build your prompts around six details and you will rarely need more: subject, action, style, mood, format, and audience. Subject is what the video is about. Action is what happens on screen. Style covers the look — clean, cinematic, playful, documentary. Mood is the feeling — calm, energetic, trustworthy. Format is the shape — vertical 9:16 for short-form, horizontal 16:9 for YouTube, square for a feed post. Audience is who is watching and what you want them to do next. Write these six down before you prompt, and keep the list next to your script. It becomes the checklist you judge every draft against.
Step 2: Turn the Prompt Into an Editable Draft
Once the prompt is ready, the workflow gives you two ways to begin: generate new material from the description, or upload media you already have. The first route is useful when you are starting from an idea and have no footage yet — describe the scenes and let the workflow generate images or video material for a first draft. The second route is the one experienced creators use most: upload your own clips, photos, or an existing rough cut, and let the workflow organize them into a sequence with a script and basic pacing. Either way, what comes back is not a locked render. It is a draft you can open, inspect, and change.
Treat the first draft as a sketch, not a verdict. Watch it once without touching anything and note exactly three things: the strongest moment, the weakest moment, and the first place where you got bored. Those three notes become your revision list, and they keep you from rewriting the whole video when only one scene needs work. If the opening is slow, tighten the first three seconds. If the middle sags, cut a scene rather than adding music to cover it. A draft is useful precisely because it shows you the problems early, while fixing them is still cheap.
Step 3: Refine the Timeline in Chat or in the Editor
Refinement is where this workflow earns its keep, because you can work in whichever way suits the change you need. For quick, language-shaped edits, stay in the conversation: ask to shorten a scene, reorder two clips, replace a visual, adjust when a caption appears, change the music, or restructure the ending. The request carries into the editable project, so the change lands on the timeline instead of living in a separate note. This is ideal for the second and third passes, when the fixes are small and specific.
For hands-on control, open the project in the CapCut editor and adjust the tracks yourself. That is where you fine-tune duration and placement, swap in a better shot, trim a pause in the narration, or check how a transition actually feels at full speed. A useful rule of thumb: use chat for decisions you can describe in a sentence, and use the editor for decisions you need to see and hear. If you find yourself typing three paragraphs to explain a two-second trim, you are in the wrong place — open the timeline and do it by hand.
Keep the loop short. Prompt, review, revise, review again — and stop revising when the video does the job you defined in step one. A common trap is treating every draft as a new beginning and rewriting the prompt from scratch after each pass. It is faster to keep the draft and fix the specific scenes that are weak. Save a version before any big restructuring, so you can always go back to the cut that worked.
Step 4: Captions, Music, and Templates
Captions are the most underrated part of a prompt-to-video workflow. A large share of short-form video is watched without sound, so captions are not decoration — they are the narration for a silent audience. Add them early, while the script is still fresh, and check two things: that each caption matches the spoken line exactly, and that the text stays on screen long enough to read at a glance. If a caption flashes past in half a second, slow the scene down or split the line in two.
Music and templates work the same way: they should speed you up, not decide the video for you. A template can give a product story, a recap, or a short promotion a solid structure in minutes, and a library of effects, transitions, filters, stickers, and music can fill gaps when you are short of footage. The test is simple — if you removed the template and the music, would the story still make sense? If the answer is no, the structure needs work before the polish goes on. Use the library to support the story, and replace anything that fights it, even if it looked good in the preview.
Step 5: Export for the Platform You Are Posting To
A video made for one platform rarely performs well on another without changes, and the export step is where most creators lose quality they worked hard to build. Before you export, confirm three settings: the aspect ratio, the resolution, and the length. Vertical 9:16 for short-form feeds, horizontal 16:9 for long-form platforms, and square only when the feed demands it. Export at the highest resolution the platform accepts without recompressing your file into mush, and trim the ending so the video stops a beat after the final point lands — not three seconds later while the viewer is already scrolling away.
Name the file like you will need to find it in six months: project, platform, date, and version. “Product-demo-vertical-2026-11-10-v2” will save you a search one day; “final-FINAL-v3.mp4” will not. Keep the project file, not just the export, so a future revision does not mean rebuilding the timeline from the prompt again.
A Repeatable Weekly Workflow
The workflow only pays off if you can run it the same way every time. Here is a compact version that fits a single creator posting three times a week:
- Monday — Ideas and prompts. Pick three topics, write the six-detail brief for each one, and draft the scripts in ChatGPT. Approve the scripts before any video exists.
- Tuesday — Drafts. Generate or upload material for all three videos and build the first editable drafts. Watch each once and write your three-note revision list.
- Wednesday — Refinement. Fix the weak scenes in chat or in the editor, add captions, choose music, and apply templates where they help.
- Thursday — Exports and scheduling. Export each video for its platform, check the files on a phone as well as a desktop, and schedule the posts.
- Friday — Review. Look at what performed, keep the prompts and structures that worked, and retire the ones that did not. Next Monday starts from that list, not from a blank page.
The point of the routine is not rigidity — it is that the decisions get made once, up front, instead of being remade in the middle of every edit. A prompt-to-video workflow is at its best when the creative choices are deliberate and the mechanical ones are automatic.
Mistakes That Waste the Most Time
- Prompting without an audience in mind. A video for first-time buyers and a video for existing customers are different videos, even when the product is the same.
- Accepting the first draft as final. The first draft is a sketch. Publish the third draft, not the first one.
- Rewriting the whole prompt after every small fix. Fix the scene, not the brief — and save a version before big changes.
- Adding captions last. Captions shape pacing, so they belong in the second pass, not the export step.
- Letting templates choose the story. If the video only works with the template's music and effects, the structure underneath is weak.
- Skipping the phone check. If the video will be watched on a phone, review the export on a phone before you post it.
Frequently Asked Questions
Do I need existing footage to start? No. You can begin from a written prompt and generate material for a first draft, or you can upload clips, photos, or a rough cut you already have and let the workflow organize them into an editable sequence.
Does the AI replace the editor? No. The workflow handles the starting structure — the script, the scene order, and the first draft — but the creative decisions stay with you. You choose what to keep, what to cut, and when the video is ready to publish.
Can I edit the timeline myself after the draft is made? Yes. You can refine the timeline in the conversation by describing the change, or open the project in the CapCut editor and adjust the tracks, timing, captions, and effects directly.
What do I need to use this workflow? It is designed for the ChatGPT desktop app on PC, where the connected CapCut workflow runs. Availability can vary by app version, account, and region, and the capability is currently available outside the United States, with U.S. availability coming soon — so check the current in-product information before you plan around it.
A prompt-to-video workflow does not make video creation effortless. It makes the effort land where it matters: on the story, the pacing, and the polish, instead of on the blank timeline. Write a brief worth following, let the draft show you what is weak, fix the specific scenes that need it, and ship the version that does the job. Do that three times a week for a month, and the workflow stops feeling like a new tool and starts feeling like the way you make videos.
Further Reading
Discover more articles on similar topics across our network
The Automation Trap in AI Inventory Management (and How to Engineer Around It)
Stackademic

Comments
Loading comments…