For 30 years, I chased a lifelong dream: building my own point-and-click adventure in the style of classics like Maniac Mansion and Monkey Island.
I still remember my first attempt — typing away in BASIC on my Commodore 64, hitting a wall when I tried to add a room with eight exits. The nested loops defeated both my computer and my patience. Over the years, I kept trying. Dedicated frameworks came and went, but they either lacked the flexibility I needed — or, honestly, I lacked the skill to use them effectively.
But something finally clicked. Using AI tools like Claude Code, I built my own game from scratch in a single weekend. The game follows Alex, a big-tech employee on a single urgent mission: track down an important document, navigate a maze of well-meaning colleagues, and get it signed before the day is out. Think less corporate nightmare, more corporate comedy — a world where every obstacle comes with its own jargon, its own unwritten rules, and its own surprisingly helpful workaround. Twelve years as leading innovation teams at Amazon may have provided some light research material.
A dream I could never crack for 30 years, done in a weekend. The result is better than anything I ever imagined pulling off — and I loved every minute of building it.
Here are the key steps that made it happen.
Step 1: Brainstorming the Story Arc with Claude
Before writing a single line of code, I used Claude to flesh out the game’s universe — characters, tone, world.
The key mindset shift: treat AI as a creative partner, not a prompt machine. Have a conversation. I’d ask things like “What could be a funny story arc in a corporate environment?” and the answers genuinely shaped the game.
Two things I nailed down early:
The Story. Who is the player? What do they want? What’s the objective? In my game, you play Alex — a big-tech employee on a single mission: get an important document signed. The twist: you’ve lost your badge. You need to sneak back into the office, outsmart the bureaucracy, and get it signed before anyone notices. That clarity of premise made every subsequent decision — rooms, characters, puzzles — almost obvious.
The Voice. Every word in the game had to sound like it came from the same place. LLMs are extraordinarily good at natural language, but they benefit from a precise brief. I went with darkly comic and unapologetically sarcastic — the tone of someone who has survived one too many all-hands meetings. Define the voice upfront, and everything that follows gets more consistent. And funnier.
Step 2: Designing the Mechanics — From Pixel Hunting to Stakeholder Wordfights
Before touching any code, I needed to deconstruct what actually makes a point-and-click adventure work. I brainstormed with Claude to map out the DNA of the genre and landed on three core mechanics that define it:
- Dialogue Trees: Navigating complex — and often absurd — conversations with NPCs.
- Object Combinations: The MacGyver logic of combining a discarded stapler with a lukewarm latte to bypass a security gate.
- Pixel Hunting: Scouring background images for that one tiny, crucial item hidden in plain sight.
But identifying the mechanics was only half the job. The more interesting question was: how do you make them fun rather than frustrating? This sent me back to a childhood favourite — Insult Swordfighting from Monkey Island. It reminded me that the best puzzles aren’t just technical hurdles; they’re narrative payoffs. The puzzle is the joke.
That insight inspired what became the funniest part of my game: the Stakeholder Wordfight — more on that below.
Step 3: Engineering the Minimum Viable Game Engine
Rather than diving straight into content, Claude and I worked to identify the architectural must-haves first — the lean skeleton that any point-and-click adventure needs to function. We landed on five core building blocks, and crucially, we built a debug prototype for each one before touching any real content.
1. The Verb Engine
Inspired by the classic nine-verb interface — Open, Push, Take… — we built a context-sensitive click system where the player selects an action word and then interacts with the scene. It sounds simple, and that’s exactly the point. This mechanic is an elegantly minimal way to give players a sense of control and agency — click a verb, click an object, and something happens. The story moves forward. No tutorials, no complex input — just intuitive, immediate interaction.

The Verb Engine and Inventory — Classic Point-and-Click Controls
2. Room Layouts and Dynamic Backgrounds
The game consists of connected rooms, some immediately accessible, others locked behind puzzles. Every room is defined by four things: a background image, a walkable area (a polygon that constrains where the player character can move), interactive objects (each with a hotspot bounding box), and exit hotspots that connect one room to the next.
At this stage, we only generated a single example room — just enough to verify the mechanics. The tricky part is getting all those polygons and bounding boxes to actually match the background art at the end. So we built an interactive debug overlay that lets us drag and adjust every hotspot and walkable polygon in real-time, directly on top of the background image. Optimizing coordinates became quite intuitive and a matter of seconds.

Debug View: Adjusting Hotspots and Walkable Area Polygons in Real-Time
3. Three-Frame Character Animation
Instead of complex animations, I followed a retro-simple rule: every character needs exactly three frames — standing, walking, and talking. At this stage we only generated a single dummy character, just enough to prove the animation system worked. We used Google Gemini to generate all three frames in one go, with one small trick: by prompting every character to face right, we could horizontally flip the frames to get the left-facing variants for free — instantly doubling the animation library without a single extra generation. For the talking animation, we simply randomised the switch between the standing and talking frames at varied intervals. A two-frame trick that produces a surprisingly expressive result with almost no complexity.
Bringing Alex to Life: Talking and Walking Animations
4. Transition Screens
Complex animations are hard — narrating what happens between scenes is not. Instead of building cutscenes or scripted sequences, we used simple transition screens: full-screen moments of text that describe what is happening in plain, natural language. Think of them as the chapter headings of the game — they advance the meta-story, set up what comes next, and keep the player oriented without requiring a single frame of animation. And since the tone of the whole game is witty and sarcastic, these screens also became some of the funniest writing in the game.
5. Closing the Narrative Loop
A game isn’t finished until the loop closes. We built a dedicated title screen to hook the player at the start and a proper end screen with running credits to provide closure at the finish. This might sound like polish, but for me it was structural — it’s what transformed a tech demo into something that actually felt like a complete game with a real start and end.
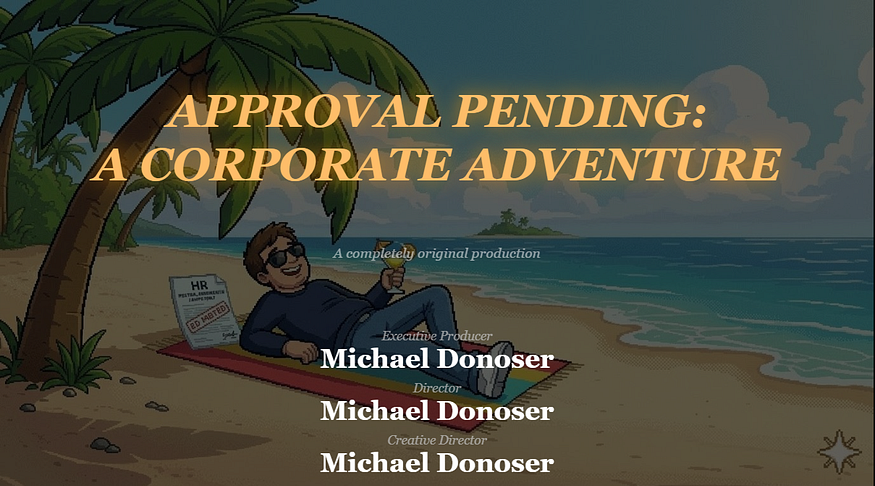
The Finish Line: End Screen with Running Credits
Step 4: Architecting the Story — Resisting the Urge to Code
This was the most critical stage of the entire weekend — and the one where I nearly tripped up. The temptation to start building is overwhelming once the engine prototype is working. Resist it. Any story change made after implementation begins might be quite cumbersome. I didn’t let Claude write a single line of final code until every room, object, and character was fully fleshed out.
Mapping the Corporate Universe
We mapped the entire game world with Claude before touching implementation. Everything defined up front:
- The rooms — every environment, its connections, and what blocks the player from moving through it. A locked lab room. An almost-empty open-plan office.
- The objects — every item to be found or used, from passive-aggressive posters on the wall to suspiciously lukewarm coffee. Each object had to earn its place by serving a puzzle.
- The riddles — every puzzle and what it unlocks, mapped backwards from the ending using a Puzzle Dependency Graph — a technique championed by Ron Gilbert, the creator of Monkey Island — to ensure nothing existed without purpose.
- The characters — who they are, what they want, and why they’re in your way. Each NPC got a personality and a dialogue tree that makes them feel either surprisingly helpful or magnificently unhelpful, depending on whether you’ve figured them out.
The takeaway is brutal in its simplicity: know your complete story before writing a line of code. Start coding while the story is still ambiguous and you’re not building a game — you’re building future technical debt.
Step 5: Generating All Visuals with AI
This is where things started to feel like magic. By giving Claude Code direct access to Google Gemini’s image generation API, the whole workflow transformed — no more switching between tools, no manual handoffs. Claude wasn’t just writing code anymore; it was building the game world alongside me.
Every image prompt follows the same two-part structure: define the visual style, then describe the content. Nail the style anchor once — pixel art, classic 1990s point-and-click, consistent palette — and apply it across every asset. The result feels like it was drawn by the same hand.
Background Images
The style section never changes across rooms: side-on perspective, foreground/background layering, 16:9 aspect ratio, and crucially, the bottom 20–30% must be a completely clear walkable floor. No objects, no furniture — this reserved zone is what lets the player character move naturally in front of the scene.
The content section is room-specific: atmosphere, props, layout, and which interactive objects need to be clearly visible. For my corporate office: ultrawide monitors, passive-aggressive motivational posters, a cold brew tap, whiteboards filled with meaningless diagrams.
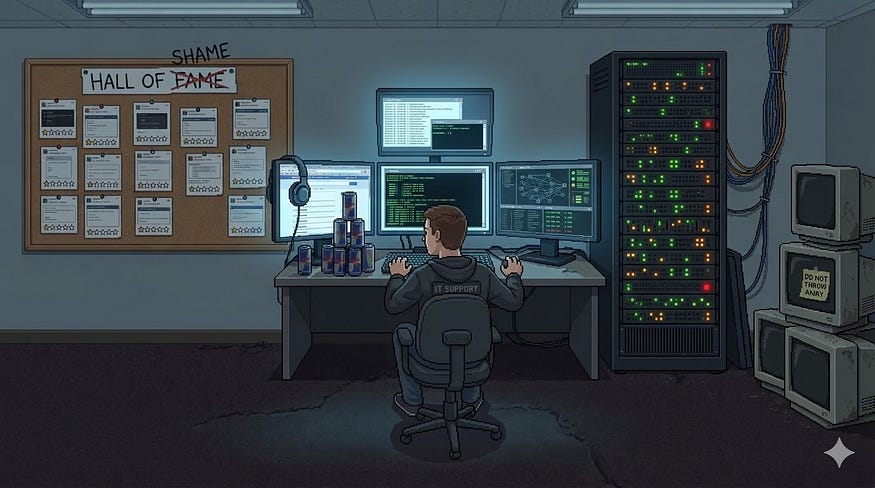
AI-Generated Pixel Art: The IT Department, Brought to Life by Google Gemini
Two additional tricks worth stealing:
- Hotspot extraction. Once a background was generated, I prompted Gemini’s vision API to return bounding box estimates for every interactive object — feeding directly into the debug overlay from Step 3, ready to fine-tune.
- Removable objects. For pickable items, I generated a second background variant with the object removed, keeping everything else pixel-perfect. Two images, one prompt, pickup mechanic done.
Character Animations
Every character prompt has three parts. The style section specifies pixel art, no anti-aliasing, and a white background. The character section describes appearance, clothing, and personality — enough for the model to render a consistent, recognisable character. The content section is where the animation lives: three frames — standing, walking, talking — all generated at once. Frame 3 is nearly identical to Frame 1 — only the mouth opens and one hand shifts slightly, nothing else changes.
All characters face right by default: we horizontally flip all three frames to get the left-facing variants for free, instantly doubling the animation library without a single extra generation.
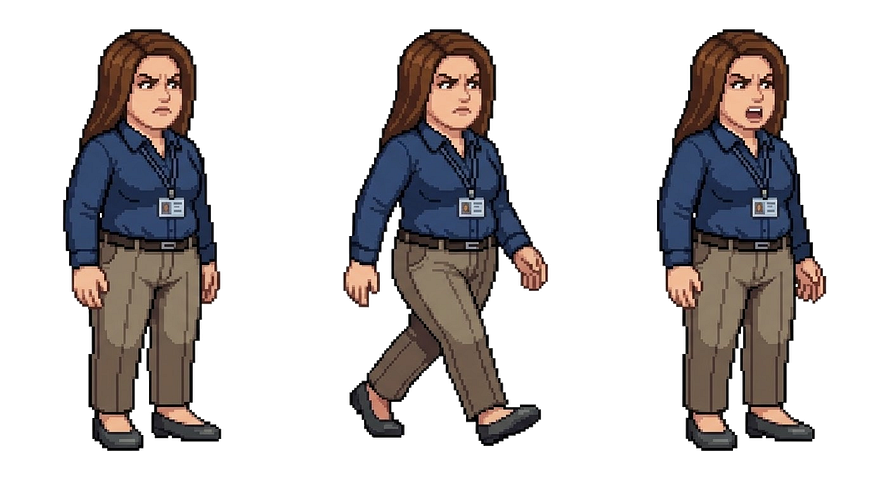
Three Frames, One Character: Standing, Walking, and Talking
Inventory Object Visualizations
Every object that can end up in the player’s inventory gets its own standalone visual — same pixel art style, same palette constraints. A small but essential touch that makes the inventory feel like part of the game world rather than an afterthought. Since inventory icons don’t need high resolution, I generated these in batches as a 2×2 grid in a single prompt — four items at once, ready to slice and drop straight into the game.

Pixel-Perfect Props: Inventory Object Visualizations
Step 6: Watch Claude Stitch It All Together
This is the part that still makes me smile. With the story fully architected, the assets generated, and the engine prototyped, I handed Claude Code the complete blueprint and watched it build. Room by room, object by object, dialogue line by dialogue line — it assembled the game with a fluency that felt less like using a tool and more like directing a very fast, very capable colleague. If you’ve done the hard work in Steps 1 through 5, this step is genuinely impressive to watch unfold.
Step 7: Brainstorm and Add the Details That Make It Yours
Once the core game was running, I went back to what I loved most about the classics — and added my own twist. Inspired by the legendary Insult Swordfighting from Monkey Island, I designed a Stakeholder Wordfight: a witty verbal duel between the player and a corporate stakeholder, where winning requires demonstrating the correct company leadership principles — in rhyme.
LLMs are extraordinary at generating natural language with rhythm and wordplay. I simply provided the leadership principles, defined a rhyming scheme, and Claude did the rest. It became one of the funniest and most memorable parts of the game — and it took almost no time to build.
The lesson: once the engine is running, don’t just fill in the blanks. Look for the moments where AI’s strengths — natural language, humor, pattern — can elevate the experience into something unexpected.
Step 8: Ship It. And Have Fun.
That’s it. A 30-year dream. One weekend. Some extremely capable AI collaborators. That’s the whole story. Now go play: https://mike-dono-0815.github.io/adventure-game.
I’m not going to pretend the result is Day of the Tentacle 2. But it’s my game — with my humor, my story, my corporate insights rendered in pixel art. And for the first time in three decades, it actually exists.
The technology has finally caught up with the ambition. If you’ve had a creative project sitting in the back of your mind — something you started and abandoned, something that always felt just out of reach — I’d genuinely encourage you to dust it off and try again. You might be surprised what a weekend with the right tools can produce.
Now stop reading. Go build something.
Comments
Loading comments…