Introduction
Alright, so imagine there’s some random web app out there asking you to upload an image. Let’s take a dating app for example. Now, unfortunately, you have 2 images of yours sitting side by side in the system. The first image is basically the best version of yourself but the second one, let’s call it “unflattering” for the lack of a better word.
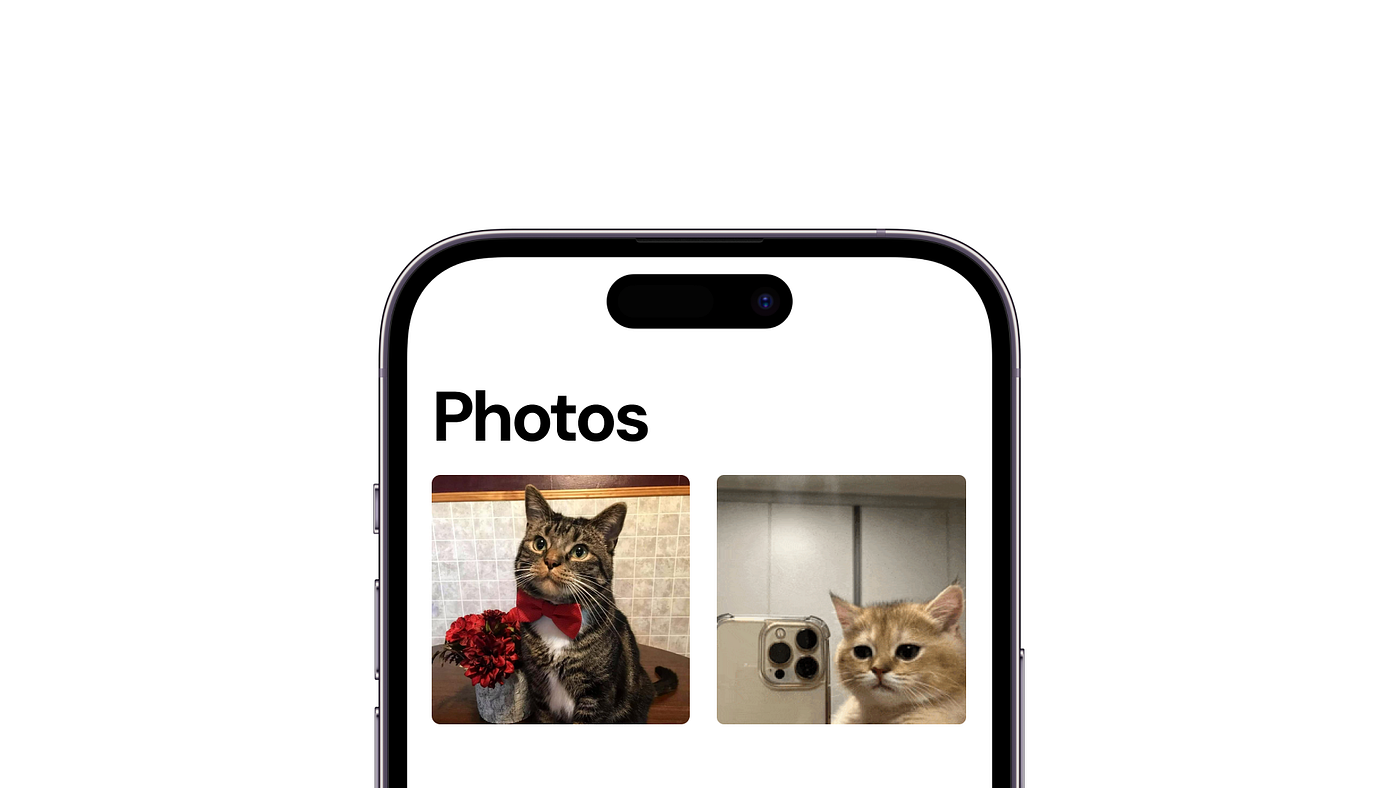
Now you’d not want any soul on this planet to look at that second image but what if you accidentally upload it? Sure, you can remove it then and there but it’s now out on the internet. You’ll never have sound sleep knowing that it can at any time be leaked and just the thought of it makes you uneasy. Now luckily file upload APIs normally take some time to resolve which means if, at all there’s some mechanism that can cancel an API request mid-way, we can use that to protect everyone’s dignity. And that’s exactly what we are going to look at right now, the AbortController API.
This native JS API can help you cancel unnecessary or long-running network requests, freeing up system resources and enhancing user experience. Just by looking at the problem that this API solves, you’d also realize that it helps in improving performance by discarding requests that are no longer needed. I mean, if an API is taking too long to resolve which in turn blocks some part of the UI that you want to use, having the freedom to cancel that request and do something else instead is just good UX. So clearly there are a lot of pros in using this API, so let’s see how to do that.
***PS: I also have a video version of this post available on YouTube. Do check it o*ut**.
Using AbortController in React
I have a simple React app here with a router in place. It handles the root route and a dynamic user-specific route.
//main.tsx
import { createRoot } from 'react-dom/client';
import './index.css';
import App from './App.tsx';
import { createBrowserRouter, RouterProvider } from 'react-router-dom';
import UserProfile from './UserProfile.tsx';

const router = createBrowserRouter([
 {
   path: '/',
   element: <App />,
 },
 {
   path: '/user/:userId',
   element: <UserProfile />,
 },
]);

createRoot(document.getElementById('root')!).render(<RouterProvider router={router} />);
Inside the App.tsx file, I have 5 links to 5 different user profiles.
import { Link } from 'react-router-dom';
import './App.css';
function App() {
    return (
        <>
            <div>
                <Link to="user/1">User 1</Link>
            </div>
            <div>
                <Link to="user/2">User 2</Link>
            </div>
            <div>
                <Link to="user/3">User 3</Link>
            </div>
            <div>
                <Link to="user/4">User 4</Link>
            </div>
            <div>
                <Link to="user/5">User 5</Link>
            </div>
        </>
    );
}

export default App;
Simple. Each link is mapped to the UserProfile component.
import { useEffect, useState } from 'react';
import { User } from './types/User';
import { useParams } from 'react-router-dom';

const UserProfile = () => {
   const [user, setUser] = useState<User | null>(null);
   const [error, setError] = useState<string | null>(null);
   const [loading, setLoading] = useState<boolean | null>(true);
   const { userId } = useParams();

   useEffect(() => {
     const fetchUser = async () => {
       setLoading(true);
       setError(null);
       try {
         const response = await fetch(`https://jsonplaceholder.typicode.com/users/${userId}`);
         if (!response.ok) {
           throw new Error('Failed to fetch user');
         }
         const data = await response.json();
         setUser(data);
       } catch (err: unknown) {
         if (err instanceof Error) setError(err.message);
       } finally {
         setLoading(false);
       }
     };
    fetchUser();
  }, [userId]);

  return (
   <div>
     {loading && <p>Loading…</p>}
     {error && <p>Error: {error}</p>}
     {user && (
       <>
         <h1>{user.name}</h1>
         <p>Email: {user.email}</p>
       </>
     )}
   </div>
   );
};

export default UserProfile;
All this component does is, fetch the user profile inside the useEffect that’s triggered once initially. If resolved, save the data inside the user state variable, but if it throws an error, save the error message inside the error state. Loading keeps track of the time taken to resolve API request.
Now, to integrate the abort controller into this app, we’ll have to follow 3 steps.
- First, we create an instance of
AbortControllerand pass itssignalto thefetchrequest.
const controller = new AbortController();
   const fetchUser = async () => {
     setLoading(true);
     setError(null);
     try {
       const response = await fetch(`https://jsonplaceholder.typicode.com/users/${userId}`, {
         signal: controller.signal,
       });
     ...
Now what is this signal you might ask? The signal that we pass to the fetch method is an instance of AbortSignal, which is part of the AbortController API. This signal is the mechanism that allows the fetch request to listen for cancellation commands. So somewhere inside your useEffect, you’ll call the abort method that’s present on the AbortController and this signal will notify the fetch request that it should be canceled. Where exactly do I call this abort method? Great question. That’s actually the second step which is
- To abort on cleanup: The
controller.abort()call in the cleanup function ensures that if the component unmounts or theuserIdchanges before the request completes, the ongoing API call is canceled.
//At the end of the useEffect
return () => {
  controller.abort();
};
So anytime I switch between routes, and the API call on the first route is not complete, the moment I switch to a new route, the first route’s API is canceled. That’s because the first UserProfile component unmounts and with that, it calls the abort method on the AbortController.
- Handling Errors: The third and final step deals with errors. We differentiate between normal errors and an
AbortError. If the request is aborted, we don’t treat it as an error that needs to be displayed to the user. Only if it’s an error with the API, the one that we saw earlier with an invalid route, that’s when we show it to the user.
catch (err: unknown) {
   if (err instanceof Error) {
     if (err.name === 'AbortError') {
       console.log('Fetch request was aborted');
     } else {
       setError(err.message);
     }
   }
}
Now, inside the browser, when I click on User 1 and I go back, you’ll see in the network tab that it got canceled. The request didn’t go through which is exactly what we wanted. If I stay for long though, the request will obviously resolve after some point. So that’s how you’d integrate an AbortController in your React app.
Now for folks who use Tanstack query, you can still use AbortController in conjunction with it. We can actually trim a lot of code in our example with Tanstack query. Let me first install it.
npm i [@tanstack/react-query](http://twitter.com/tanstack/react-query)
Let’s quickly add the provider at the root level.
import { QueryClient, QueryClientProvider } from '@tanstack/react-query';
const router = createBrowserRouter([
 {
   path: '/',
   element: <App />,
 },
 {
   path: '/user/:userId',
   element: <UserProfile />,
 },
]);
const queryClient = new QueryClient();
createRoot(document.getElementById('root')!).render(
 <QueryClientProvider client={queryClient}>
   <RouterProvider router={router} />
 </QueryClientProvider>
);
First, let’s move out the API call into a function.
const fetchUser = async (userId: string): Promise<User> => {
 const response = await fetch(`https://jsonplaceholder.typicode.com/users/${userId}`);
 if (!response.ok) {
   throw new Error('Failed to fetch user');
 }
 return response.json();
};
It’s a common pattern you follow with Tanstack query as we pass the function reference to the query function key inside useQuery. If all these terms are alien to you, I have an entire series on it on Youtube. But in short, you use the useQuery hook to handle GET requests and useMutation for any updates to the database. The useQuery hook takes a query key and a query function. The result from the query function is stored against that query key in browser memory. This result acts as a cached response for that request for a while. After that duration, it makes a new request to the backend and replaces the cache with this new fresh copy. That’s basically the gist of this useQuery hook but do watch the series to get a more deeper understanding as there’s lots of nuance to it. So let’s add the hook inside the component.
const {
   data: user,
   error,
   isPending,
   isError,
} = useQuery<User, Error>({
   queryKey: ['user', userId],
   queryFn: () => fetchUser(userId!),
});
By doing this, I can now get rid of all the useStates because it’s handled by react query and the useEffect can also be removed. I also need to refactor the JSX because the loading and error states now have a different name.
<div>
   {isPending && <p>Loading…</p>}
   {isError && <p>Error: {error.message}</p>}
   {user && (
     <>
       <h1>{user.name}</h1>
       <p>Email: {user.email}</p>
     </>
   )}
</div>
And that should do it. We have Tanstack query in place.
Now to add abort controller to this, all we have to do is use the signal that we get out of the box from the query function’s params, pass it to the fetchUser function and then use it as part of the options, just like we did earlier.
//Step 1
queryFn: ({ signal }) => fetchUser(userId!, signal),

//Step 2
const response = await fetch(`https://jsonplaceholder.typicode.com/users/${userId}`, { signal });
And that’s literally it. React query was designed to abstract away these lower-level details so you don’t have to handle cancellation manually. It automatically cancels and retries queries under various conditions, including when the component unmounts, the query key changes (like when userId changes), or even when the app comes back into focus. So, unless you need custom behavior, you don’t need to explicitly define an AbortController with React Query — React Query already uses one under the hood. One of the best libraries out there hands down.
Conclusion
And that’s pretty much how you’d use an AbortController in a regular fetch call or with Tanstack query. This is a very useful API which has a lot of important use cases. Feel free to give it a try and play around with it.
Other than that, if you have any doubts or suggestions, do put them in the comments or you can get in touch with me on any one of my socials. Cheers!
Further Reading
Discover more articles on similar topics across our network



Comments
Loading comments…