Multi-module projects are a common norm in JVM applications. Most of the enterprise applications would have it. It has its pros and cons. Let’s look at how we can implement multi-module applications in Node.js and what are its benefits.

What is a Multi-Module Project?
In JVM applications, the application code base is split into logical sub-modules and each of these sub-modules can be used as a dependency in the other sub-modules.
Let’s take an example.
A simple Maven multi-module project:
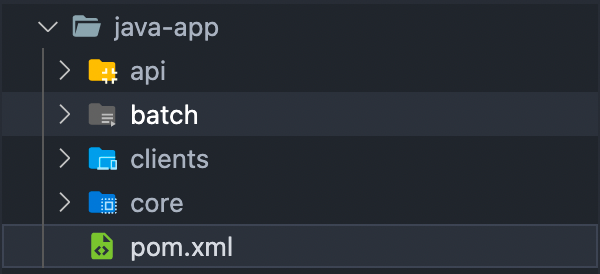
Here, we have:
- A
coremodule, let’s say it contains all domain classes, core configurations and utility classes - A
clientsmodule containing all connectors to external APIs - An
apimodule that will expose the services and business rules as a rest api - A
batch-jobmodule that will have the jobs that run nightly to perform a few tasks - Each of these sub-modules has their own
pom.xmlto manage the dependencies.
So, why the Modules?
- The API and Batch-job can be split into separately deployable components and can be scaled individually. The number of instances that may be required for the API might not be the same for the Batch-job. As a matter of fact, in most cases, the number of instances will be less.
- There could be certain configurations that might be very specific to API or Batch-job and you do not want them to be available on both of them.
- Development is faster. The sub-modules, once built, can be used as a dependency. Only the module which is being worked on needs to be built as the other ones are already compiled and added as a dependency. If the module that is being used as a dependency changes, you need to build it as well.
What are the Advantages of Multiple Modules in Node.js?
The above advantages hold true for Node.js applications as well. I found it extremely useful when I had the following structure in a project.
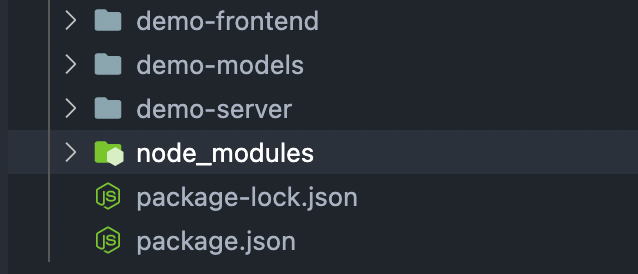
Sample NodeJs application with multiple modules:
How to implement it?
We need to use the npm feature called workspaces in order to create multi-module projects. This feature is available in NPM version 7 and above.
The below code demo is created using npm 8.x.
First, let’s create a folder demo-app. In this, we will have the modules for the app.
npx create-react-app demo-frontend -template typescript
This will create a React app in the folder demo-frontend . We are using TypeScript as it will be easier to demonstrate the dependency capabilities.
Then we have another folder with the name demo-models where we will house a single model and use it in the frontend and the backend.
Lastly, a simple Express app in the folder demo-server.
Now at the root of the folder (demo-app), let’s create a package.json and add the workspace configuration.
{
  "name": "app",
  "version": "1.0.0",
  "workspaces": ["demo-models", "demo-frontend", "demo-server"],
  "author": "Devayan",
  "license": "ISC"
}
The workspaces parameter adds the three sub-modules in a project. Now the sub-modules can find each other and add other modules as a dependency.
Let’s add some code.
In the demo-models, create a structure like the following:
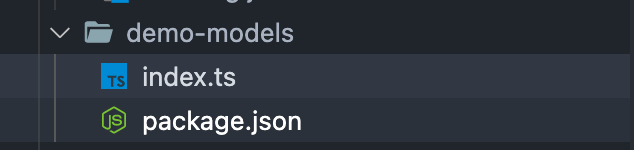
And add an interface like this:
export interface SignupUserRequest {
  firstName: string;
  lastName: string;
  email: string;
}
In the demo-server, add the required dependencies for an Express app and add demo-models as a dependency with path.
{
  "name": "demo-server",
  "version": "1.0.0",
  "description": "Server app",
  "main": "src/app.ts",
  "scripts": {
    "start": "tsc src/app.ts --esModuleInterop && node src/app.js"
  },
  "author": "Devayan Sarkar",
  "license": "ISC",
  "devDependencies": {
    "@types/express": "^4.17.13",
    "@types/node": "^17.0.8",
    "ts-node": "^10.4.0",
    "typescript": "^4.5.4"
  },
  "dependencies": {
    "express": "^4.17.2",
    "demo-models": "../demo-models"
  }
}
In app.ts, add the code to run a simple hello-world Express app.
Importing SignupUserRequest from ‘demo-models’:
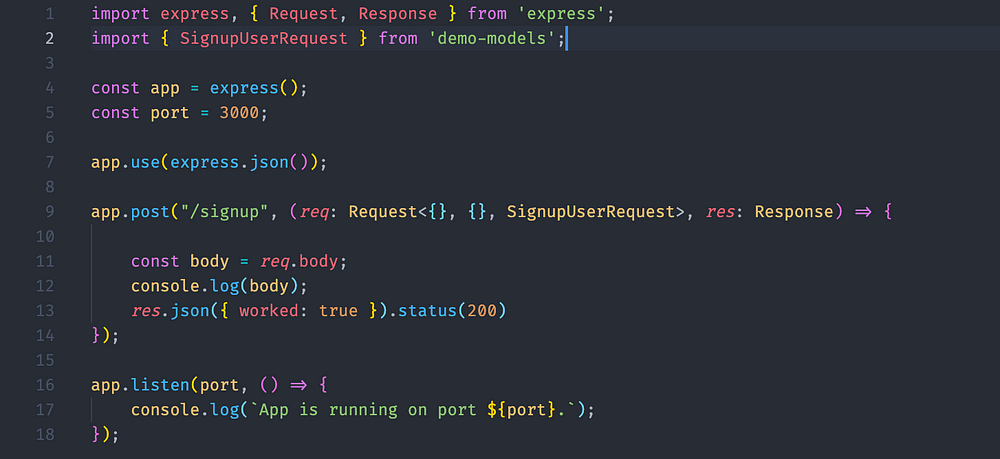
We have an import from demo-models for using the SignupUserRequest.
Similarly, in the package.json of the React app, add the dependency for demo-models and import the package to use the SignupUserRequest.
Importing SignupUserRequest in App.ts file of the React app:
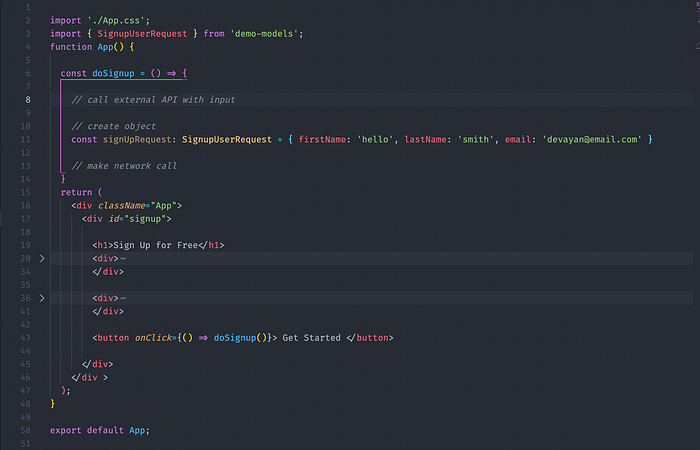
We are using the same model in both the frontend and server. This ensures that we use the same model and structure in both places and we follow the DRY principle and do not duplicate the code blocks.
Similarly, utility classes, functions and complex model classes can easily be shared between the frontend and server.
Any breaking changes can easily be identified upfront.
Let’s imagine that an additional parameter is added in the SignupUserRequest:
export interface SignupUserRequest {
  firstName: string;
  lastName: string;
  email: string;
  phone: number;
}
phone is required and shows an error in the App.ts file:

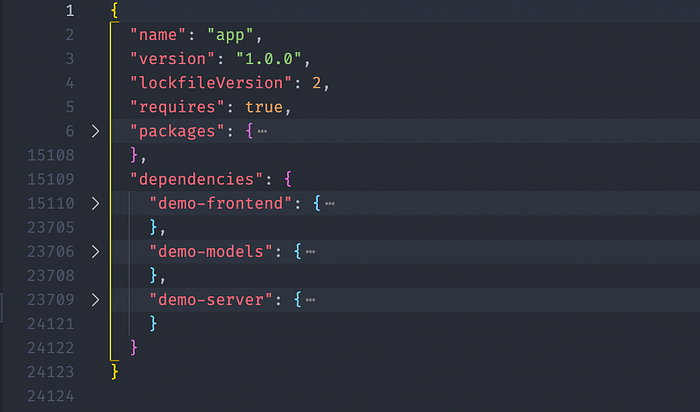
The root package-lock.json has the dependency information for all the sub-modules present in the application.
package-lock.json:
Now each submodule has its own node_modules but the root app also has a node_module which contains the links to the actual folder.
node_modules at the root of the app:
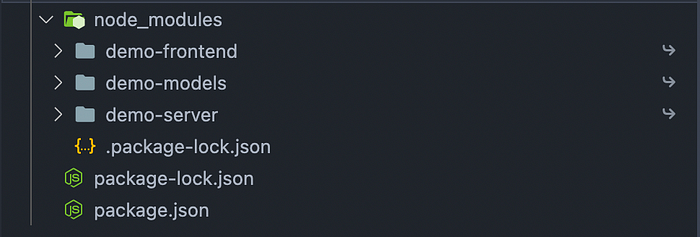
The little curved arrow depicts that those are links to the actual folder.
Having these sub-modules set up ensures that the code is grouped in logical folders. This split also makes sure that when you build either server or frontend, only that module is built, which is faster.
That’s it.
Now you can add more interfaces, functions, or utility classes and use them on both frontend and server.
Comments
Loading comments…