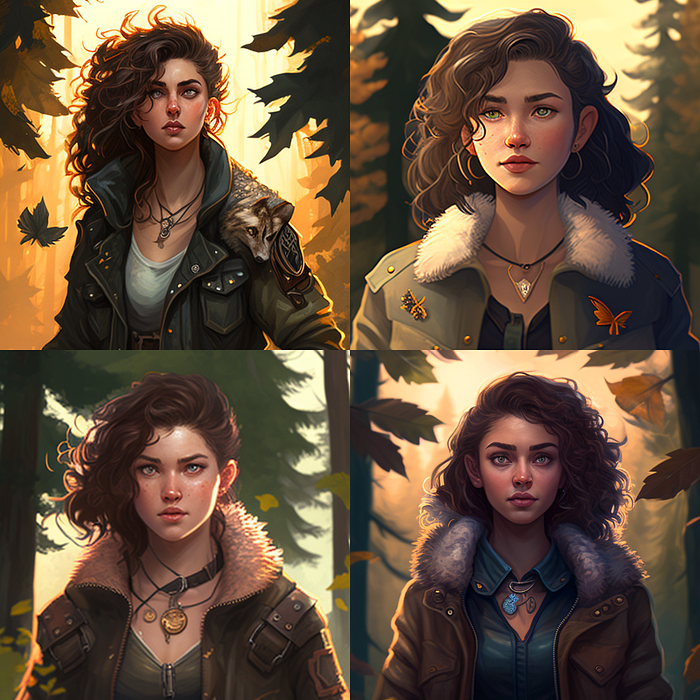
Various lighting examples made by me on Midjourney.
A photography professor said something very smart once. He said, “If you’re really good at using light, then everything else in your photos will look great too.”
Whenever I snap pics with my trusty iPhone, I still keep Professor Light’s advice in mind. Lighting is key!
It’s like the captain of the photo ship, steering everything else in the right direction.
Using AI to create realistic art or edit photos can be tricky when it comes to lighting. But fear not, for I come bearing some Midjourney tips and tricks I’ve picked up along the way.
Let me shed some light on the subject!

Before we begin, let me give you a heads-up: these Midjourney tips are tailored for Midjourney, but they might also do the trick with other AI generators like Stable Diffusion and DALL-E 2.
I haven’t had the chance to test them out yet, but hey, the possibilities are endless!

Some Midjourney Quirky Tips
Keep it simple, silly! When I first started rendering portraits with Midjourney, I thought I could impress the AI with my fancy photography jargon like “split lighting,” “Flatlight,” and “Butterfly lighting.” But boy, was I wrong!
The AI didn’t have a clue what I was talking about. So take it from me and stick to plain English when describing the lighting effect you want.
Let me give you an example to avoid any confusion.
Instead of saying “Backlight,” try saying “light from behind” or “lighted background.”
And if you’re thinking of using “Butterfly lighting,” don’t be surprised if your AI-generated image ends up with a bunch of fluttering butterflies in it!
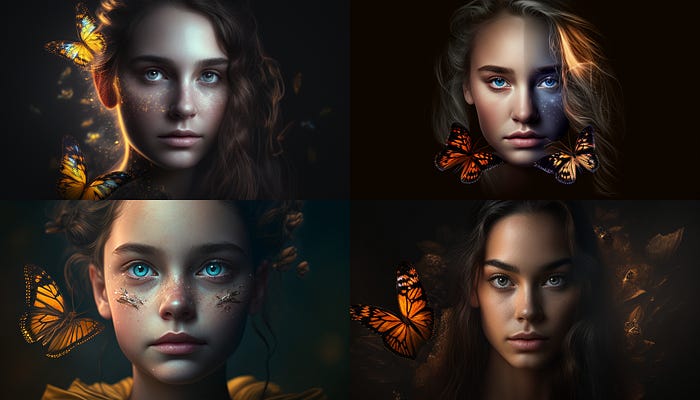
Butterfly effect created on Midjourney
Stick to describing the lighting effect in simple terms and you’ll be good to go. No butterfly nets needed!
Midjourney might not understand your fancy photography lingo, but it’s a whole different story when it comes to film, 3D modelling, and rendering engines.
Midjourney might not be a photography guru, but it’s definitely hip to the jive when it comes to film, 3D modelling, and rendering engines. So if you wanna throw in some “volumetric lighting,” “cinematic lighting,” or “unreal engine” lingo into your prompts, feel free to do so. The AI is ready to party!
Just a quick heads up: remixing with light is a no-go. I’ve tried using the remix mode to switch up the lighting in my compositions, but it didn’t quite work out as planned. So if you’re thinking of going from a sunny day to a creepy, dark night scene, you might wanna think…

twice before hitting that remix button
Who knows, maybe they’ll fix it in future releases, but for now, stick to tweaking your lighting manually. Keep on shining, folks!
It’s time for a quick lesson on lighting versus texture. When you start throwing around fancy terms like “rendering engines,” “camera lenses,” “types of film,” and “4k, 8k, hd,” it can definitely affect your lighting situation.
But don’t get it twisted! Texture and lighting are not the same thing. So, if you’re trying to get the perfect lighting for your masterpiece, focus on the lighting itself, not the other stuff.
Keep it simple and shiny!
If you want to make sure your lighting details are noticed, it’s best to put them before any other phrases in your prompt. The order of the words in your prompt can make a big difference. So, make sure to put the lighting details first to get the best results.
Photo portrait of an old man in a chair, Dark dim lighting, octane render, 100mm, high contrast, 8k

enjoying the blog? “buy me a coffee”
Lighting With Portraits
In this first example, I changed the lighting description in a basic prompt. Instead of using the word “xxxx”, I used one of the phrases I mentioned earlier. I also used Testp in Midjourney to access the latest photo datasets.
Of course, you will get a different composition every time using this simple prompt because it is so generic, but I’m keeping it simple just to show how the lighting works.
Photo portrait of younglings, xxxx --testp
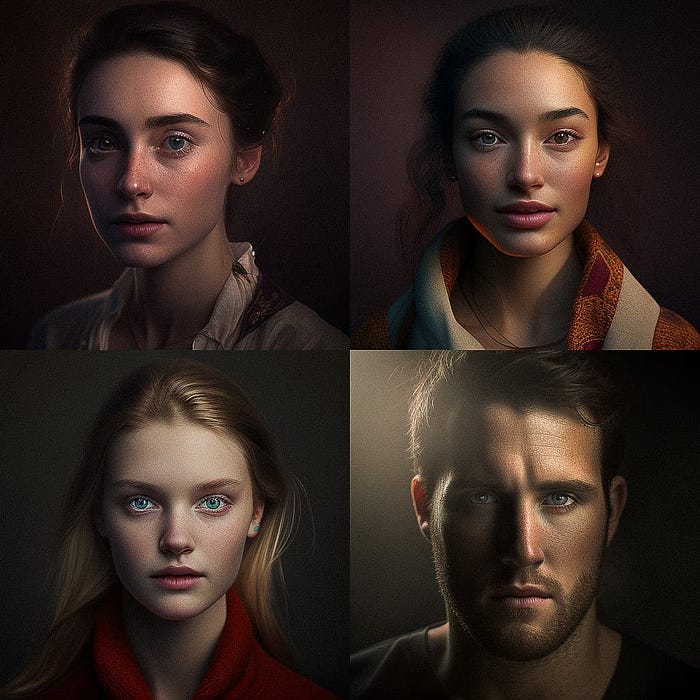
Photo portrait of younglings

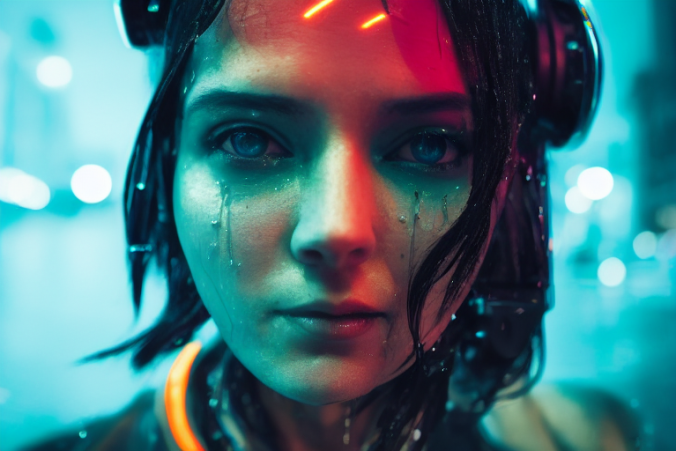
Cynerphunk via Midjourney
Scenic Lighting
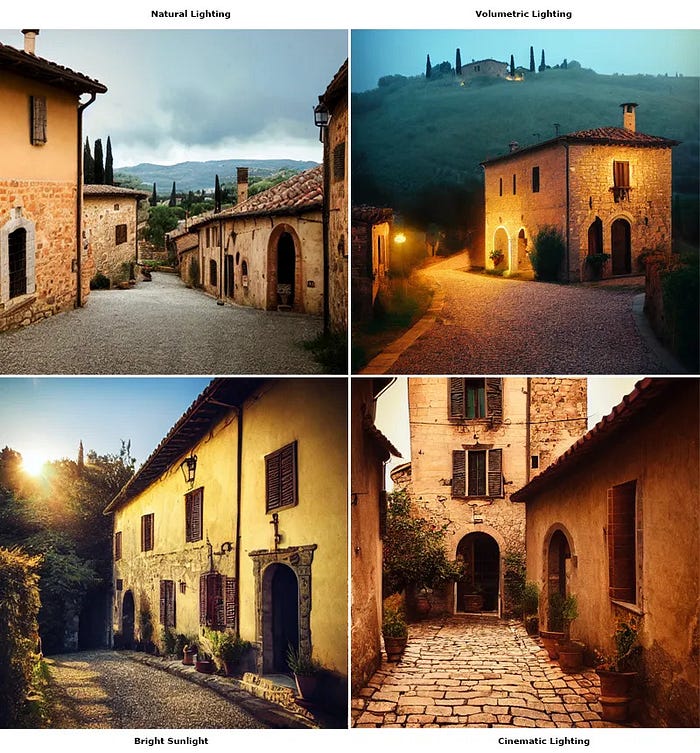
In scenic shots, the weather and sky conditions will inevitably have an impact on the lighting. Descriptions of outdoor conditions such as foggy, rainy, and overcast can greatly contribute to the overall lighting effect.
If you’re looking to create a truly captivating scene, it’s worth experimenting with the use of weather and dramatic tone phrases in your prompt.
However, in the examples below I just used a simple lighting description…
Photo of a beautiful old medieval tuscan village house, cobble road, xxxx --testp

enjoying the blog? “buy me a coffee”
Lighting With Composition
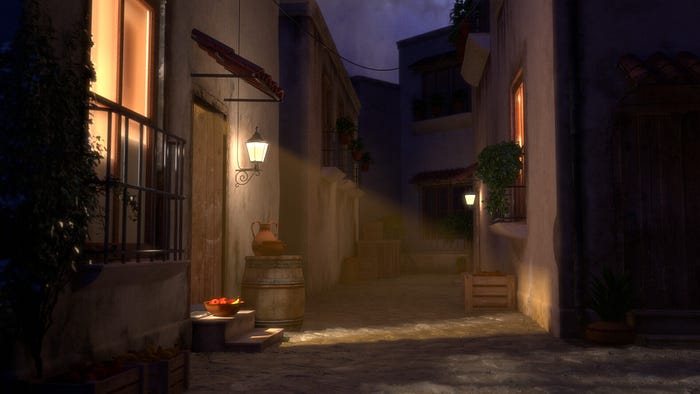
Lighting effects are essential to capture the essence and mood of an image. The proper use of lighting in conjunction with composition can elevate the artwork to new heights.
The inclusion of descriptive lighting phrases in natural language can significantly enhance the composition and overall aesthetic of the artwork.

enjoying the blog? “buy me a coffee”
Final Thoughts
As you’ve witnessed, lighting is a bigwig in the world of photographic compositions and image rendering. Hopefully, this article has nudged you in the right direction and sparked your curiosity to tinker with lighting in Midjourney.
If you’ve liked the blog and benefited from this read, would you mind “buying me a coffee” to show your appreciation?
Comments
Loading comments…