Web scraping has three simple steps:
-
Step 1: Access the webpage
-
Step 2: Locate and parse the items to be scraped
-
Step 3: Save scraped items on a file
The top Python libraries for webscraping are: requests, selenium, beautiful soup, pandas and scrapy**. Today, we will only cover the first four **and save the fifth one, scrapy, for another post (it requires more documentation and is relatively complex). Our goal here is to quickly understand how the libraries work and to try them for ourselves.
As a practice project, we will use this 20 dollar job post from Upwork:
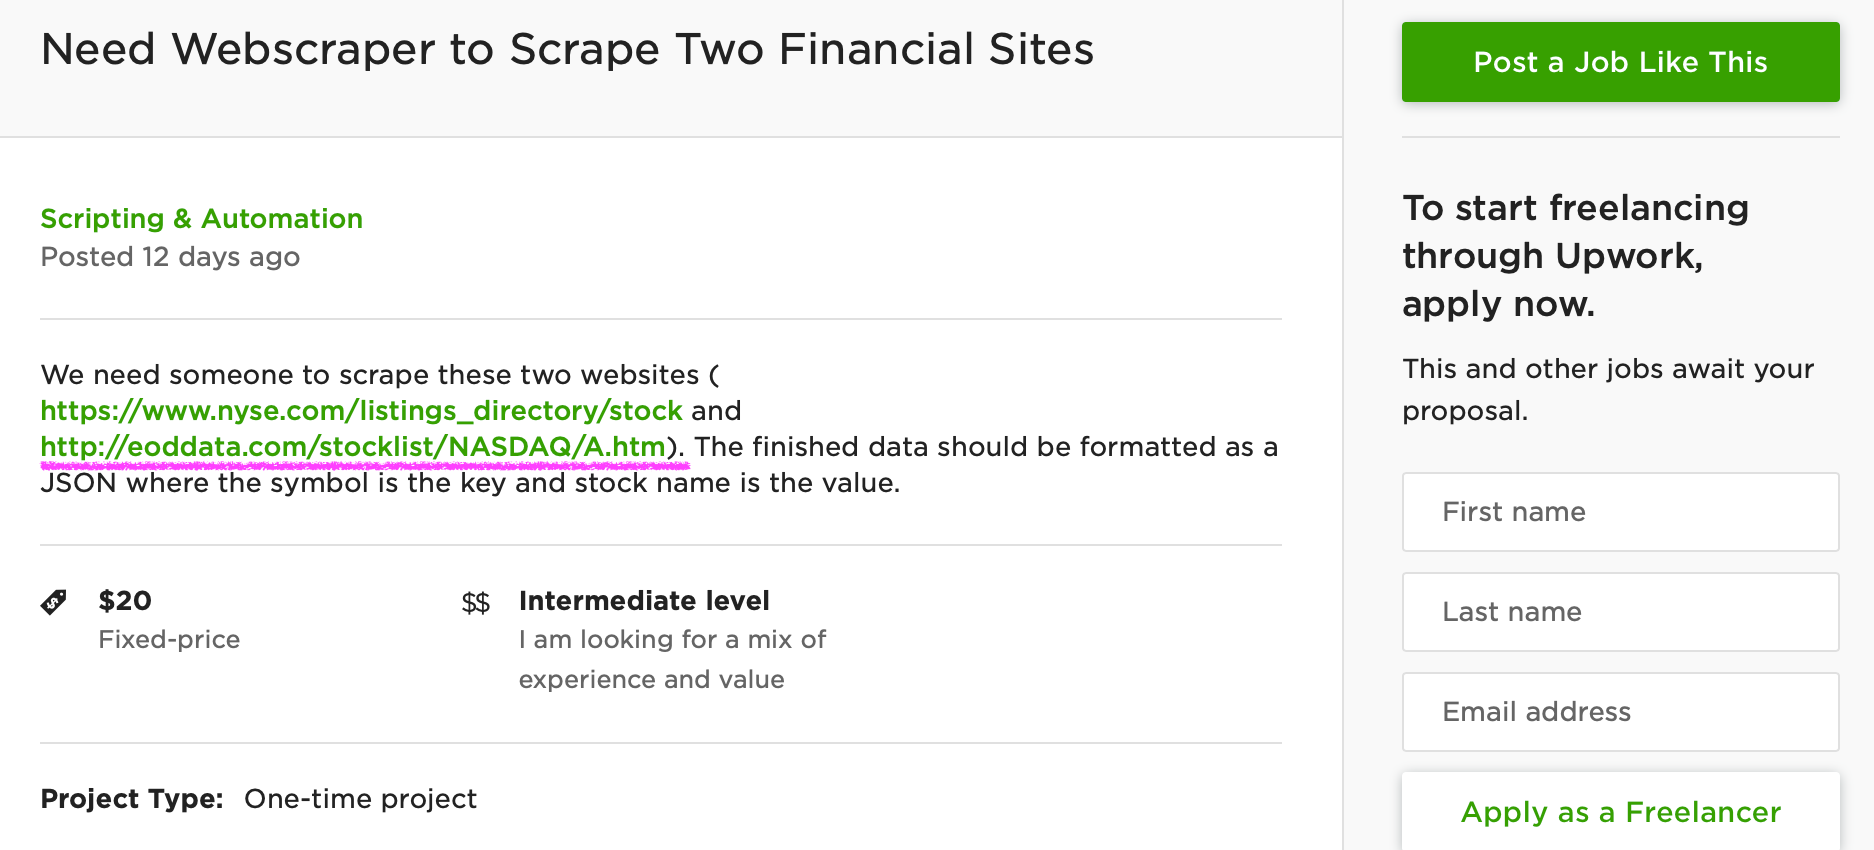
There are two links that the client wants to scrape and we will focus on the second one. It’s a webpage for publicly traded companies listed in NASDAQ:

According to the client, he wants to scrape the stock symbols and stock names listed on this webpage. Then he wants to save both data in one JSON file. There are hundreds of job posts like this on Upwork and this is a good example of how you can make money using Python.
Before we start, keep in mind that there are ethical and legal issues around web scraping. Be mindful of how the data you scrape will be used.
Step 1: Access the Webpage
Accessing a webpage is as easy as typing a URL on a browser. Only this time, we have to remove the human element in the process. We can use requests or selenium to do this. Here’s how they work:
Requests
import requests

url = "[http://eoddata.com/stocklist/NASDAQ/A.htm](http://eoddata.com/stocklist/NASDAQ/A.htm)"
page = requests.get(url)
Requests allows us to send HTTP requests to a server. This library gets the job done especially for static websites that would immediately render HTML contents. However, most sites are laced with with javascript code that keeps full HTML contents from rendering. For example, sometimes we need to tick a box or scroll down to a specific section to completely load a page and that is Javascript in action. Sometimes websites have anti-scraper code too that that would detect HTTP requests sent through the *requests *library. For these reasons, we explore other libraries.
Selenium:
from selenium import webdriver

url = "[http://eoddata.com/stocklist/NASDAQ/A.htm](http://eoddata.com/stocklist/NASDAQ/A.htm)"
driver = webdriver.Chrome('/Downloads/chromedriver')
driver.get(url)
Selenium was originally created to help an engineer test web applications. When we use Selenium to access a page, Selenium will have to literally open a browser and interact with the page’s elements (e.g., buttons, links, forms). If a website needs a log in session, we can easily pass our credentials through Selenium. This is why it’s more robust than the *requests *library.
Here’s an example of Selenium opening the webpage for me:
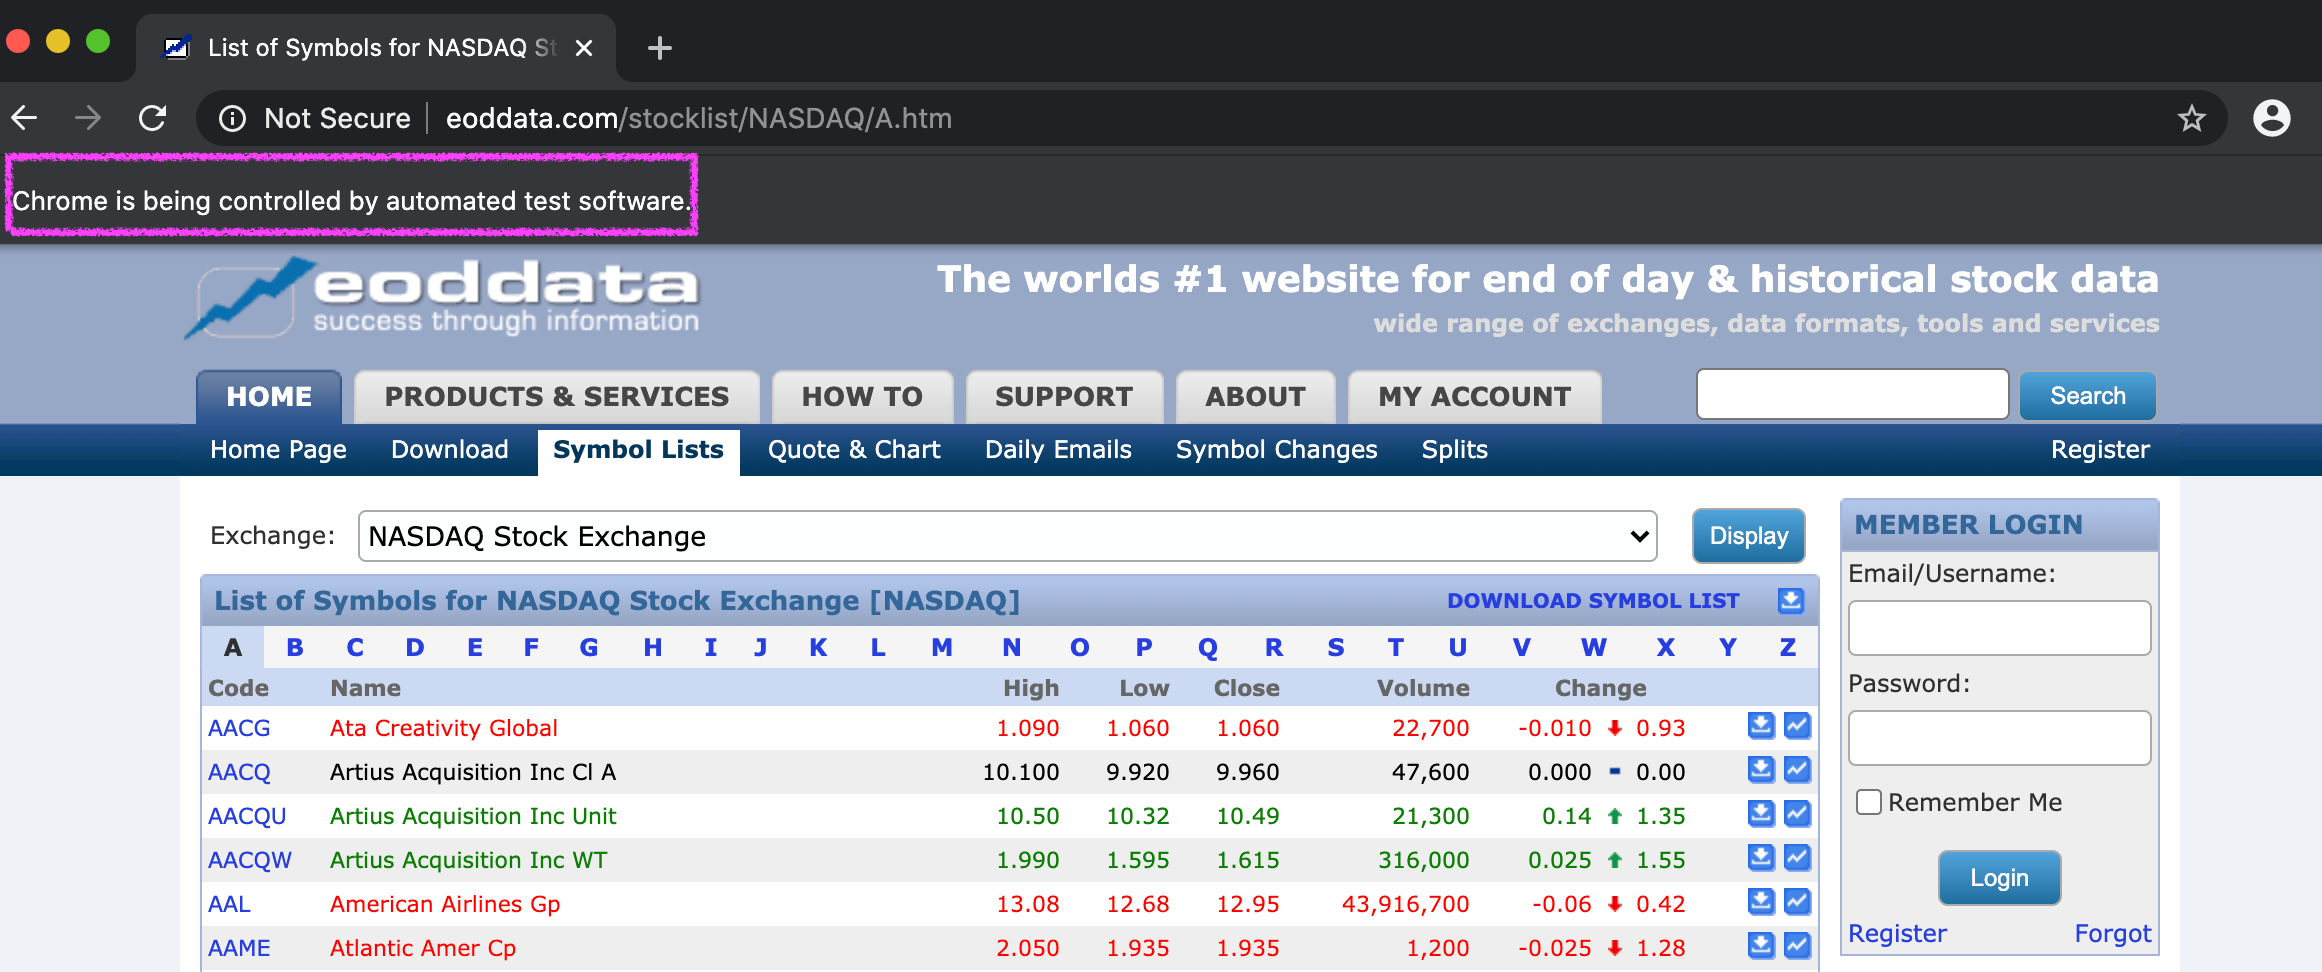 Chrome lets me know that it is being controlled by a test software (Selenium).
But Selenium cannot do all these on its own without help from the browser. If you examine my code above, you can see that I called the Chrome driver from my Downloads folder so that Selenium can open the url in Chrome for me.
**Step 2: **Locate and parse the items to be scraped
The information we want to scrape are rendered to a webpage via HTML. This is the part where we locate and parse them. To do so, we can still use selenium or, if we don’t want to install a Chrome driver, beautiful soup:
Selenium:
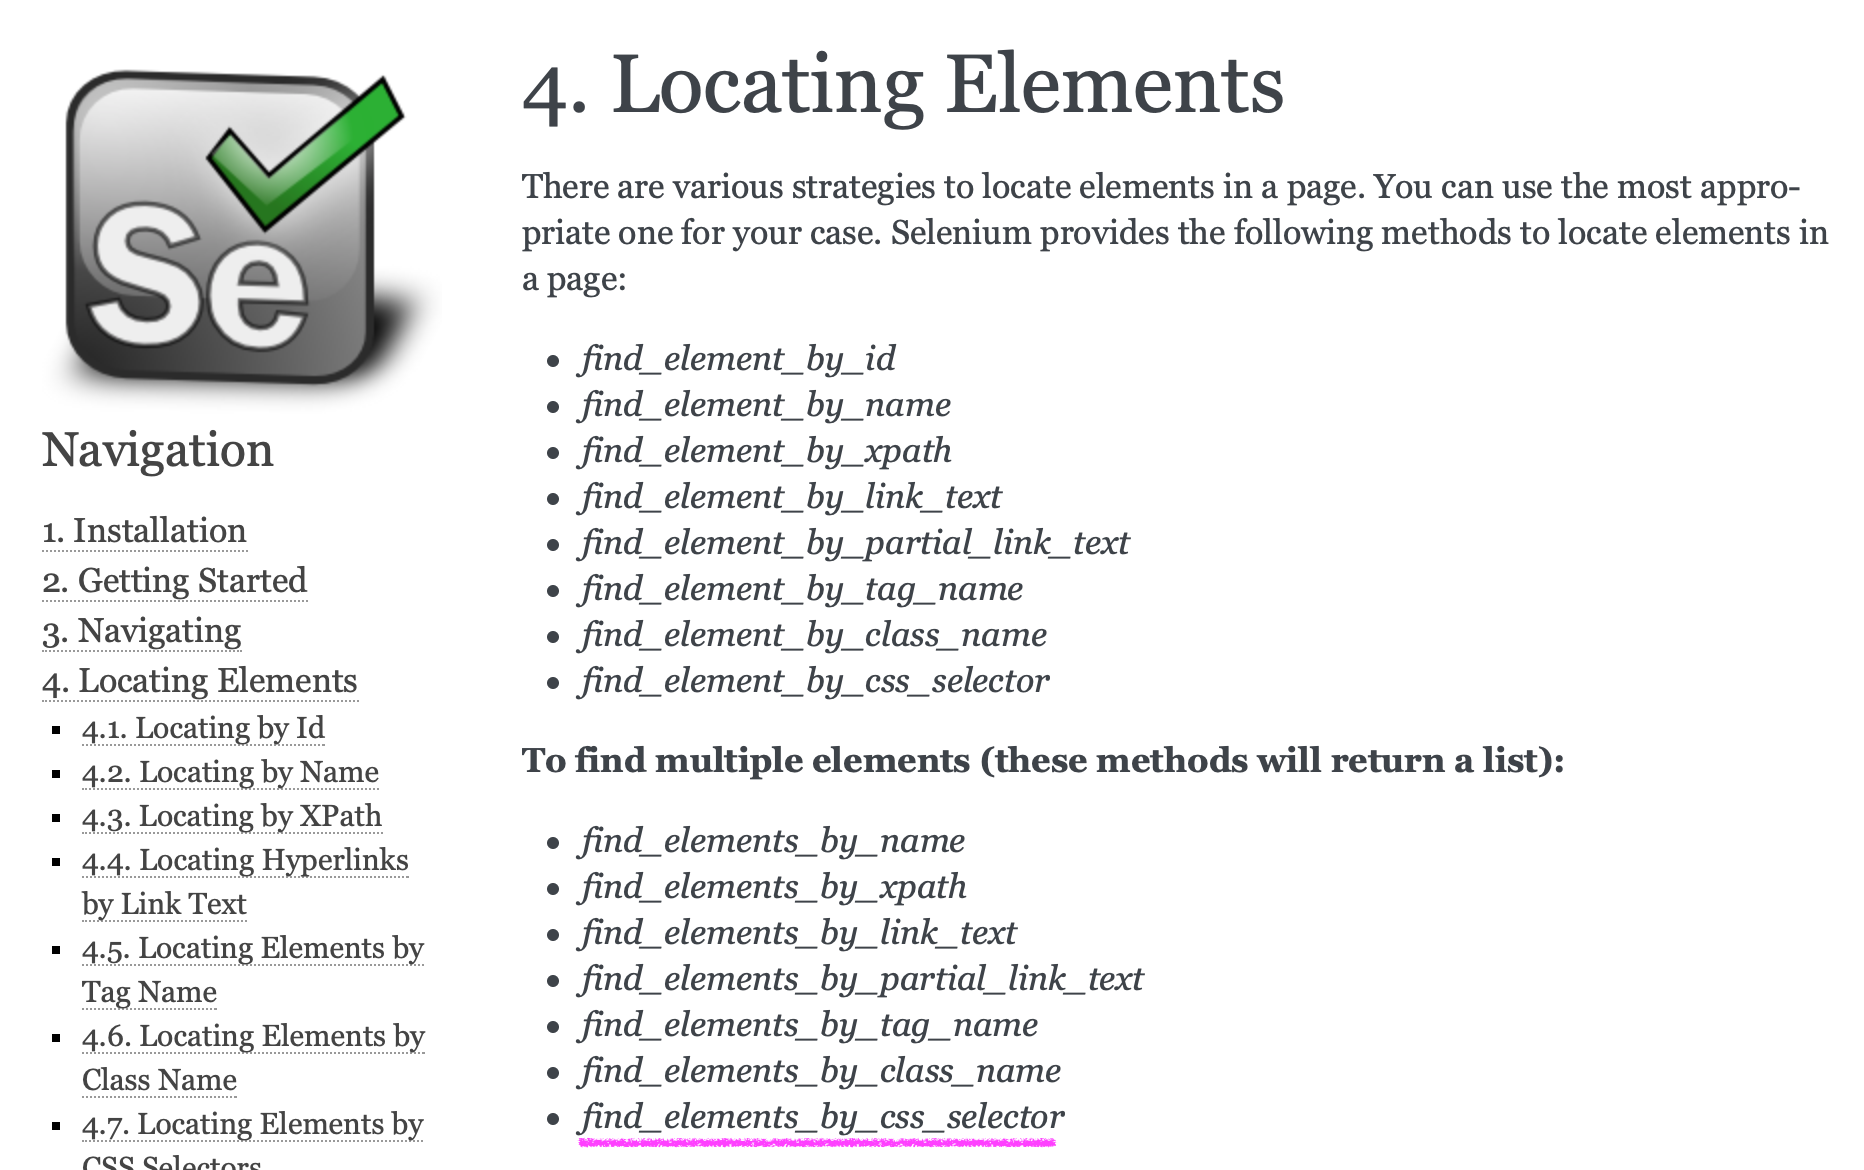
According to this documentation, there are many ways that Selenium can locate HTML elements for us. I will use the *find_elements_by_css_selector *command just because it’s convenient.
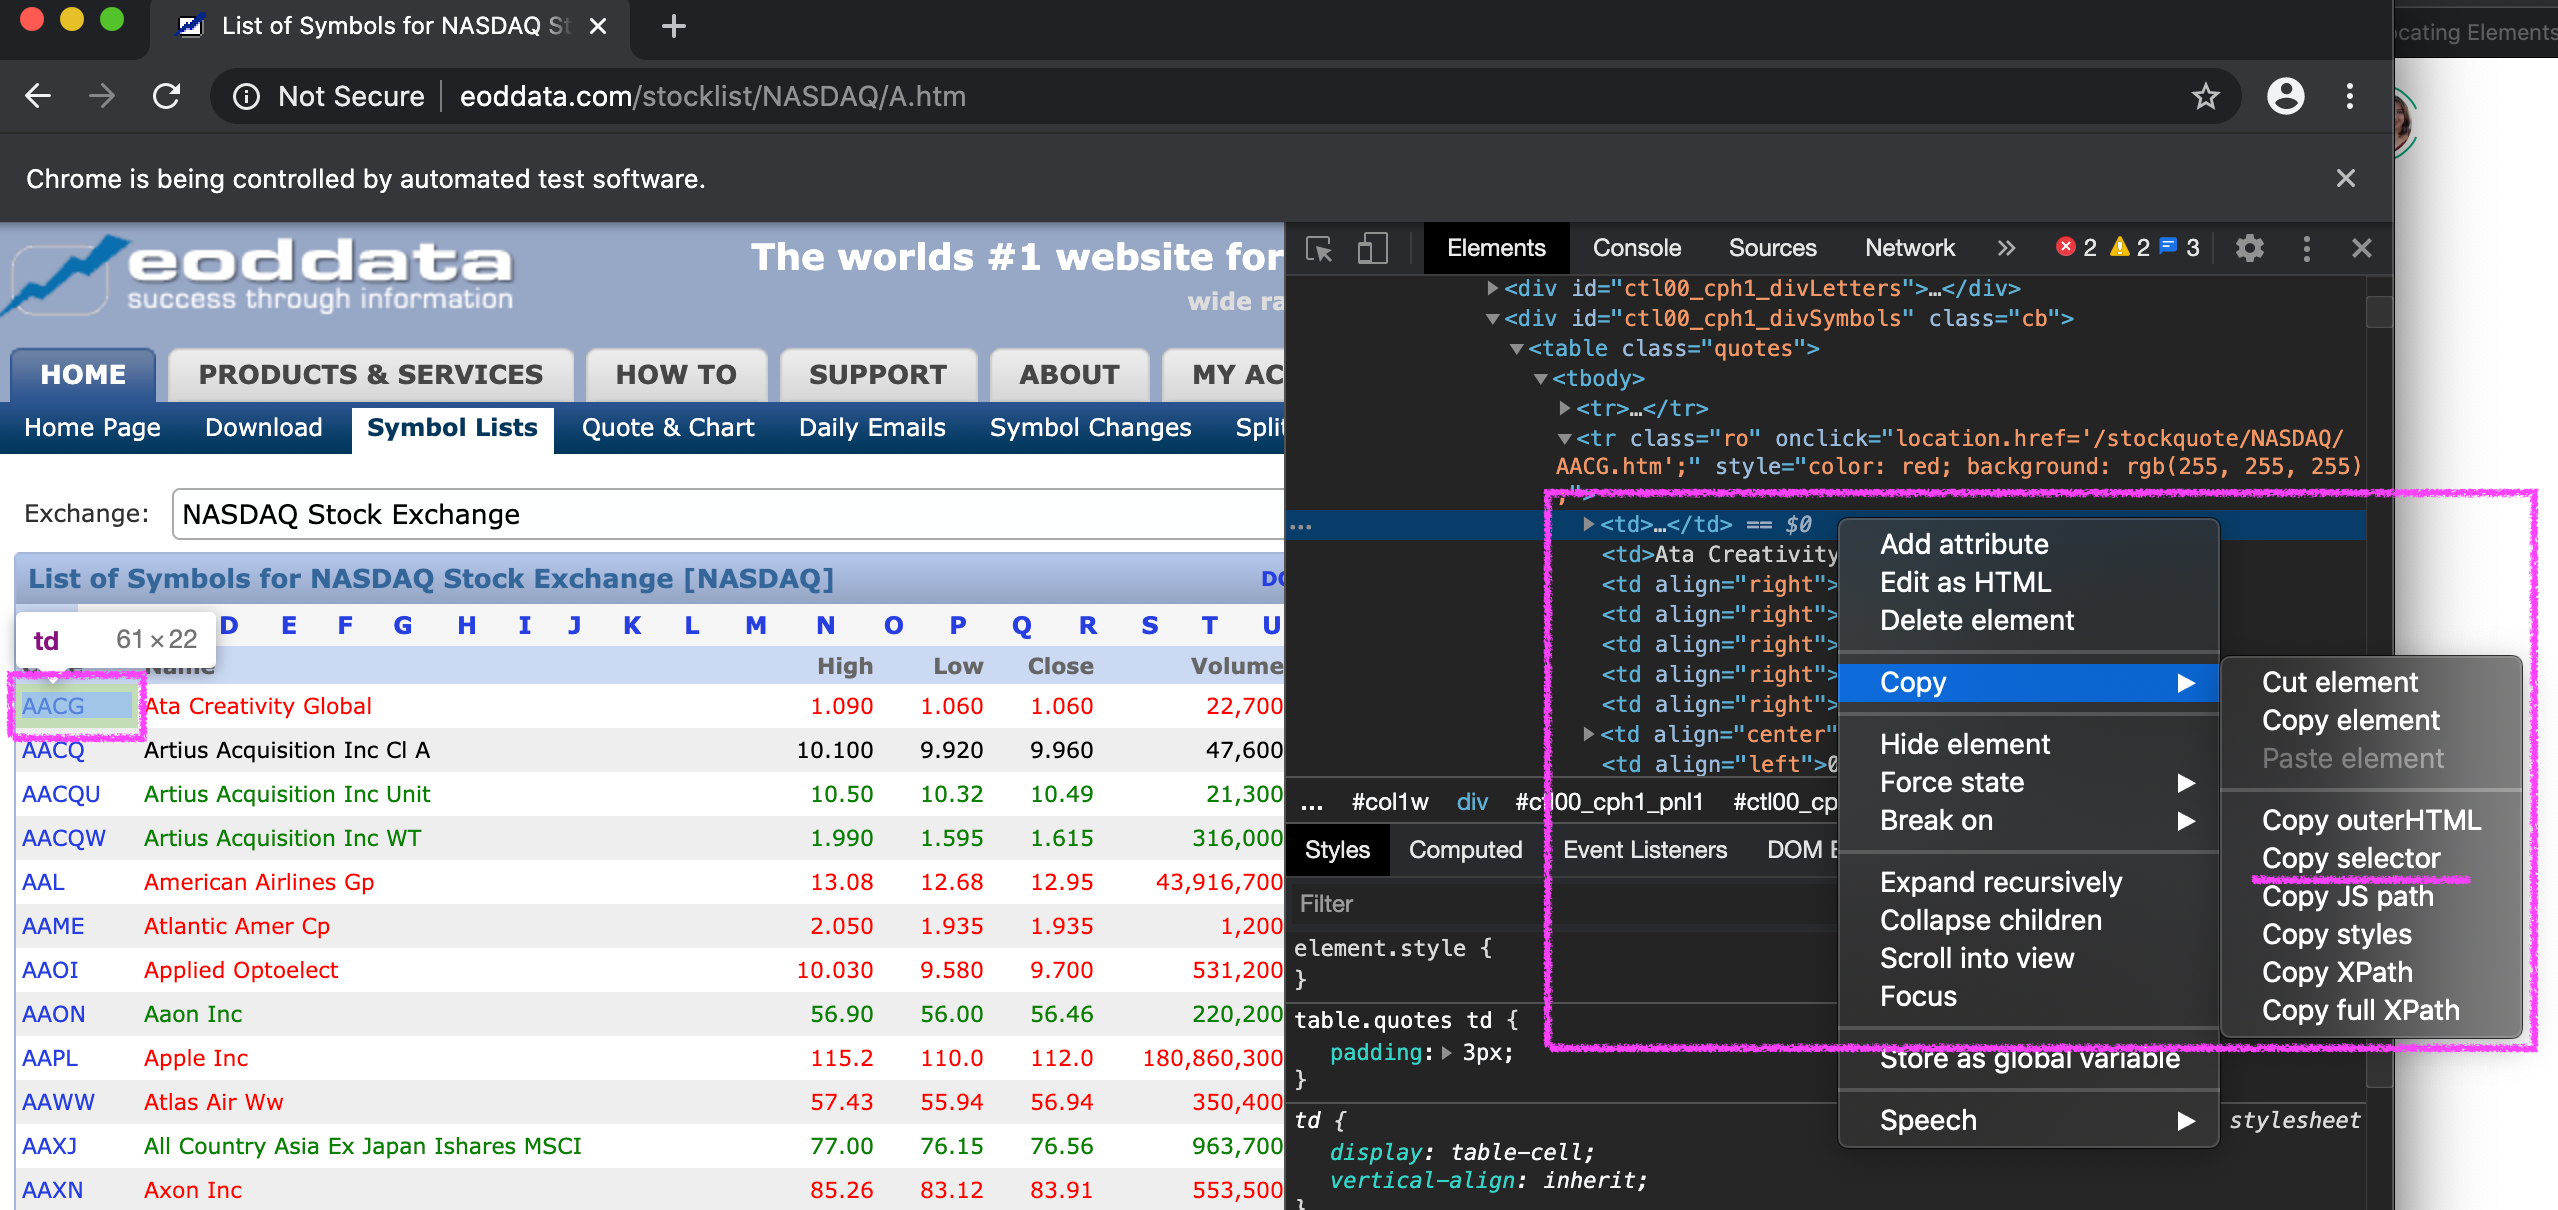
stock_symbol = driver.**find_elements_by_css_selector**('#ctl00_cph1_divSymbols > table > tbody > tr > td:nth-child(1) > a')
How did I know what CSS selector to pass? Easy. I just inspected a sample stock symbol (AACG) and copied its selector. Then I tweaked the code a little bit so that all symbols would be parsed (not just AACG).
Here’s the full code so far:
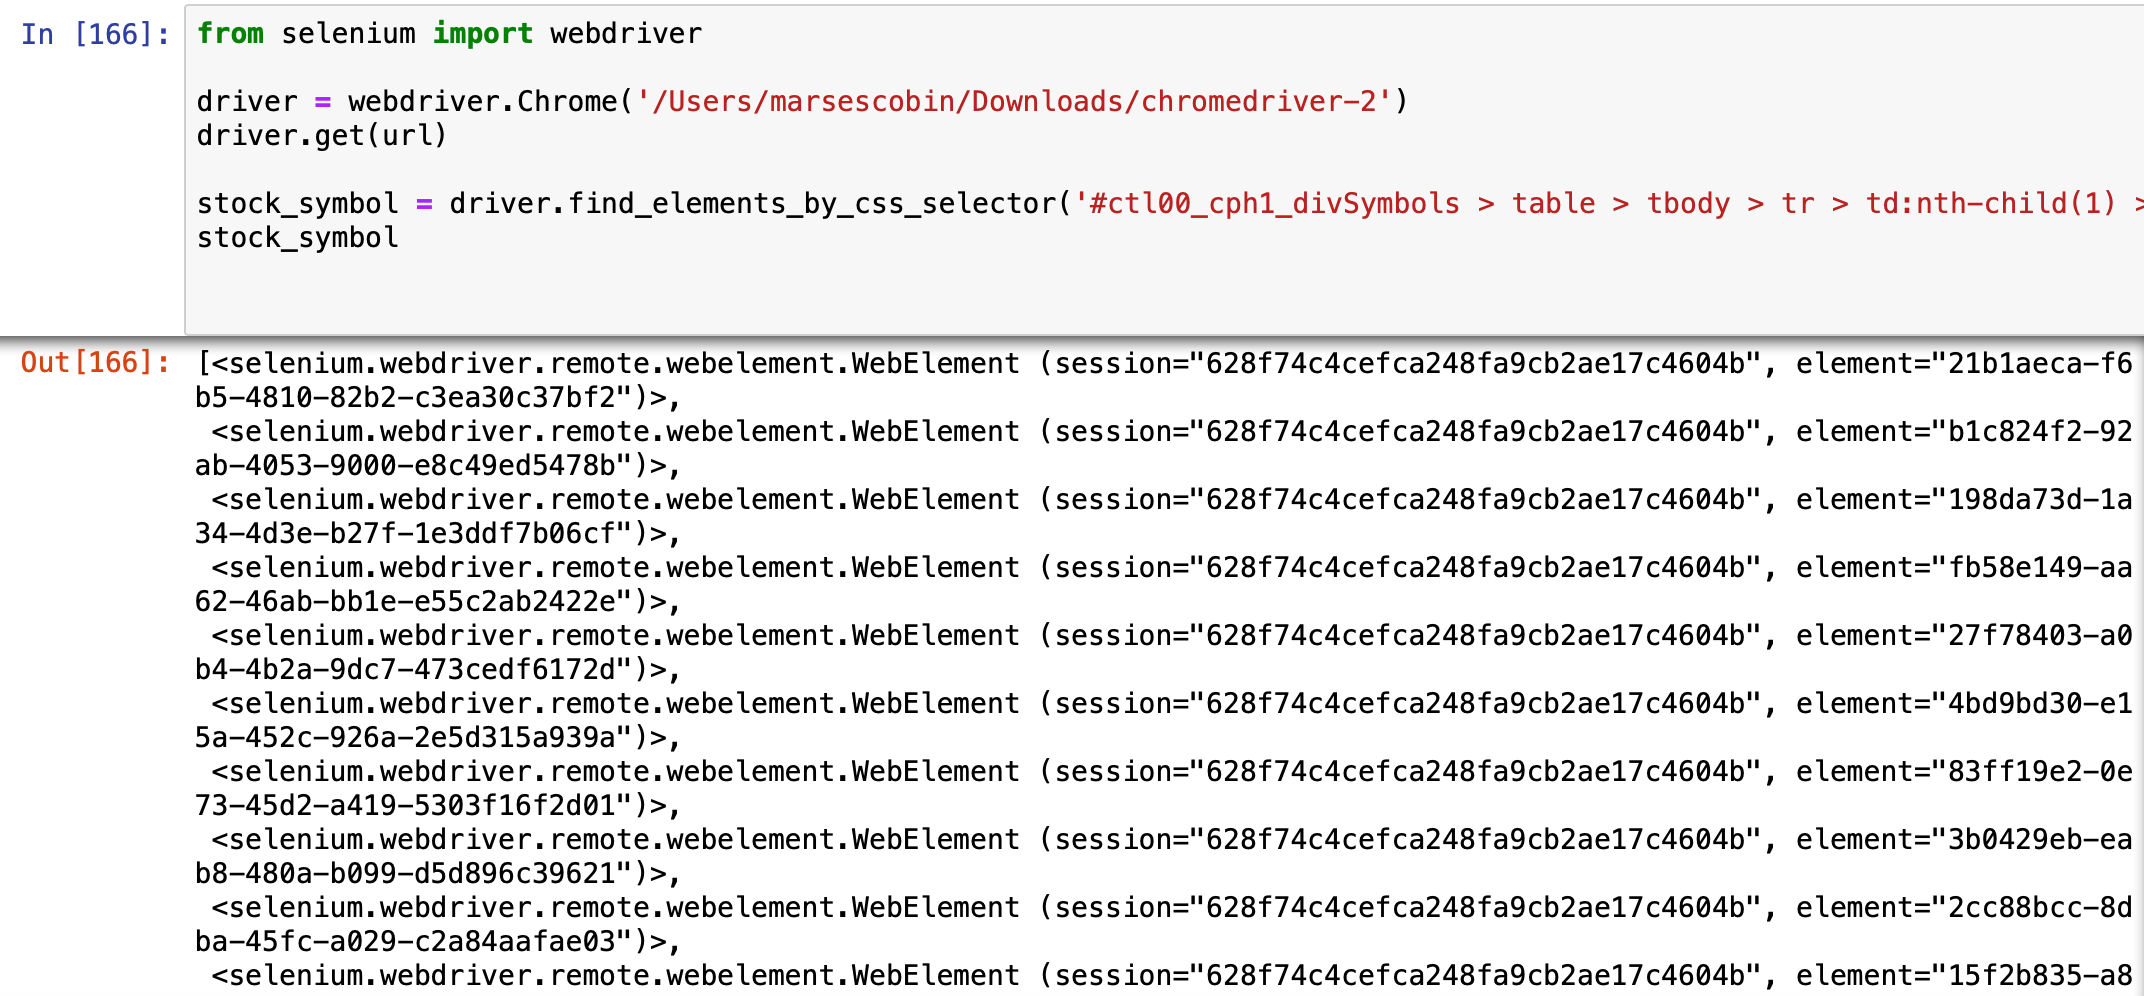
This returns a list of selenium objects. We need to access the text inside these objects to see the symbol and compile them in a list:
symbol = []
for x in stock_symbol:
  sym = x.text
  symbol.append(sym)

There you go! Now that we have the stock symbols, we just need to repeat the process to get the stock names:
 Scraping for the stock names using Selenium
Looking good!
Beautiful Soup:
Aside from Selenium, we can use beautiful soup to locate and parse HTML items*. *It’s often used together with the *request *library to avoid the need to install a Chrome driver which is a requirement for Selenium. Recall this code from the request library:
import requests
url = "[http://eoddata.com/stocklist/NASDAQ/A.htm](http://eoddata.com/stocklist/NASDAQ/A.htm)"
page = requests.get(url)
From here, all we need to do is import and call beautiful soup’s HTML parser:
from bs4 import BeautifulSoup
soup = BeautifulSoup(page.text, 'html.parser')
This will grab all the HTML elements of thepage:
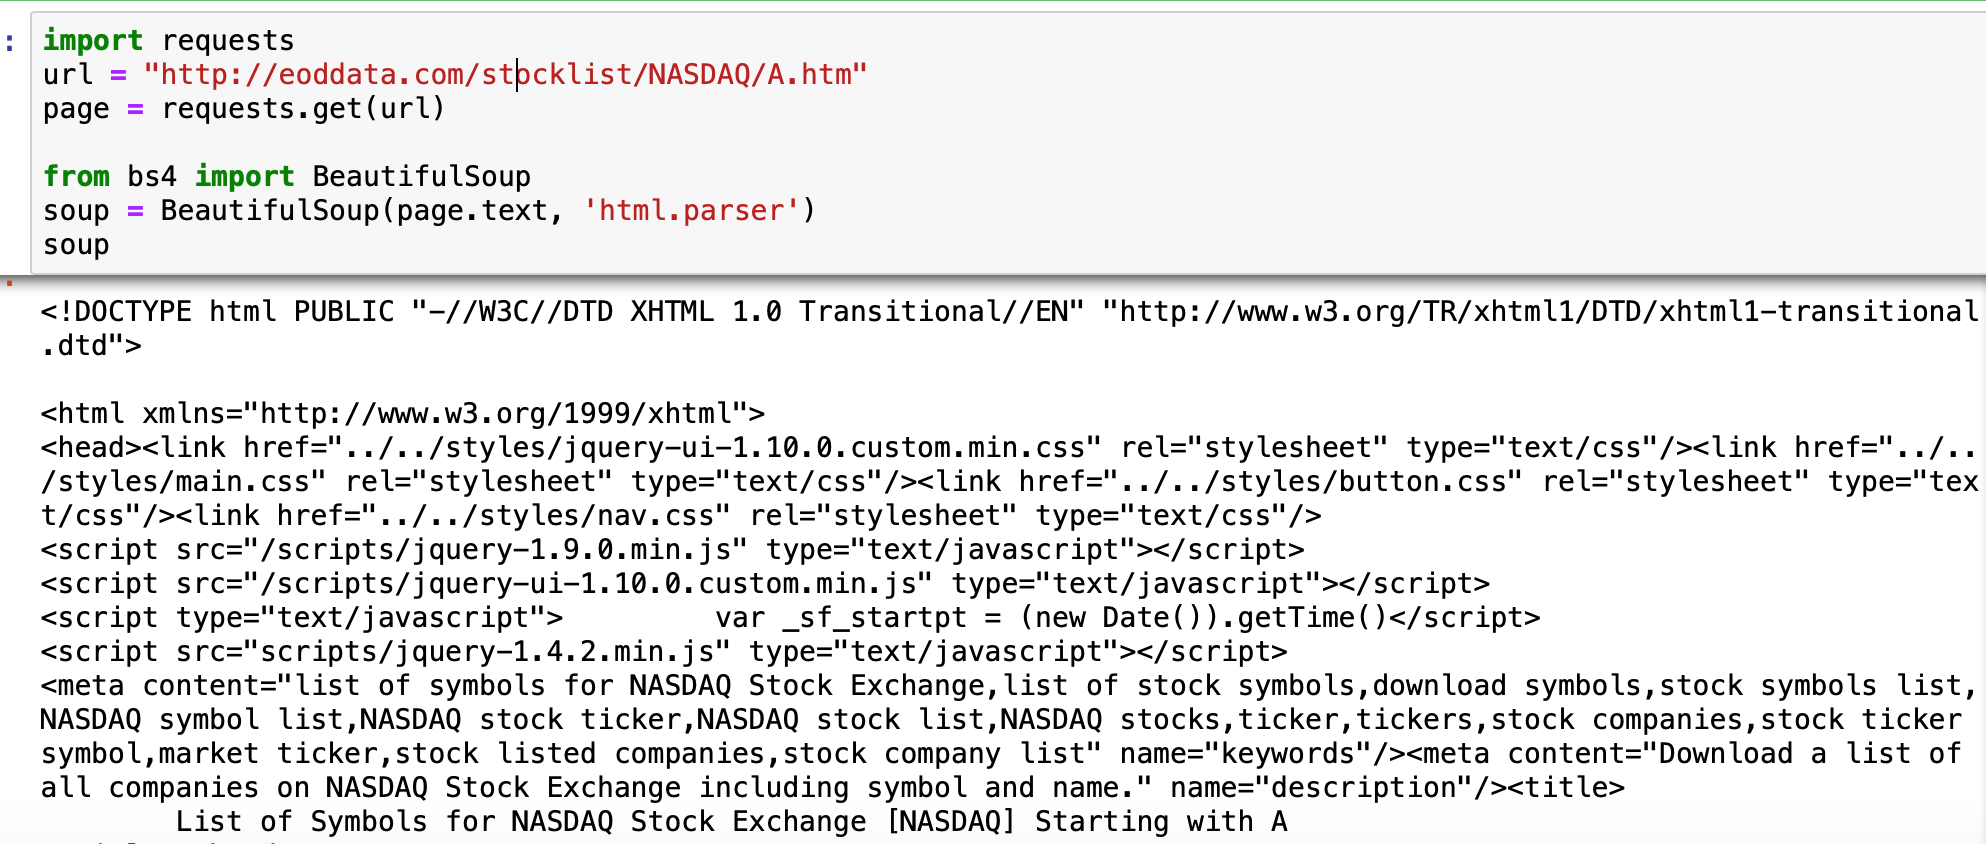
From this documentation, this is how beautiful soup parses HTML items:
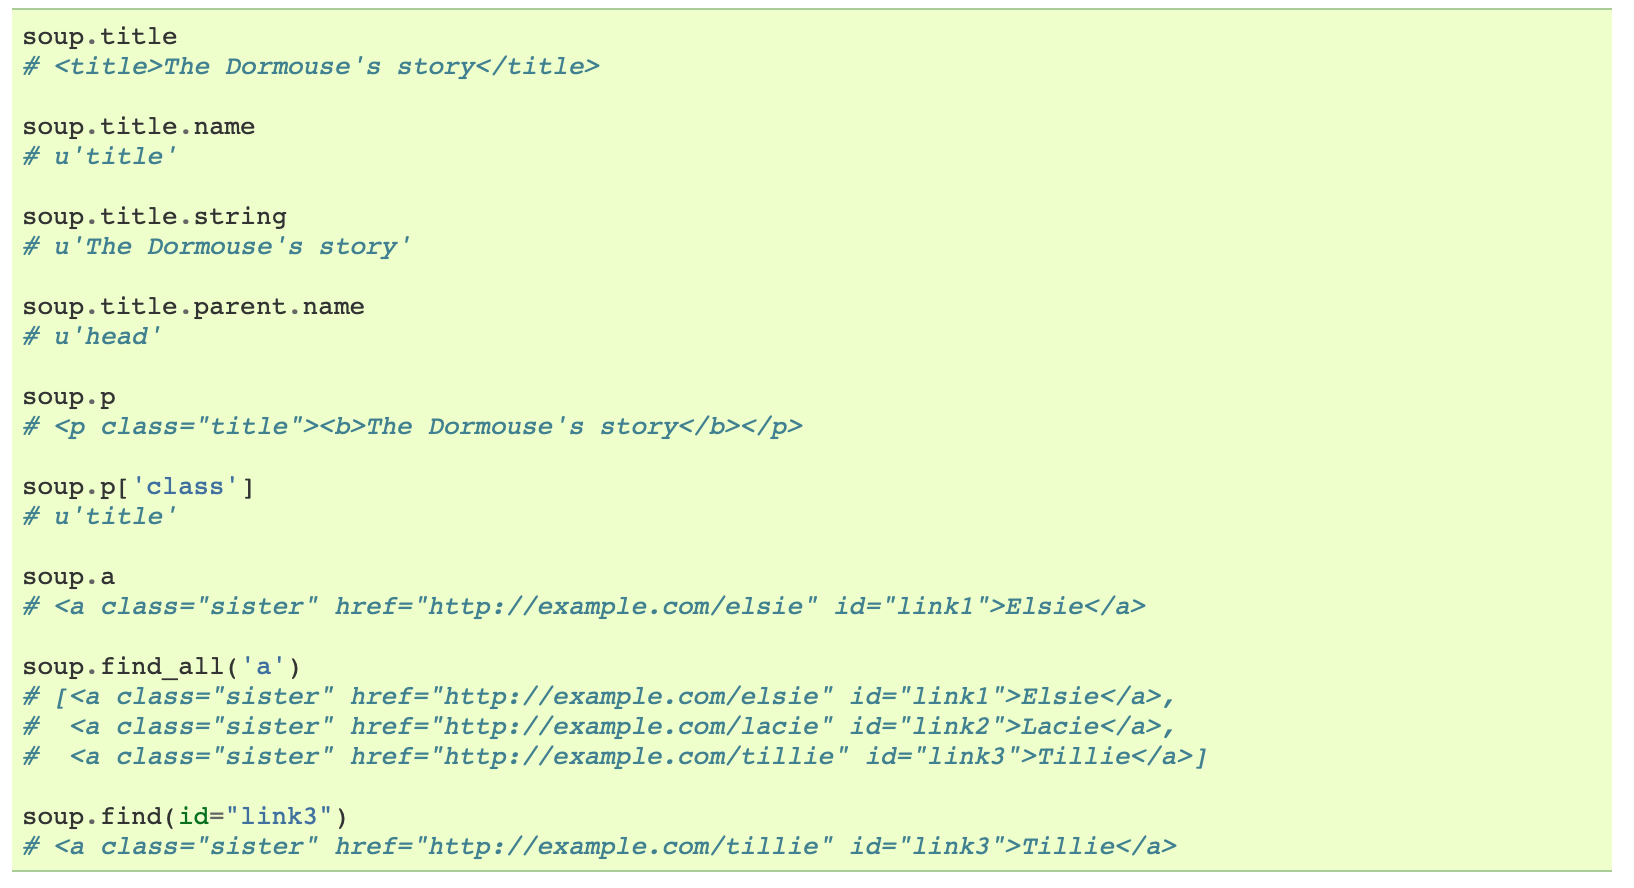
It’s not as straightforward as using a CSS selector so we have to use some for loops to map and store HTML items:
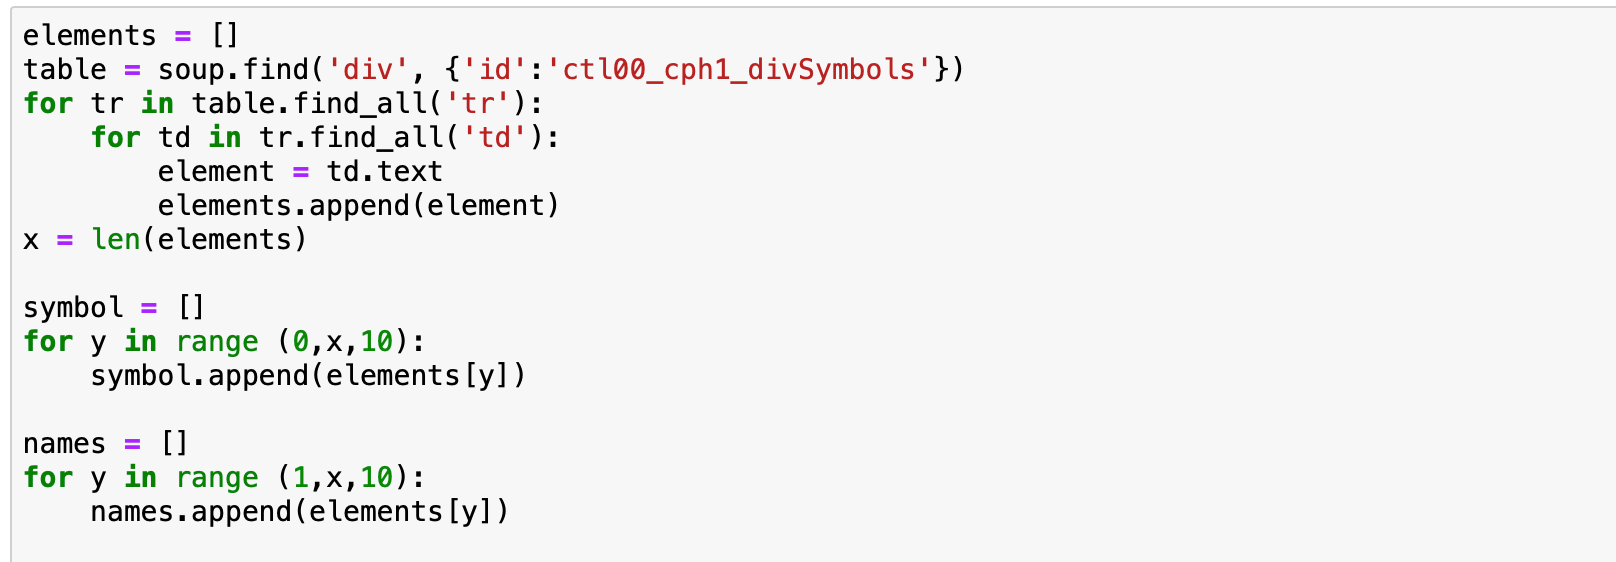
Not bad!
Step 3: Save scraped items on a file
In the code snippets above, you can see that we stored the stock symbol and names in a list called symbol and names respectively. From here we can use the *pandas *library to put these lists on a dataframe and output them as a JSON file.
import pandas as pd

df = pd.DataFrame(index = None)
df['stock_symbol'] = symbol
df['stock_name'] = names
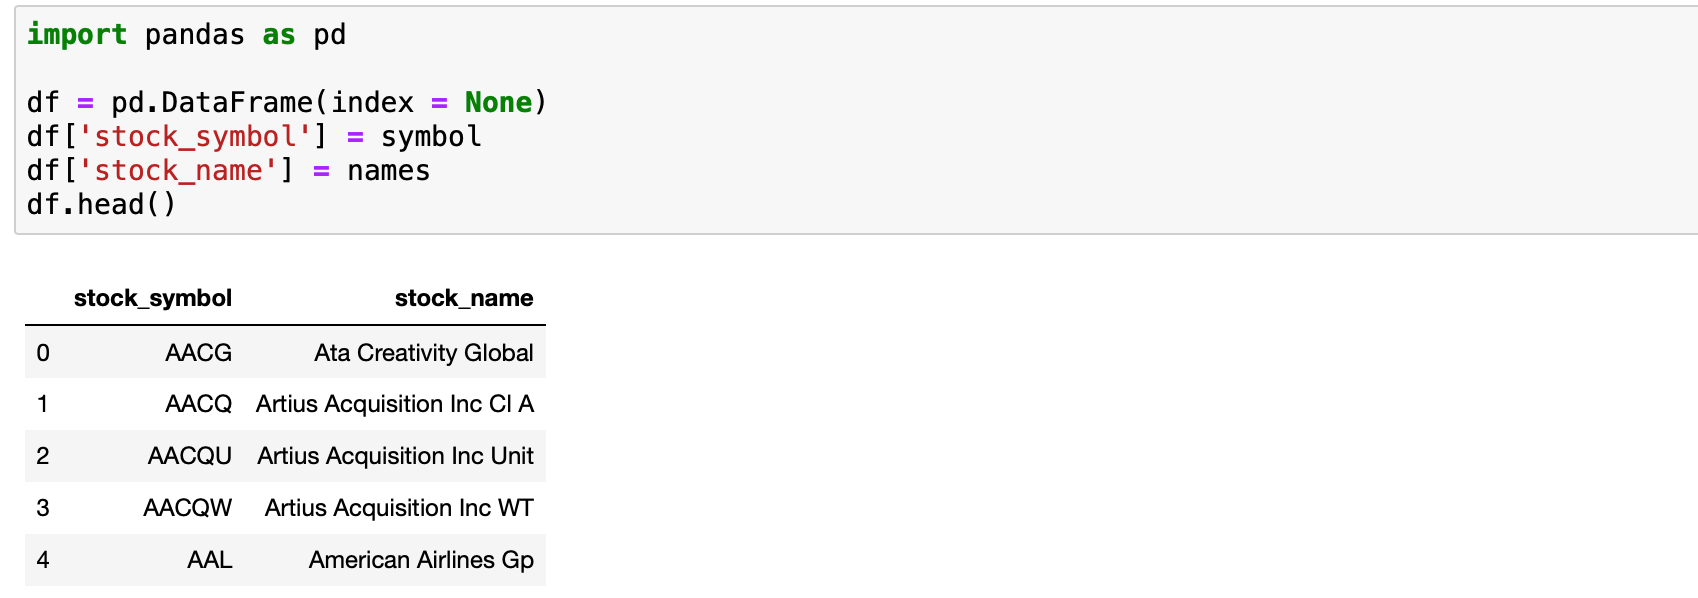
Perfect! Now there is one more thing we need to do. In the job post, the client mentioned he wants to set the stock symbol as a key and the stock name as a value. This pandas code should do it:
df.set_index('stock_symbol, inplace = True)

Finally, let’s save the file as a JSON format as requested by the client:
df.to_json('NASDAQ Stock List')

Ca-ching! That was an easy $20!
If you enjoyed this, then you might want to stay tune for the Scrapy tutorial. With Scrapy, we can create more powerful and flexible web scrapers.