The introduction of the Pages Router took center stage with the release of Next.js 11. This routing mechanism quickly became the primary means of creating routes within Next.js applications. However, as the framework's user base expanded, so did the complexity of the interfaces that developers aimed to construct.
So in Next.js 13, the App Router was introduced as an intended replacement for the Pages Router; it's more flexible, performant, and SEO-friendly than the latter and also supports a number of new features, such as shared layouts, route groups, loading states, and error handling. However, the App Router is still new and fairly complex; to harness its capabilities fully, one must complement it with an arsenal of tools that streamline the development process, optimize performance, and elevate the end product.
Although the Pages Router is still supported in newer versions of Next.js, it's recommended that you migrate to the new App Router to leverage React 18's latest features.
In this article, we'll be exploring some of these essential tools, learning their roles, and highlighting how they synergize with the Next.js App Router. Whether you're embarking on a new project or seeking to enhance an existing one, these five tools will empower you to wield the Next.js App Router with finesse, resulting in web applications that are not just functional but delightful and performance-oriented.
1. Saas UI: Pre-Styled React Component Library
With the recent release of Next 13, not a lot of component libraries have been able to provide support for the App Router. However, Saas UI is one that is App Router ready.
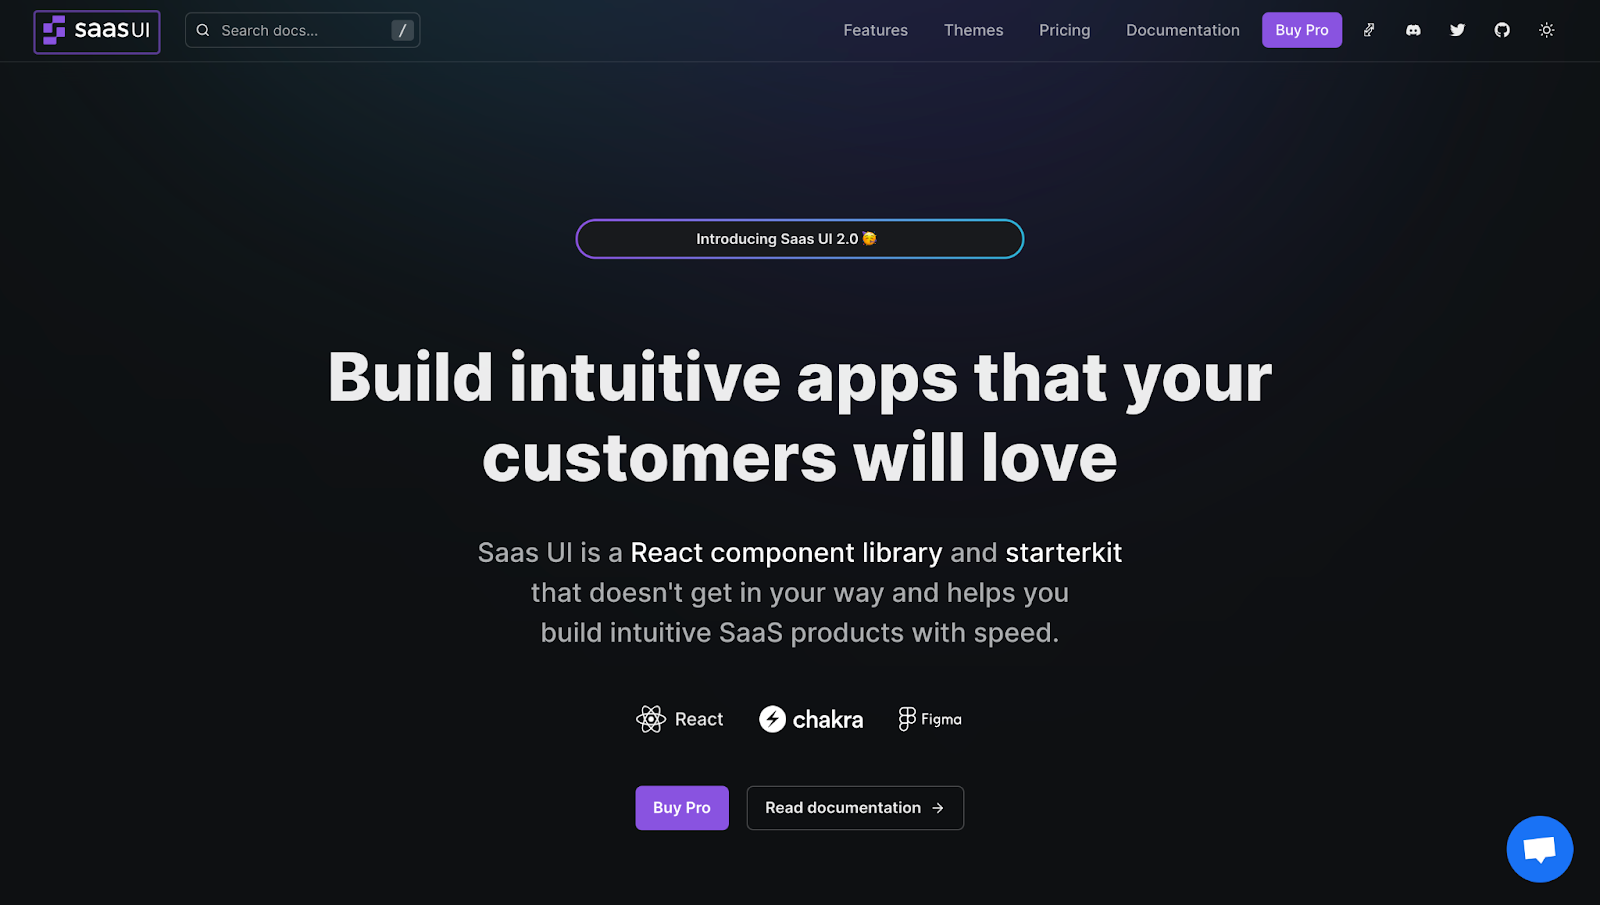
Saas UI is an open-source (MIT license) React component library that is designed to help developers build beautiful and functional SaaS applications. Saas UI is built on top of Chakra UI, a popular React component library. It's built from the ground up with TypeScript, is fully WAI-ARIA compliant, and can easily be customized to fit your brand design. It provides you with the components (and even utility hooks) you need to build beautiful, intuitive, responsive, accessible, and performant SaaS products with speed.
👉 Check out the official documentation to learn more: Getting started
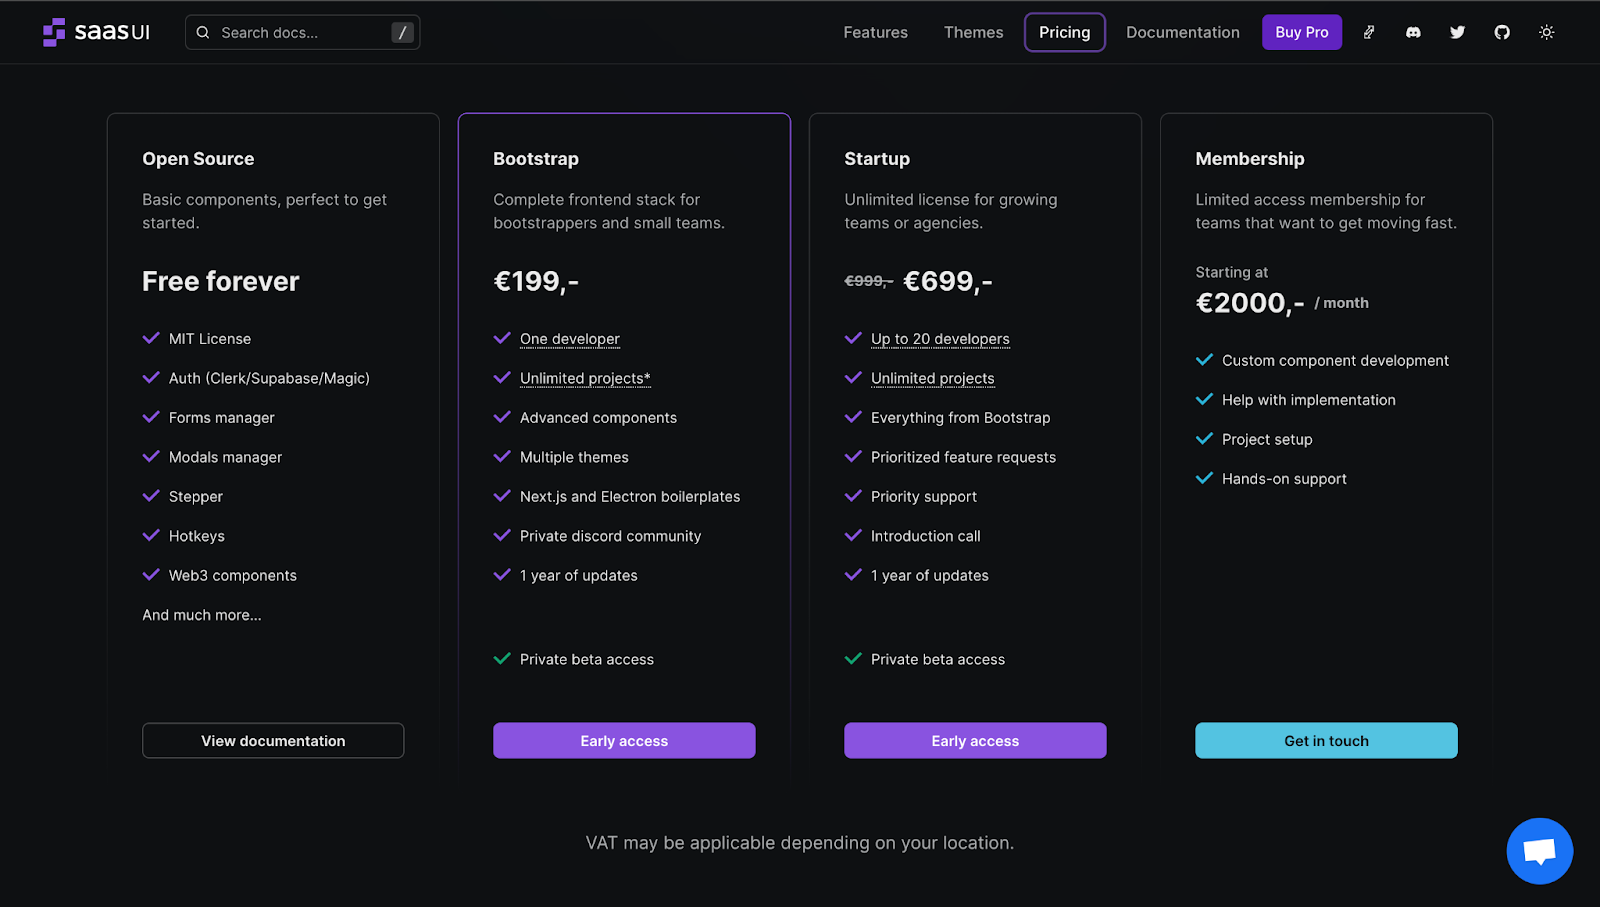
Saas UI gives you access to over 40 free open-source components that are App-router ready and can be used in client components. These are components that let you quickly build highly responsive and highly functional SaaS applications; they include:
- Data tables and data grids (built on top of Tanstack Table) that are ideal for rendering data-dense apps
- Forms using react-hook-form,
- DateTime pickers,
- Modals,
- Feedback components for critical visual feedback for your users,
- and Auth Providers (and premade auth forms) that let you incorporate an auth strategy of your choice - with Clerk, Auth.js, and Magic support out of the box.

You can also upgrade to the Pro plan to have access to more components and features like charts, graphs, components for billing and subscription management, and easy feature flagging, as well as an example boilerplate frontend in Next.js and Electron to help you get started.
In order to work with Saas UI, you will need to install Chakra UI, as the former is built on top of Chakra UI. You will also need to install Chakra UI dependencies like emotion, which it uses for CSS-in-JS styling, and framer-motion for animations.
Critically, you'll also need to install the@chakra-ui/next-js package, which makes Chakra UI's styling work properly with React 18/NextJS 13's Streaming SSR.
For a new Next.js project, this will be the installation command:
npm i @saas-ui/react @chakra-ui/react @chakra-ui/next-js @emotion/react@¹¹ @emotion/styled@¹¹ framer-motion@⁶
OR
yarn add @saas-ui/react @chakra-ui/react @chakra-ui/next-js @emotion/react@¹¹ @emotion/styled@¹¹ framer-motion@⁶
To use Saas UI with Next.js 13's App Router, you will need to do the following:
- In the app directory, you will need to wrap
SaasProviderwithin Chakra UI'sCacheProviderin an exported client component file. CacheProvider, from the@chakra-ui/next-jspackage composes Emotion's cache provider together with NextJS 13's newuseServerInsertedHTMLhook to ensure that computed styles are included in the initial server payload for Streaming SSR.- The
SaasProviderhandles the basic Saas UI setup for you. It configures the color mode manager and adds the Saas UI base theme, CSS reset, and global styles.
"use client";
import { CacheProvider } from "@chakra-ui/next-js";
import { SaasProvider } from "@saas-ui/react";
export function Providers({ children }: { children: React.ReactNode }) {
  return (
    <CacheProvider>
      <SaasProvider>{children}</SaasProvider>
    </CacheProvider>
  );
}
- You can now import the Providers component in the root segment's
layout.js/tsfile and use it within the<body>tag to wrap all children
import { Providers } from "./providers";
export default function RootLayout({ children }) {
  return (
    <html lang="en">
      <body>
        <Providers>{children}</Providers>
      </body>
    </html>
  );
}
- Now page.js and all components will have access to the
SaasProvidercontext and can now use Saas UI/Chakra UI components in client components.
In addition to Next.js, Saas UI supports frameworks like Vite, Blitz.js, Redwood.js, Remix, and CRA.
👉** To get started, find the starter kit of your choice here:** Quickstarts
2. Server-only: Write Server-Side Code in React
Server-only is a marker package indicating that a module can only be used in server components. The server-only package serves as a safeguard so that you don't accidentally ship heavy libraries or secrets to the client when working with Next.js 13's App Router.
Some benefits you can get from using this package include:
- Security: By preventing developers from accidentally importing React server components into client-side code, the server-only package safeguards you from exposing your secrets (private API keys, etc.) to the client.
- Performance: By preventing the browser from downloading and executing bulky JavaScript on the client, the server-only package can help improve the performance of a web application.
- Clarity: It can help improve code readability by making it clear which components are only intended for use on the server. This can make it easier for you, code maintainers, or auditors to easily understand how the code works at a glance.
To use the server-only package, you simply need to install it as a dependency in your project. You can do this by running the following command in your terminal:
npm install server-only
Once the server-only package is installed, you can use it to mark any modules that are only intended for use on the server. This is done by simply importing the package at the top level of any of your server components.
import "server-only";
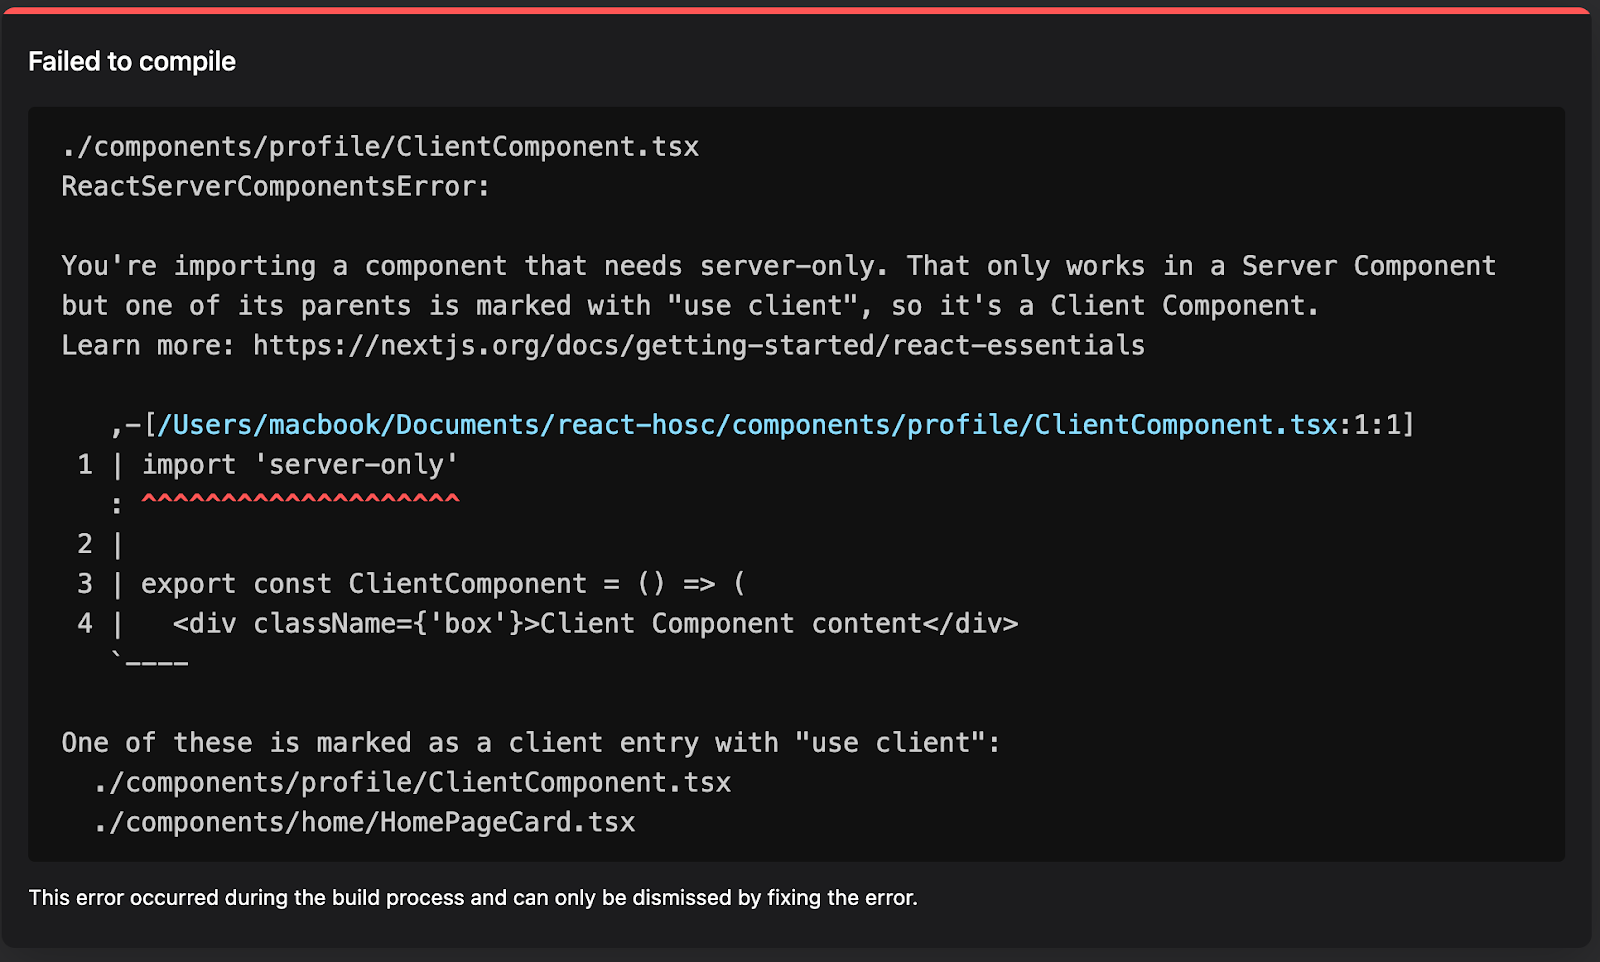
Any component that has the server-only package as a top-level import will throw an error if it's a client component, but nothing will happen if it's a server component.
For instance, in the image below, I tried importing a component that had the server-only package into a client component, and it threw the following error:
This prevented me from exposing to the client a component that could potentially hold my secret.
3. Turbopack: Reduce the Size of Your Bundle
Turbopack is a new bundler that is being developed by Vercel, led by the creator of Webpack, Tobias Koppers. Turbopack is a fast, incremental bundler written in Rust, designed to be faster and more efficient than existing bundlers such as Webpack and Vite.
Turbopack is faster because:
- It does less work - Turbopack uses a low-level incremental computation library (the Turbo engine) that enables caching down to not just pages, but to the level of individual functions - saving both the values they were called with and the values they returned, to a fast in-memory cache. This means Turbopack is extremely fast when first starting up the dev server (only minimal code is shipped on first launch) as well for updating on a reload (only incremental, "delta" updates ever need to be shipped on dev server changes).
- It does work in parallel - The Turbo engine can perform these aforementioned function calls in parallel, across all available cores on the dev machine.
Because of how Turbopack is designed, it is able to build an internal dependency graph of your app's imports and exports based on received requests. - and it is built from the ground up for the Next 13 App Router and can correctly tell apart server and client components, making sure that server code does not get compiled to the client side and vice versa.
For now, Turbopack doesn't have a standalone CLI; to use it, you will have to bootstrap a Next.js 13 project with Turbopack using this command:
npx create-next-app --example with-turbopack
💡 NB: At the time of writing this article, Turbopack is still in beta. While framework-agnostic use is on the roadmap, currently it's only supported in Next.js 13, not on Vue.js, Svelte, etc.
4. TailwindCSS: Keep Your CSS Code DRY
TailwindCSS is a utility-first CSS framework, which means that you can style your application by adding prebuilt, low-level utility classes to your HTML markup. It works well with the component-based approach of React because it promotes modularity and composability, which can help you develop your application more quickly without having to write a lot of custom CSS.
TailwindCSS does not depend on CSS-in-JS. This is good because any CSS-in-JS library that requires runtime JavaScript is only minimally supported in Next.js 13 with the new App Router. (With a few exceptions, see: Saas UI above.)
However, TailwindCSS, which is just a collection of pre-designed CSS utility classes, can be used with both React Server Components (RSCs) and client components. It integrates seamlessly with the Next.js App Router and is recommended by Next.js as one of the stylings when working with Server components. Another good benefit of TailwindCSS is that it only includes the CSS that you actually use in your application, which can help improve the performance of your application.
Learn more: Styling
Some Features of TailwindCSS
- Utility classes: Tailwind CSS provides a large set of pre-defined utility classes that you can use to style your application. These classes cover a wide range of CSS properties, including margin, padding, color, typography, and more.
- Responsive design: Tailwind CSS supports responsive design out of the box, with easy-to-use breakpoints and variants. If you want more, you can create your own design system using the
@screenutility class to target specific breakpoints and the@mediaquery to create more complex responsive layouts. - Dark mode: Tailwind CSS supports dark mode out of the box. You can use the dark utility class to apply a dark theme to your application.
- PurgeCSS: Tailwind CSS includes a tool called PurgeCSS that can be used to remove unused CSS from your application. This can help improve the performance of your application.
- JIT (Just-In-Time) Mode: This feature is used to dynamically generate only the CSS classes used in your HTML files. This helps reduce the overall size of the generated CSS bundle.
5. The use() Hook: Simplify Data-Fetching in React
The React team oversees a GitHub repository named "React RFCs," which is where new features can potentially get added to React core and discussed amongst members of the React community. A notable pull request in this repo that has garnered significant attention pertains to the introduction of "First Class Support for Promises and Async/Await."
The RFC: First-class Support for Promises and async/await was introduced to make it easier to use Promises and async/await in React components. With React 18, Server components (RSCs) are stateless and async, and can use Promises natively.
For Client components, however, the RFC proposes to add a new hook called use(), which would take a Promise as its argument and return the value of the Promise, or null if the promise is not yet resolved. This would make it easy to use Promises in client components when you have no option but to fetch data in a client component, and can't use a tried-and-true library like Tanstack Query or SWR.
The use() hook is designed to provide a similar programming model as async/await while still working inside non-async functions, hooks, and client components.
Here is an example of how you could use the use() hook to fetch data from an API in a React component:
import { use } from "react";
const fetchData = fetch("https://example.com/api/data").then((res) =>
  res.json()
);
const App = () => {
  const data = use(fetchData);
  // use `data` however you want now
};
In this example, the use() hook is used to fetch data from the API. The value of the promise is then yours to do with as you wish.
Unlike other hooks like useState or useEffect, the use() hook can be called conditionally, and even from inside loops. The only requirement is that the parent function must be a React component or hook. This is possible because the use() hook doesn't need to track state updates, as that data is instead associated with the Promise we're unwrapping.
Another advantage of this hook that is striking to me is that it makes the process of - prefetching data for future renders without stopping the present one - straightforward regardless of which library you are using to fetch them. This will have a great impact on the performance of your application when working with the NextJS App Router.
👉 You can read more about this use hook in the original documentation to see other benefits it offers when building out your web applications.
💡 NB: As it's still an experimental feature, it's advisable to refrain from using it in production as the API may undergo changes or might not be included in the next React version. However, it presents a great opportunity to test and explore its possibilities in a development environment.
Conclusion
In this article, we talked about the App Router, which is the foundation and future of Next.js, and the possibilities it brings. We have also explored five must-have tools for building web applications with the Next.js App Router. These tools are:
- Saas UI: a library of pre-styled components that you can use to build your web application. This can save you a lot of time and effort when styling your application.
- server-only: a library that allows you to write server-side code in React. This can be useful for tasks such as authentication, authorization, and data fetching.
- Turbopack: a bundler that is specifically designed for Next.js applications. It can help you to improve the performance of your application by reducing the size of your bundle.
- TailwindCSS: a utility-first CSS framework that you can use to style your web application. This can make it easier to style your application and to keep your CSS code DRY.
- The experimental
**use()**Hook: The experimentaluse()hook is a new feature that is still under development. However, it has the potential to be a powerful tool for simplifying the process of data fetching in React applications.
These are just a few of the many tools that you can use to build web applications with the Next.js App Router. The right tools for your project will depend on your specific needs and requirements. However, the tools that we have discussed in this article are a great place to start.
