Hello World!
Today we are going to complete the search engine we've built in the previous tutorial (click on this link if you've missed the first part):
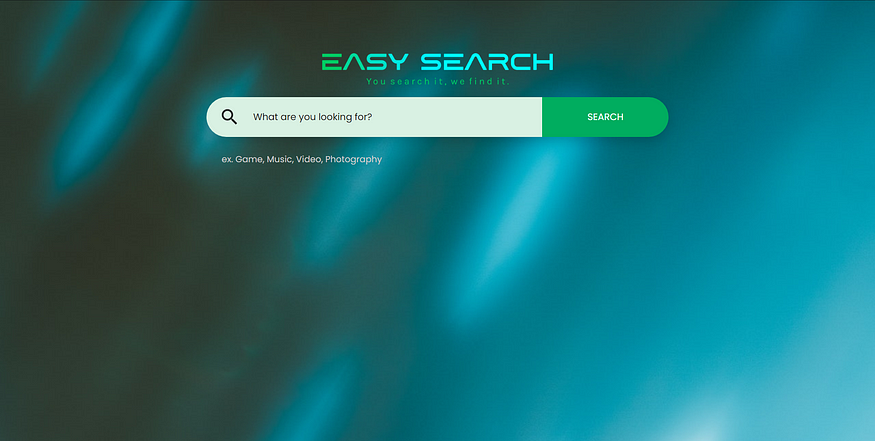
Here you can see a preview of what you're going to build:

The homepage
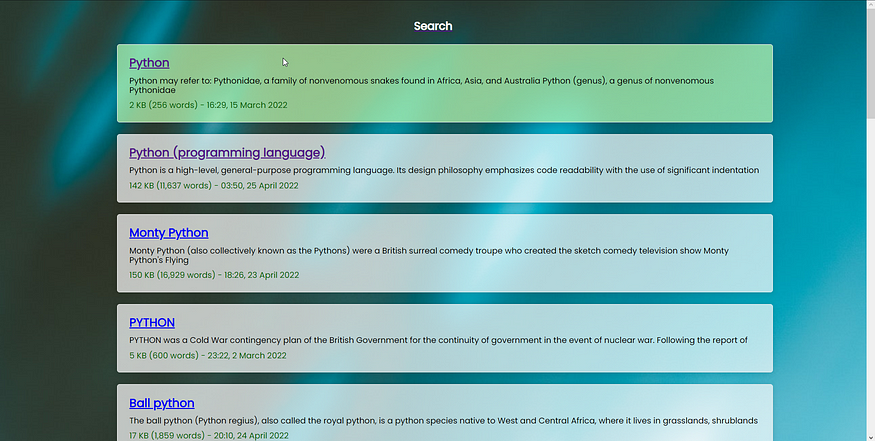
The results
Just as a quick reminder, in the previous part, we've built a search engine capable of scraping Wikipedia. With this engine, we are now going to build a front-end to avoid using the terminal.
As usual, I'll divide the post into paragraphs so feel free to skip ahead.
0. Requirements and Target
For this tutorial you'll need:
- Python 3.x
- The following packages: bottles (we are going to install this in the next step) and requests_html (you can read how to install it in the previous part)
- The engine built in the previous part (check the link above)
The tutorial is targeted at:
- Python intermediate programmers
- Programmers who want to learn more about web developing
1. Installing the requirements
The first thing we need to do is install the requirements. In this tutorial, we are going to use Bottle as our web server. If you do not know what Bottle does (quoting the website):
Bottles is a fast, simple, and lightweight WSGI micro web framework for Python. It is distributed as a single file module and has no dependencies other than the Python Standard Library.
To install the package we just need to write in the terminal:
pip install bottle
If you want to learn more about Bottle, I suggest you read about it on its documentation page.
2. Adapting the engine
Now that we've all our requirements, we need to modify the code we've built in the previous part to make it work on our web server. As a reminder here you'll find the code we've made in the previous part here.
import requests_html

ses = requests_html.HTMLSession()

def search(search_term, language = 'en'):

url = f'https://{language}.wikipedia.org/w/index.php?search={search_term}&fulltext=1&ns0=1'

res = ses.get(url)

results = res.html.find('.mw-search-result')

out_results = []

for result in results:

title = result.find('.mw-search-result-heading', first=True).text

summary = result.find('.searchresult', first=True).text

data = result.find('.mw-search-result-data', first=True).text

url = result.find('.mw-search-result-heading', first=True).absolute_links.pop()

out_results.append({'title': title, 'summary': summary, 'data': data, 'url': url})

return out_results
As you can see from the code above, we've inserted our scraping logic inside a function. This will make it easier for us to get the search results inside our web server.
3. Building our Front End

The first thing we need to do is to work on how our front end is going to look. I'm not a web developer, so I'm going to “steal” a template that I'll later change to fit my requirements.
For this tutorial I'm going to use this template as a start.
I'm not going to go into detail on the edits I've made for this template, so I suggest you download the complete project from Github and use the template from there.
4. Building our Web Server
The homepage
We can finally start working on our Python code. The first thing we need to do is to expose our homepage on the server:
from bottle import Bottle, static_file, request, run, template

app = Bottle()

# OUR HOMEPAGE

@app.route('/')

def index():

return open('website/index.html').read()

# OUR STATIC FILES

@app.route('/css/<filename>')

def server_static(filename):

print('CSS Served')

return static_file(filename, root='website/css')

@app.route('/js/<filename>')

def server_static(filename):

print('JS Served')

return static_file(filename, root='website/js')

@app.route('/images/<filename>')

def server_static(filename):

print('Image Served')

return static_file(filename, root='website/images')

# RUNNING OUR SERVER

print('Serving on http://localhost:8080')

run(app, host='localhost', port=8080, reloader=True)
Now let's have a look at what the code does. In the first part we load all the methods and classes we need to work with Bottle and we also instantiate our app.
After that, we define what the webserver does when the user opens the main page. In this case, the code will return the index.html contained inside the website subfolder.
We also need to manage all the static files (CSS, JavaScript, and images) in our project, otherwise, our index won't find them. To do this we route CSS, JavaScript, and image calls to the correct static path. By using
In the last part of the code we start our web server on localhost (port 8080), feel free to change this if you need. We also enable the reloader option, this will allow us to change the code inside our project and see the results immediately in our browser.
If you run the code and open a page with the following URL: http://localhost:8080 you should see the following page:
The search page
To make our search page work correctly we need to do two things:
- Build our results page (we won't do it in this tutorial, you can use the search.html page already available in the final project)
- Add the /search route to your Bottle app
We are not going to do step by step the first step, but I want to show you what's going on behind the scenes with the Bottles template function:
<ul>

% for row in results:

<li class="search-result">

<div class="search-result-heading">

<a href="{{row['url']}}"><span>{{row['title']}}</span></a

>

</div>

<div class="search-result-text">

{{row['summary']}}

</div>

<div class="search-result-data">

{{row['data']}}

</div>

</li>

% end

</ul>
If you know how HTML works, you can see from the code above that there is something strange going on. Take a look at rows 2 and 15, here we are defining some python code that will be executed from Bottle when we create our page.
So what's this code going to do? It will:
- Create N li elements inside our list, where N is the number of rows inside the results variable (which is defined inside the Python code, we'll take a look at that later)
- For each row, it will dynamically get the title, summary, URL, and data from the passed dict
To implement this code inside our project we need to add the following route to our Python code:
@app.route('/search')

def index():

query = request.query['query']

return template(open('website/search.html').read(), results=search(query))
There are two important things inside this snippet:
- The variable query retrieves the query variable from our URL (the ?query= part of the URL)
- The return creates a webpage starting from the template we've seen above, by passing the results of our search function.
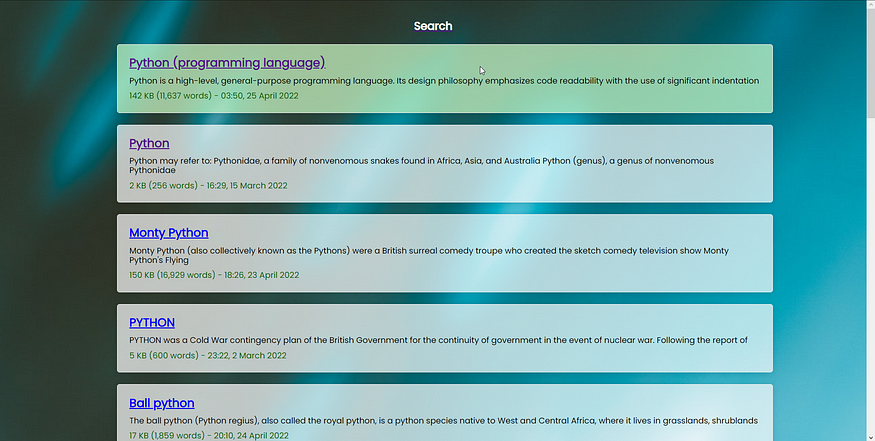
If we now go back to our webpage we can now search for something and you should see something like this:
That's all for today. As usual, you'll find the code on my GitHub.
Other URLs:
Comments
Loading comments…