Photo by Dan Nelson on Unsplash
Today, users are increasingly demanding and attentive to the UI and UX of an application. This is mainly due to so much competition on the market as the user knows exactly how far technology can go today.
For this reason, it is important to offer the user not only an application that is functional to the purposes for which it was designed, but that the latter is also captivating to the user's eye.
Therefore, the first business card that a site or application offers is the access screen and the way in which it loads the necessary data.
We are talking about _splash screens: _an easy way to distract the user with any application logo, useful information before using the app, or simply a loading screen that can make him understand that the app is loading his data and is not blocked.
Target
Today's goal is to create a splash screen shown to the user until the data is ready and usable for our homepage
Prerequisites
Before starting it would be useful to know a few things:
-
For development it would be advisable to have knowledge of JavaScript (TypeScript is recommended but not necessary) and HTML;
-
Node v12 + installed on your machine;
-
Npm package manager since Angular, the Angular CLI and Angular applications depend on npm packages. In order to then install npm packages, you need an npm package manager. Follow this guide to understand how to use it.
Preparing the environment
Creating projects, generating application and library code, performing tasks such as testing, building and deployment depends on Angular CLI.
To install the Angular CLI, open the terminal and run the following command:
npm install -g @angular/cli
Let's start
Create and start the project with the following command:
ng new splash-app --routing
In my case, when it asked me “*Which stylesheet format would you like to use?” *I chose SCSS but it depends on your habits.
cd splash-app
ng serve
and now navigate to http://localhost:4200 to see the default application created for us by Angular CLI.
The main page: “homepage”
The main page that the user will access is our homepage, presumably with a list of items of any kind.
Therefore, let's create the following path: src/app/page/homepage/
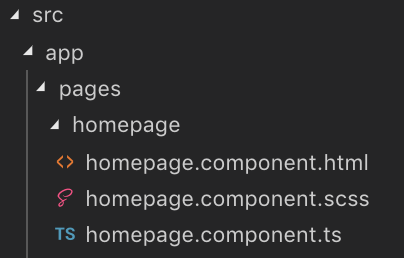
Homepage's files
homepage.component.ts
import { Component } from '@angular/core';

@Component({
   selector: 'app-home',
   templateUrl: './homepage.component.html',
   styleUrls: ['./homepage.component.scss']
})
export class HomepageComponent {
   constructor() { }
}
homepage.component.html
<div>I'm homepage</div>
Declare the new component
Go to src/app/app.module.ts and add the new declaration
declarations: [
   AppComponent,
   HomepageComponent
],
Record the new route
Go to src/app/app-routing.module.ts and create the new route with a redirect if the user accesses to an empty route:
import { NgModule } from '@angular/core';
import { Routes, RouterModule } from '@angular/router';
import { HomepageComponent } from './pages/homepage/homepage.component';

const routes: Routes = [
   {
      path: 'homepage',
      component: HomepageComponent
   },
   {
      path: '',
      redirectTo: 'homepage',
      pathMatch: 'full'
   }
];

@NgModule({
imports: [RouterModule.forRoot(routes)],
exports: [RouterModule]
})

export class AppRoutingModule { }
Last step
In order to navigate to the desired route, we need to include <router-outlet></router-outlet> to the src/app/app.component.html
The “router-outlet” informs Angular to update the application view with the component for the selected route.
Output
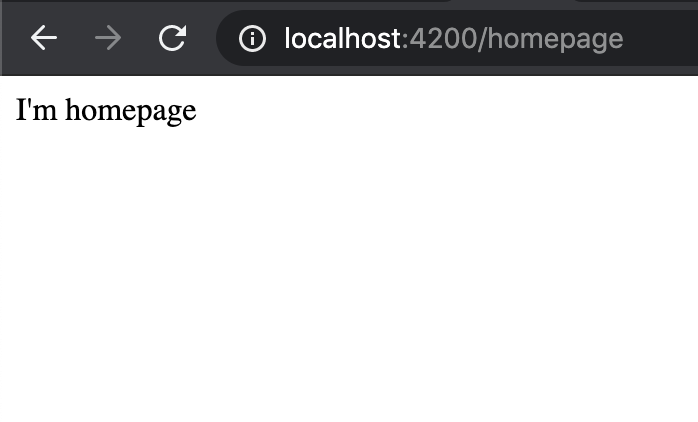
Homepage route
It's time for splash screen
After an initial phase of organizing our application, it is finally time to create our desired splash screen.
Some steps will seem similar to creating the homepage component, however, the particular aspect of this development is creating a service that takes care of finishing the splash when we see fit.
Let's start with the service first
Create the file src/app/services/splash-screen-state.service.ts and write the following code:
import { Injectable } from '@angular/core';
import { Subscription, Subject } from 'rxjs';

@Injectable()
export class SplashScreenStateService {
   subject = new Subject();

   subscribe(onNext): Subscription {
      return this.subject.subscribe(onNext);
   }

   stop() {
      this.subject.next(false);
   }

}
As you can see we've created just a stop method and not a start one. This is because at the first access we intend to have the splash screen active without any event.
Also, put the attention on the subject = new Subject() line.
We've used Subject instead of *BehaviorSubject *or ReplaySubject because the subscriber doesn't need to know anything about previous values.
In this way, the subscriber will only get published values that were emitted after the subscription.
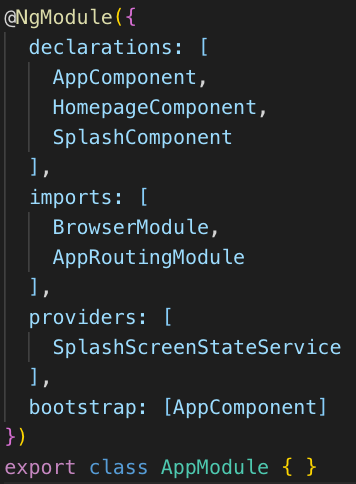
Of course, as like any other service, we need to include it to the providers array in the src/app/app.module.ts.
providers: [
   SplashScreenStateService
]
Finally the splash screen
Create the folder src/app/components/splash-screen
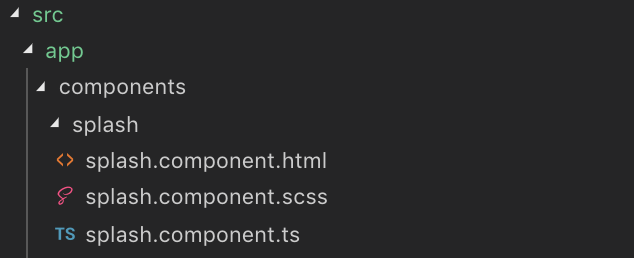
Splash files
splash.component.ts
This is how our empty component looks like:
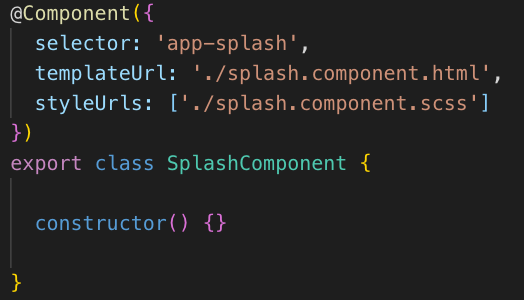
Empty SplashComponent
As HomepageComponent, we need to include it to src/app/app.module.ts
app.module.ts
And now add the selector to the src/app/app.component.html so that its content is the same as the following code:
<router-outlet></router-outlet>
<app-splash></app-splash>
What we need to make alive the splash screen
Go to the src/app/components/splash-screen/splash-screen.component.ts
Variables
// The screen starts with the maximum opacity
public opacityChange = 1;

public splashTransition;

// First access the splash is visible
public showSplash = true;

readonly ANIMATION_DURATION = 1;
The hiding method
private hideSplashAnimation() {
   // Setting the transition
   this.splashTransition = `opacity ${this.ANIMATION_DURATION}s`;
   this.opacityChange = 0;

   setTimeout(() => {
      // After the transition is ended the showSplash will be hided
      this.showSplash = !this.showSplash;
   }, 1000);
}
Subscription to the stop event
constructor(
   private splashScreenStateService: SplashScreenStateService
) { }

ngOnInit(): void {

   // Somewhere the stop method has been invoked
   this.splashScreenStateService.subscribe(res => {
      this.hideSplashAnimation();
   });

}
splash.component.html
<div *ngIf="showSplash" class="app-splash-screen" [ngStyle]="{'opacity': opacityChange, 'transition': splashTransition}">

   <div class="app-splash-content">
      <div data-text="Loading ..." class="loading-text">Loading ...
      </div>
   </div>

</div>
splash.component.scss
.app-splash-screen {
   background: #3a36d1;
   position: fixed;
   top: 0;
   left: 0;
   right: 0;
   bottom: 0;
   display: flex;
   justify-content: center;
   align-items: center;
   width: 100%;
   height: 100%;
   z-index: 1;
   opacity: 1;
}

.loading-text {
   position: relative;
   color: rgba(0, 0, 0, 0.3);
   font-size: 5em;
}

.loading-text:before {
   content: attr(data-text);
   position: absolute;
   overflow: hidden;
   max-width: 7em;
   white-space: nowrap;
   color: #fff;
   animation: loading 8s linear;
}

@keyframes loading {
   0% {
      max-width: 0;
   }
}
Okay, all great but who stops the splash screen? 🤔
For the moment, let's take the simplest solution. We entrust the homepage with the task of calling the server, receiving the data it needs and once finished, also stop the splash screen.
Therefore, go to src/app/pages/homepage/homepage.component.ts and stop the splashScreen after a timeout of 5 seconds.
(Timeout simulate the http request)
constructor(
   private splashScreenStateService: SplashScreenStateService
) { }

ngOnInit(): void {
   setTimeout(() => {
      this.splashScreenStateService.stop();
   }, 5000);
}
Output

SplashScreen
Homepage resolver
What's a resolver?
An Angular Resolver is a smooth approach to enhance the user experience by loading data before navigating to a specific component.
In this case, we want to free the homepage from the responsibility of loading data from the server as, without this data, the homepage has no reason to exist.
Using this approach, the homepage will just have to retrieve the data without worrying about knowing how to build the request for the HTTP request and without knowing which services it is important to call in case it needs data from different services. A single access to the resolver that gives the component everything it needs.
Let's create the resolver
Create the resolver to src/app/resolvers/homepage.resolver.ts path.
For this article, we will replace the direct call to the server with the classic timeout.
import { Resolve, ActivatedRouteSnapshot, RouterStateSnapshot } from '@angular/router';
import { Injectable } from '@angular/core';
import { Observable, of } from 'rxjs';
import { SplashScreenStateService } from '../services/splash-screen-state.service';

@Injectable()
export class HomepageResolver implements Resolve<any> {

   constructor(
      private splashScreenStateService: SplashScreenStateService
   ) { }

   public resolve(route: ActivatedRouteSnapshot, state: RouterStateSnapshot): Promise<Observable<any>> {

      return new Promise((resolve, reject) => {
         setTimeout(() => {
            this.splashScreenStateService.stop();
            resolve(of(['item1', 'item2']));
         }, 5000);
      });

   }
}
As you can see, we have roughly moved what we did in the homepage file into the resolver, returning a list of items.
As the others, add the resolver to the src/app/app.module.ts in the providers array.
providers: [
   SplashScreenStateService,
   HomepageResolver
]
And move to the src/app/app-routing.module.ts in order to add the resolver to the homepage route.
const routes: Routes = [
   {
      path: 'homepage',
      component: HomepageComponent,
      resolve: {'itemsList': HomepageResolver}
   },
   {
      path: '',
      redirectTo: 'homepage',
      pathMatch: 'full'
   }
];
Now, let's come back to the src/app/pages/homepage/homepage.component.ts and replace the existing code with the following one:
constructor(private activatedRoute: ActivatedRoute) { }

ngOnInit(): void {
   this.activatedRoute.snapshot.data.itemsList
      .subscribe(res => {
         console.log({ res });
      })
}
The last and easiest step
Since our resolver provides the homepage with a list of elements, let's try to display them on the template.
Go to src/app/pages/homepage/homepage.component.html and add the following:
<ul>
   <li *ngFor="let item of myItems">
      {{item}}
   </li>
</ul>
Create the “myItems” list on the homepage.component.ts and enhance it with the subscription result.
Output
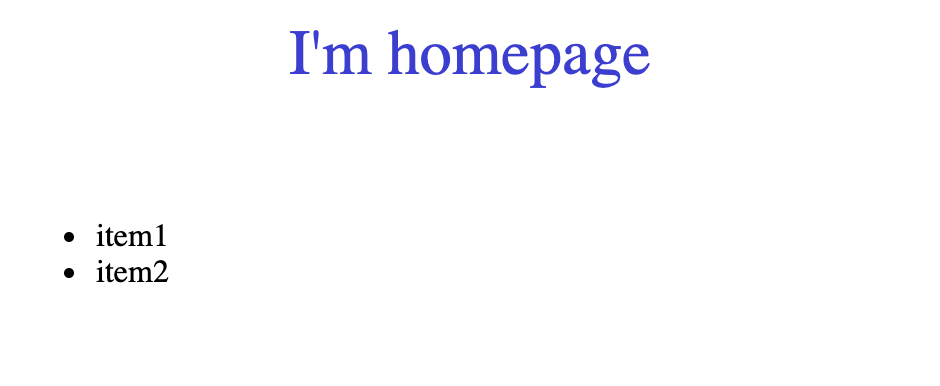
Homepage
References
All the code in this article is available here: https://github.com/CoxxD/splash-app
Conclusions
A splash screen is certainly a feature that many applications now adopt. Easy to use but certainly very effective and attractive to the user's eyes.
Thanks a lot for reading!
Comments
Loading comments…