In this article, we will learn how to generate images with text on them. And on our ride, we will face some challenges like how to center the text and how to generate batch images from an external file like CSV files.
Preparation
Assuming you are in a new directory for your project and have initialized a virtual environment, go ahead and install Pillow:
pip install Pillow
Start Coding
Create a new file called main.py and fill it with this code:
So what happens here are:
-
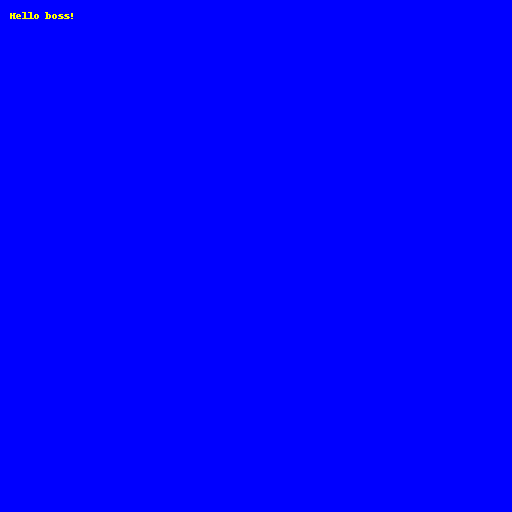
We create a new image file with the size of 512px * 512px and the background color of blue.
-
We get the imgDraw which is the drawing interface for our image.
-
We draw the message Hello boss! in the coordinate of x=10, y=10 with the text color of white.
-
We save the image as result.png
Here is the result.png :

Now, the text is very small and the font is ugly. Let's change that.
Custom Font
Import the ImageFont to our script so it becomes like this:
from PIL import Image, ImageDraw, ImageFont
Below the message variable definition, add this code:
font = ImageFont.truetype("arial.ttf", size=20)
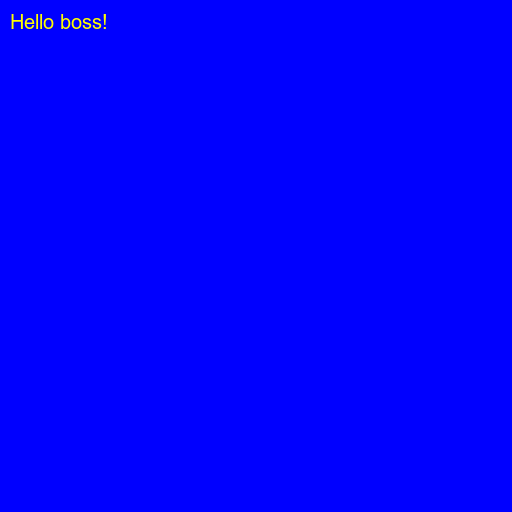
We create an instance of ImageFont in which we want to have our text use the Arial font with a font size of 20px.
After having the font, let's pass it to our text drawing function:
imgDraw.text((10, 10), message, font=font, fill=(255, 255, 0))
Your code should look like this now:
Here is the output:

Centering the Text
With quick thinking, you probably would change the coordinate of the text to half of the width and height of the image:
imgDraw.text((width/2, height/2), message, font=font, fill=(255, 255, 0))
But it won't work:

That's because the coordinate of the text is at the start of the text, not the center. So we need to take the width and height of the text into account.
Below the definition of imgDraw, add these:
textWidth, textHeight = imgDraw.textsize(message, font=font)
xText = (width - textWidth) / 2
yText = (height - textHeight) / 2
Notice that we pass the font to the textsize function too. It is because the font size affects the text size.
Then replace the drawing of the text with this:
imgDraw.text((xText, yText), message, font=font, fill=(255, 255, 0))
Your code should look like this now:
Here is the result:

Generating From CSV
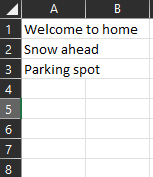
Let's say we have this data.csv file:

We want to generate images for these texts in the file. (I randomly create this CSV file, you can create one yourself).
Replace your code with this:
The logic is pretty simple. We first open the file, loop through each row, read the message, and draw the image.
Here are the results:

That's it. Thanks for reading.
If you are looking for a Python expert, you can hire me on Upwork: https://www.upwork.com/freelancers/~0199de1d4d4622e8ae
Comments
Loading comments…