Images is an essential part of our life today, with images the memories will still remain. Today, we store our images into digital data. It makes easier to be saved and also easier to be distributed. But, the new challenge come with this thing. Digital image can be duplicated nor being edited, so there is a person invented hash algorithm. To make the comparison any of digital data.
My approach is little different but using the same concept with that. I will not using any of that algorithm. In this stories I want to share about how to comparing two images using OpenCV Python. Well, it just for fun but worth for learn.
Intro
First, let's talk about OpenCV. OpenCV stand for Open Source Computer Vision Library. This is a toolkit for processing real-time image and video, it can be used also to provide analytics and machine learning capabilities. Using OpenCV can access many advanced libraries for image and video processing in 2D and 3D version.
Actually, I want to tell you first. This will use basic programming concept if else function. So for every person that think learning programming basic is useless, I hope they understand, that it was worth to learn first.
Okay, back to the image, do you ever think what built an image? Well, an image is built by the collection of byte that connected each other. So, by understand this, I want you to take this concept. This program will use two parameter to decide whether an image is identical or different.
Let's jump into code.
Code
First of all, let's try simple script for displaying image using OpenCV library. But before that, here is the tree of my file
E:\code>tree /f
Folder PATH listing for volume New Volume
Volume serial number is 8609-E59D
E:.
│   comparing_two_images.py
│
└───img
        1.jpg

E:\code>
From the tree, we know I have one script file named comparing_two_images.py and one directory with an IMG named 1.jpg. Next, to import OpenCV library we will use library named cv2. You can find the documentation about it here.
The script will be like this.
# Importing the module
import cv2

# Choose image
original = cv2.imread("./img/1.jpg")

# Display image
cv2.imshow("Original",  original)
cv2.waitKey(0)
cv2.destroyAllWindows()
The output will be like this

Alright the image is successfully displayed, but that was not our purpose right. Okay, back to the concept and my promise that I will using If Else statement here. The first thing we need to do is to write what is necessary two compare of two images.
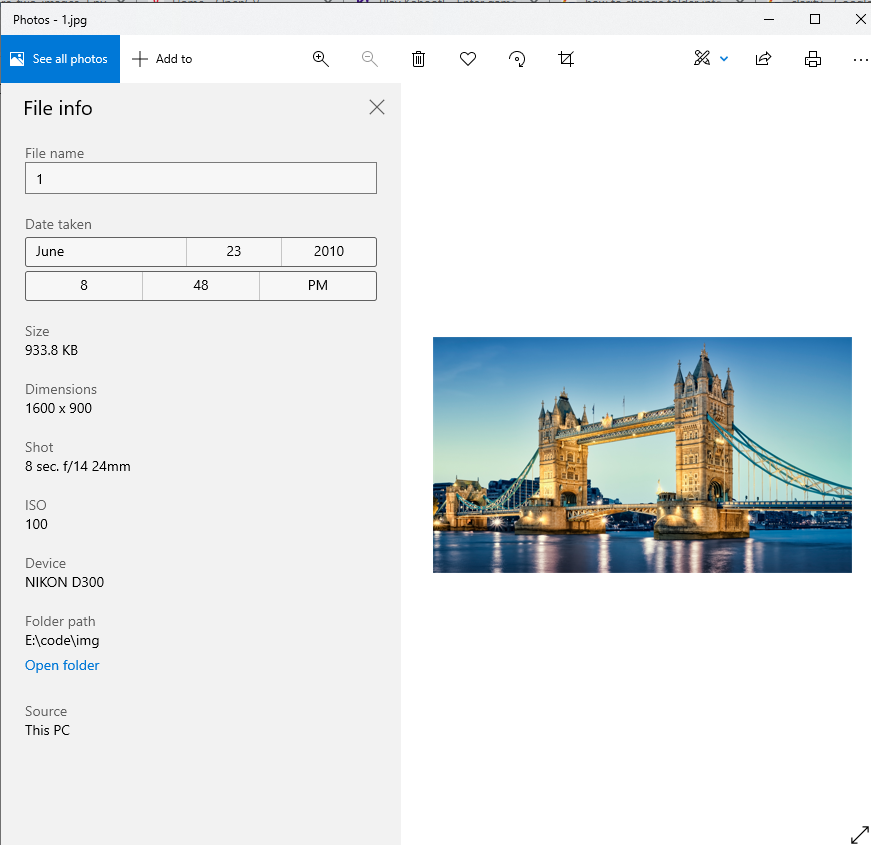
Well, after thinking several times I got two parameter, the size of an image and the color of the image. Every picture has an image right, sometimes it call 1920x1080 (HD) and etc. For this example I will use London Bridge image that I got from the google with size 1600x900.

Actually you can show the shape of an image using shape. Again, because image is just representation of bytes that collected into one unity. From the script above, if you add print(original.shape) in the next line you will get output like this.

There is an tuple with three element (I will use ‘index' because it's more familiar). Index one and two are 900 and 1600. It represent the dimension of width and height of image. The third tuple people used to call it as channel with the value 3. It means, the picture has three color ‘RGB'.
Okay, you can see what parameter I will use, yep the size and the color. This program will detect, the image had been changed or not. So I make duplicate for the image like this.

The first is the original file, the second I change the color tone, the third is the duplicate of the image, and the last one the image is rotated. Back again into the shape of an image, we only need the first two tuple, to make it show like we want. We can add [:2] after the shape. Okay let add the duplicated image into our code and also store the image shape. In this example I want to use file 1color.jpg the code will be like this.
# Choose image
original = cv2.imread("./img/1.jpg")
duplicate = cv2.imread("./img/1color.jpg")

# Store the image shape into variable
ori_shape = original.shape[:2]
dup_shape = duplicate.shape[:2]
Next, we can compare the size of the image using If else statement. Can you guess it?. It's really simple, the code is like this.
# TEST 1: Based on shape of image
if ori_shape == dup_shape:
    print("Image size is same")
else:
    print("Image is different in size")
The code work well, whenever the image shape is different, the code will print out the Image is different in size. But, it's not enough comparison. To make program more reliable we will add the second parameter. That was the color of the image.
The color of an image is consist into three part ‘red', ‘green', and ‘blue'. OpenCV has function that can extracting and grab the difference of two color element from the image, it's called substract. Because we want to check the similarity of two images, we should put the condition inside the if statement whenever the image is same in size, like this.
# TEST 1: Based on shape of image
if ori_shape == dup_shape:
    print("Image size is same")

    # Extract the difference of color element between two image
    difference = cv2.subtract(original, duplicate)
    b, g, r = cv2.split(difference)

# ...
After we grabbing the difference between the element of ‘red', ‘green' and ‘blue', next step using the next if statement we can check whether the value of ‘b', ‘g' and ‘r' zero or not. If the value is zero, that means the element is same, but if not, the picture is different (has been changed).
# TEST 1: Based on shape of image
if ori_shape == dup_shape:
    # ...

    # TEST 2: Based on color of image
    if cv2.countNonZero(b) == 0 and cv2.countNonZero(g) == 0 and cv2.countNonZero(r) == 0:
        print("The color is equal")
    else:
        print('The color of image is different')
        cv2.imshow('Difference', difference)

else:
    # ...
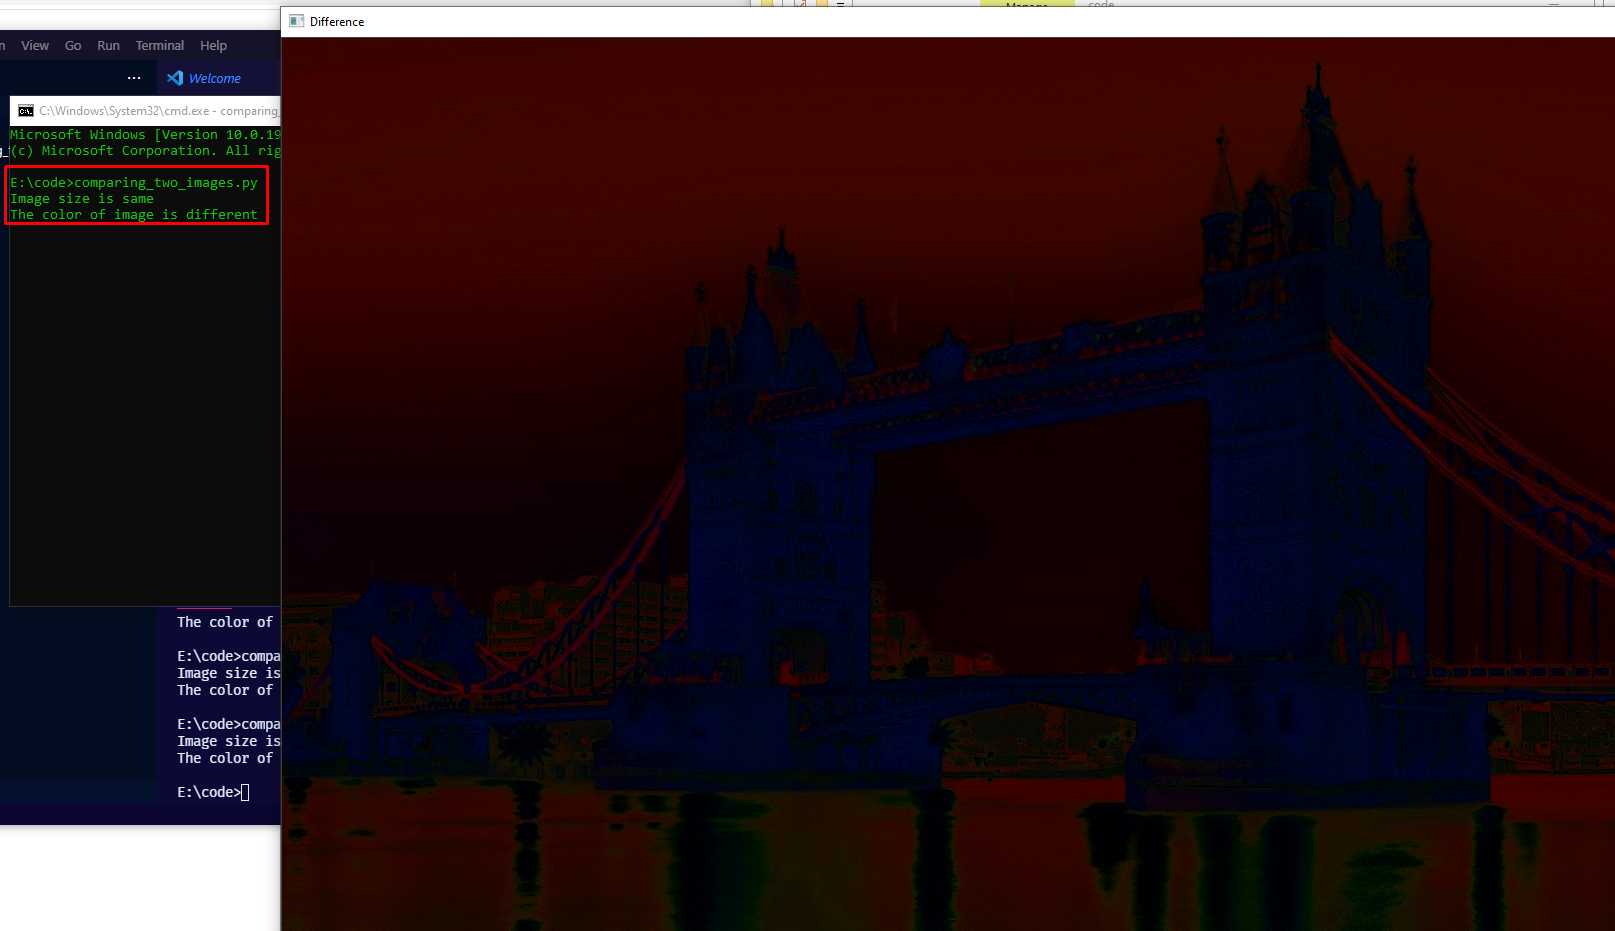
The script is using nested if else right? Well, if you see the else column, I add little script like this cv2.imshow(‘difference', difference) . It uses for displaying the different of the color from two images. So, if I take the duplicate image 1color.jpg and compare it with 1.jpg the output will be like this.

Test
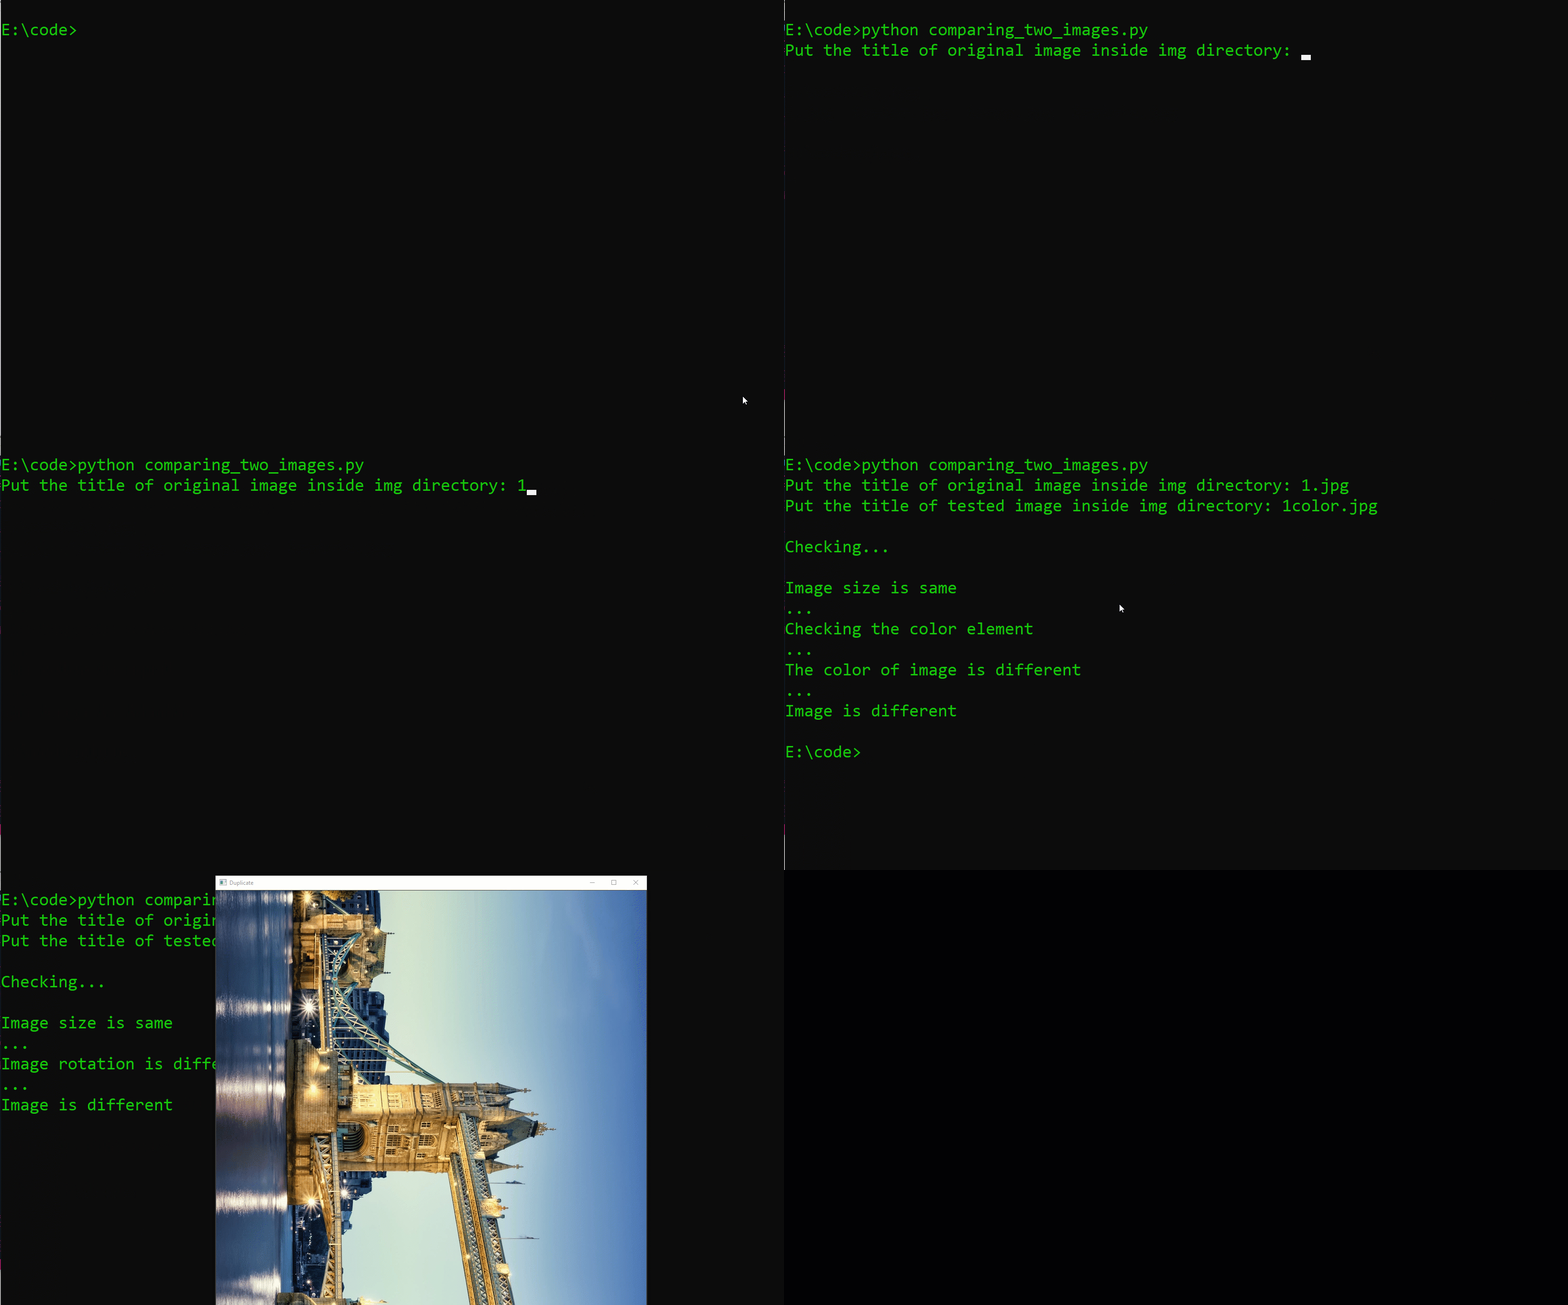
In this point, the program is done. But, you can add more condition into the if else statement using your creativity. Also you can use basic Python function input so we can input the image that we want without changing any of program. Here is the documentation of the program that I built.

Outro
Thank you for reading until this end. What I actually want you to understand, that simple programming is still a thing, there is always something you can learn from it. Well, have a nice code! ✌
Source code: dailyChallenges/compare_two_image at master · theDreamer911/dailyChallenges