Background
Instead of uploading your Dash app to a cloud platform for distribution, you might want to transform it into an executable file in windows or on a Mac. This post will discuss the steps necessary to attain a stable executable Dash app on your PC that you can distribute to friends or colleagues.
It’s possible to create one Dash app file and convert that one into an executable as described in this Plotly Community post with the following at the end of a script:
if __name__ == '__main__':
    Timer(1, open_browser).start(); # "open_browser" is the function that refers to a set of commands to let Selenium open a browser.
    app.run_server(debug=True, port=port)
In my experience, it did help in opening up a browser automatically and then running the dash app in it, however, this led to an unstable app when converted to an executable file (also when changing the debug settings). The method that worked was the following:
Method
1. Install Selenium and the right webdriver
The first step is to pip install the Selenium web automation package and copy the web driver for the browser (for instance Chrome) you want to use to the right directory (which is /usr/bin or /usr/local/bin). We will need selenium later to launch a browser during the startup of the executable.
2. Add an extra main file for the dash app
The key to creating a stable executable is making an extra main executable file that calls on the dash app like this:
To achieve this do the following:
a. Create an app layout file: dash_app.py
Create a dash_app.py file that launches the Dash app on a local server.
import dash
import dash_html_components as html

app = dash.Dash(__name__, external_stylesheets=[dbc.themes.COSMO])
app.layout = html.Div(APP LAYOUT HERE)

if __name__ == '__main__':
    app.run_server(host='0.0.0.0', port=8080, debug=False, use_reloader=False)
b. Create a main file: main.py
Create a main.py file that launches the Selenium browser and calls on the above dash app layout script:
import time
from selenium import webdriver
import subprocess
import json
import threading as thr
from os import path
import sys

# Kill the server if a dash app is already running
def kill_server():
    subprocess.run("lsof -t -i tcp:8080 | xargs kill -9", shell=True)

# Start Dash app. "dash_app" is the name that will be given to executabel dash app file, if  your executable file has another name, change it over here.
def start_dash_app_frozen():
    path_dir = str(path.dirname(sys.executable))
    subprocess.Popen(path_dir+"/dash_app", shell=False)

# Start the driver
def start_driver():
    driver = webdriver.Chrome()
    time.sleep(5) # give dash app time to start running
    driver.get("http://0.0.0.0:8080/") # go to the local server
    save_browser_session(driver) # save the browser identity info for giving future instructions to the browser (for instance opening up a new browser tab).

# Function to save browser session info
def save_browser_session(input_driver):
    driver = input_driver
    executor_url = driver.command_executor._url
    session_id = driver.session_id
    browser_file = path_dir+"/browsersession.txt"
    with open(browser_file, "w") as f:
        f.write(executor_url)
        f.write("\n")
        f.write(session_id)
    print("DRIVER SAVED IN TEXT FILE browsersession.txt")

# Infinite while loop to keep server running
def keep_server_running():
    while True:
        time.sleep(60)
        print("Next run for 60 seconds")

# Putting everything together in a function
def main():
    kill_server() # kill open server on port
    thread = thr.Thread(target=start_dash_app_frozen)
    thread.start() # start dash app on port
    start_driver() # start selenium controled chrome browser and go to port
    keep_server_running() # keep the main file running with a loop

if __name__ == '__main__':
    main()
3. Compiling a “one-file executable” of main.py and a “one-dir executable” of the dash_app.py and associated folders with Pyinstaller
Install pyinstaller:
pip install pyinstaller
Create an install.sh file. Make it executable with the command:
chmod u+x install.sh
Then write something like the following in an extra file to make your life easy:
Installation file: install.sh
#!/bin/sh

echo "creating main executable file "
pyinstaller --onefile --noconfirm main.py

echo "moving main executable file"
mv ./dist/main ./main
rm main.spec

echo "creating directory with files for application"
pyinstaller --onedir --noconfirm dash_app.spec

echo "moving main executable to directory and creating final directory"
mv ./main ./dist/dash_app/
mv ./dist/dash_app/ ./finale_name_of_app_dir

echo "executable creation completed, press enter to continue"
read input
Before running the above create a spec file that contains the variables (such as included files, packages, etc.) that Pyinstaller is going to deploy for the production of the executable. Use the following command in the prompt to make the spec file:
pyinstaller dash_app.spec
Now change the content of the spec file to include important files. The spec file uses Python syntax. You can find more information about specs over here.
Installation configuration file: dash_app.spec
...
...
...
added_files = [
	     ('parameters.json', '.' ), # of course do NOT add your secrets.json file if you are planning to distribute the executable
         ('testenv.json', '.' ),
         ('state.json', '.'),
         ('./venv/lib/python3.8/site-packages/dash_daq', './dash_daq'),
         ] # Over here add for instance a package that is not automatically included to the one-dir package by Pyinstaller....
...
...
4. Run
./install.sh
Results
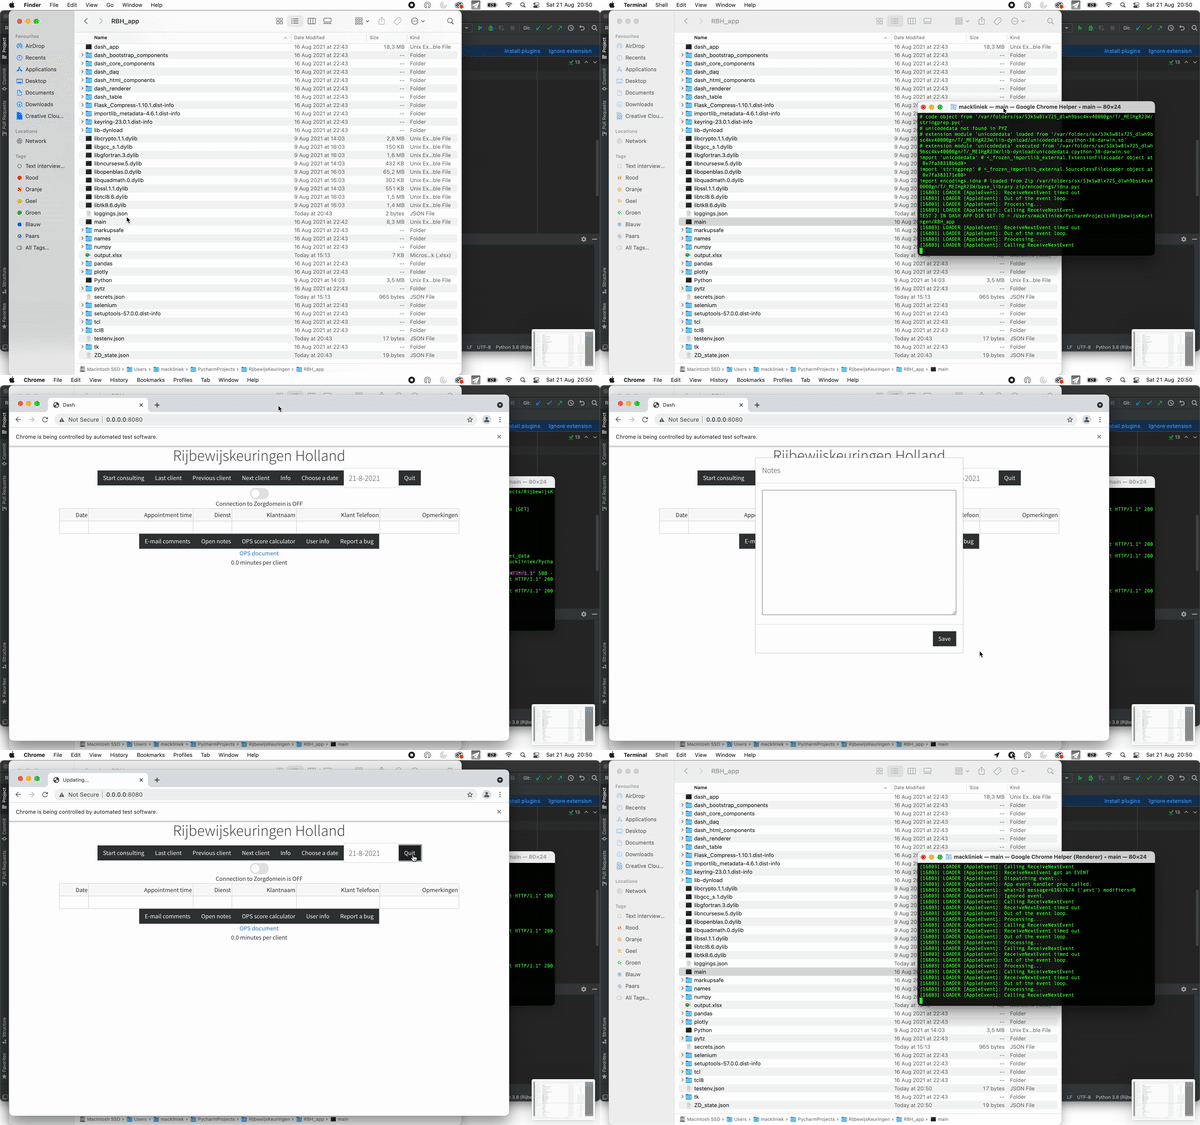
A gif that shows the result:

Thank you for reading, and good luck converting your app!
Comments
Loading comments…