Introduction to Docker
Docker is a set of platforms as service products that use OS-level virtualization to deliver software in packages called containers. In simple words, it provides an environment to any application which removes the headache of setting up a project every time a new member is added to the team. 🍻
Prerequisite
- First, we need to have a Docker installed on our machine to build a Docker image and run Docker containers. There are different installations for Mac, Linux, and Windows. For Windows 10 Professional and Enterprise, install Docker for Desktop from this link but if you have Windows 10 Home Edition, use this link; for Linux, you can follow this link.
- We also need to have an account at the Docker Hub registry so that we can pull and push Docker images, check out this link to create one for yourself.
Steps
-
Set up an Angular application without Docker. If you are new to this, I have already created a Medium article for the same, you can check out that first.
-
Create a Dockerfile in your application’s root folder.
-
Build the containers using Docker.
-
And lastly run the application using Docker images build in Step 3.
1. Set Up Angular App
For the first step, you will be needing an Angular app ready. If you already have it, that’s great, but if you're a beginner, you can have a look at this article. Once done, you will get something like this on:
http://localhost:4200

2. Create a Dockerfile
The second step did create a Dockerfile on the root of the Angular application, this will be the content of the file:
# Stage 1
FROM node:14.15.4 as node
WORKDIR /app
COPY . .
RUN npm install
RUN npm run build --prod
# Stage 2
FROM nginx:alpine
COPY --from=node /app/dist/angular-app /usr/share/nginx/html
These two stages give the idea of building two containers in Docker, we are using node: 14.15.4 version, and below are the steps of creating a container. These are the steps of the prod version you can use — staging as well this can change according to the requirement of the project.
Stage 2 is with Nginx on which our static application build is going to deploy. Save this file and move to the next step.
3. Build the Containers
The next step is to build the container using the following command:
docker build -t jekichaan/angular-app .
You can use your username on Docker hub instead of mine ‘jekichaan’ 😜. This process can take some time if you are building it for the first time as it is going to download all images from the Docker hub. So till then, relax and have a cup of coffee ☕️.


Here are some logs for successful builds, if you got some errors you can comment below.
4. Final Step
Now, the final step is to run 🏃 the application using Docker using this command.
docker run -d -it -p 80:80/tcp --name angular-app jekichaan/angular-app:latest
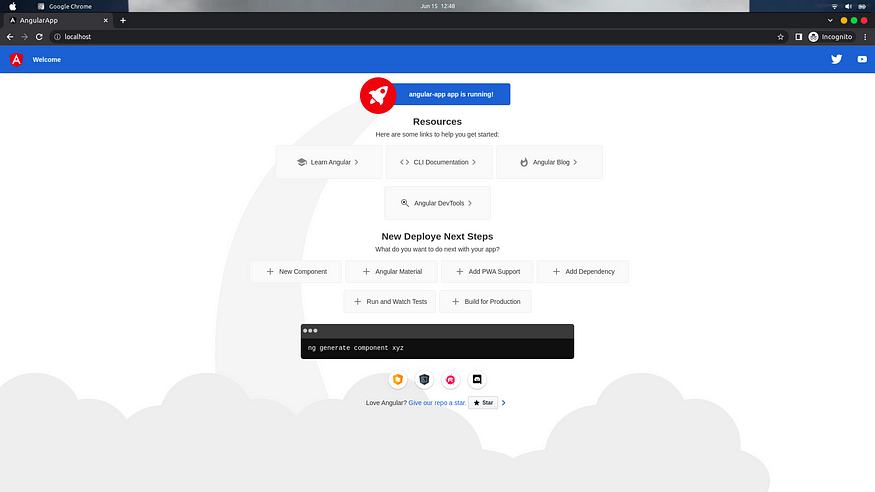
Again, replace jekichaan with your username. Now you are ready to go head over to your browser and enter localhost and you can see your application running like this.

Some of you may get this error:

Don't worry, this is due to some other service like apache that may be using port 80 in the background. So either you can change the port or stop that other service from using port 80 in the background.
Bonus Step
If you are using VS Code as an editor, you can use different extensions for avoiding using commands everywhere also you can use a lot of other docker functionalities as well.
One of those extensions I would suggest is this:
Name: Docker
Id: ms-azuretools.vscode-docker
Description: Makes it easy to create, manage, and debug containerized applications.
Version: 1.22.0
Publisher: Microsoft
VS Marketplace Link: https://marketplace.visualstudio.com/items?itemName=ms-azuretools.vscode-docker
Finishing Up
Finally, your Angular application is dockerized. Share this article with those who are in need. Thank you for your time.🍻 🍻
Connect with me on LinkedIn.