There are multiple ways of scraping images using Python, and for someone who has a nice to work with knowledge about Python basics, this is going to be particularly easy. Also note that only static websites can be scraped using the following technique. Dynamic websites can be scraped using a module called Selenium. A good explanation for the difference between static and dynamic websites can be found over here.
At first create a folder where you can store the scraped images in your PC. In my case I created a folder named ‘ Image_scraping ’. Create a file named main.py where we can start.
I would highly recommend that you view the webpage that you require for scrapping in Chrome Developer Tools to understand the structure of the Google images page for your search query.
There are three Python modules that we will be using to scrape images from the web(The fourth one is just for viewing the image using python!)
- requests module : Install it by typing ‘ pip install requests ’ on your command prompt. This module is concerned with obtaining the html content of the desired webpage using the get request.
import requests
URL = "https://www.google.com/search?q=Innovators+by+Walter+Issacson&sxsrf=ALeKk03xBalIZi7BAzyIRw8R4_KrIEYONg:1620885765119&source=lnms&tbm=isch&sa=X&ved=2ahUKEwjv44CC_sXwAhUZyjgGHSgdAQ8Q_AUoAXoECAEQAw&cshid=1620885828054361"
page = requests.get(URL)
Lets go line by line:
import requests
First we import requests module to our working directory i.e. Image_scraping.
This URL is actually simple enough to understand. At first is the google search page, which is through https://www.google.com. Then we have the /search keyword which will in a sense work as the google search bar. Now whatever follows the question mark up to the ‘&’ sign, is the query that a person in general types into the search bar.
sxsrf=ALeKk03xBalIZi7BAzyIRw8R4_KrIEYONg:1620885765119&source=lnms&tbm=isch&sa=X&ved=2ahUKEwjv44CC_sXwAhUZyjgGHSgdAQ8Q_AUoAXoECAEQAw&cshid=1620885828054361
Well this is something that seems confusing but is actually quite simple. All it does is navigate you to the images tab of Google.
page = requests.get(URL)
The above command will now set this page’s HTML content to the variable named page!
- Beautifulsoup4 module: Install it by typing ‘ pip install beautifulsoup4 ’ in your command prompt. This module will help you to actually extract the required content from the html content that you just created.
from bs4 import BeautifulSoup
soup = BeautifulSoup(page.content, 'html.parser')
print(soup.prettify())
image_tags = soup.find_all('img', class_='t0fcAb')
links = []
for image_tag in image_tags:
    links.append(image_tag['src'])
Let’s get to this step by step.
from bs4 import BeautifulSoup
This step imports the BeautifulSoup module to our working directory.
soup = BeautifulSoup(page.content, 'html.parser')
Here we instantiate the soup object which is of the type BeautifulSoup. The first argument ‘ page.content ’, passes the HTML content in the variable page to the soup object, and the second argument ‘ html.parser ’ simply specifies what is going to be the role of the soup object.
print(soup.prettify())
This is an optional command that helps you to view the HTML content in a form that is human readable.
image_tags = soup.find_all('img', class_='t0fcAb')
The soup.find_all command above takes in two arguments. The first argument is the tag which we need and in case of images, its going to be ‘img’ always. The second argument selects all the img tags that have a class ‘t0fcAb’, which is by default the class that every img tag in the images section of Google has.

The yellow underline shows the class when viewed as soup.prettify()
Thus in a nutshell the above command creates a list named image_tags containing all the image tags that have a class ‘t0fcAb’.
links = []
for image_tag in image_tags:
    links.append(image_tag['src'])
The first line creates an empty list named as links. The following for loop, loops through all the img tags in the list image_tags and then appends the content in the src attribute of every img tag, to the list links.
So if I were to print out the elements of the links list after the above command, it would look something like this:

We are almost done. Now the only remaining task is to download an image from any of these links and use it.
- Urllib module : The latest version of Python has this module built-in. For previous versions you, could install it by typing
pip install urllibin your command prompt.
The final necessary piece of code is as follows:
import urllib.request
urllib.request.urlretrieve(links[0], "images/innovators.jpg")
On the first line, we import urllib.request to our working directory. The second line calls the method urlretrieve with two arguments:
a. The first argument tells the method, which URL has to be used for downloading the image from the list of URLs in links. In my case I chose the first URL i.e. the 0th element. b. The second argument tells the method, where the image has to be stored relative to our working directory. In my case I had created a folder named images in my directory. So the method would save the image from the URL in the images folder, with the name ‘innovators.jpg’.
Well the image is a cached version stored in Google’s server, so the quality of the image won’t be too nice.

Well here as you can see the image is just about 90x140 pixels.
- Finally to open the Image using python you could use the PIL module, which can be installed by typing in
pip install Pillowon your command prompt.
This step is optional:
from PIL import Image
dimensions = (140, 220)
i = Image.open('images/innovators.jpg')
i.thumbnail(dimensions)
i.show()
The first line imports the Image class from the PIL module. The second line is a tuple which is named as dimensions. The third line creates an image object named i. To set the image to the required dimensions you can use the fourth line. Finally, call upon the show() method of the object i, and the file will be opened up by Python.
This was the entire explanation of how to scrape images from Google using Beautifulsoup4. The complete structured code is given below:
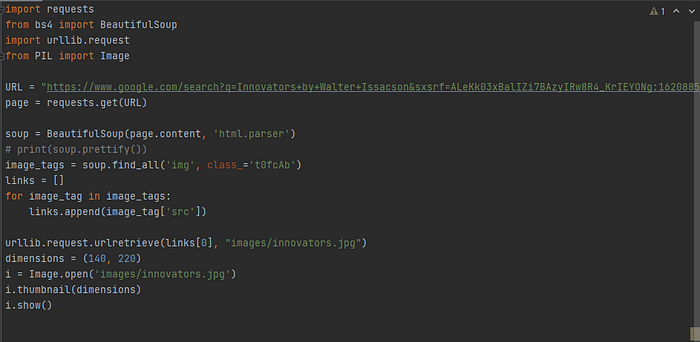
One last point, you can scrape any image you want by just changing the code in the URL between ‘ q= ’ and ‘ & ’.
Thank you for patiently reading my article till here.
Comments
Loading comments…