Angular Material is a user interface library provided by Google. It is used by Google developers across Google products. Angular Material focus on minimalist design. It focuses more on performance than the rich user interface. Angular Material provides a bunch of controls, Our scope in this article is to discuss Angular Material table. We will implement our design concept of Products. We will create a list of products and display them in Angular material table. Then we will discuss the sorting of Angular Material table and pagination.
Importing Angular Material DataTable Modules:
Before adding Angular Material data table module you have to add BrowserAnimationsModule. BrowserAnimationsModule is the dependent module to run other material modules. There is three key modules for the data table.
-
MatTableModule for the mat data table
-
MatSortModule for the sorting elements by clicking on the header
-
MatPaginatorModule for the pagination show page size, next and page size dropdown
-
Another module MatButtonModule, MatIconModule, MatTooltipModule is used to construct a template for the button, icons, and tooltips.
One thing to note that all the material modules in version 9 plus are imported from @angular/material/
Creating Product Interface and product data:
The next step is to create a data model for the table. Here we are creating Product interface. Product interface consists of id, name as mandatory field and product description, and product rating as an optional parameter. Then next we are creating products data which is the type of Product array.
Welcome to Angular Material Data Table:
1. Creating Template:
Angular material displays data in standard tabular format. We can customize look and feel of the table according to our project. The below template is an example of the material data table. If you see here we are using <ng-container>. The <ng-container> is a grouping element that doesn't interfere with styles or layout because Angular doesn't put it in the DOM. matColumnDef is wrapped with <ng-container>which will give it sequence and description of the element. dataSource is for the value of the datable. matColumnDef is a required field for the column definition. matColumnDef should always be the same as the element that we are rendering. i.e. in the second column if matColumnDef is productName then matCellDef element should be {element.productName}}. If the above names are different then it can create issues in sorting the columns.
2. Creating Component:
The second step is to create angular material data table component. Here I have imported Product, products from Product.ts file. This will define the type and value of the data table. Next, define displayedColumns. displayedColumns is a type of string array. Here you can define columns you want to display.
displayedColumns: string[] = ['productName', 'productCode', 'prodRating', 'edit', 'delete'];
Then we are exporting Product type and products data. Define MatPaginator and MatSort as ViewChild reference.
products:Product[]= products;

dataSource = new MatTableDataSource(products);

@ViewChild(MatPaginator,{static:false}) paginator: MatPaginator;

@ViewChild(MatSort, {static:false}) sort: MatSort;
Since we defined MatPaginator and MatSort as ViewChild we have to initialize it in ngAfterViewInit life cycle hook. Set the sort after the view init since the component will be able to query its view for the initialized sort.
ngAfterViewInit() {

this.dataSource.paginator = this.paginator;

this.dataSource.sort = this.sort;

}
The complete component will look like this:
After rendering the page looks like this:
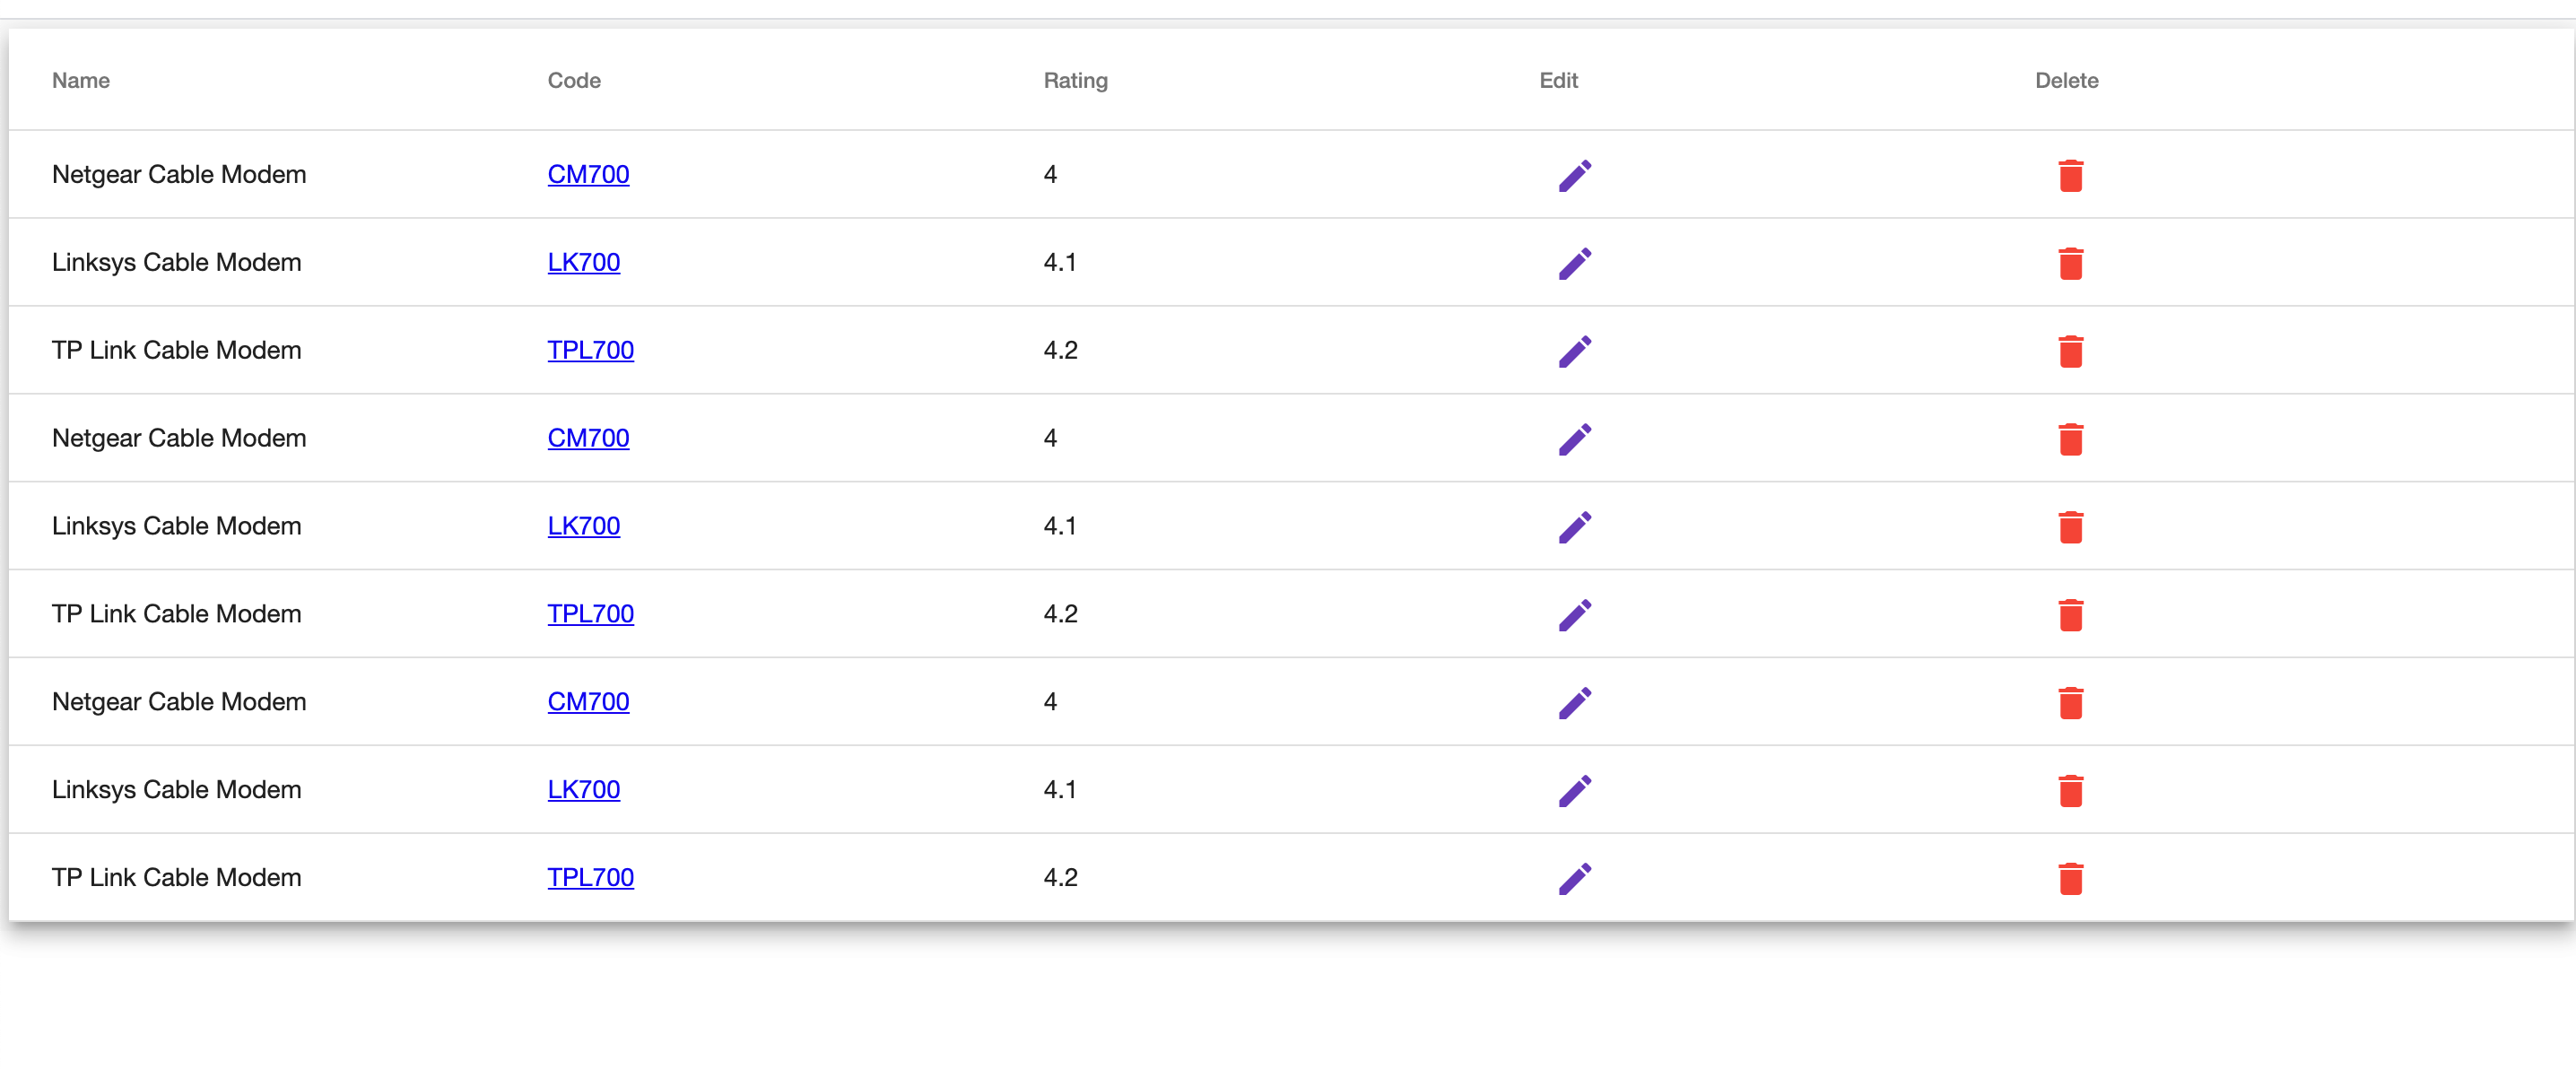
3. CSS and Styling:
Now we can see our data table looks a little bit raw. We can see the edit and delete button columns are too big. Now first import the Angular Material theme. The theme can be exported either in component css file. But the best place to import files is angular.json style.
“styles”: [

“../node_modules/@angular/material/prebuilt-themes/deeppurple-amber.css”

"../node_modules/primeng/resources/primeng.min.css",

]
In component css file import like this:
@import '~@angular/material/prebuilt-themes/deeppurple-amber.css';

@import '~material-design-icons/iconfont/material-icons.css';
Complete css looks like this.
As we have seen in the previous screenshot edit and delete columns look so big. But since these are just an icon, it should be small. i.e. I want to make it 40 px, then using mat-header-cell:nth-child sequence we can do that.
.mat-cell:nth-child(4),

.mat-header-cell:nth-child(4) {

flex: 0 0 40px;

}

.mat-cell:nth-child(5),

.mat-header-cell:nth-child(5) {

flex: 0 0 40px;

}
After applying css page looks like below screenshot. Now you can see edit, delete columns are small.
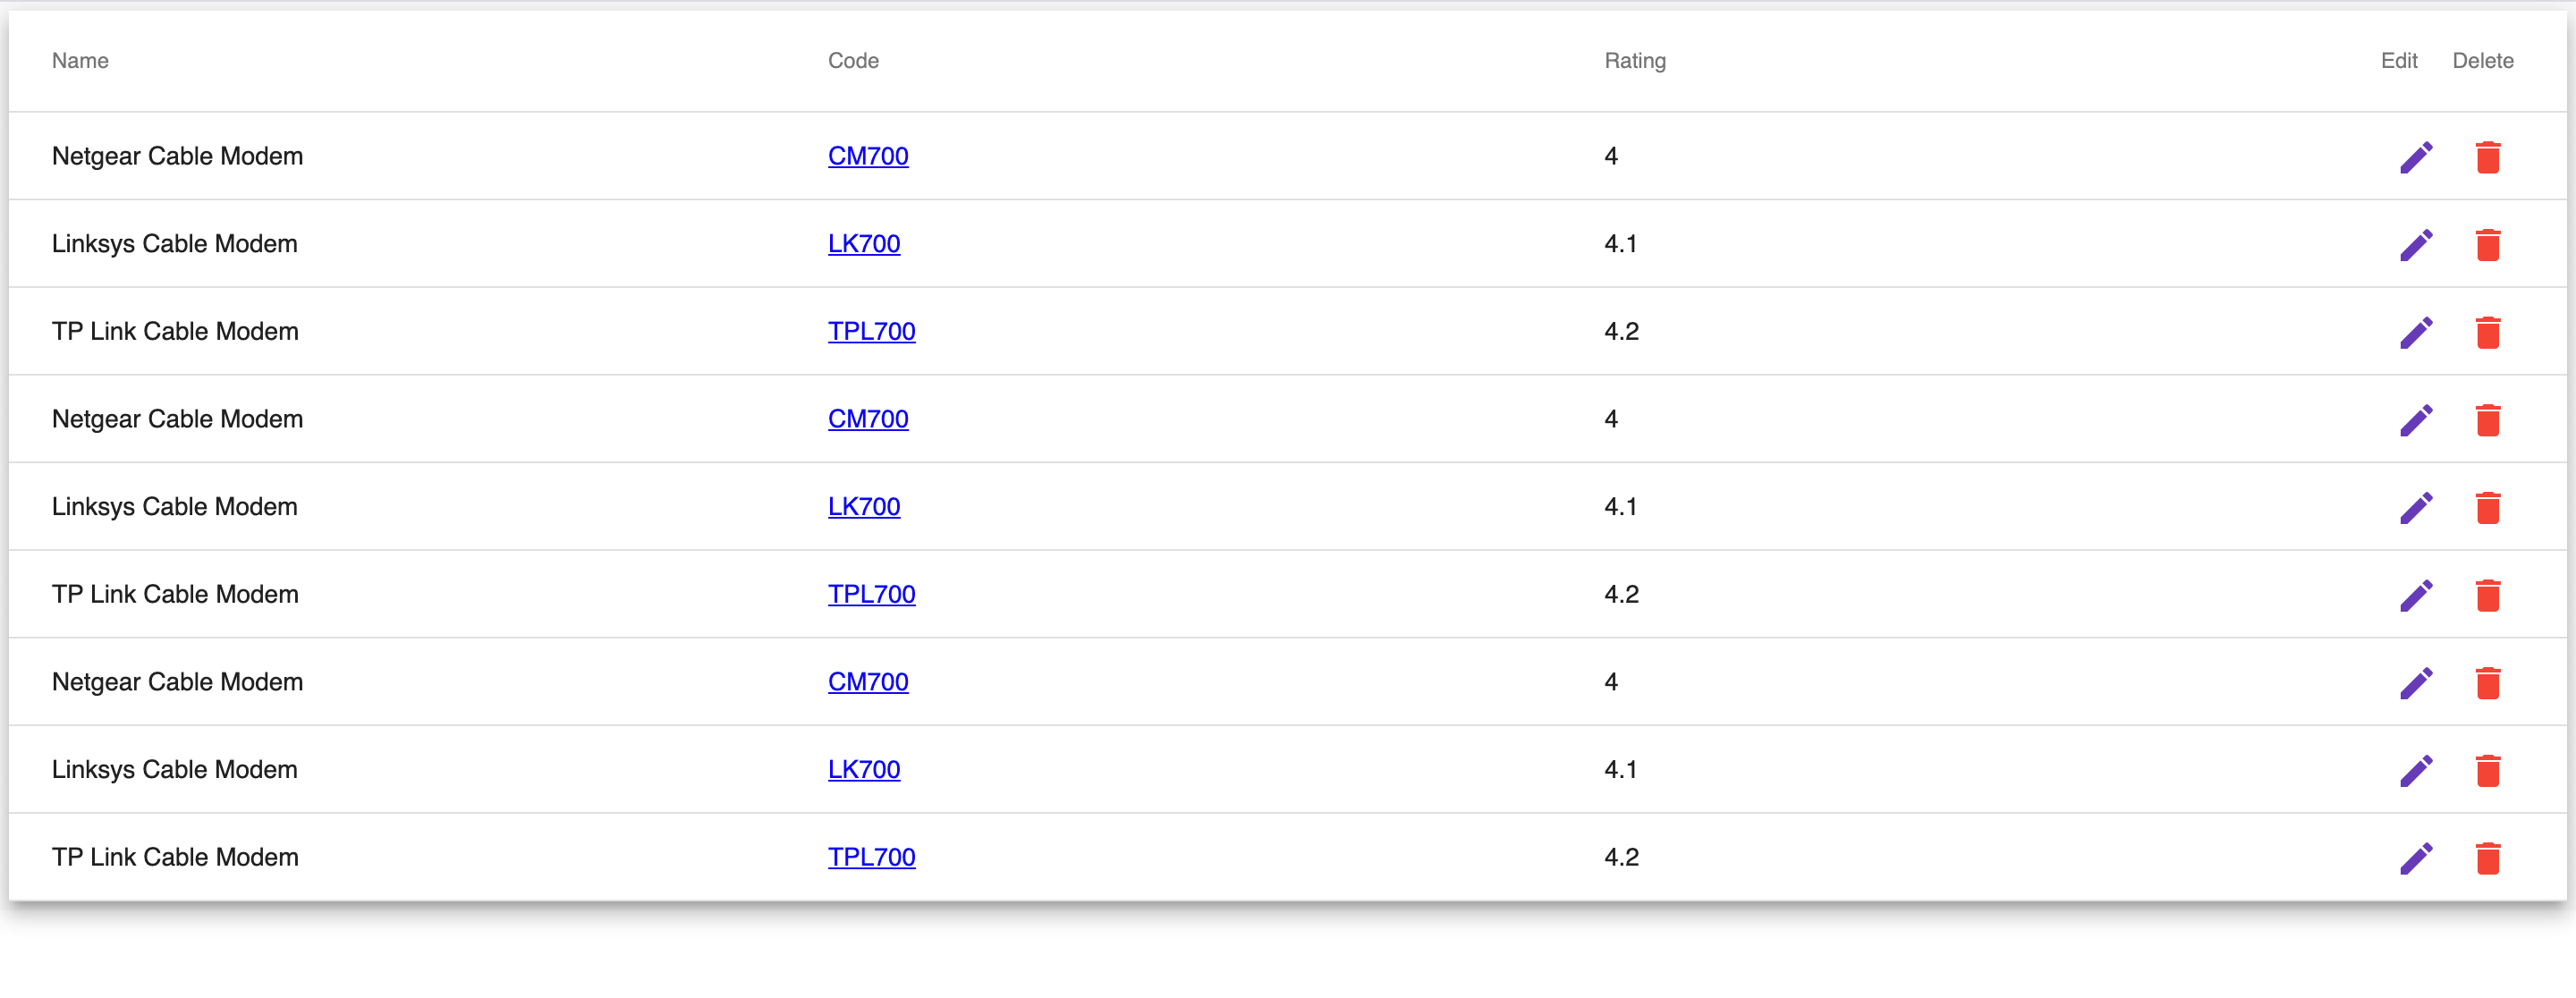
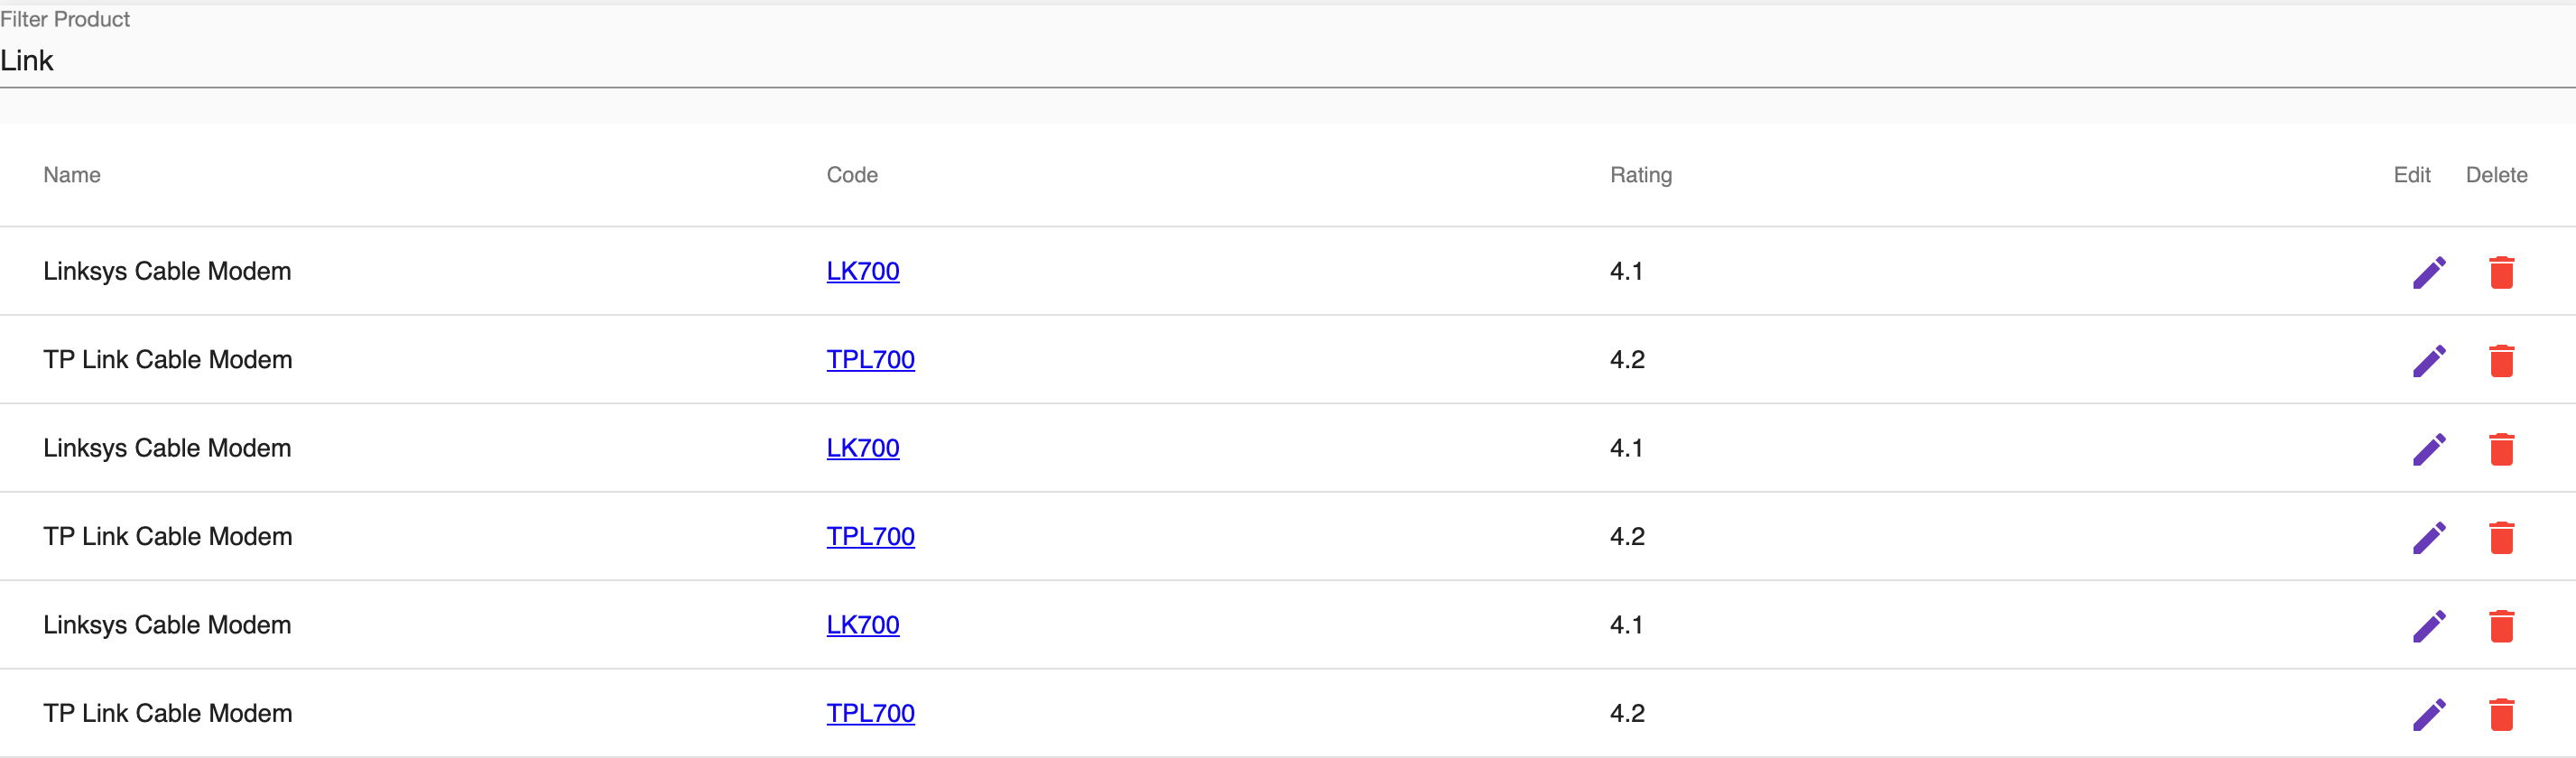
4. Filtering Material table:
Filtering is a very important part of any table. We can create a simple search functionality to search products from the product list. For this purpose create an input control which is mat input text. Now I prefer filter on focus out, So when the user end with writing filter and focus out then we will search from the data store.
<mat-form-field>

<mat-label>Filter Product</mat-label>

<input matInput type="text" [(ngModel)]="filterValue"

(blur)="filterProduct(filterValue)" placeholder="Search product name">

</mat-form-field>
Now when you write the above code you may get error for the unknown schema. So you have to import mat input module.
import {MatInputModule} from '@angular/material/input';
In component you can filter based on whatever product name you enter.
public filterProduct = (value: string) => {

this.dataSource.filter = value;

}
5. Server-side filter:
Similar to point 4 we can implement server-side filtering which will search all the data. It is very efficient when we are dealing with large data. Import MatProgressSpinnerModule and add in the root component. Add a async loading like below code:
//Add MatProgressSpinnerModule in root component import
import {MatProgressSpinnerModule} from '@angular/material/progress-spinner';

//Write async method in

<div class=”spinner-container” *ngIf=”dataSource.loading$ | async”>

<mat-spinner></mat-spinner>

</div>
Now once the API searches the product pageSize and products?.length will be set to the product count.
<mat-paginator [length]=”products?.length” [pageSize]=”{{pageSize}}" [pageSizeOptions]=”[5, 10, 15]”></mat-paginator>
Call API get the searched data. Also, set the pageSize property.
filterProduct(value: string):void{

this.serviceAPI.getDataByFilter(value).subscribe(response =>

{

this.dataSource= response['products'];
//Set page index
//Enable disable next button here
//this.pageSize

});

}
Conclusion:
This is the last resort. We have started from handcrafting html to creating data table with functionality. We have discussed following points:
-
Created material data table template, component
-
Discussed CSS and styling data table
-
Implementing material table sort and pagination
-
Implementing filter from the datasource
-
Server side filtering and pagination
Attaching StackBlitz code for reference.
https://stackblitz.com/edit/angular-maaterial-table-with-edit-delete?embed=1&file=main.ts
Check out the PrimeNG data table and implementing server side pagination.
Thanks and happy reading!
Comments
Loading comments…