
This tutorial will address the installation of Apache, a free, open-source, and immensely popular web server to CentOS 7. This installation will allow for the testing of webpages served via the Apache web server.
Prerequisites:
- Configure a non-root user with sudo privileges on CentOS 7
- Update the CentOS 7 Server
- Configure a basic firewall on CentOS 7
Step 1: Update the server
To run updates on the CentOS server, enter the following command:
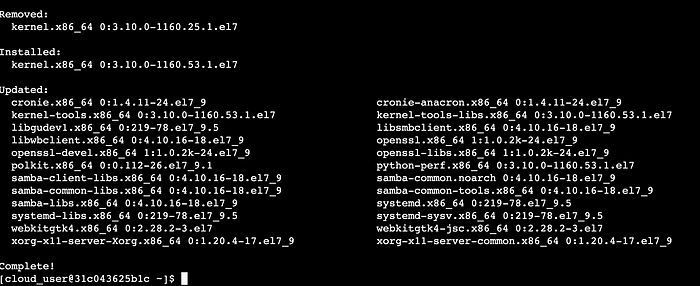
$ sudo yum update
This command will ensure all software is up to date and using the latest versions. The process should take a couple of minutes. The updates will be complete upon seeing this output in the terminal:
Step 2: Install a basic firewall
This step allows for Apache to run traffic through the Internet. Enter the command below to install the firewall.
$ sudo yum install firewalld
After entering this command and pressing “Enter”, the user will be prompted for a password and permission to install necessary packages.

After the installation is finished, the screen will read “Complete!” Next, run the command to enable the firewall:
$ sudo systemctl enable firewalld
Start the firewall by running this command:
$ sudo systemctl start firewalld
To ensure the firewall is running properly, complete a status check with this command:
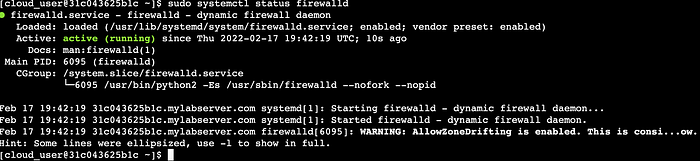
$ sudo systemctl status firewalld
The output should read that the firewall is “active (running)”.
Step 3: Install Apache and configure the firewall
First, enter the following command to install the web server:
$ sudo yum install httpd
Once complete, configure the default port for HTTP (80) and HTTPS (443) to run through the firewall using the following commands:
$ sudo firewall-cmd --permanent --add-service=http
$ sudo firewall-cmd --permanent --add-service=https
Pressing “Enter” after each entry should return “success”. In order for the changes to take effect, the user must reload with this command:
$ sudo firewall-cmd --reload
Step 4: Confirm Apache is running
Once receiving “success” after reloading the firewall, the following commands will start Apache and confirm its “active (running)” status:
$ sudo systemctl start httpd
$ sudo systemctl status httpd
The resulting output will be this:

Step 5: Confirm Apache is working properly
To test the connectivity of the Apache server, locate the user’s public IP address by using this command:
$ sudo curl ifconfig.me
The output should display the public IP address in the next line.

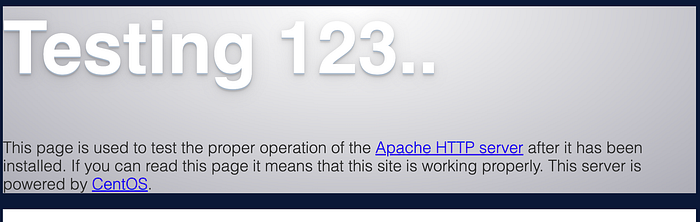
Copy the IP address and test it by entering it as http://your_server.public_ip in the browser’s search bar. When it displays the test page, the installation was a success!
That's it for this topic. Thank you for reading.
Comments
Loading comments…