
Preface
Progressive Web Apps (PWAs) have become increasingly popular, offering users a native app-like experience through a web application. By combining the power of Next.js, we can create a fast, scalable, and engaging web app.
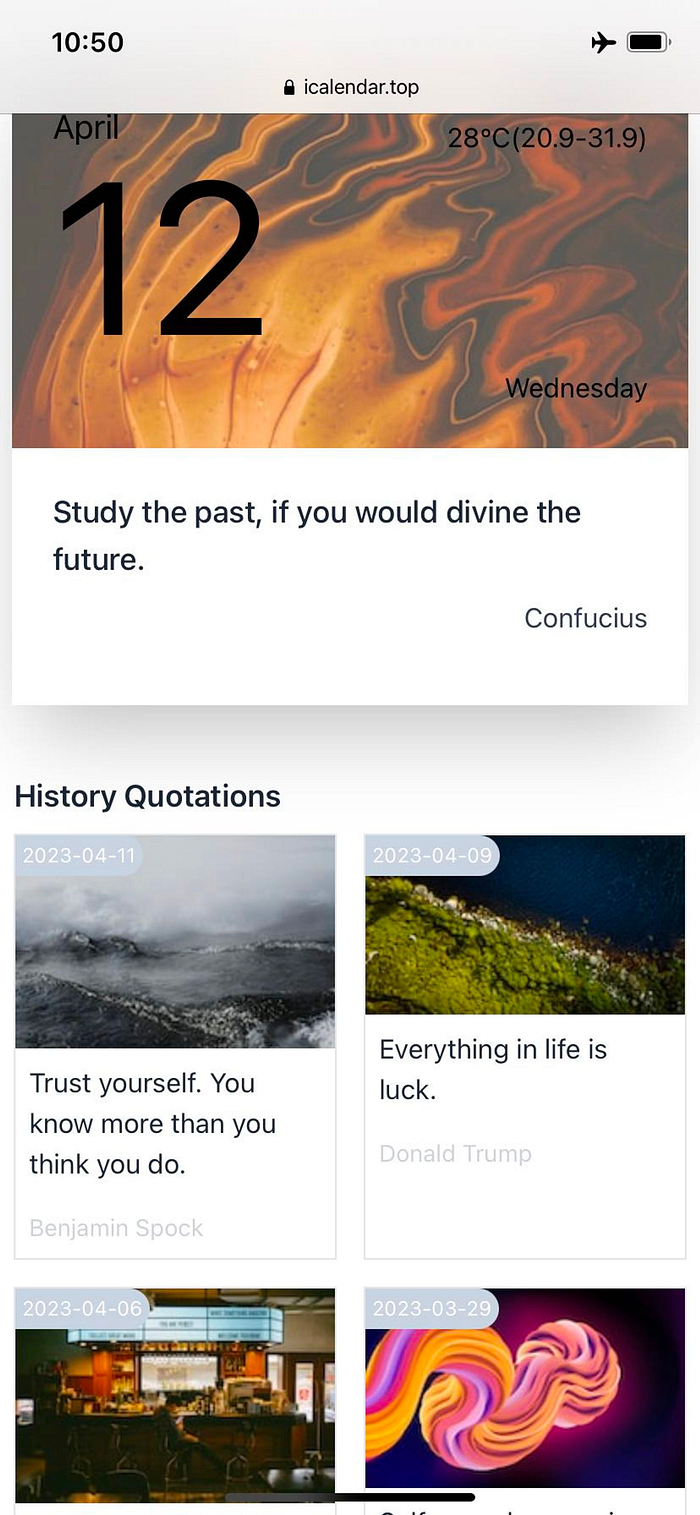
In the last month, I made a website for daily learning quotation that supports PWA.
In this tutorial, I will introduce how to set up a Next.js project with PWA features.
Step 1: Initialize a Next.js Project
First, let’s create a new Next.js project using the following command:
npx create-next-app nextjs-with-pwa --typescript
Then navigate to the new project folder and install dependencies:
cd nextjs-with-pwa
yarn
Step 2: Add necessary module
To add PWA capabilities to our Next.js app, we’ll use the next-pwa package:
yarn add next-pwa
Step 3: Configure Next.js PWA
Configure the next.config.js file at the root of your project with the following content:
const withPWA = require("next-pwa")({
  dest: "public",
  register: true,
  skipWaiting: true,
  disable: process.env.NODE_ENV === "development",
});
/** @type {import('next').NextConfig} */
const nextConfig = {
  reactStrictMode: true,
};

module.exports = withPWA(nextConfig);
This configuration tells next-pwa to generate the necessary service worker and store it in the public folder.
If you use git to manage the source code, you need to add below rules in the .gitignore file:
public/sw.js
public/workbox-*
Step 4: Create the Manifest File
Create a new file named manifest.json inside the public folder:
{
  "name": "Next.js PWA Demo",
  "short_name": "PWADemo",
  "description": "A Progressive Web App built with Next.js",
  "start_url": "/",
  "display": "standalone",
  "background_color": "#ffffff",
  "theme_color": "#000000",
  "icons": [
    {
      "src": "/icon-192x192.png",
      "sizes": "192x192",
      "type": "image/png"
    },
    {
      "src": "/icon-256x256.png",
      "sizes": "256x256",
      "type": "image/png"
    },
    {
      "src": "/icon-384x384.png",
      "sizes": "384x384",
      "type": "image/png"
    },
    {
      "src": "/icon-512x512.png",
      "sizes": "512x512",
      "type": "image/png"
    }
  ]
}
Add the PWA icons (icon-192x192.png and icon-512x512.png) to the public folder. These icons will be displayed when users install your PWA.
You can find icons from https://www.iconarchive.com> and try selecting an icon of size 512px.
And you can generate the manifest file by https://www.simicart.com/manifest-generator.html/ which will auto convert different size icon from your uploaded icon.
Step 5: Update _document.tsx to Add Head Meta
In the pages folder, open _document.tsx and add the following code inside the <Head> component:
<link rel="manifest" href="/manifest.json" />
<link rel="apple-touch-icon" href="/icon-512x512.png" />
<meta name="theme-color" content="#000" />
The file will look like below:
import { Html, Head, Main, NextScript } from "next/document";

export default function Document() {
  return (
    <Html lang="en">
      <Head>
        <link rel="manifest" href="/manifest.json" />
        <link rel="apple-touch-icon" href="/icon-512x512.png"></link>
        <meta name="theme-color" content="#000" />
      </Head>
      <body>
        <Main />
        <NextScript />
      </body>
    </Html>
  );
}
Step 6: Test the PWA Locally
Once you have completed all of above, we can test it locally. To test the PWA locally let’s first create a new build and then start a server locally:
yarn build
yarn start
Visit http://localhost:3000 , you can see a installable icon in the right corner of URL location. Click the icon to install locally, and you can launch the webiste from Launchpad on MacOS platform.
Next, we can deploy the project on server. The Vercel is recommended for it is the fastest way to deploy with zero configuration, you can refer to https://nextjs.org/docs/deployment#managed-nextjs-with-vercel
Finally
Thanks for reading! Here’s what my website looks like on my phone, and you can even visit it offline. Check it out using the link: https://www.icalendar.top/.
Comments
Loading comments…