
Under the components folder, create MyLink.js
import Link from "next/link";

import React from "react";

const MyLink = (props) => {
  let { href, children, active, ...rest } = props;

  return (
    <Link href={href}>
      <button
        {...rest}
        className={`${active && "bg-blue-500"} w-full rounded-md p-2`}
        href="/account-settings"
      >
        {children}
      </button>
    </Link>
  );
};

export default MyLink;
Actually, the content inside the Link component is copied from the MyDropdown.js except for item.name which changed to children
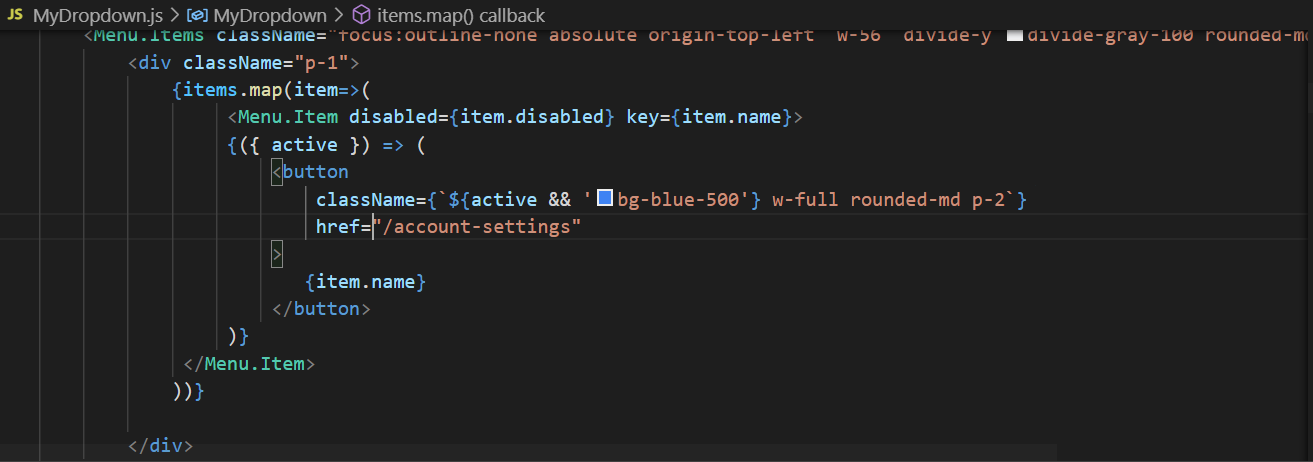
{
  items.map((item) => (
    <Menu.Item disabled={item.disabled} key={item.name}>
      {({ active }) => (
        <MyLink href={`${item.name}`} active={active}>
          {item.name}
        </MyLink>
      )}
    </Menu.Item>
  ));
}
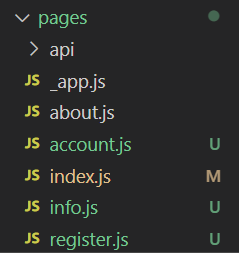
Then create the pages like account.js, info.js, register.js
A sample page is just like the following:
import React from "react";

const account = () => {
  return <div>account</div>;
};

export default account;
Remove the MyDropdown component from index.js.
export default function Home() {
  return <div>Home</div>;
}
Go to Layout.js, import the MyDropdown and add the blue background and h-screen class to the div.
import React from "react";

import MyDropdown from "./MyDropdown";

const Layout = ({ children }) => {
  return (
    <div className="bg-blue-100 h-screen">
      <MyDropdown />
      {children}
    </div>
  );
};

export default Layout;
Comments
Loading comments…