This is a step-by-step installation guide for Pentaho Data Integration. Well, why Pentaho Data Integration aka ‘Kettle’? Pentaho Data Integration (PDI) is an ETL (Extract, Transform, Load) tool to manage data ingestion pipelines. As we generate more and more data via various sources and formats, it gets difficult to manage the data pipelines for better decision making.

Manage your data pipelines from multiple sources
PDI is a useful tool to manage such pipelines seamlessly. I’ll be writing a series of blogs explaining the end-to-end process of creating configurable data ingestion pipelines for managing a variety of data structures and formats. We will start with the installation process first and end with deployment.

Pentaho Data Integration
PDI comes in two editions - Enterprise and Community. We will be using community version in this blog series so that everyone can follow along. So let’s cut the introduction and start with the actual process. Please note, since I use Windows laptop some steps will be specific to Windows OS users only. However, the majority of the same is OS independent.
Prerequisite:
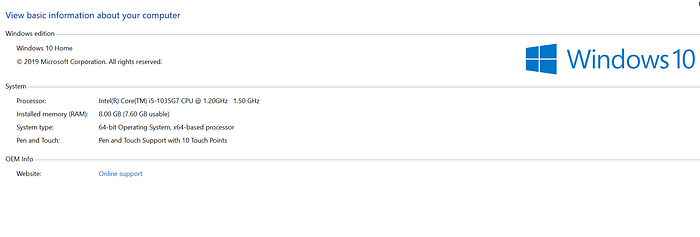
- Processor: Intel EM64T or AMD64 Dual-Core
- RAM: 8 GB with 2 GB dedicated to PDI - It can work on a 4GB RAM system as well. However, it is recommended to have an 8GB RAM system.
- Disk Space: 20 GB free after installation
- Screen size: 1280x 960 - Easy to view to PDI UI
How to check if you meet the above requirements? You can right-click on This PC to choose properties. You check the system configurations.
Step-1: PDI Download
Download the PDI-CE from SourceForge link at the time of writing this blog. PDI’s latest version is 9.0, you can download the latest stable version as per your requirements. The file name is ‘pdi-ce-9.0.0.0–423.zip’.

Click on the green button with title ‘Download Latest Version’ to download the .zip file
Step-2: Java Download
Download Java SE Development Kit 8 from the official website. Since PDI is built using Java as a programming language in the back-end. Download the version as shown in the below image. You will be prompted to sign-up by Oracle with basic information.

Step-3: Extract PDI .zip file and Install Java
1. PDI
Extract the PDI .zip file in a setup folder. It is recommended to store it in the non C drive (Since the size of the file is more than 1GB). Ideally, I create a folder ‘Application*’* in ‘D’ drive and store all the third-party applications in the same. Let’s go with the same approach here. There’s no executable file (.exe) that we need to run to install PDI, just the extraction of .zip file. Easy!

You will see the data-integration folder post-extraction
2. Java
Installation of Java is a simple process. We just need to double click the windows installer .exe file, agree to the terms and click next multiple times. Go with the default unless you need specific customizations.

You will see the above screen post clicking the .exe file
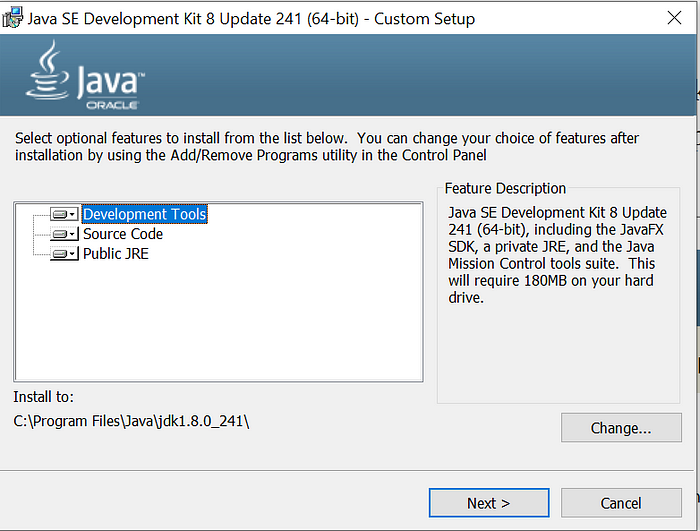
Please choose Development Tools option
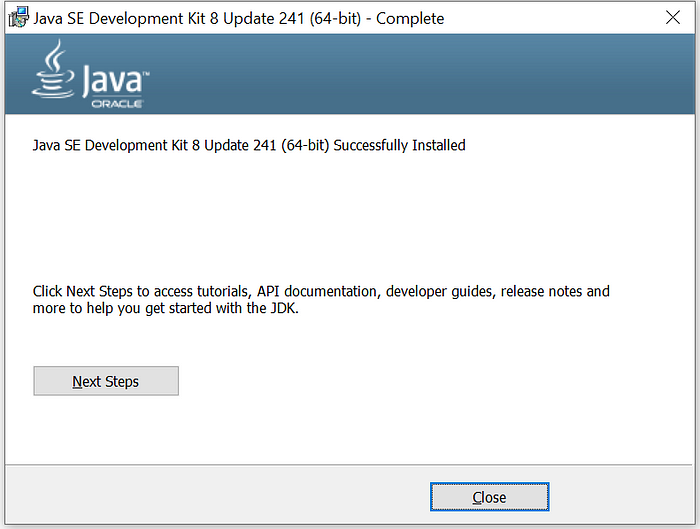
Successfully Installed JDK and JRE
Step-4: Add Environment Variables
We need to add the JAVA_HOME path on our environment variables. Now, this one is specific for Windows users only. We will have to go to start menu and type ‘environment variables’. Once you select the option, the below screen will be displayed, click on the ‘Environment Variables’ button.

We need to edit the system variables. Please make sure you have administrator rights
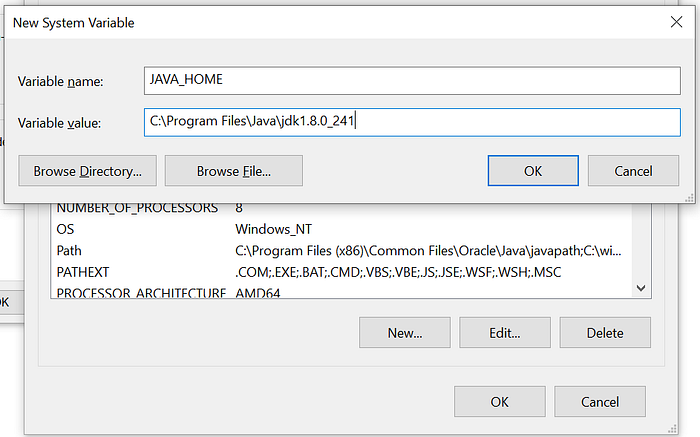
We need to provide the path to JDK file in variable value.

You can add JAVA_HOME variable by clicking on the New button
You can perform a quick check if the Java was installed properly by running java -version command in your command prompt.
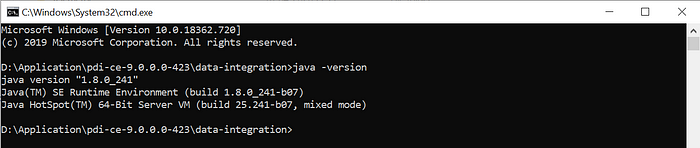
Please make sure the java version is above 1.8
Below process is optional
There is another batch file which lets you set up the environment-specific for PDI. However, I was able to run the spoon.bat file without following the below process. Please observe in case you are not able to run the file by following the above steps.
Where is this batch file located?
It’s within the extracted data-integration folder with the name set-pentaho-env.bat.

This is within the folder data-integration
What does this batch file do?
Well, it looks in well-known locations to find a suitable Java then sets two environment variables for use in other .bat files. The two environment variables are:
* _PENTAHO_JAVA_HOME — absolute path to Java home
* _PENTAHO_JAVA — absolute path to Java launcher (e.g. java.exe)
Step-5: Open Spoon - UI
Spoon is an important component of PDI. Spoon.bat file helps you open the user-friendly UI; which allows you to simply create complex data ingestion pipelines using drag-drop widgets.
Yes - we don’t have to write a single line of code to process the unstructured files; everything happens using simple widgets. However, we can write Javascript or Java code to create our widgets to handle special cases.
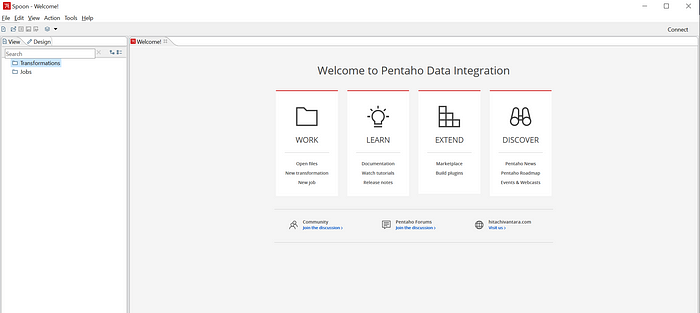
If you can see the above welcome screen on your PC; then yes, we have successfully installed PDI on your machine.
Conclusion
This is the beginning of a journey. I will walk you through the entire data ingestion process via a series of blog posts. This will cover from reading excel/csv files, performing calculation/transformation and loading the same in the database.
Comments
Loading comments…