Preface
Graphic editors play a crucial role across multiple industries, with a broad and profound impact on their applications. Web-based graphic design tools, exemplified by Figma, offer a platform for people to unleash their creativity. As the Web platform grows, emerging and maturing technologies like WebGL and WebGPU have opened up new possibilities for migrating traditional OpenGL graphic editing systems to the Web environment, significantly expanding the boundaries of innovation.
Developing a graphic editor is a complex engineering task that involves multiple aspects. The birth of Graphix is rooted in valuable business experience with 2d/3d graphic editors, and it aims to provide some tangible help to developers who are currently or about to embark on developing graphic editors.
What is Graphix?
Graphix is a lightweight, pluggable, OOP-style graphic editor development engine designed to address the fundamental infrastructure design issues of graphic editor development.
Term
Skeleton UI: Topbar, Toolbar, MainArea, LeftArea, RightArea.
Plugin: Typically used to extend the display of various editor panels.
Prototype: Node prototype configuration, used to describe the views, property setters, default property values, etc., of different types of graphic nodes in the editor.
Setting: Describes how the properties of graphic nodes are configured.
Graphic Render Engine: Used for the central area’s graphic canvas rendering, common 2d/3d rendering libraries include: Three.js, Babylon.js, Antv series, D3, etc.
Example
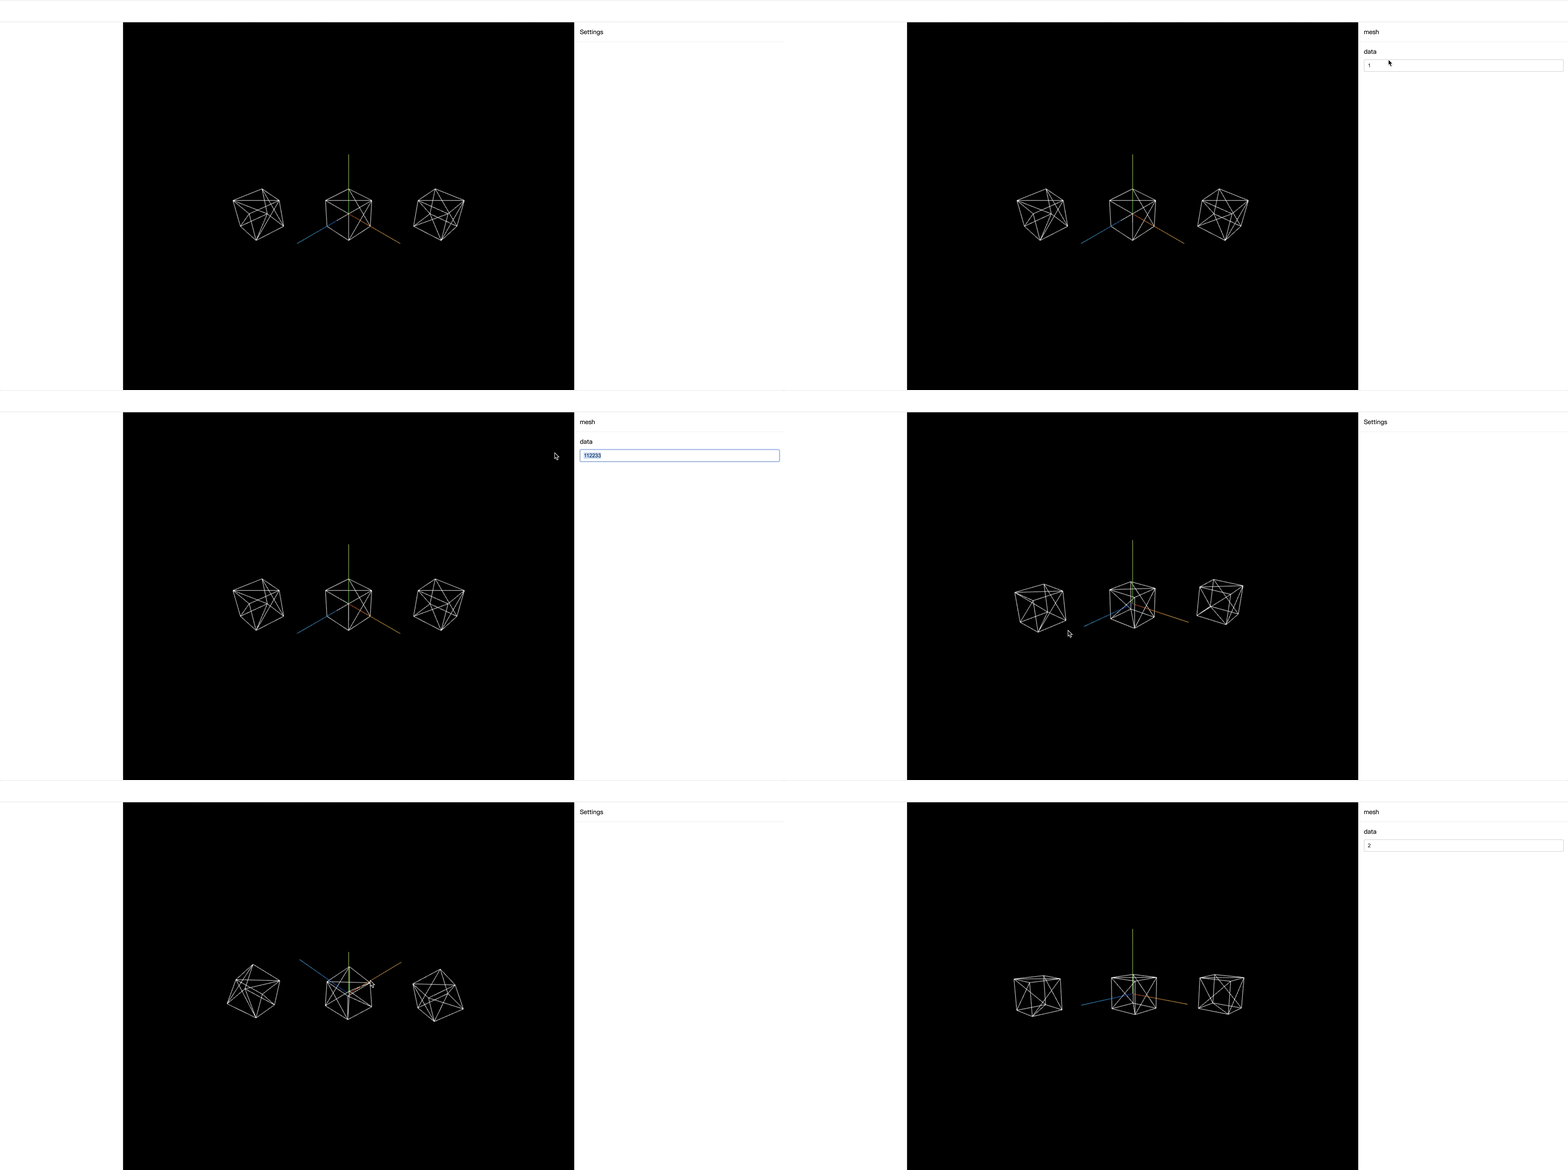
Graphix is independent of graphic rendering and can use any graphic rendering engine as necessary based on the scenario.


Design
GraphView = GraphRender(GraphixModel)
Graphix’s design is derived from reactive data-driven frameworks, ensuring that changes to the model directly guide the rendering process of the graphic view. In short, the graphic view (GraphView) is dynamically generated by the graphic renderer (GraphRender) based on the state of the Graphix model. Once this model-to-rendering binding is established, the logic of graphic interaction becomes pure and efficient — there’s no need to get involved in complex rendering logic, just focus on operating the model itself. For example, to update a node name, developers only need to adjust the property values of the Graphix node. In this collaborative environment, even developers who are unfamiliar with graphic rendering can easily participate.
The core principle is to transform complex graphic rendering logic into a simple model data structure problem, thereby providing a set of basic infrastructure design methods for editors around the model.

Editor Model
Graphix’s editor model is based on nodes. Whether it’s nodes/edges in a 2d scene or Mesh-like Object3D in 3d, in Graphix, they are all abstractly described as nodes. The data structure description of a Graphix node is also simple: Id, type, and corresponding node properties Props constitute a node.
interface NodeData {
  id?: string;
  type: string;
  props?: PropsData;
  [key: string]: any;
}
Once the node-based design tone is set, the Graphix model layer can provide many node-based capabilities:
- Timeline can provide undo and redo services for overall model changes.
- Selection can manage the selection of nodes.
- Prototype can be used to describe the visual representation, attribute configuration interface, and default attribute values of different types of graphic nodes. For example, in a Bpms process designer, the UserTask (manual approval) node, as a specific type, its prototype not only determines the node’s visual presentation but also specifies the configuration items in the property settings panel when the user selects the node and the default attribute set of that node type. These descriptive pieces of information are highly generalizable, providing a unified definition framework for different types of graphic nodes.
- …and more
Skeleton UI
The overall UI design of most editors is basically the same, typically including a Topbar, Toolbar, MainArea for the central canvas, RightArea for the right-side settings panel, etc. Graphix Skeleton views are responsive and extendable; panels can be added through the skeleton singleton.
import { skeleton } from 'graphix-engine';

skeleton.add({
  area: 'topbar',
  content: <div>A very cool title</div>
});
Plugin
The design of plugins is very lightweight, and their role is more about providing a better way to organize code. When an editor product developed based on Graphix needs to provide extensibility to third parties, encapsulating with plugins can be very practical.
import { pluginRegistry } from 'graphix-engine';

pluginRegistry.register(() => {
  return {
    name: 'haha-plugin',
    init() {
      console.log('haha')
    }
  }
});
JSON Schema
The essence of a graphic editor is editing JSON Schema in a visual way. The default Schema of Graphix is as follows, which can be converted into the required structure according to the business scenario.
{
  "id": "d94bc0d46131c",
  "type": "Demo",
  "version": "1.0.0",
  "props": {},
  "nodes": [
    {
      "id": "1",
      "type": "mesh",
      "props": {
        "position": { "x": -20, "y": 0, "z": 20 },
        "size": { "width": 10, "height": 10, "depth": 10 }
      }
    }
  ]
}
Startup
npm install graphix-engine --save-dev
The initialization startup logic of Graphix only has three steps:
- Parse the JSON schema used for initialization into an in-memory Graphix model instance.
- Execute the init hook of registered plugins.
- Render the skeleton UI.
import { init } from 'graphix-engine';

init({
  schema: {
    id: 'd94bc0d46131c',
    type: 'Demo',
    version: '1.0.0',
    props: {},
    nodes: [
      {
        id: '1',
        type: 'mesh',
        props: {
          position: { x: -20, y: 0, z: 20 },
          size: { width: 10, height: 10, depth: 10 }
        }
      }
    ]
  }
});
Ending
Here is the repository link: https://github.com/foginn/Graphix
Interested friends to communicate ~
Comments
Loading comments…