
This quick tutorial will show the steps for deploying a TypeScript step function composed of 3 lambdas. 1 lambda generates a random number, there is a 1-second wait then in the step function. Then there is a check if the generated number is greater or less than a pre-assigned number which is passed in when we invoke the step function. If the number is greater, 1 lambda is invoked, if it is less than or equal to that number, a different lambda is invoked.
There is no huge business case for a step function like this but it's a starter for implementing step functions using the TypeScript CDK.
This is an introductory tutorial and more work would be needed to make this production-ready but this tutorial will hopefully get you on your way.
Step 1: Install AWS CLI
Follow the steps on the following AWS Page to install the AWS — https://docs.aws.amazon.com/cli/latest/userguide/install-cliv2.html
If the AWS CLI install is successful, running the following command should yield results
aws --version
This should output results similar to the following (dependent on your OS and the version of the aws cli installed). If the AWS cli is not installed successfully, you will get a warning message
aws-cli/2.1.16
Step 2: Configure the AWS CLI
Follow the steps on the following AWS Page to configure the AWS CLI — https://docs.aws.amazon.com/cli/latest/userguide/cli-configure-quickstart.html#cli-configure-quickstart-config
This is important as it tells the AWS cli which aws account and region to use.
Step 3: Install Node.js
NodeJs is required as this is a typescript project and we will be using the typescript CDK.
Install NodeJs by following the instructions on the NodeJS website — https://nodejs.org/en/
Running the following command:
node --version
should yield results similar to the following (dependent on your OS and the version of node installed)
v14.17.3
Step 4: Install the AWS CDK
The AWS typescript cdk is required to work with the CDK.
Run the following command to install the CDK:
npm install -g aws-cdk
To validate the CDK is installed correctly, run the following command:
cdk --version
This should yield results similar to the following (dependent on your OS and CDK version installed):
1.115.0 (build f0ca40f)
Step 5: Setup CDK Project
Run the following command to create a new folder and cd into it:
mkdir cdk-statemachine && cd cdk-statemachine
Run the following command to initiate the CDK project:
cdk init app --language typescript
In a separate terminal window, run the watch command which will keep track of changes as we make them to the project:
npm run watch
Step 6: Install Lambda Constructs
The AWS CDK Lamda construct is required as we want to deploy a Lambda to our AWS accounts.
To install the aws-lambda construct, run the following command:
npm install @aws-cdk/aws-lambda
We also need to install a few more aws constructs that will be used for this tutorial — aws-stepfunctions and aws-stepfunctions-tasks
Run the following command to install these contructs:
npm install @aws-cdk/aws-stepfunctions
npm install @aws-cdk/aws-stepfunctions-tasks
Step 7: Create Required Lambdas
As mentioned there will be three lambdas required for this project:
-
One lambda generates a random number between 1 and a max pre defined number
-
Another lambda is called if the generated number is greater than a pre defined number to check
-
Another lambda is called if the generated number is less than or equal to a pre defined number to check
Create a folder in the root of your project (same level as bin and lib) called lambda.
Add a file to the lambda folder called generateRandomNumber.js (lambda/generateRandomNumber.js)
Inside generateRandomNumber.js — add the following content:
exports.handler = (event, context, callback) => {
  const generateRandom = (maxNumber) => Math.floor(Math.random() * maxNumber) + 1;
  callback(null, {
   "generatedRandomNumber": generateRandom(event.maxNumber),
   "maxNumber": parseInt(event.maxNumber),
   "numberToCheck": parseInt(event.numberToCheck)
  });
}
Add a file to the lambda folder called greater.js (lambda/greater.js).
Inside greater.js — add the following content:
exports.handler = (event, context, callback) => {
  callback(null, {"msg": "greater"});
};
Add a file to the lambda folder called greater.js (lambda/lessOrEqual.js).
Inside lessOrEqual.js — add the following content:
exports.handler = (event, context, callback) => {
   callback(null, {"msg": "lessOrEqual"});
};
This code is purely to demo the functionality offered by the CDK and deploying a stap function. Further work is required to make it production ready.
Step 8: Add lambdas to stack
We have now added our lambda code, but as of yet, it will not be picked up by the CDK.
In your favourite text editor, open the file lib/cdk-statemachine-stack.ts
At the top of the file, add the aws-lambda construct import below the aws-cdk/core import by adding this line:
import * as lambda from '@aws-cdk/aws-lambda';
import * as sfn from '@aws-cdk/aws-stepfunctions';
import * as tasks from '@aws-cdk/aws-stepfunctions-tasks';
Add the following line just above the constructor definition:
public Machine: sfn.StateMachine;
Replace the line
// The code that defines your stack goes here
with the following code:
// Lambda to generate a random number
const generateRandomNumber = new lambda.Function(this, 'GenerateRandomNumber', {
  runtime: lambda.Runtime.NODEJS_14_X,
  code: lambda.Code.fromAsset('lambda'),
  handler: 'generateRandomNumber.handler',
  timeout: cdk.Duration.seconds(3)
});

//Lambda invocation for generating a random number
const generateRandomNumberInvocation = new tasks.LambdaInvoke(this, 'Generate random number invocation', {
  lambdaFunction: generateRandomNumber,
  outputPath: '$.Payload',
});

// Lambda function called if the generated number is greater than the expected number
const functionGreaterThan = new lambda.Function(this, "NumberGreaterThan", {
  runtime: lambda.Runtime.NODEJS_14_X,
  code: lambda.Code.fromAsset('lambda'),
  handler: 'greater.handler',
  timeout: cdk.Duration.seconds(3)
});

// Lambda invocation if the generated number is greater than the expected number
const greaterThanInvocation = new tasks.LambdaInvoke(this, 'Get Number is greater than invocation', {
  lambdaFunction: functionGreaterThan,
  inputPath: '$',
  outputPath: '$',
});

// Lambda function called if the generated number is less than or equal to the expected number
const functionLessThanOrEqual = new lambda.Function(this, "NumberLessThan", {
  runtime: lambda.Runtime.NODEJS_14_X,
  code: lambda.Code.fromAsset('lambda'),
  handler: 'lessOrEqual.handler',
  timeout: cdk.Duration.seconds(3)
});

// Lambda invocation if the generated number is less than or equal to the expected number
const lessThanOrEqualInvocation = new tasks.LambdaInvoke(this, 'Get Number is less than or equal invocation', {
  lambdaFunction: functionLessThanOrEqual,
  inputPath: '$',
  outputPath: '$',
});

// Lambda invocation if the generated number is less than or equal to the expected number
const lessThanOrEqualInvocation = new tasks.LambdaInvoke(this, 'Get Number is less than or equal invocation', {
  lambdaFunction: functionLessThanOrEqual,
  inputPath: '$',
  outputPath: '$',
});
This code tells the CDK to deploy the lambdas that we previously created to our AWS Account. The lambda invoke statements are required for the state machine and are used to invoke the lambda as a task.
Step 9: Install Step Function
This snippet of code is used to install the actual step function which will use the lambdas that were created previously.
//Condition to wait 1 second
const wait1Second = new sfn.Wait(this, "Wait 1 Second", {
 time: sfn.WaitTime.duration(cdk.Duration.seconds(1)),
});

//Choice condition for workflow
const numberChoice = new sfn.Choice(this, 'Job Complete?')
.when(sfn.Condition.numberGreaterThanJsonPath('$.generatedRandomNumber', '$.numberToCheck'), greaterThanInvocation)
.when(sfn.Condition.numberLessThanEqualsJsonPath('$.generatedRandomNumber', '$.numberToCheck'), lessThanOrEqualInvocation).otherwise(lessThanOrEqualInvocation);

//Create the workflow definition
const definition = generateRandomNumberInvocation.next(wait1Second).next(numberChoice);

//Create the statemachine
this.Machine = new sfn.StateMachine(this, "StateMachine", {
  definition,
  stateMachineName: 'randomNumberStateMachine',
  timeout: cdk.Duration.minutes(5),
});
The first part creates a wait step — just purely to demonstrate how this step is added to the step function.
As mentioned previously, there is a choice step which invokes the correct lambda depending on the random number generated.
The definition ties all this together where the random number lambda is called followed by the wait and finally the lambda which says whether the random number is greater than or less than the number we passed to the step function is called.
Finally the last piece of code is what creates the Step Function / State machine.
The final version of the cdk-statemachine-stack.ts should look like this:
import * as cdk from '@aws-cdk/core';
import * as lambda from '@aws-cdk/aws-lambda';
import * as sfn from '@aws-cdk/aws-stepfunctions';
import * as tasks from '@aws-cdk/aws-stepfunctions-tasks';

export class CdkStatemachineStack extends cdk.Stack {

  public Machine: sfn.StateMachine;
 constructor(scope: cdk.Construct, id: string, props?: cdk.StackProps) {
   super(scope, id, props);

// Lambda to generate a random number
const generateRandomNumber = new lambda.Function(this, 'GenerateRandomNumber', {
  runtime: lambda.Runtime.NODEJS_14_X,
  code: lambda.Code.fromAsset('lambda'),
  handler: 'generateRandomNumber.handler',
  timeout: cdk.Duration.seconds(3)
});

//Lambda invocation for generating a random number
const generateRandomNumberInvocation = new tasks.LambdaInvoke(this, 'Generate random number invocation', {
  lambdaFunction: generateRandomNumber,
  outputPath: '$.Payload',
});

// Lambda function called if the generated number is greater than the expected number
const functionGreaterThan = new lambda.Function(this, "NumberGreaterThan", {
  runtime: lambda.Runtime.NODEJS_14_X,
  code: lambda.Code.fromAsset('lambda'),
  handler: 'greater.handler',
  timeout: cdk.Duration.seconds(3)
});

// Lambda invocation if the generated number is greater than the expected number
const greaterThanInvocation = new tasks.LambdaInvoke(this, 'Get Number is greater than invocation', {
  lambdaFunction: functionGreaterThan,
  inputPath: '$',
  outputPath: '$',
});

// Lambda function called if the generated number is less than or equal to the expected number
const functionLessThanOrEqual = new lambda.Function(this, "NumberLessThan", {
  runtime: lambda.Runtime.NODEJS_14_X,
  code: lambda.Code.fromAsset('lambda'),
  handler: 'lessOrEqual.handler',
  timeout: cdk.Duration.seconds(3)
});

// Lambda invocation if the generated number is less than or equal to the expected number
const lessThanOrEqualInvocation = new tasks.LambdaInvoke(this, 'Get Number is less than or equal invocation', {
  lambdaFunction: functionLessThanOrEqual,
  inputPath: '$',
  outputPath: '$',
});

//Condition to wait 1 second
const wait1Second = new sfn.Wait(this, "Wait 1 Second", {
 time: sfn.WaitTime.duration(cdk.Duration.seconds(1)),
});

//Choice condition for workflow
const numberChoice = new sfn.Choice(this, 'Job Complete?')
.when(sfn.Condition.numberGreaterThanJsonPath('$.generatedRandomNumber', '$.numberToCheck'), greaterThanInvocation)
.when(sfn.Condition.numberLessThanEqualsJsonPath('$.generatedRandomNumber', '$.numberToCheck'), lessThanOrEqualInvocation).otherwise(lessThanOrEqualInvocation);

//Create the workflow definition
const definition = generateRandomNumberInvocation.next(wait1Second).next(numberChoice);

//Create the statemachine
this.Machine = new sfn.StateMachine(this, "StateMachine", {
  definition,
  stateMachineName: 'randomNumberStateMachine',
  timeout: cdk.Duration.minutes(5),
});
  }

}
Step 10: Setup AWS Environment For CDK
The very first time you install a CDK stack to an AWS environment, you need to set it up with a bootstrap stack.
This stack can be installed by running the following command:
cdk bootstrap
Step 11: Deploy Random Number Step Function to AWS Account
This step will take all the code we just worked with and deploy it to our AWS Account.
We simply need to just run the following command to tell the CDK to deploy our changes:
cdk deploy
When prompted to accept the changes — enter y.
Step 12: Test functionality
In this section, we will use the Step Functions UI on the AWS console to test what we have deployed.
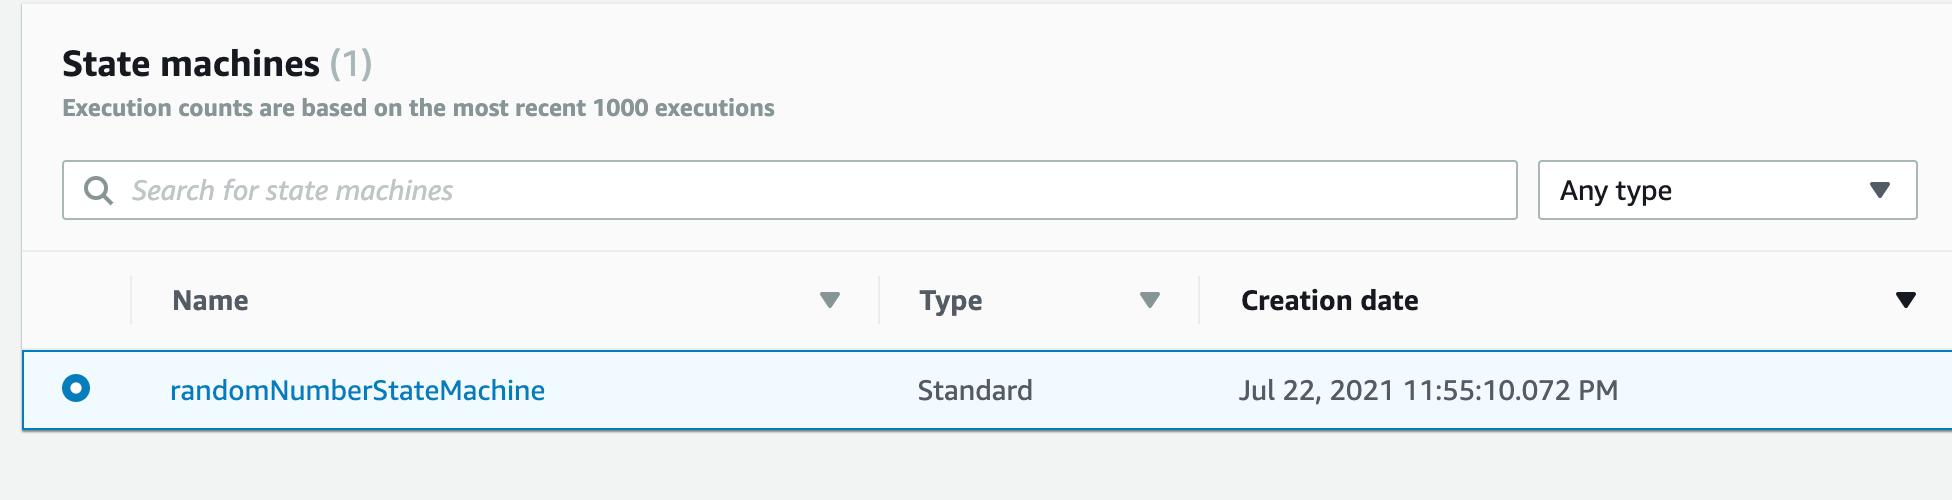
Navigate to the Step Functions Screen.
Select the state machine called randomNumberStateMachine.
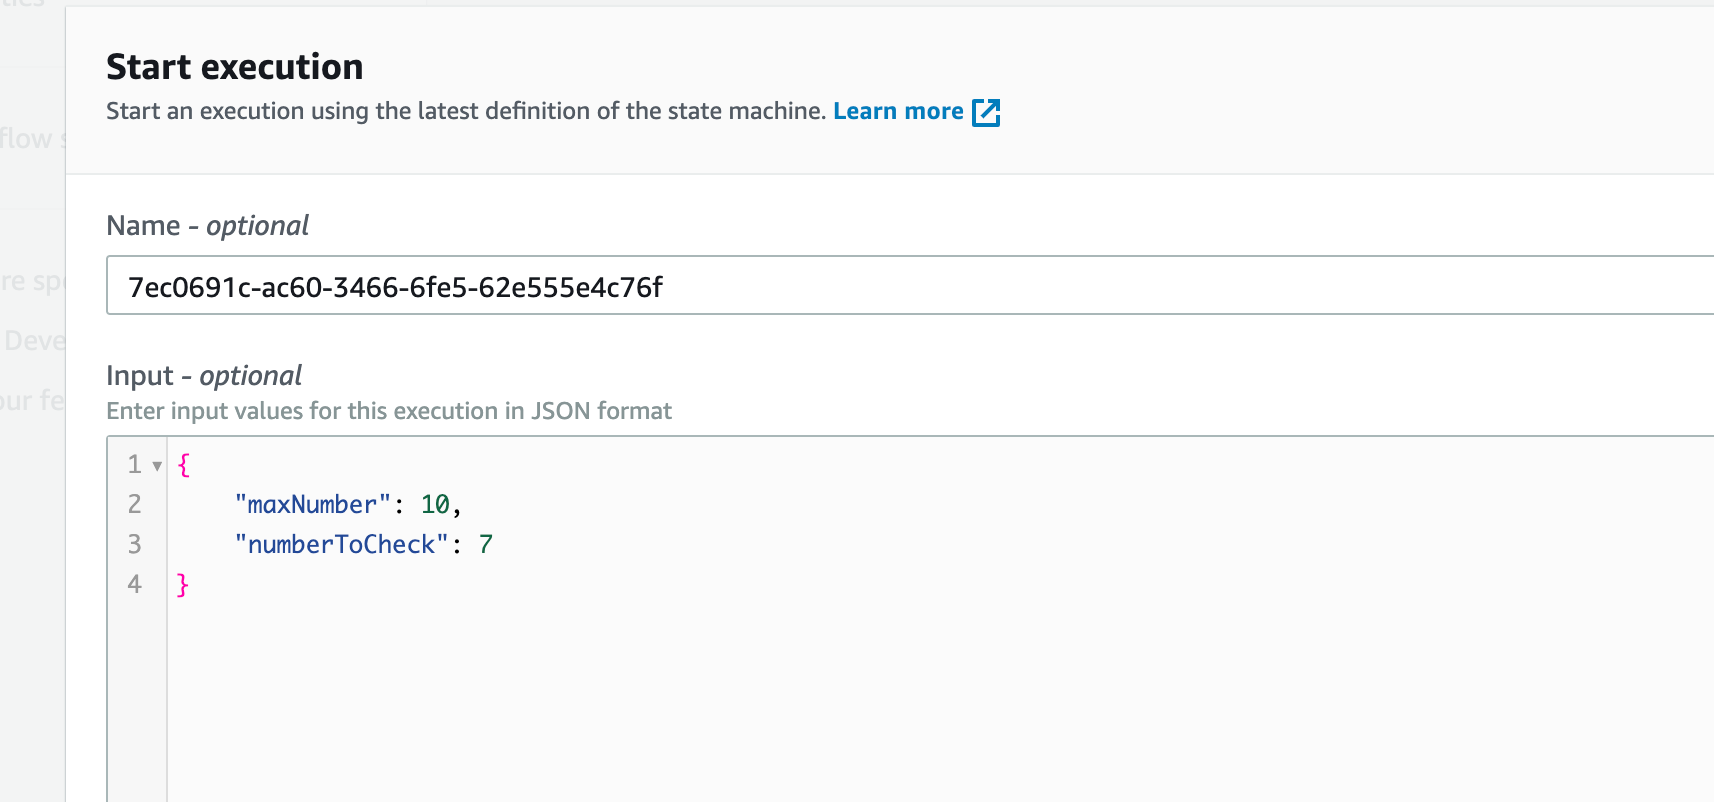
Click button on top right called “Start Execution”.

For input — enter the following text:
{
  "maxNumber": 10,
  "numberToCheck": 7
}
Click Start Execution on the bottom right of the screen.
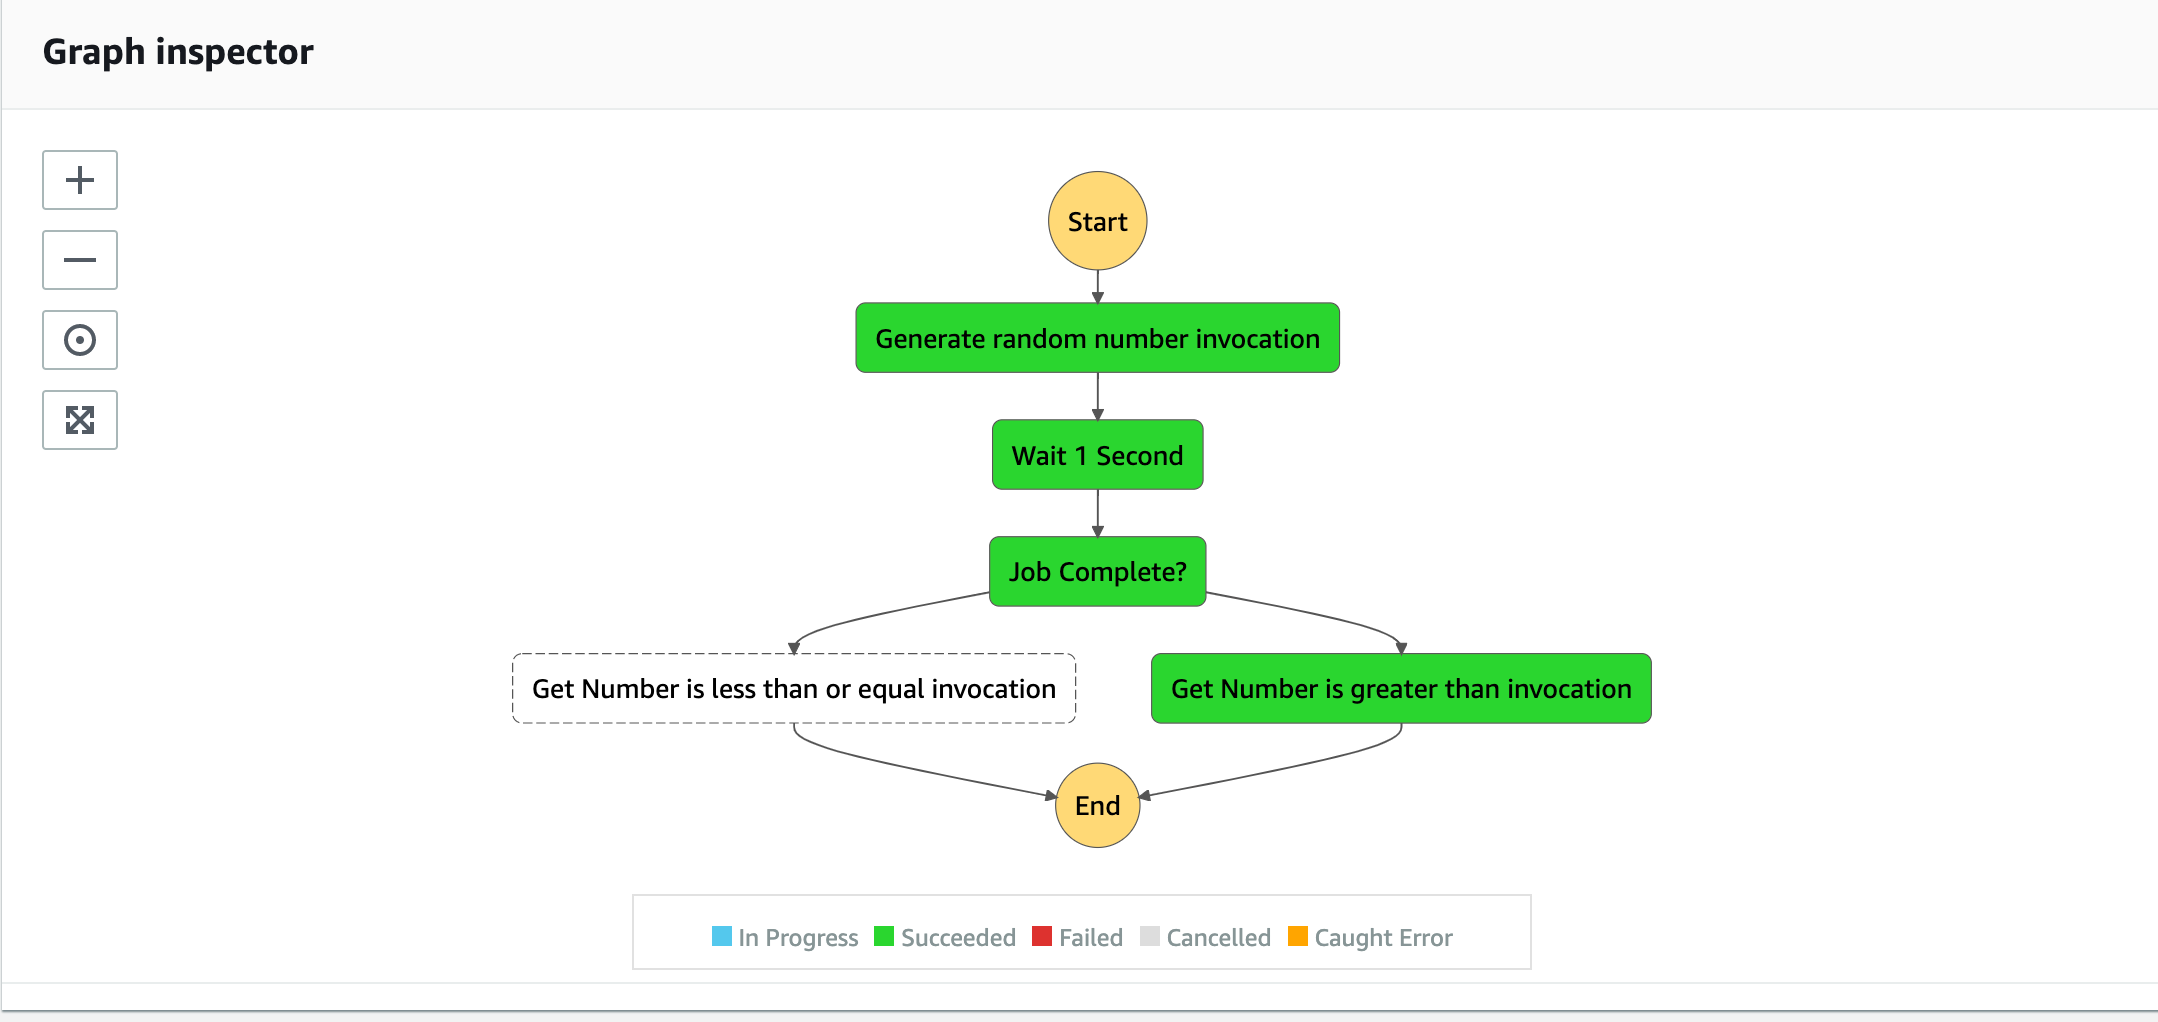
If the generated number is less than or equal to the random number generated, the graph inspector will look like this:
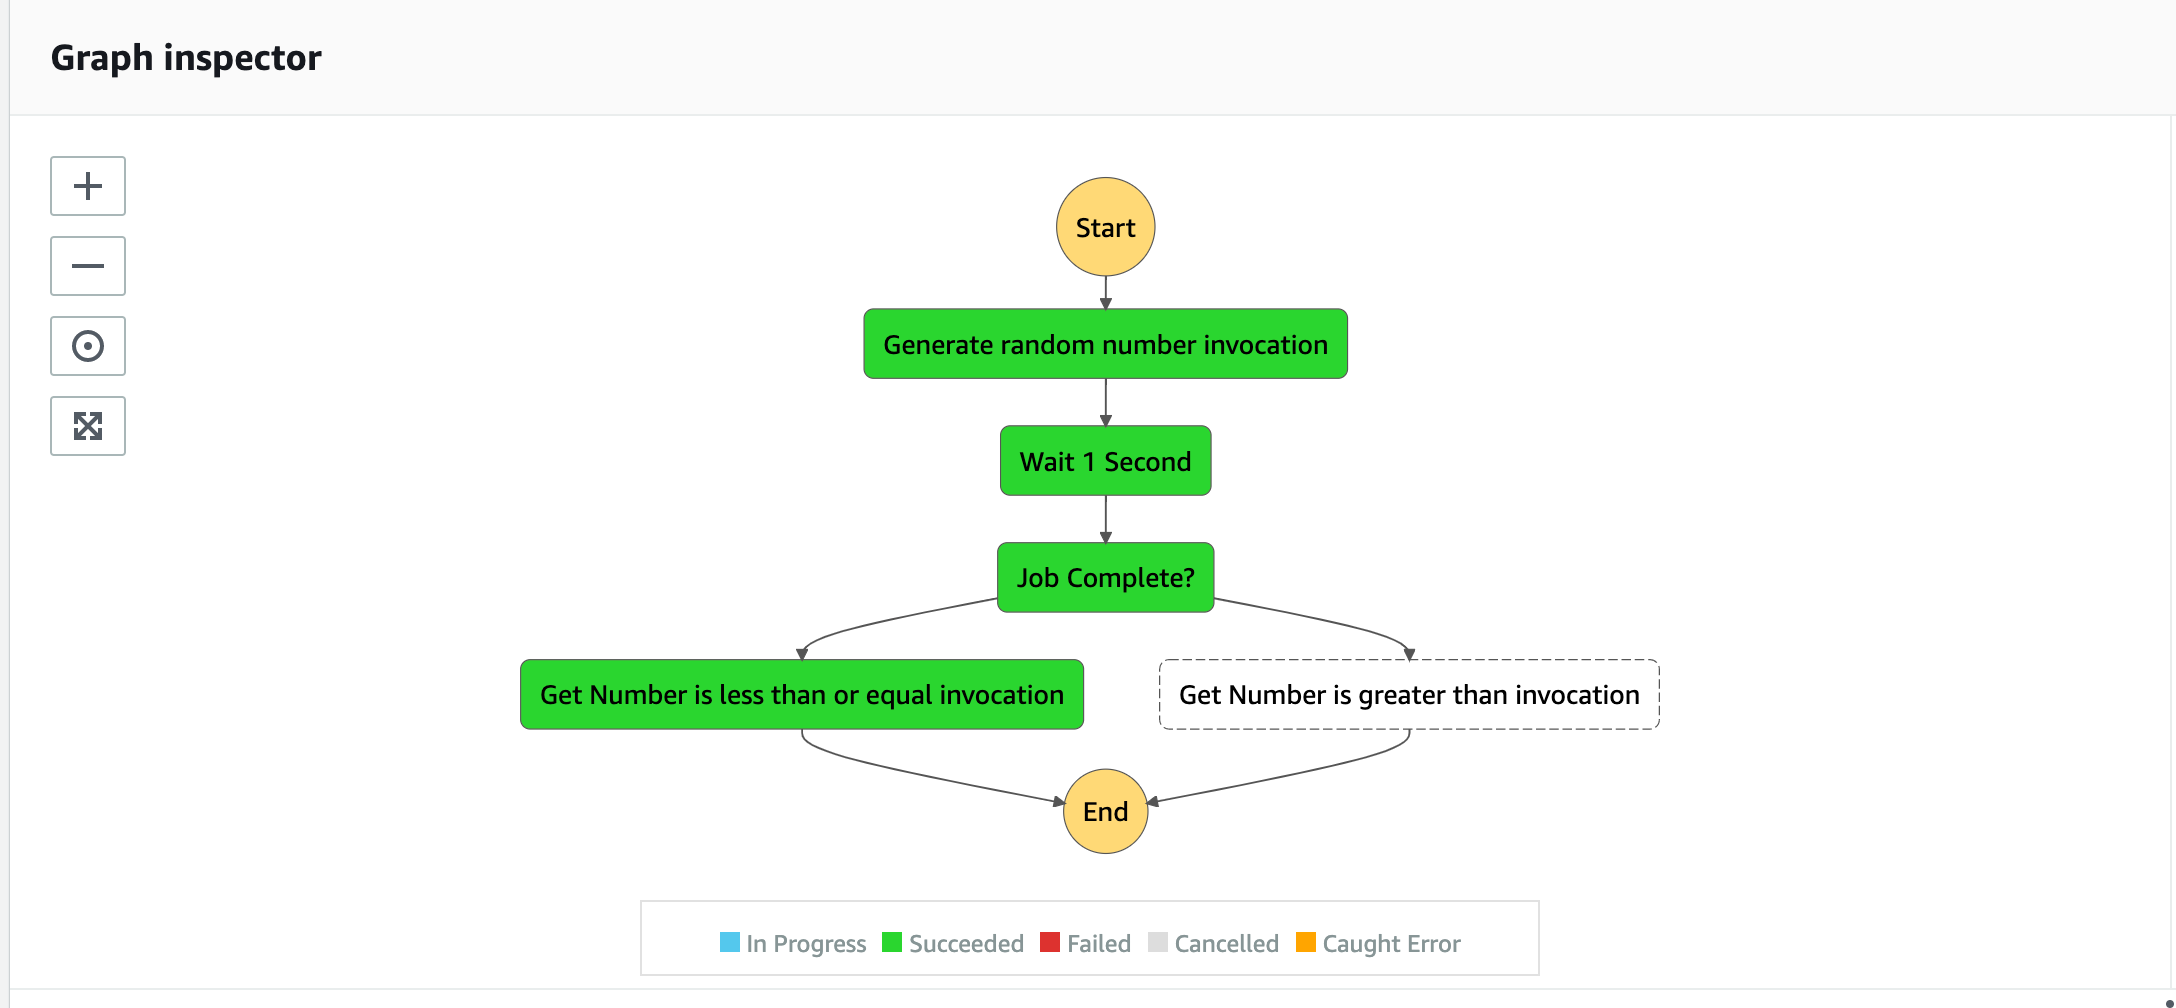
If the generated number is greater than the random number generated, the graph inspector will look like this:
Step 13: Delete AWS Resources
Now that this tutorial is complete, you may want to remove the resources in order to keep your AWS account tidy.
To delete all generated AWS resources from your account, run the following command:
cdk destroy
When prompted to accept that you want to delete the resources — enter y.
Conclusion
This tutorial showed how to set up the AWS TypeScript CDK and deploy a random number checker to an AWS Step Function.
As mentioned at the start, this code is not production-ready and is just an intro tutorial.
If you wish to view the code for this tutorial — it is available here — https://github.com/damogallagher/typescript-stepfunctions-cdk/tree/develop.
Note: There will be a follow-up tutorial in the near future showing how to trigger this step function using the API Gateway. The link will be added to the bottom of this tutorial when that is available.
Comments
Loading comments…