Imagine if you could get a concise video summary, review it to determine whether it’s worth watching, extract step-by-step guidance so you could easily follow along, and at the end, generate a quiz to test your understanding. Wouldn’t that be awesome?
In this tutorial, we will build exactly that!
Thank you Viktoria Semaan
Solution Overview
This tutorial consists of 4 parts:
- Part 1 — Setup: SageMaker Studio Lab and OpenAI API keys
- Part 2 — Obtaining a YouTube video transcript
- Part 3 — Summarizing and translating a transcript using ML models
- Part 4 — Extracting steps and creating a quiz using ChatGPT APIs
Let’s get started!
Part 1 — Setup: SageMaker Studio Lab and OpenAI API Keys
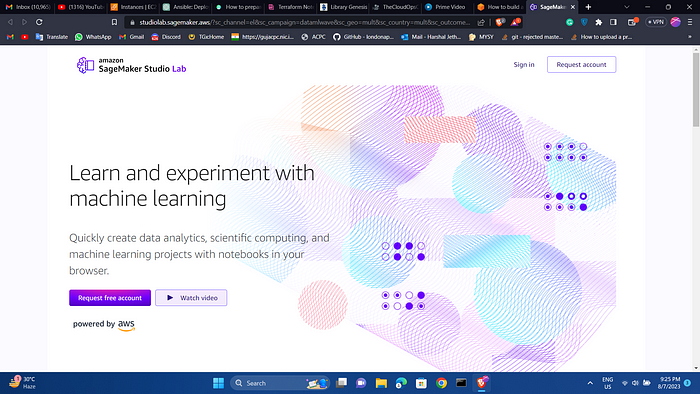
To get started, go to the Studio Lab landing page and click Request free account. Fill in the required information in the form and submit your request. You will receive an email to verify your email address. Follow the instructions in the email.
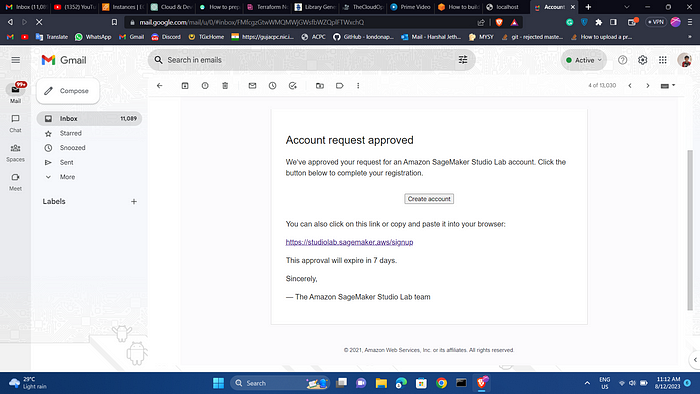
You will get this type of confirmation mail fro your account after maximum 7 days.
In this tutorial, we will be utilizing the GPT-3.5 Turbo model. As shown in the table below, API calls for this model are priced at a fraction of a cent. With the free credit of $5, you will be able to run hundreds of experiments at no cost!
Part 2 — Obtaining a YouTube Video Transcript
Once you have obtained access to the Studio Lab, sign into Amazon SageMaker Studio Lab.
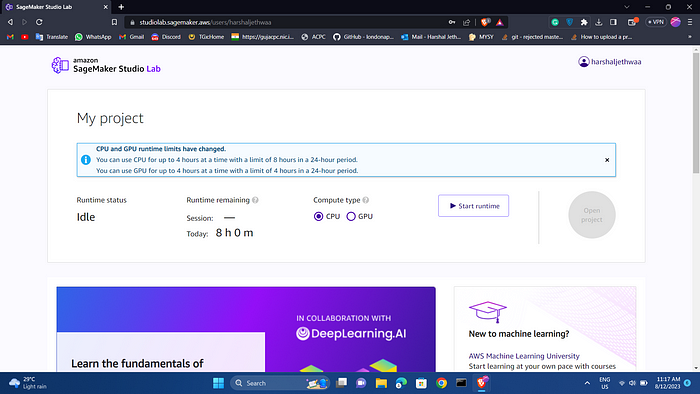
Under My Project, you can select a compute type and start project runtime based on a cloud compute instance. Studio Lab provides the option to choose between a CPU (Central Processing Unit) designed for compute intensive algorithms and a GPU (Graphical Processing Unit) which is recommended for deep learning tasks, particularly transformers and computer vision.
Select GPU instance; it will significantly reduce execution time. Click Start runtime. Then click Open project. You may be required to solve a CAPTCHA puzzle when you start runtime. If at any moment you need to take a break, click Stop runtime as GPU usage is limited to 4 hours per day. Your work will be saved.
A project contains files and folders, including Jupyter notebooks. The image below shows the Studio Lab Launcher. Click on default: Python under Notebook. A new notebook will be created.
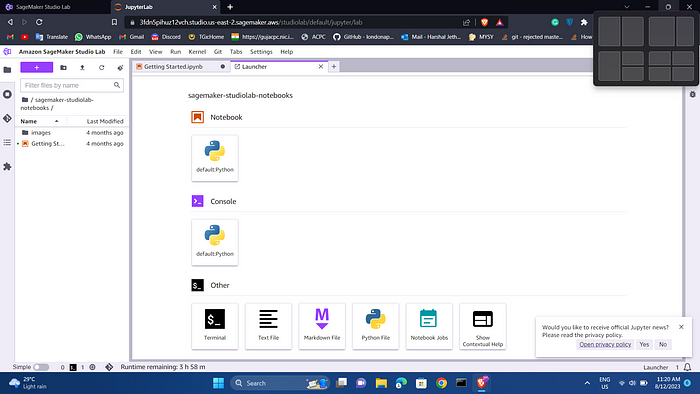
Let’s give the notebook a name and save it. From the Studio Lab menu, choose File, choose Save File As, and then choose folder and give it name. For example, buid-ai.ipynb.
First, we will use pip to install all the packages required to complete this tutorial. Copy the code provided below and paste and click the Play button at the top to execute it.
#installing libraries

!pip install python-dotenv
!pip install openai
!pip install openai-whisper openai yt-dlp
!pip install youtube_dl
!pip install youtube_transcript_api
!pip install torchaudio
!pip install sentencepiece
!pip install sacremoses
pip install transformers
Next, let’s import all the necessary dependencies. Copy and run the following code:
#importing dependencies

import re
from youtube_transcript_api import YouTubeTranscriptApi
import torch
import torchaudio
import openai
import textwrap
from transformers import pipeline
We’ve completed all the required setup!
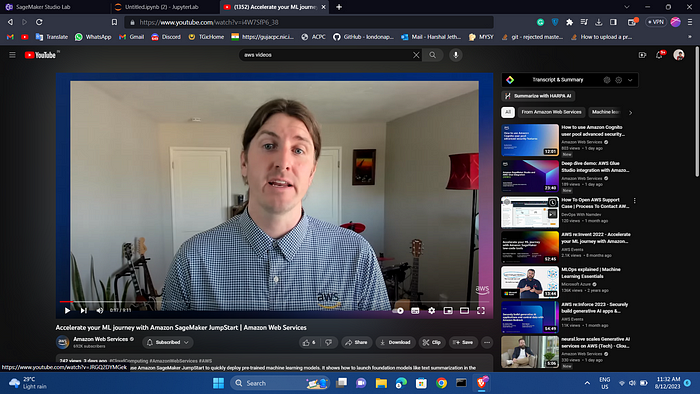
Now we’re ready to work on the second task as marked on the solution overview, which is to obtain a transcript of a YouTube video. I used aws SageMaker video
You can choose a different video and replace the link in the youtube_url variable. To get a YouTube video URL, copy the URL up to the "&" sign, as shown in the screenshot below.
Copy and run the following code:
# Specify the YouTube video URL
youtube_url = "https://www.youtube.com/watch?v=i4W7SfP6_38"
# Extract the video ID from the URL using regular expressions
match = re.search(r"v=([A-Za-z0-9_-]+)", youtube_url)
if match:
video_id = match.group(1)
else:
raise ValueError("Invalid YouTube URL")
# Get the transcript from YouTube
transcript = YouTubeTranscriptApi.get_transcript(video_id)
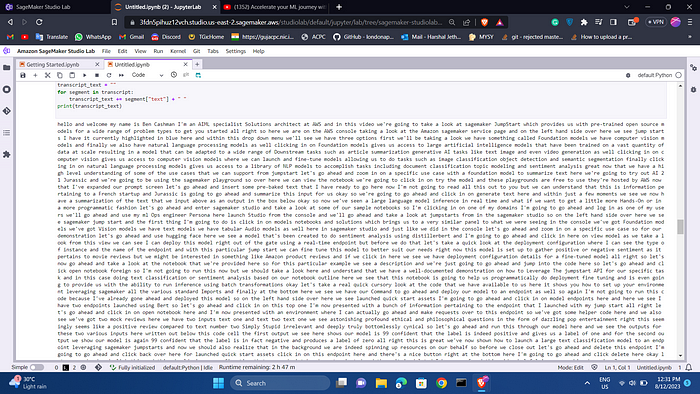
# Concatenate the transcript into a single string
transcript_text = ""
for segment in transcript:
transcript_text += segment["text"] + " "
print(transcript_text)
Part 3 — Summarizing and Translating a Transcript Using ML Models
Now that we have the full transcript of the YouTube video, we can proceed to utilize open-source models for natural language processing tasks, such as summarization, translation, and more. These models will help us to extract valuable insights from the transcript.
Let’s assume that English is not your first language, and you would like to translate the YouTube transcript to Spanish. To achieve this, we can utilize a pre-trained machine-learning model specifically designed for translation.
from transformers import pipeline
# Replace this with your own checkpoint
model_checkpoint = "Helsinki-NLP/opus-mt-en-es"
translator = pipeline("translation", model=model_checkpoint)
# Define the maximum sequence length
max_length = 512
# Split the input text into smaller segments
segments = [transcript_text[i:i+max_length] for i in range(0, len(transcript_text), max_length)]
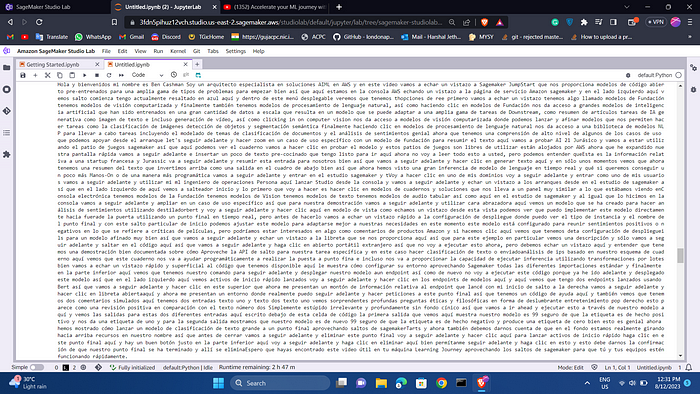
# Translate each segment and concatenate the results
translated_text = ""
for segment in segments:
result = translator(segment)
translated_text += result[0]['translation_text']
print(translated_text)
Next, we will proceed with summarizing the video using a pre-trained model for text summarization. In this case, I will be using the original transcript in English. However, if you choose to continue with a translated transcript, you can replace the transcript_text variable with the translated_text variable that contains the translated text.
from transformers import pipeline, AutoTokenizer

# Instantiate the tokenizer and the summarization pipeline
tokenizer = AutoTokenizer.from_pretrained('stevhliu/my_awesome_billsum_model')
summarizer = pipeline("summarization", model='stevhliu/my_awesome_billsum_model', tokenizer=tokenizer)

# Define chunk size in number of words
chunk_size = 200 # you may need to adjust this value depending on the average length of your words

# Split the text into chunks
words = transcript_text.split()
chunks = [' '.join(words[i:i+chunk_size]) for i in range(0, len(words), chunk_size)]

# Summarize each chunk
summaries = []
for chunk in chunks:
    # Summarize the chunk
    summary = summarizer(chunk, max_length=100, min_length=30, do_sample=False)

    # Extract the summary text
    summary_text = summary[0]['summary_text']

    # Add the summary to our list of summaries
    summaries.append(summary_text)

# Join the summaries back together into a single summary
final_summary = ' '.join(summaries)

print(final_summary)
We were able to get a concise summary of the video’s content, excluding any sponsorships, advertisements, or other extraneous information.
Part 4 — Extracting Steps and Creating a Quiz Using ChatGPT APIs
To integrate and use Open AI models in your application, you need to register an OpenAI account. Once you have completed the registration and sign-up process, you will need to create an API key. This API key is essential as it enables you to send requests to OpenAI from third-party services.
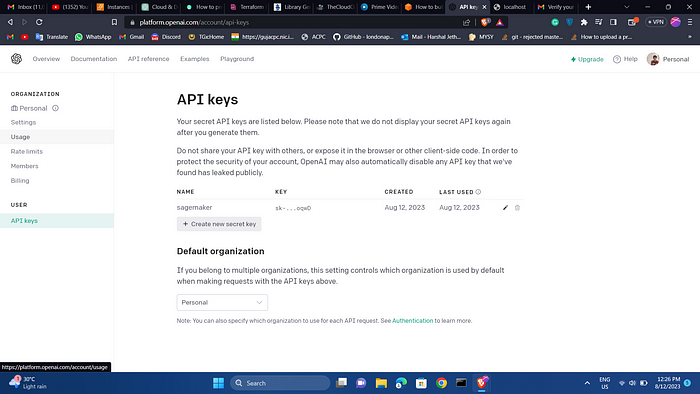
Navigate to the OpenAI API keys page and click Create new secret key. Provide a name, copy the key and save it. You won’t be able to access the key again!
replace the value within the quotation marks for the openai.api_key variable in your code.
def split_text_into_chunks(text, max_chunk_size):
    return textwrap.wrap(text, max_chunk_size)

openai.api_key = "provide your key here"
max_chunk_size = 4000

transcript_chunks = split_text_into_chunks(transcript_text, max_chunk_size)
summaries = ""

for chunk in transcript_chunks:
    response = openai.ChatCompletion.create(
        model="gpt-3.5-turbo-16k",
        messages=[
            {"role": "system", "content": "You are a helpful assistant."},
            {"role": "user", "content": f"{chunk}\n\nCreate short concise summary"}
        ],
        max_tokens=250,
        temperature=0.5
    )

    summaries += response['choices'][0]['message']['content'].strip() + " "

print("Summary:")
print(summaries)
response = openai.ChatCompletion.create(
model="gpt-3.5-turbo-16k",
messages=[
{"role": "system", "content": "You are a technical instructor."},
{"role": "user", "content": transcript_text},
{"role": "user", "content": "Generate steps to follow from text."},
]
)

# The assistant's reply
guide= response['choices'][0]['message']['content']

print("Steps:")
print(guide)
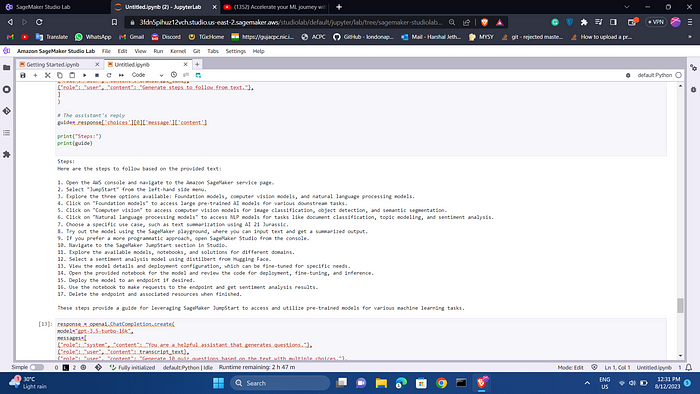
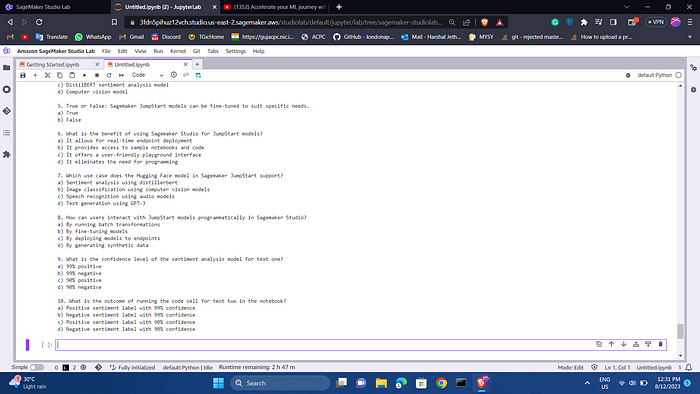
To finish our experiment, let’s generate a quiz based on the materials covered in the video. The quiz will assess our understanding of the content.
response = openai.ChatCompletion.create(
model="gpt-3.5-turbo-16k",
messages=[
{"role": "system", "content": "You are a helpful assistant that generates questions."},
{"role": "user", "content": transcript_text},
{"role": "user", "content": "Generate 10 quiz questions based on the text with multiple choices."},
]
)

# The assistant's reply
quiz_questions = response['choices'][0]['message']['content']

print("Quiz Questions:")
print(quiz_questions)

You will see a quiz with 10 questions generated to test your knowledge. This can be especially helpful if you are preparing for exams. You can modify a prompt to explain the right answers.
Reference:
How to build a ChatGPT-Powered AI tool to learn technical things fast
Thank you to ViktoriaSemaan
Follow me:
Linkedin: https://www.linkedin.com/in/harshaljethwa/
GitHub: https://github.com/HARSHALJETHWA19/
Twitter: https://twitter.com/harshaljethwaa
Thank You!
Comments
Loading comments…