
We have finally made it to the last lecture of our complete invoicing web application that we built with Django and Bootstrap5. This is the third article in a series of 3. You do need to read the first two so you can follow along. The idea is to give you a complete, step-by-step guide on creating your own Invoicing Application — that you can use to create pdf invoices and email them directly from your app.
-
Github Page — Code Example for Python Django Invoice Generator Application
-
Youtube Video — Step by step guide on creating the invoice generator app
Previous Articles
Lesson one — Python Django Invoice App
Lesson two — Setup Django app, models or invoicing app
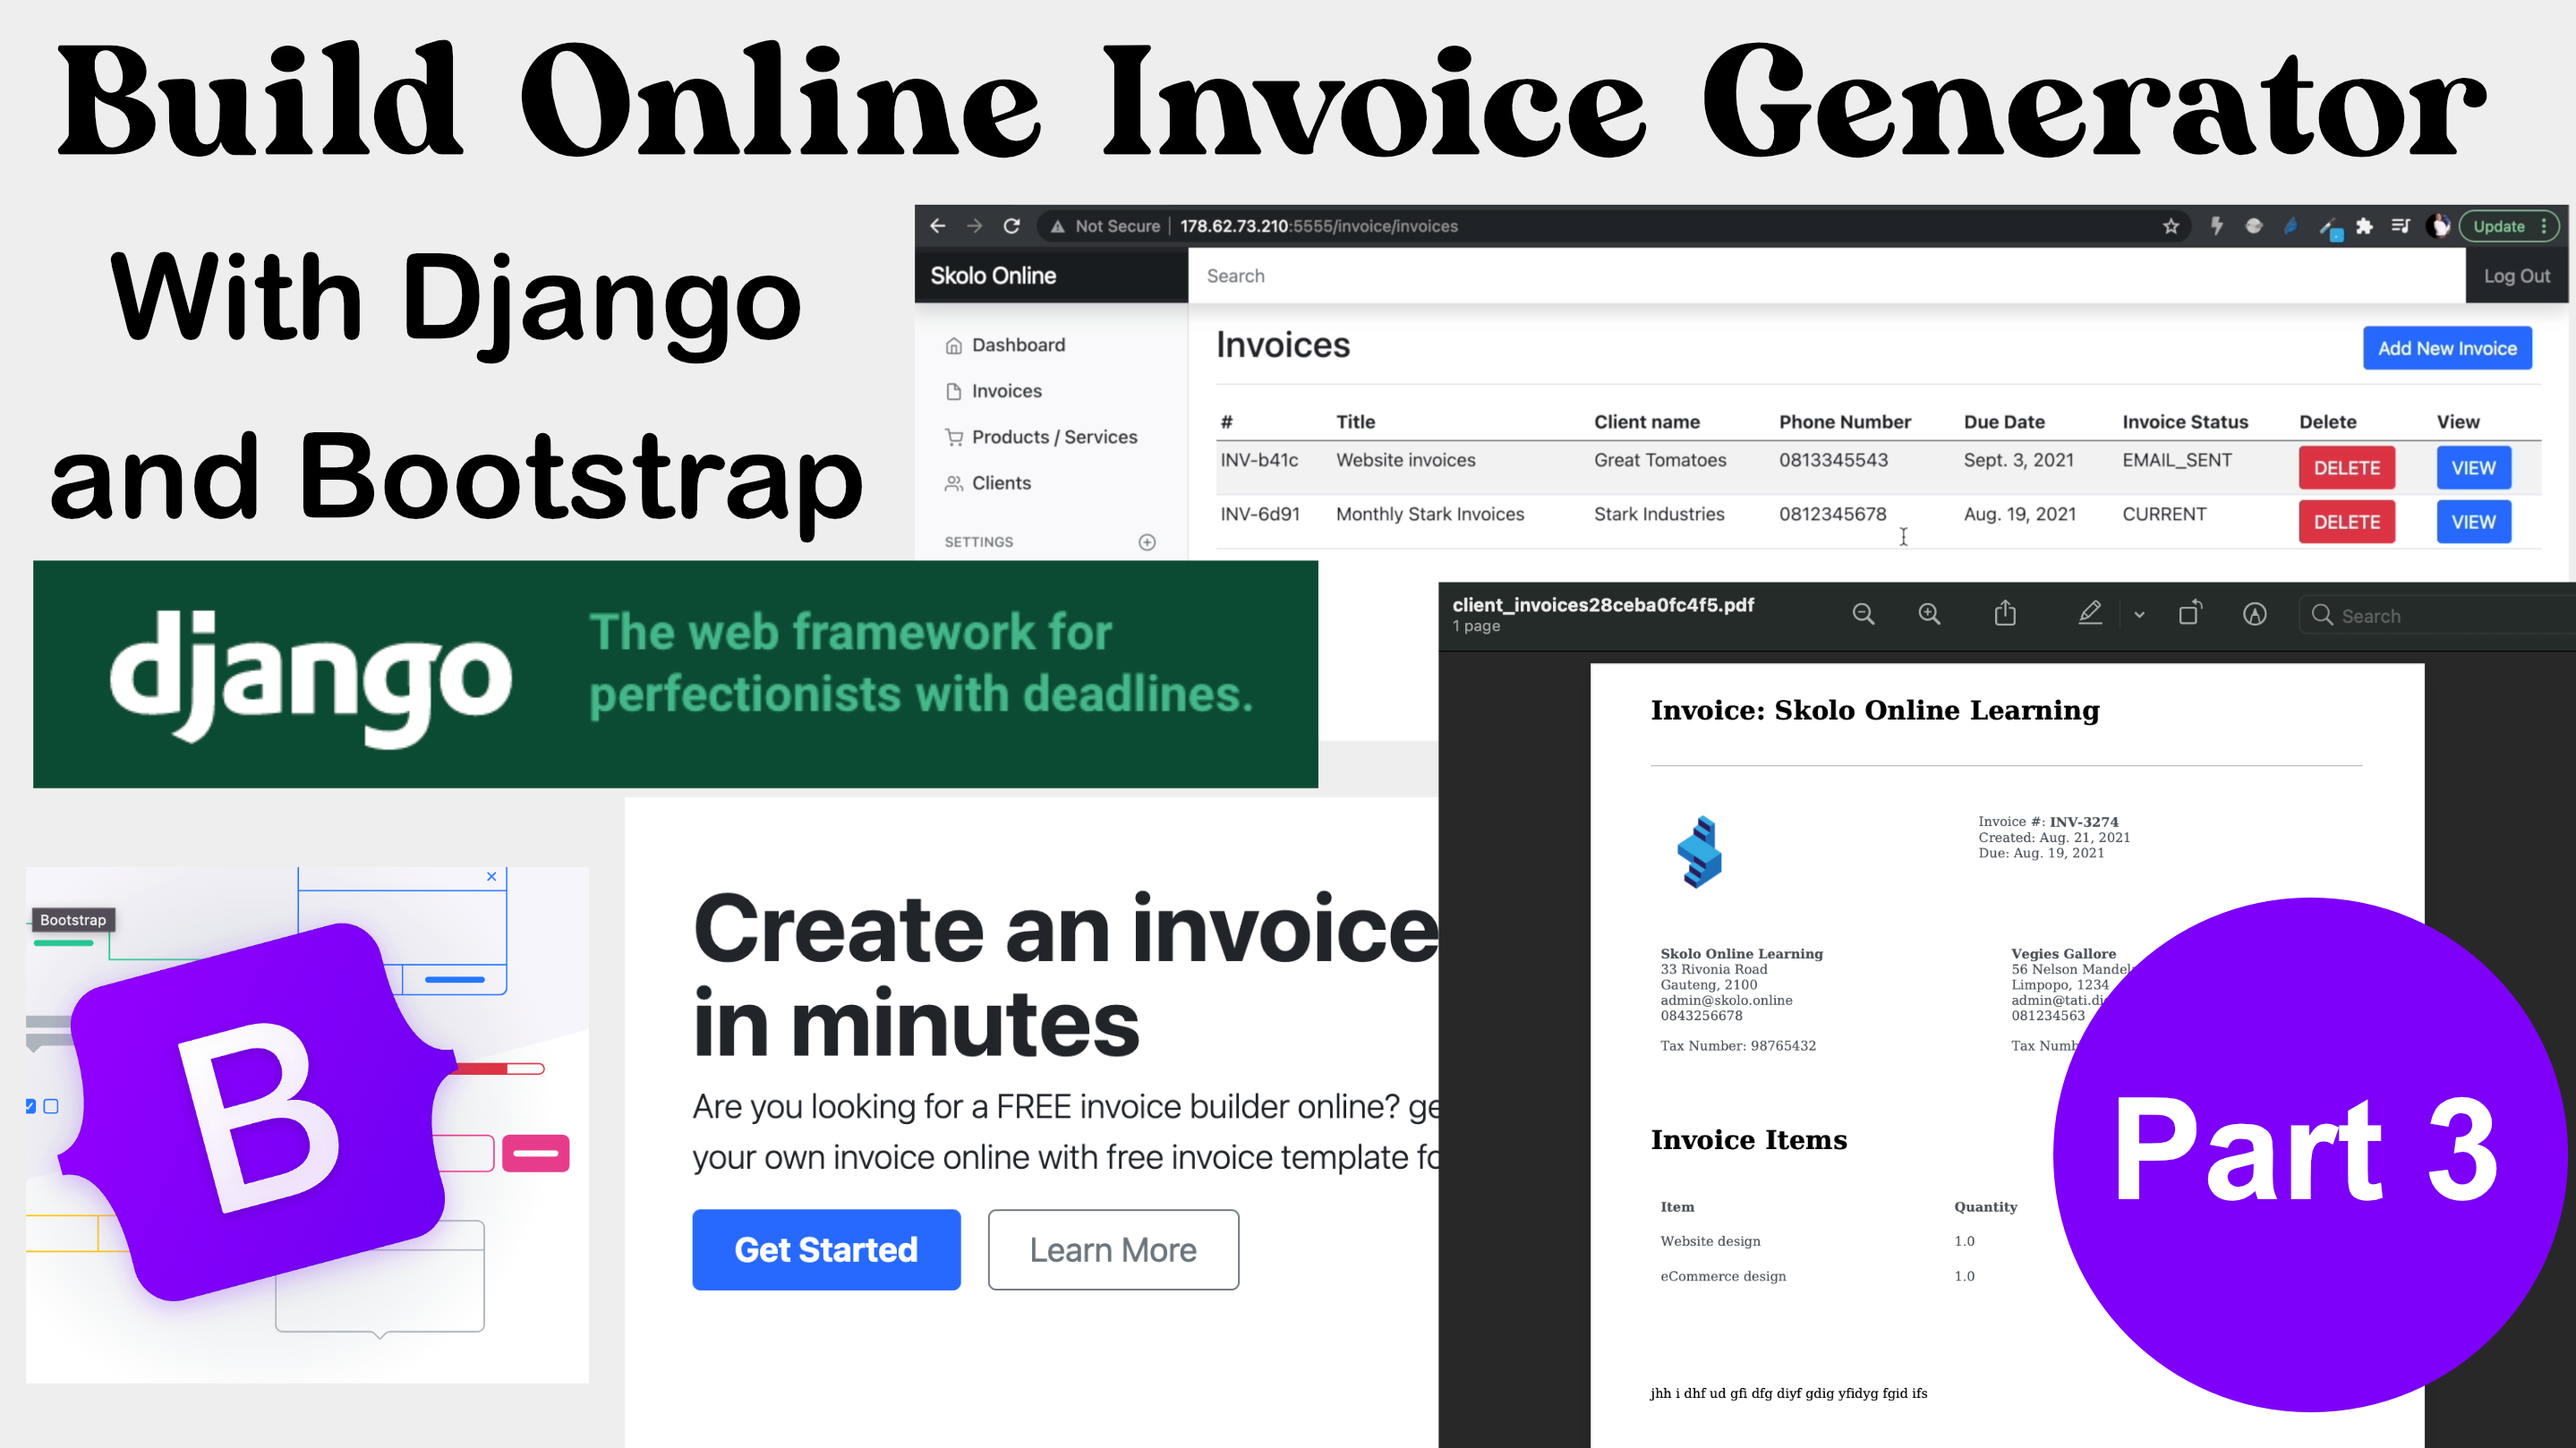 Complete Invoice App with Django and Bootstrap5
What we are going to cover in this article
-
Invoice app view function — to create and view an invoice instance
-
Override form init method with cripsy forms layouts
-
Display PDF invoice
-
Email PDF invoice to client
-
Complete Youtube tutorial
Invoice app view function — to create and view an invoice instance
In the previous tutorial we created a model list page — this is a page that would display the list of the model instances. From this list page, a user should be able to click on a button that takes them to the “create-page” where they can create an instance of the model class. A model list page will look like this:
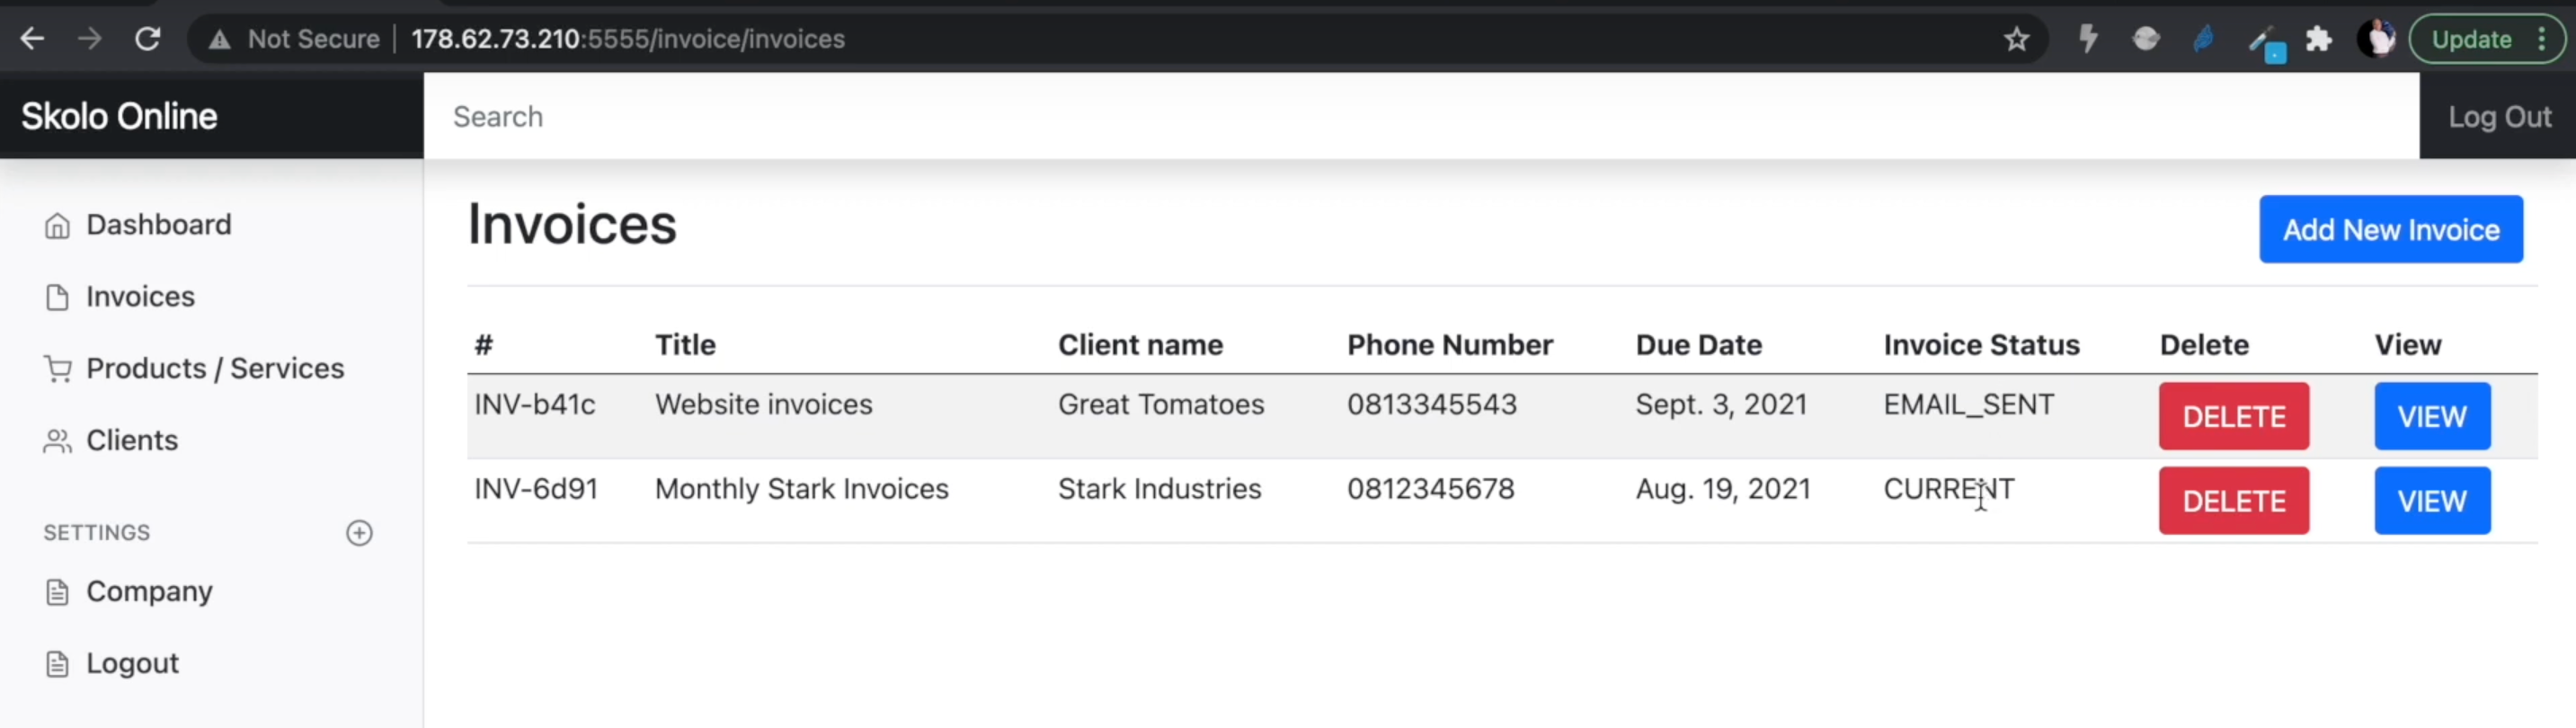
The views we are going to create next will cover creating a new invoice and viewing an existing invoice.
Creating an invoice
This will be done in two steps. Generally you should be able to create an invoice in just one step, but in our case — we need to add product instances to an invoice at the same time that we are creating the invoice. This means, we need to know what invoice to add the products to:
The first step will create a blank invoice instance:
@login_required
def createInvoice(request):
    #create a blank invoice ....
    number = 'INV-'+str(uuid4()).split('-')[1]
    newInvoice = Invoice.objects.create(number=number)
    newInvoice.save()

    inv = Invoice.objects.get(number=number)
    return redirect('create-build-invoice', slug=inv.slug)
This view will create a blank invoice instance and redirect the user to a different view called ‘create-build-invoice’ where the user can populate this invoice. This method allows us to have a blank instance to add products to, edit the invoice as we go — save it and come back later. We will have the slug to direct us to the building view — which will look like this:
@login_required
def createBuildInvoice(request, slug):
    #fetch that invoice
    try:
        invoice = Invoice.objects.get(slug=slug)
        pass
    except:
        messages.error(request, 'Something went wrong')
        return redirect('invoices')

    #fetch all the products - related to this invoice
    products = Product.objects.filter(invoice=invoice)


    context = {}
    context['invoice'] = invoice
    context['products'] = products

    if request.method == 'GET':
        prod_form  = ProductForm()
        inv_form = InvoiceForm(instance=invoice)
        client_form = ClientSelectForm(initial_client=invoice.client)
        context['prod_form'] = prod_form
        context['inv_form'] = inv_form
        context['client_form'] = client_form
        return render(request, 'invoice/create-invoice.html', context)

    if request.method == 'POST':
        prod_form  = ProductForm(request.POST)
        inv_form = InvoiceForm(request.POST, instance=invoice)
        client_form = ClientSelectForm(request.POST, initial_client=invoice.client, instance=invoice)

        if prod_form.is_valid():
            obj = prod_form.save(commit=False)
            obj.invoice = invoice
            obj.save()

            messages.success(request, "Invoice product added succesfully")
            return redirect('create-build-invoice', slug=slug)
        elif inv_form.is_valid and 'paymentTerms' in request.POST:
            inv_form.save()

            messages.success(request, "Invoice updated succesfully")
            return redirect('create-build-invoice', slug=slug)
        elif client_form.is_valid() and 'client' in request.POST:

            client_form.save()
            messages.success(request, "Client added to invoice succesfully")
            return redirect('create-build-invoice', slug=slug)
        else:
            context['prod_form'] = prod_form
            context['inv_form'] = inv_form
            context['client_form'] = client_form
            messages.error(request,"Problem processing your request")
            return render(request, 'invoice/create-invoice.html', context)


    return render(request, 'invoice/create-invoice.html', context)
This is view is the heard of our application. There are three forms in the view: (1) A product form for creating a product to add to the invoice, (2) The actual invoice form and (3) a client select form for selecting a client from the available clients to add to the invoice.
For more information about the views check out out 3hr video tutorial on youtube, there is far too much information to cover in a written tutorial.
Override form init method with Cripsy forms layouts — Invoice Create Form
Django crispy forms are a great way to cut corners and display forms quickly, neatly on the front end. The basic layout is usually just one column, if you have a large form with many fields — you can adjust the crispy form layout in the form class.
This is how we did it for the invoice form:
from django import forms
from django.forms import widgets
from .models import *

#Form Layout from Crispy Forms
from crispy_forms.helper import FormHelper
from crispy_forms.layout import Layout, Submit, Row, Column


class DateInput(forms.DateInput):
    input_type = 'date'

class InvoiceForm(forms.ModelForm):
    THE_OPTIONS = [
    ('14 days', '14 days'),
    ('30 days', '30 days'),
    ('60 days', '60 days'),
    ]
    STATUS_OPTIONS = [
    ('CURRENT', 'CURRENT'),
    ('OVERDUE', 'OVERDUE'),
    ('PAID', 'PAID'),
    ]

    title = forms.CharField(
                    required = True,
                    label='Invoice Name or Title',
                    widget=forms.TextInput(attrs={'class': 'form-control mb-3', 'placeholder': 'Enter Invoice Title'}),)
    paymentTerms = forms.ChoiceField(
                    choices = THE_OPTIONS,
                    required = True,
                    label='Select Payment Terms',
                    widget=forms.Select(attrs={'class': 'form-control mb-3'}),)
    status = forms.ChoiceField(
                    choices = STATUS_OPTIONS,
                    required = True,
                    label='Change Invoice Status',
                    widget=forms.Select(attrs={'class': 'form-control mb-3'}),)
    notes = forms.CharField(
                    required = True,
                    label='Enter any notes for the client',
                    widget=forms.Textarea(attrs={'class': 'form-control mb-3'}))

    dueDate = forms.DateField(
                        required = True,
                        label='Invoice Due',
                        widget=DateInput(attrs={'class': 'form-control mb-3'}),)


    def __init__(self, *args, **kwargs):
        super().__init__(*args, **kwargs)
        self.helper = FormHelper()
        self.helper.layout = Layout(
            Row(
                Column('title', css_class='form-group col-md-6'),
                Column('dueDate', css_class='form-group col-md-6'),
                css_class='form-row'),
            Row(
                Column('paymentTerms', css_class='form-group col-md-6'),
                Column('status', css_class='form-group col-md-6'),
                css_class='form-row'),
            'notes',

            Submit('submit', ' EDIT INVOICE '))

    class Meta:
        model = Invoice
        fields = ['title', 'dueDate', 'paymentTerms', 'status', 'notes']
First, we instantiate form-helper, then use the layout class to do the rest. This form can then be replicated anywhere in your code, it will always have the same layout you have designed in the form class.
Display PDF invoice — Django Invoicing Application
Once the invoice is generated, we want to create a PDF document that we can save, or email to the client for action. We have the data in our database, but it’s not yet in a clear pdf document format that we can send out.
To create pdf documents in Django we will need: (1) wkhtmltopdf and (2) pdfkit. Our Skolo Online Documentation has more written steps to make sure your environment is ready for pdfkit.
I will combine the code with — sending an email of the generated PDF.
#Dont forget the view imports
def emailDocumentInvoice(request, slug):
    #fetch that invoice
    try:
        invoice = Invoice.objects.get(slug=slug)
        pass
    except:
        messages.error(request, 'Something went wrong')
        return redirect('invoices')

    #fetch all the products - related to this invoice
    products = Product.objects.filter(invoice=invoice)

    #Get Client Settings
    p_settings = Settings.objects.get(clientName='Skolo Online Learning')

    #Calculate the Invoice Total
    invoiceTotal = 0.0
    if len(products) > 0:
        for x in products:
            y = float(x.quantity) * float(x.price)
            invoiceTotal += y


    context = {}
    context['invoice'] = invoice
    context['products'] = products
    context['p_settings'] = p_settings
    context['invoiceTotal'] = "{:.2f}".format(invoiceTotal)

    #The name of your PDF file
    filename = '{}.pdf'.format(invoice.uniqueId)

    #HTML FIle to be converted to PDF - inside your Django directory
    template = get_template('invoice/pdf-template.html')


    #Render the HTML
    html = template.render(context)

    #Options - Very Important [Don't forget this]
    options = {
          'encoding': 'UTF-8',
          'javascript-delay':'1000', #Optional
          'enable-local-file-access': None, #To be able to access CSS
          'page-size': 'A4',
          'custom-header' : [
              ('Accept-Encoding', 'gzip')
          ],
      }
      #Javascript delay is optional

    #Remember that location to wkhtmltopdf
    config = pdfkit.configuration(wkhtmltopdf='/usr/bin/wkhtmltopdf')

    #Saving the File
    filepath = os.path.join(settings.MEDIA_ROOT, 'client_invoices')
    os.makedirs(filepath, exist_ok=True)
    pdf_save_path = filepath+filename
    #Save the PDF
    pdfkit.from_string(html, pdf_save_path, configuration=config, options=options)


    #send the emails to client
    to_email = invoice.client.emailAddress
    from_client = p_settings.clientName
    emailInvoiceClient(to_email, from_client, pdf_save_path)

    invoice.status = 'EMAIL_SENT'
    invoice.save()

    #Email was send, redirect back to view - invoice
    messages.success(request, "Email sent to the client succesfully")
    return redirect('create-build-invoice', slug=slug)


from django.core.mail import EmailMessage
from django.conf import settings

def emailInvoiceClient(to_email, from_client, filepath):
    from_email = settings.EMAIL_HOST_USER
    subject = '[Skolo] Invoice Notification'
    body = """
    Good day,
    Please find attached invoice from {} for your immediate attention.
    regards,
    Skolo Online Learning
    """.format(from_client)

    message = EmailMessage(subject, body, from_email, [to_email])
    message.attach_file(filepath)
    message.send()
Make sure you have the SMTP settings configured in your settings.py file for the above code to work.
Complete Youtube tutorial — Final Instalment of Invoice App

For mode code snippets on Django Web Development, check out our Skolo Online Documentation page.
Comments
Loading comments…