
The best way to handle a disaster is to avoid it.
Let me explain that with an example. If you’re building a house and you find out the material used to build it was subpar there is a little you can do to fix it other than building it again. Else keep spending hard-earned money fixing things every 6 months.
The same is true for software engineering. Once buggy/subpar code gets merged into your default branch dealing with it becomes a huge problem. In such a situation you could do one of two things
-
You spend time refactoring the inefficient code. In cases when the code in question is fundamental to other features, this becomes increasingly difficult and may throw timelines off track.
-
The second option, is you decide to move on. Fix the bugs that QA reports and keep adding features on top in order to meet timelines. This approach may help you meet your timelines in the short term but results in large technical debt. It could even result in instability in the product.
Either way, the best way to handle such situations, is to avoid them!
So how do you do that?
-
Have a linter in place. Now the whole team follows the same conventions.
-
Compulsory unit tests and set high test coverage thresholds.
-
A robust CI pipeline with at least the following stages
-
Checkout
-
Install dependencies
-
Lint
-
Build
-
Test
- Having integration tests is really helpful but in many cases, timelines and business priorities do not allow for it.
The above are proven ways of reducing the probability of failures. However, when dealing with front-end applications aesthetics and styling play an important role in the acceptance criteria. It is possible to automate even this but the more time that you spend in writing tests the lesser flexibility you have when it comes to adapting to user feedback and developing software in a truly agile manner. Every time you iterate based on user research and feedback you will have a bunch of broken tests and you’ll spend time rewriting/fixing seemingly meaningless tests.
An alternate approach to writing automated visual tests would be to manually test code before it gets merged. In a traditional sense to do this, the reviewer/tester would need to
-
pull the source code
-
ensure their environment is set up correctly.
-
install the dependencies locally.
-
run the app
-
manually test the application.
Seems like an awful lot of work and something that would take a lot of time. So we automated steps 1 through 4.
In this tutorial, I will take you through how to create UAT environment for a React application every time a PR is created to the default branch. In my case the default branch is develop
This tutorial assumes you have a solid understanding of:
In this tutorial, you will:
-
Configure react-router to use relative paths instead of absolute ones.
-
Setup an S3 bucket that will host the UAT environments. For each branch, we will create a separate folder and copy the artifact in that folder.
-
Create a workflow that will handle UAT deployments when a PR is created to the develop branch.
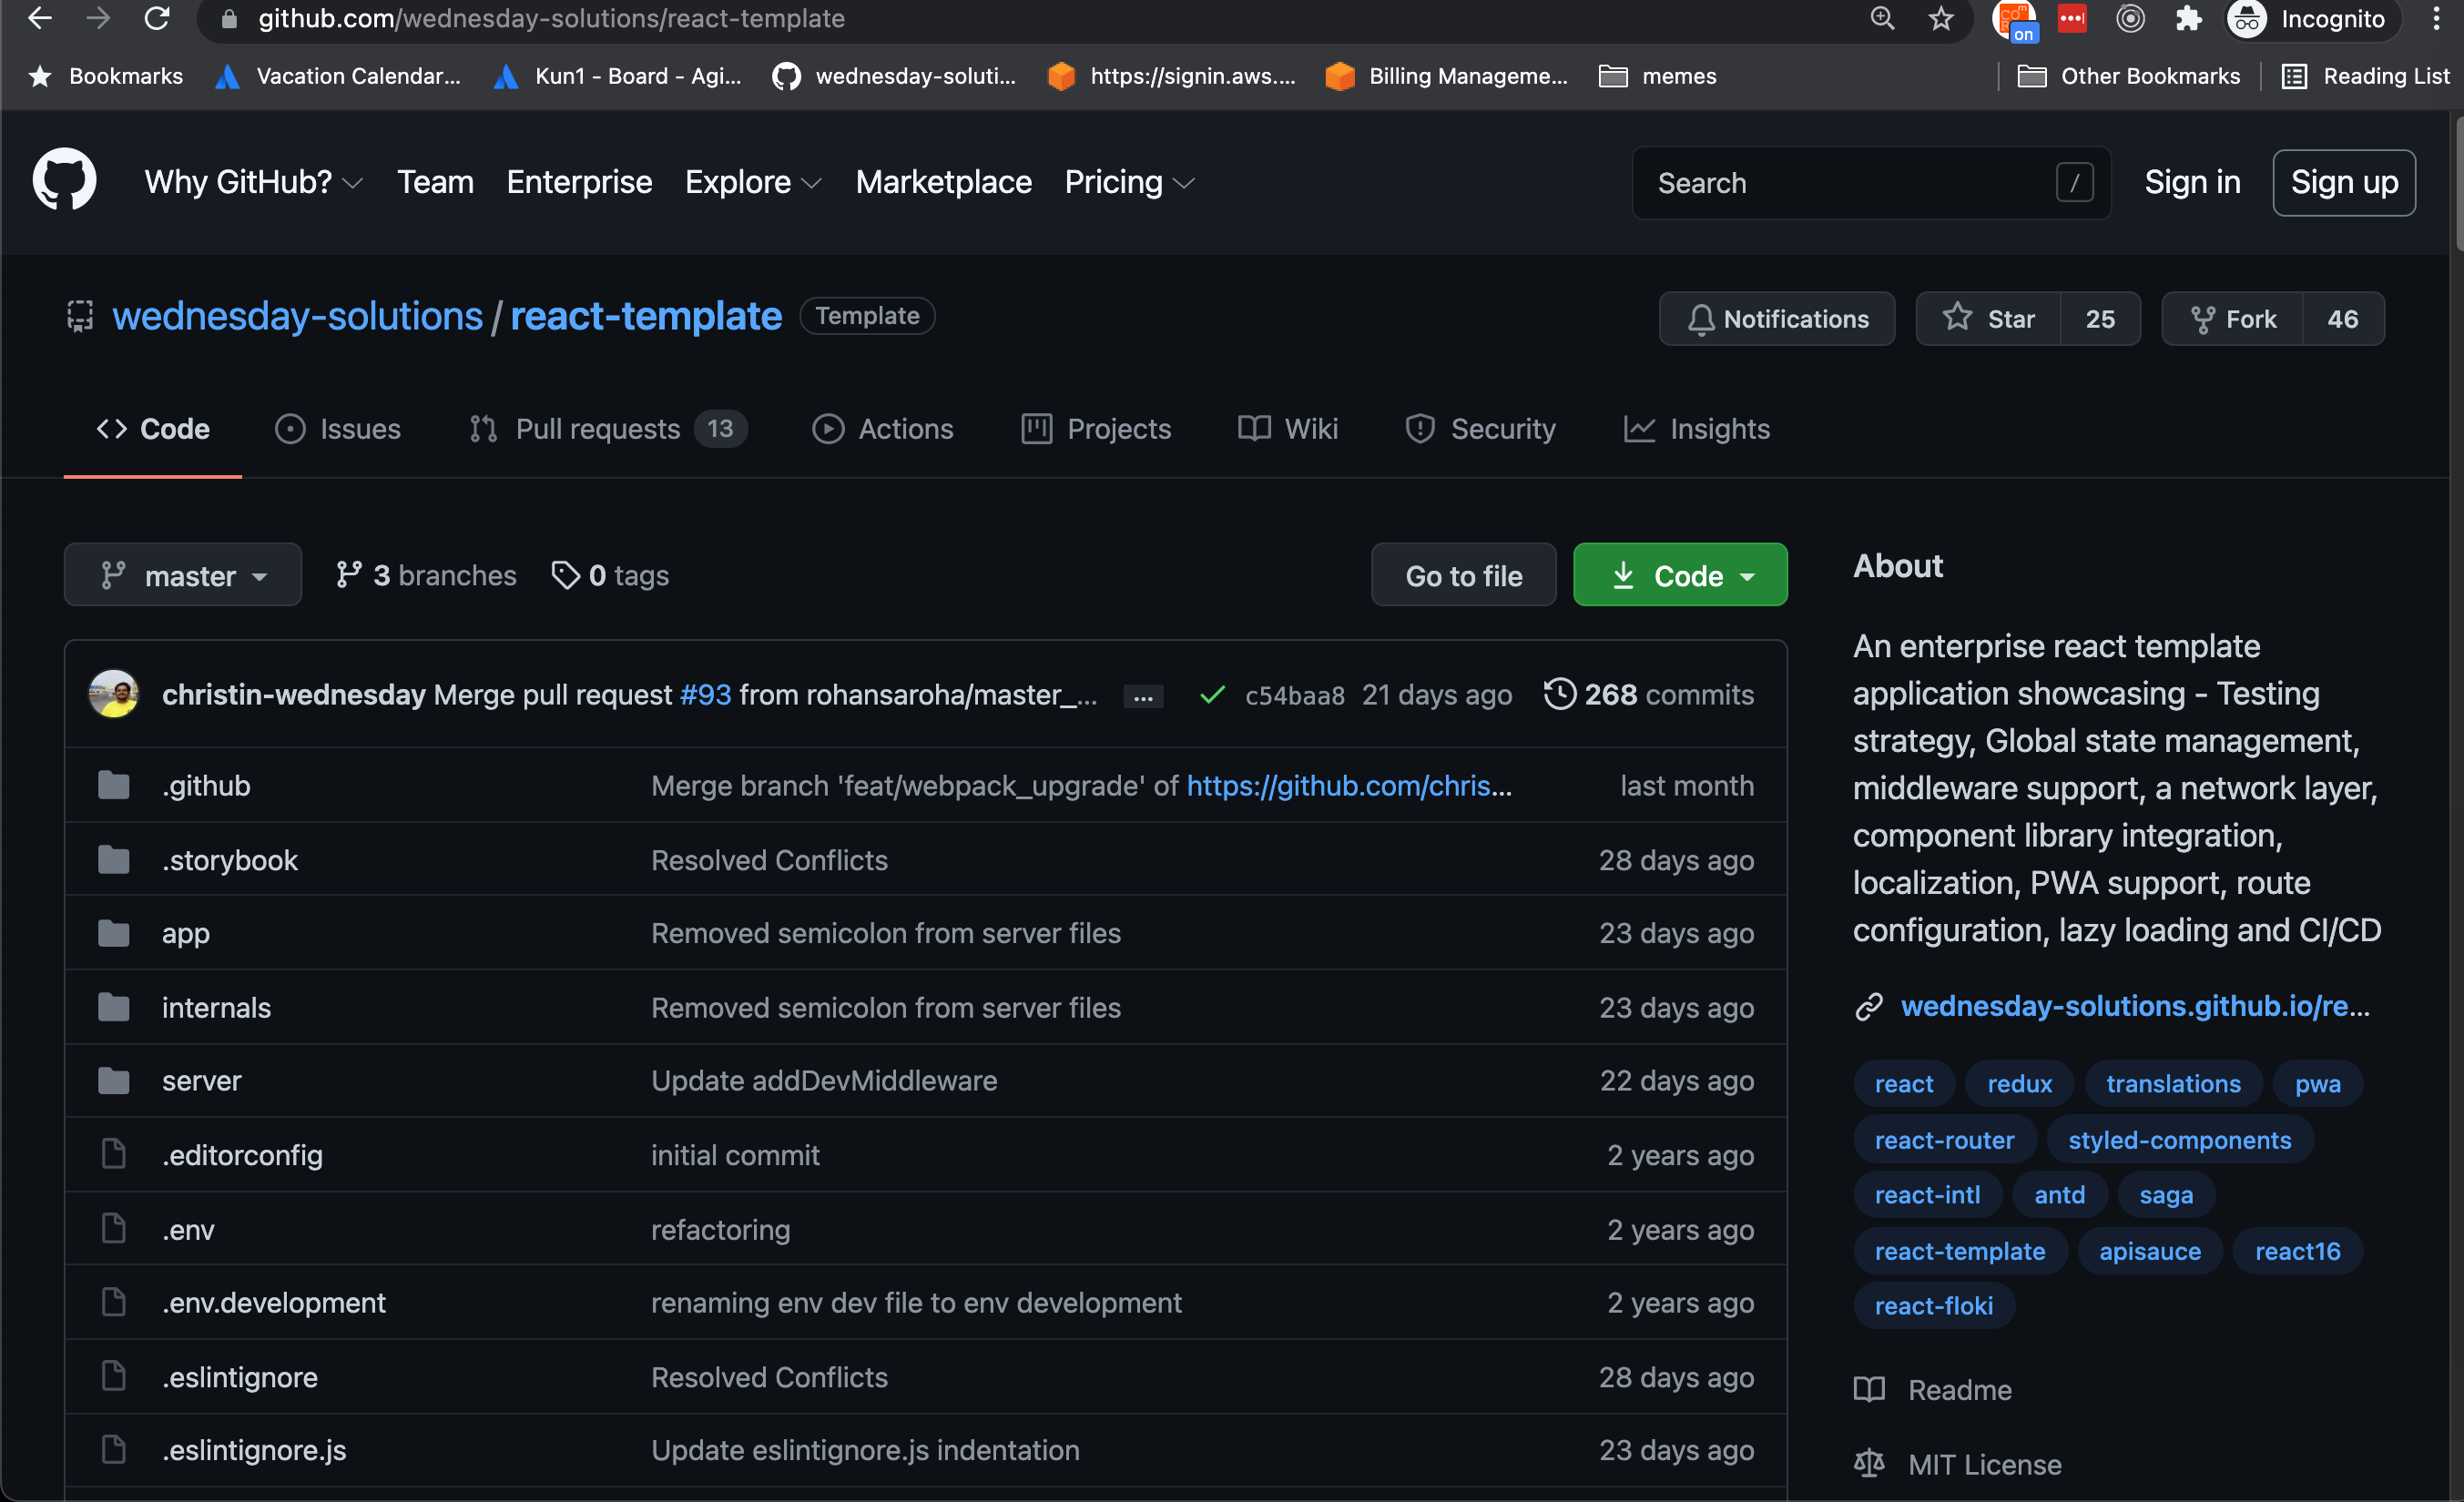
Starter Project
Please clone the following repository: https://github.com/wednesday-solutions/react-uat-on-pr
Create a new branch:
git checkout -b feat/uat
Configure react-router to add support for relative paths
Copy the following snippet into the utils/history.js file
    import { createBrowserHistory } from 'history';
    import routeConstants from '[@utils/routeConstants](http://twitter.com/utils/routeConstants)';
    const routes = Object.keys(routeConstants);
    const pathname = window.location.pathname;
    let baseUrl = '';
    if (process.env.ENVIRONMENT_NAME === 'uat') {
      routes.forEach(routeKey => {
        const route = routeConstants[routeKey].route;
        if (pathname.includes(route)) {
          if (pathname.substring(pathname.length - route.length, pathname.length) === route) {
            baseUrl = pathname.substring(0, pathname.length - route.length);
          }
          if (pathname.substring(pathname.length - route.length, pathname.length - 1) === `${route}/`) {
            baseUrl = pathname.substring(0, pathname.length - route.length - 1);
          }
        }
      });
    }

    const history = createBrowserHistory({ basename: baseUrl });
    export default history;
Add a UAT build script in the package.json
Add the build:uat to the scripts in the package.json
{
  ...
  "license": "MIT",
  "scripts": {
    ...
   "build": "cross-env NODE_ENV=production webpack --config internals/webpack/webpack.config.prod.js --color --progress --stats-children --stats-error-details",
    "build:uat": "export ENVIRONMENT_NAME=uat && cross-env NODE_ENV=production webpack --config internals/webpack/webpack.config.prod.js --color --progress",
    "build:dev": "cross-env NODE_ENV=development webpack --config internals/webpack/webpack.config.dev.js --color --progress",
    ...
    }
}
Add internal utils
Create the internalUtils file.
touch internals/utils.js
Copy the following code into the newly created file
function isUAT() {
  return process.env.ENVIRONMENT_NAME === 'uat';
}
function getBasePublicPath() {
  return isUAT() ? './' : '/';
}

module.exports = { getBasePublicPath, isUAT };
-
isUAT will be used to verify if the current ENVIRONMENT_NAME is uat
-
getBasePublicPath the function returns a relative base path if isUAT returns true.
Configure webpack to handle relative paths
Step 1
Add this snippet to the internals/webpack/webpack.base.config.js
const { getBasePublicPath } = require('../utils');
const publicPath = getBasePublicPath();
...
module.exports = options => ({
  ...,
  output: Object.assign(
    {
      // Compile into js/build.js
      path: path.resolve(process.cwd(), 'build'),
      publicPath
    },
    ...,
  ),
...
});
Step 2
Add this snippet to the internals/webpack/webpack.prod.config.js
Ensure the OfflinePlugin is configured correctly and doesn't break in non-uat environments.
...
const { getBasePublicPath, isUAT } = require('../utils');
const publicPath = getBasePublicPath();
...
module.exports = require('./webpack.config.base')({
 ...
 plugins: [
    new OfflinePlugin({
          relativePaths: isUAT(),
          publicPath,
          ...
    }),
 ...
 ],
...
});
Step 3
Now we’ll add a new route to ensure that routing works correctly once the app is hoisted.
Add a new route in the app/utils/routeConstants.js
import React from 'react';
newHomePath: {
    component: () => <h1>New Home path</h1>,
    ...routeConstants.newHomePath
  },
Add this snippet in the containers/App/index.js
{
  ...,
  newHomePath: {
    route: '/new-home-path',
    exact: true
  },
};
Add this snippet to the app/routeConfig.js
...
export const routeConfig = {
  ...,
  newHomePath: {
    component: () => <h1>New Home path</h1>,
    ...routeConstants.newHomePath
  },
  ...
};
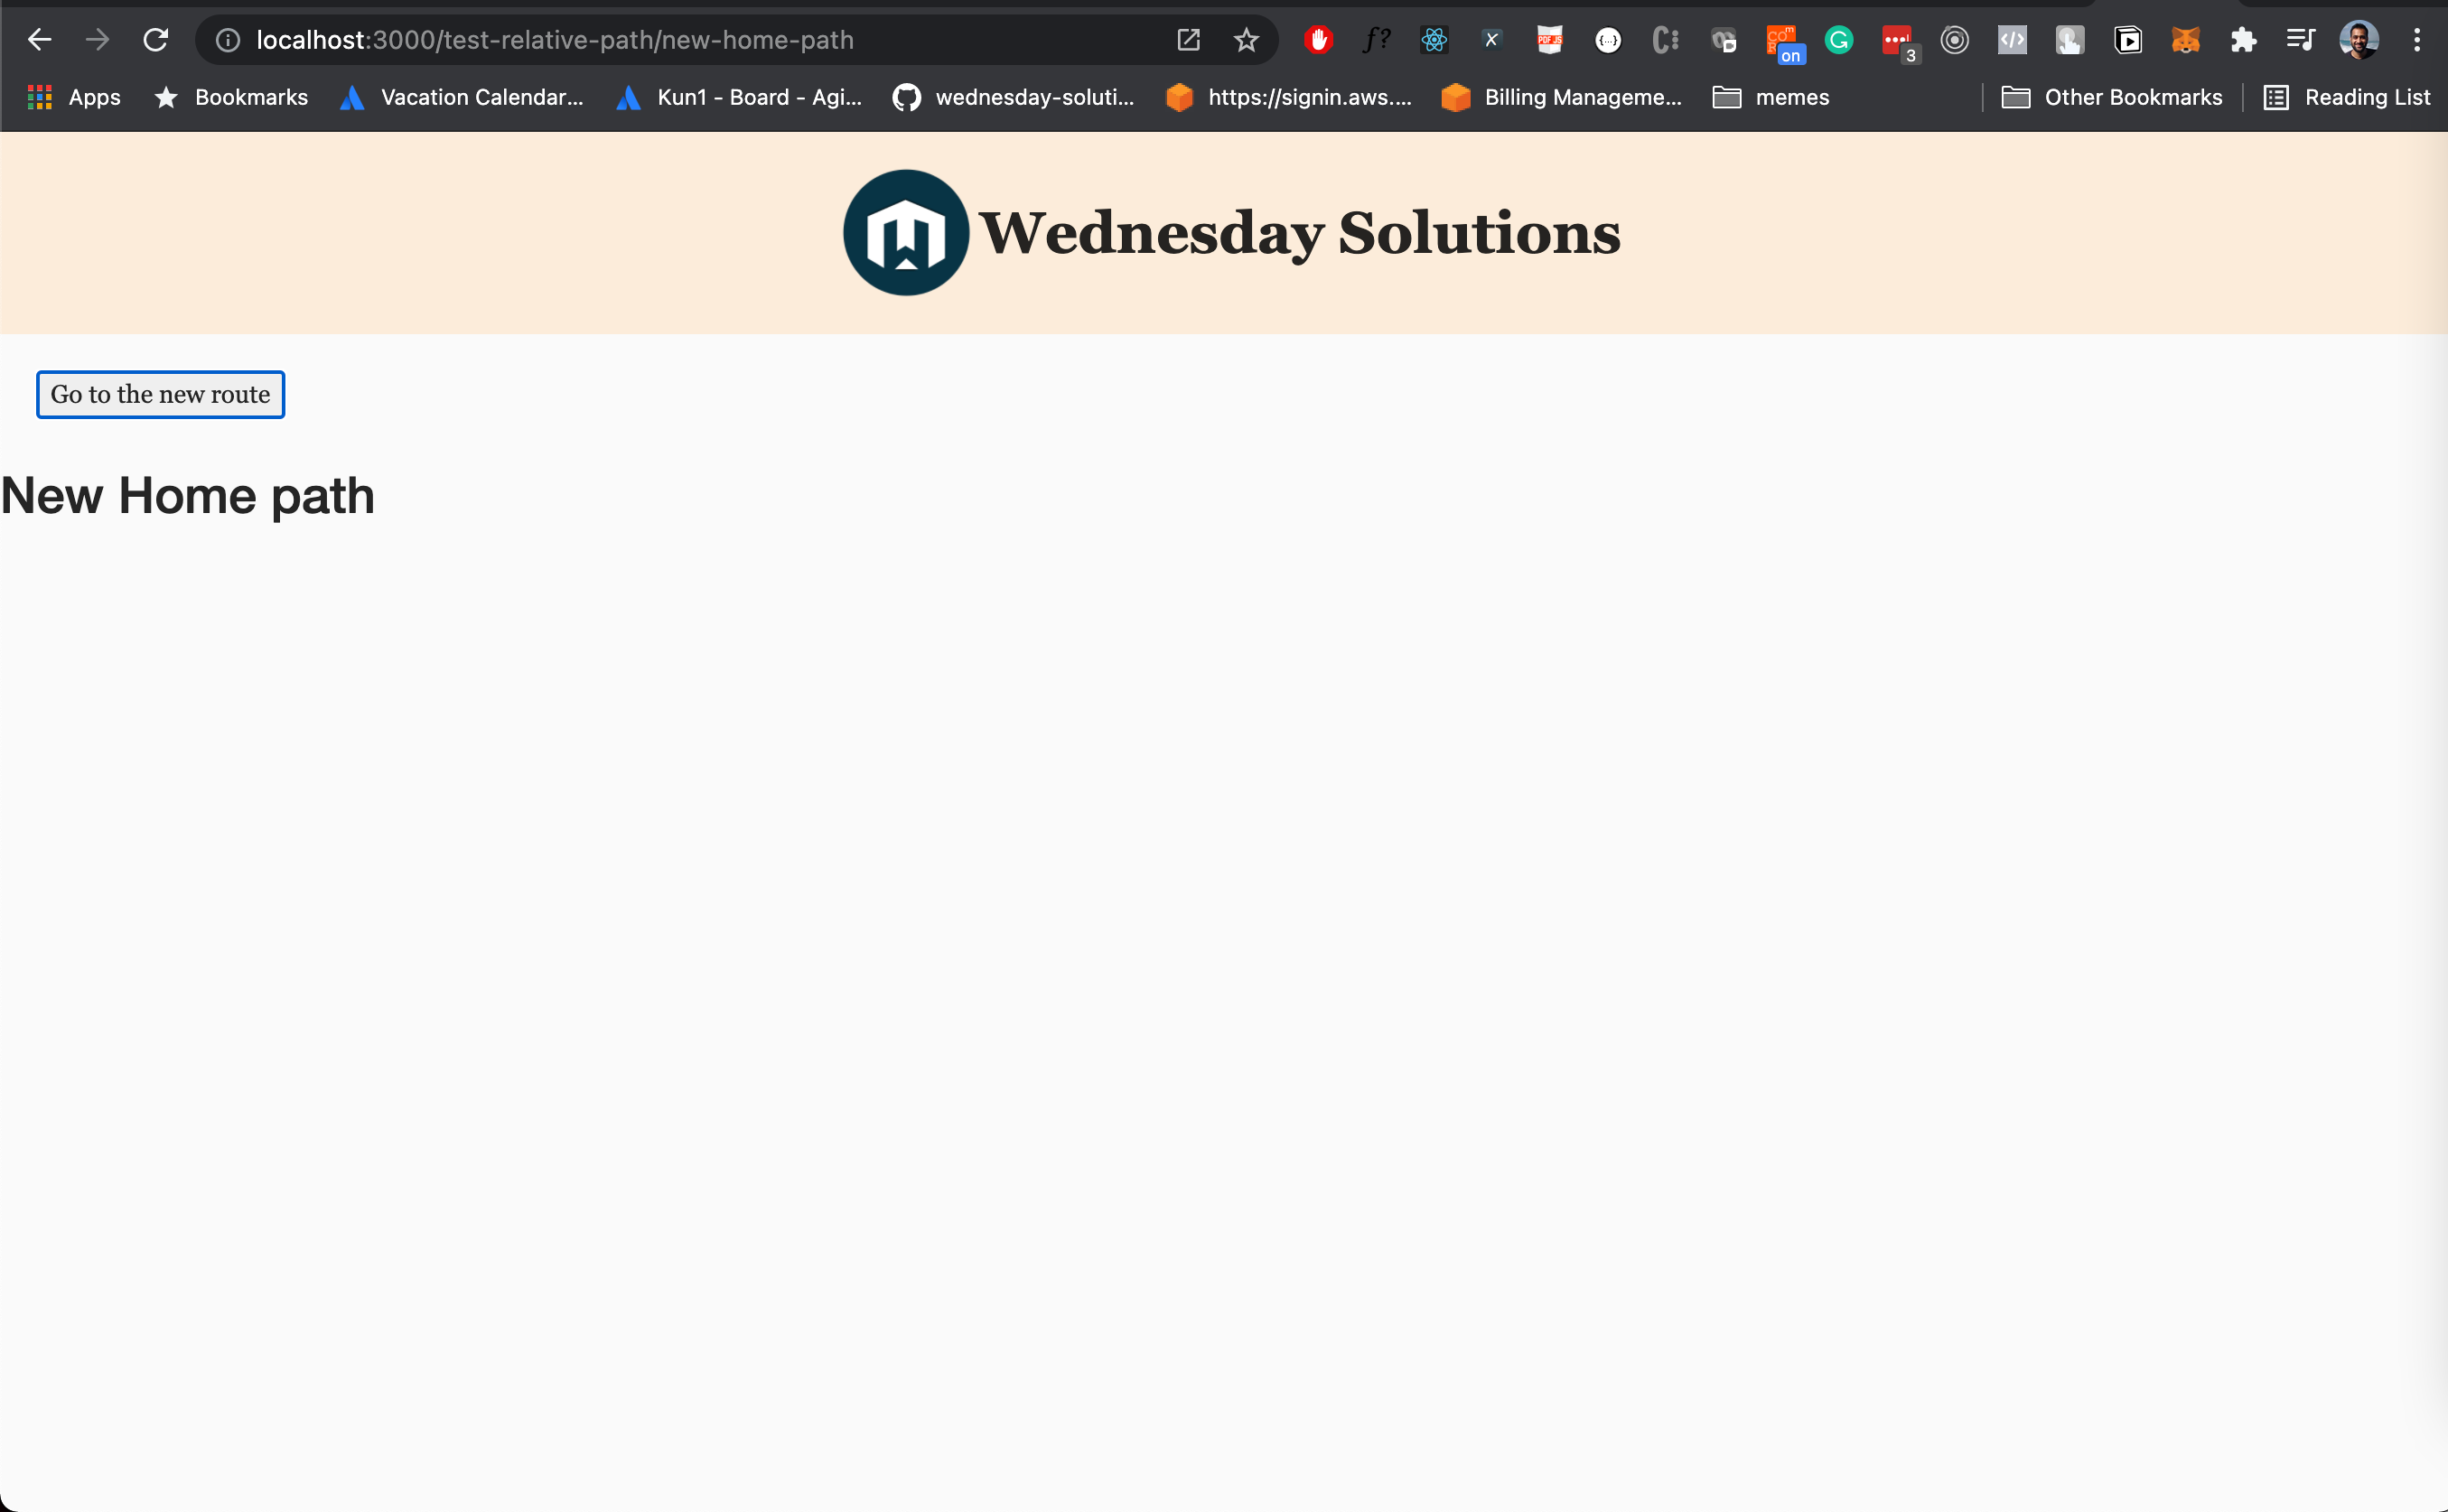
Now that we have set up the new route, let’s add a button to navigate to it.
Add the snippet below in the app/containers/App/index.js
...
export function App({ history, location }) {
  return (
    <ThemeProvider theme={theme}>
      <Header />
      <Layout.Content>
        <button
          style={{ margin: '20px' }}
          onClick={() => {
            history.push(routeConfig.newHomePath.route);
          }}
        >
          Go to the new route
        </button>
        <For
...

App.propTypes = {
  location: PropTypes.object,
  history: PropTypes.object
};
Step 4
Now run the build:uat script
yarn build:uat
Step 5
Copy the contents of the build folder in a subfolder within it. This is simulating what will happen in the workflow. We will use a separate directory for each branch.
cd build
mkdir test-relative-route
mv -v * test-relative-route/
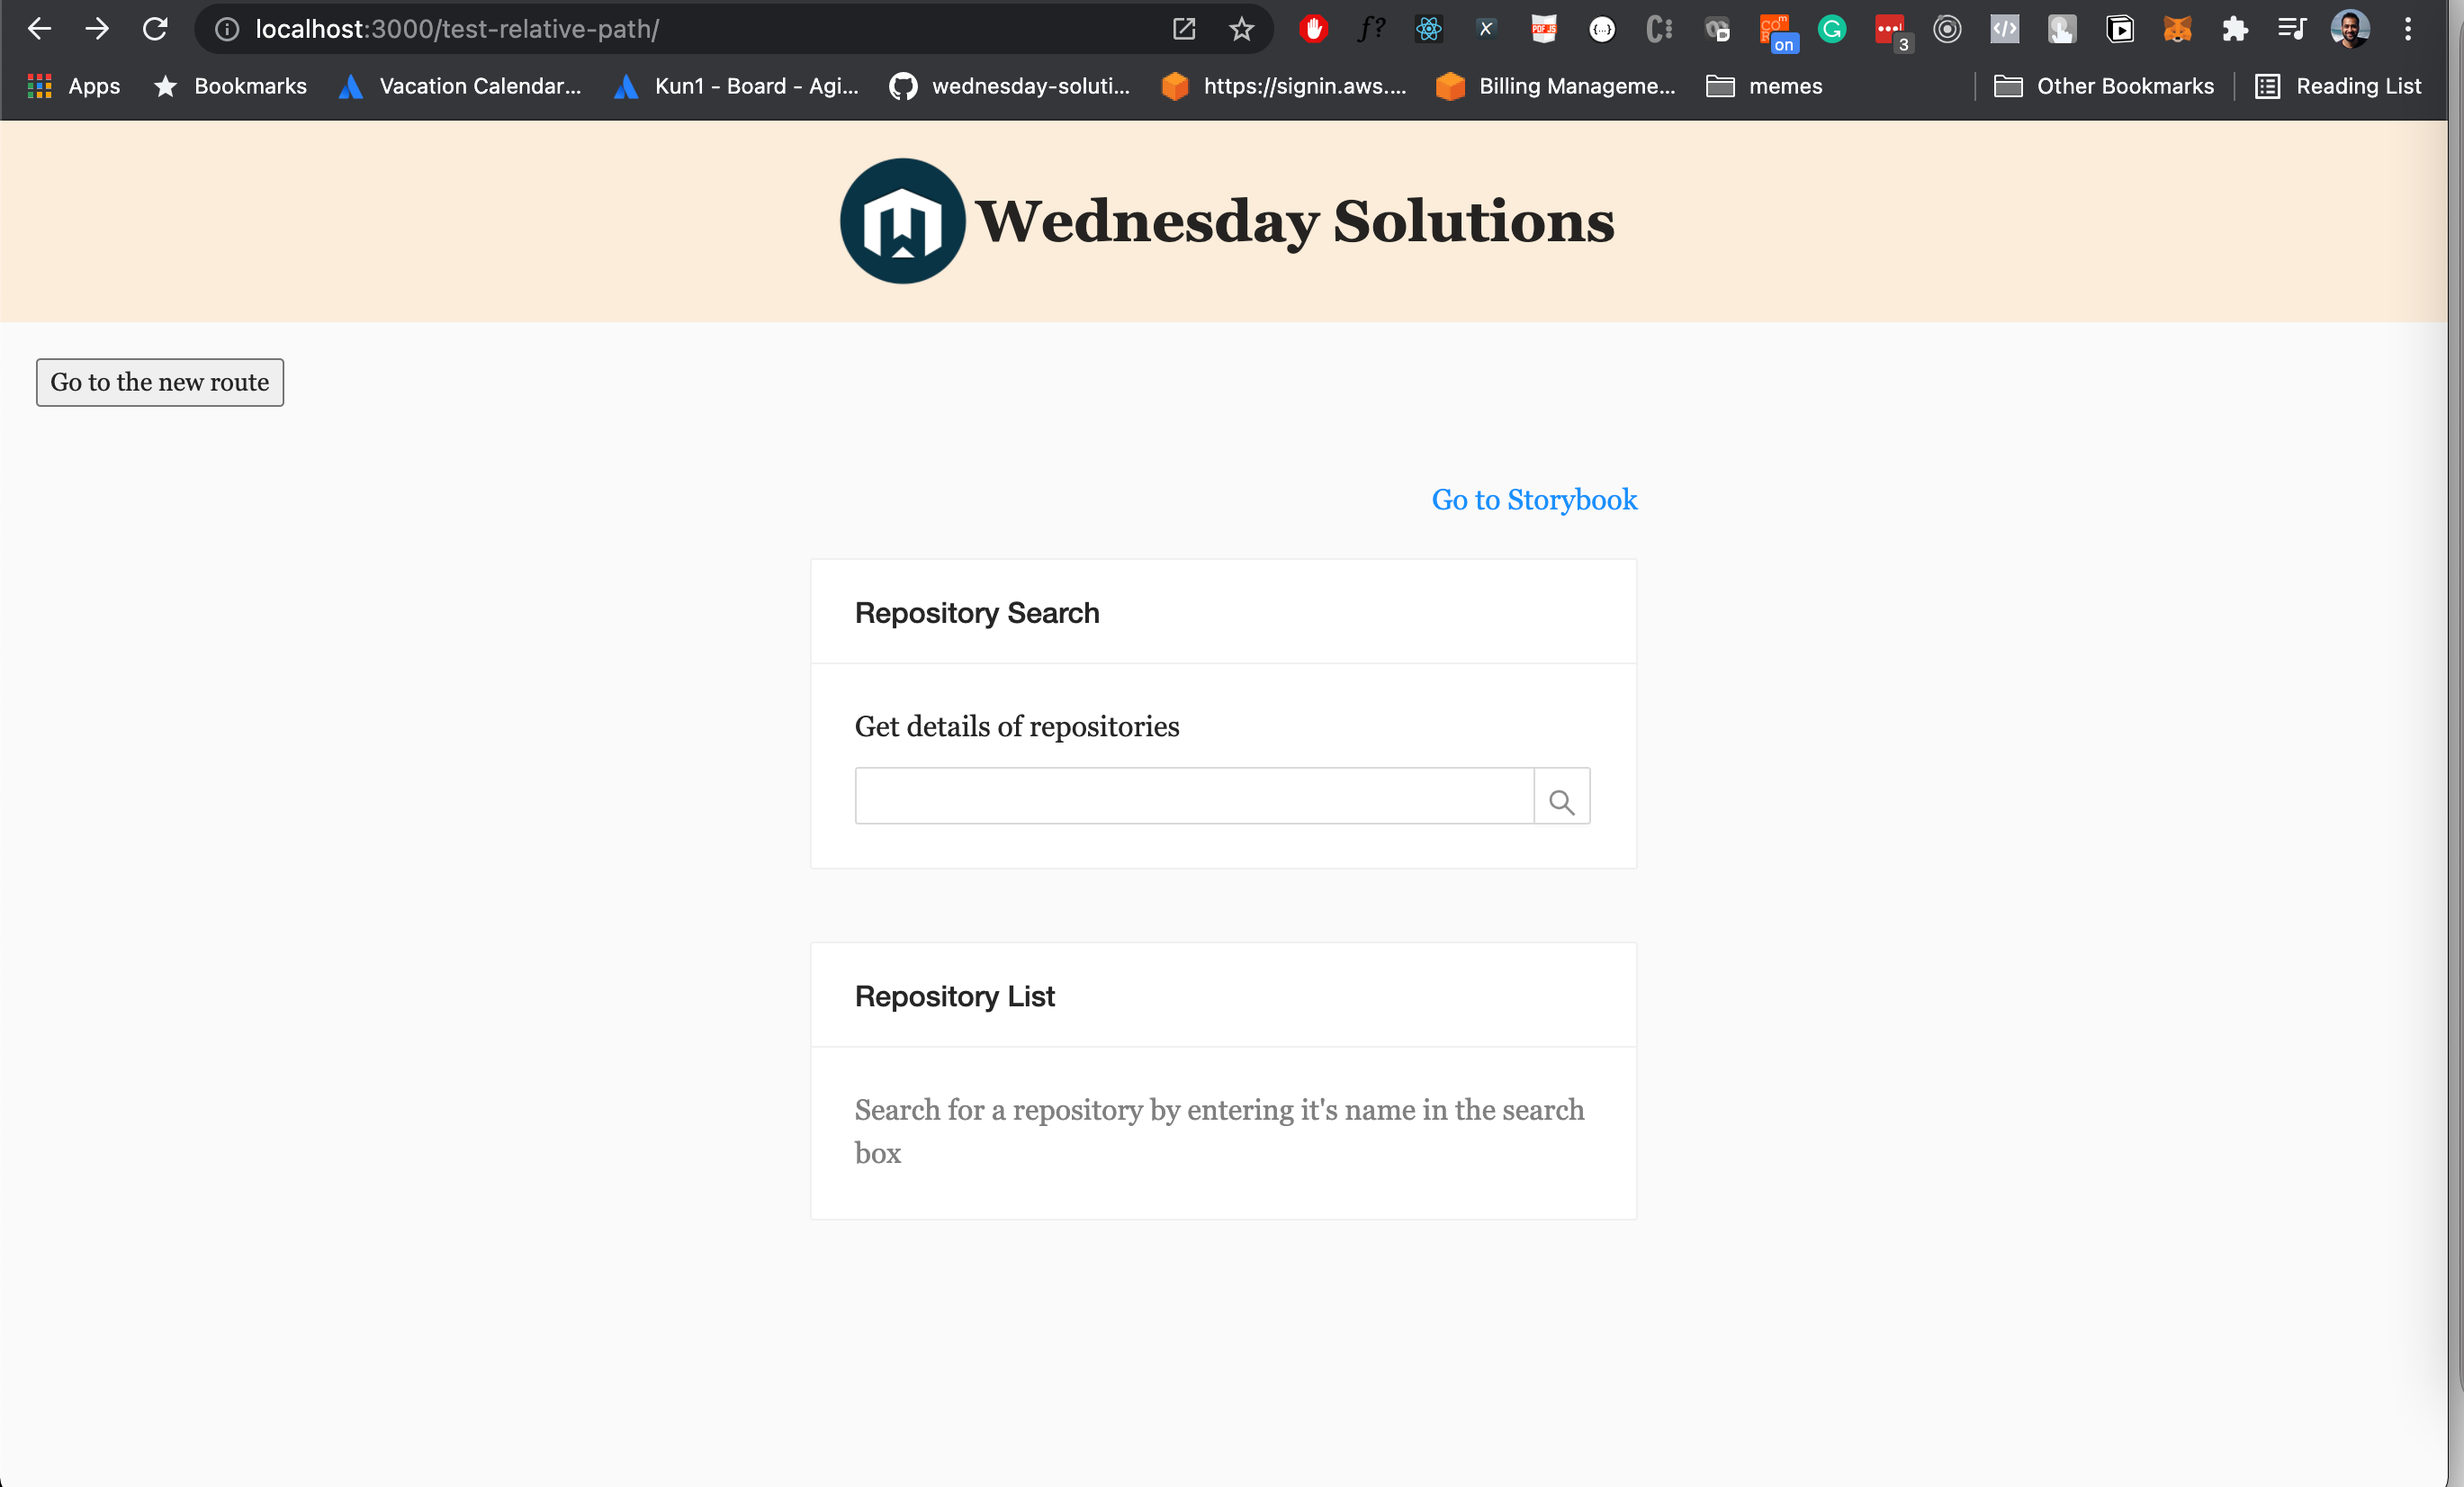
Now run the application
yarn start:prod
Go to http://localhost:3000/test-relative-route
Now that we’ve verified that our logic works locally let’s set up the workflow to automate deployments to S3.
Setup S3 bucket
Step 1
Log in to the AWS console. https://console.aws.amazon.com/console/home

Step 2
Go to S3. https://s3.console.aws.amazon.com/s3/home?region=ap-south-1
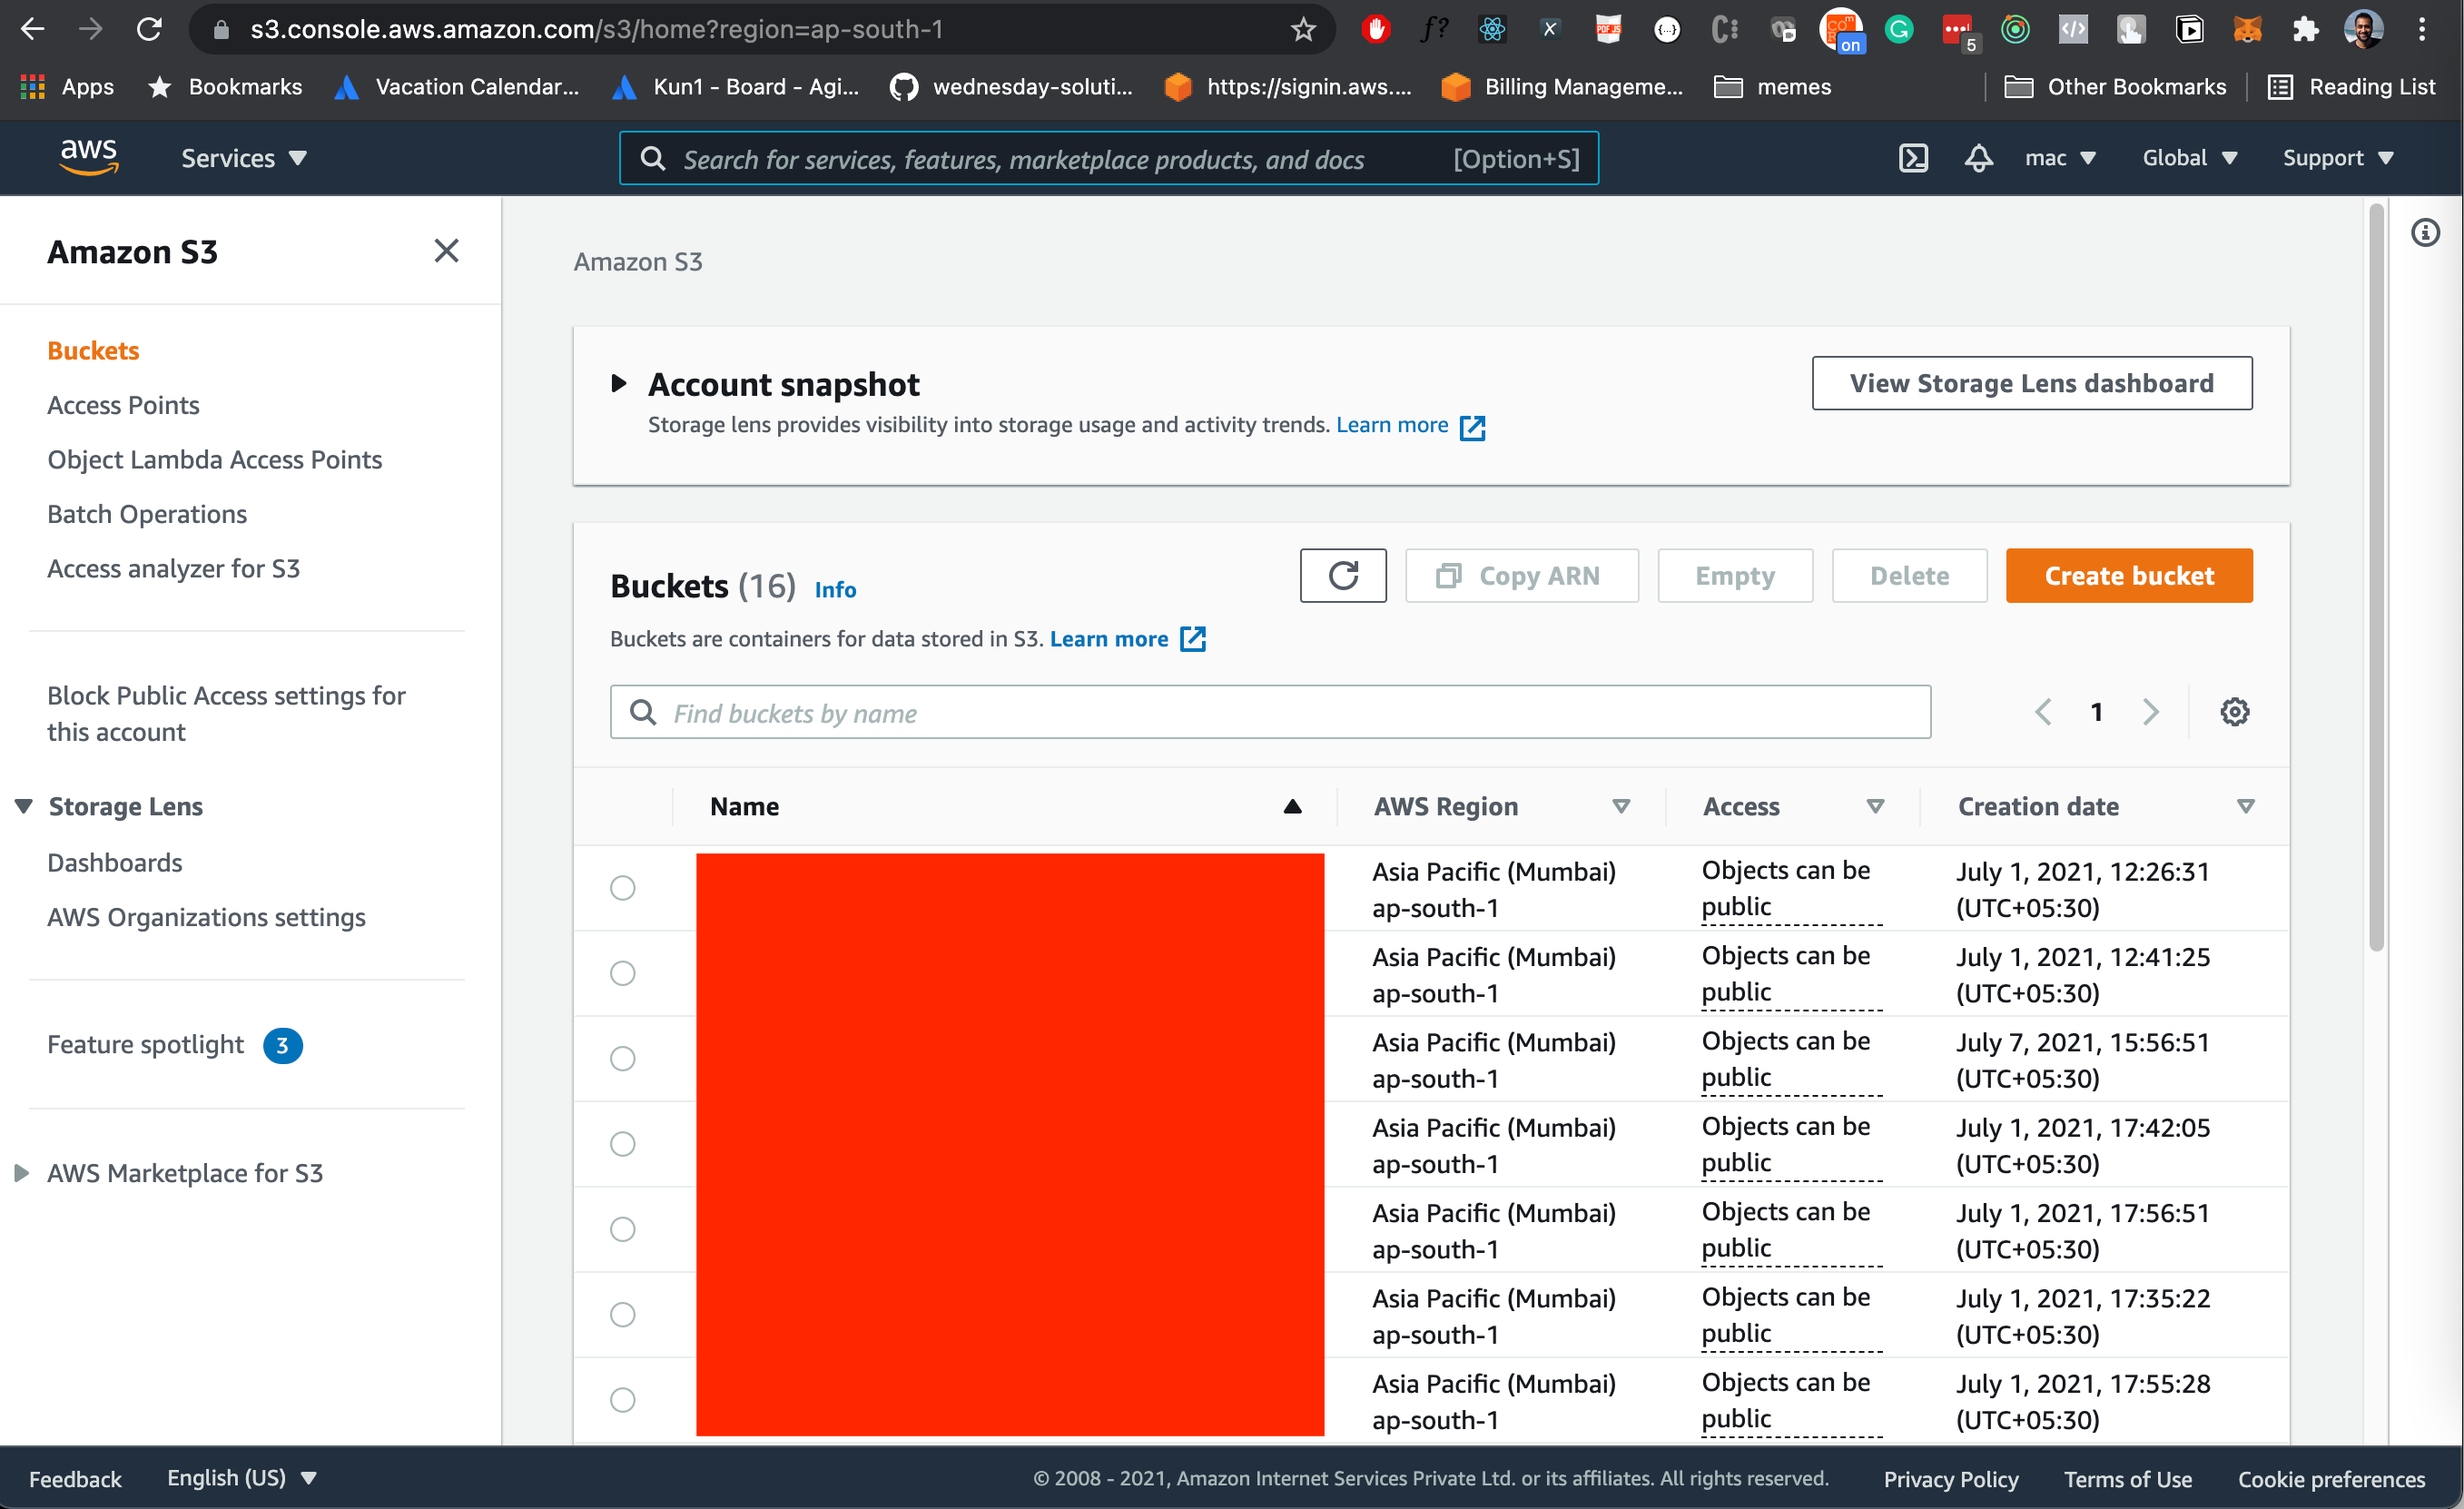
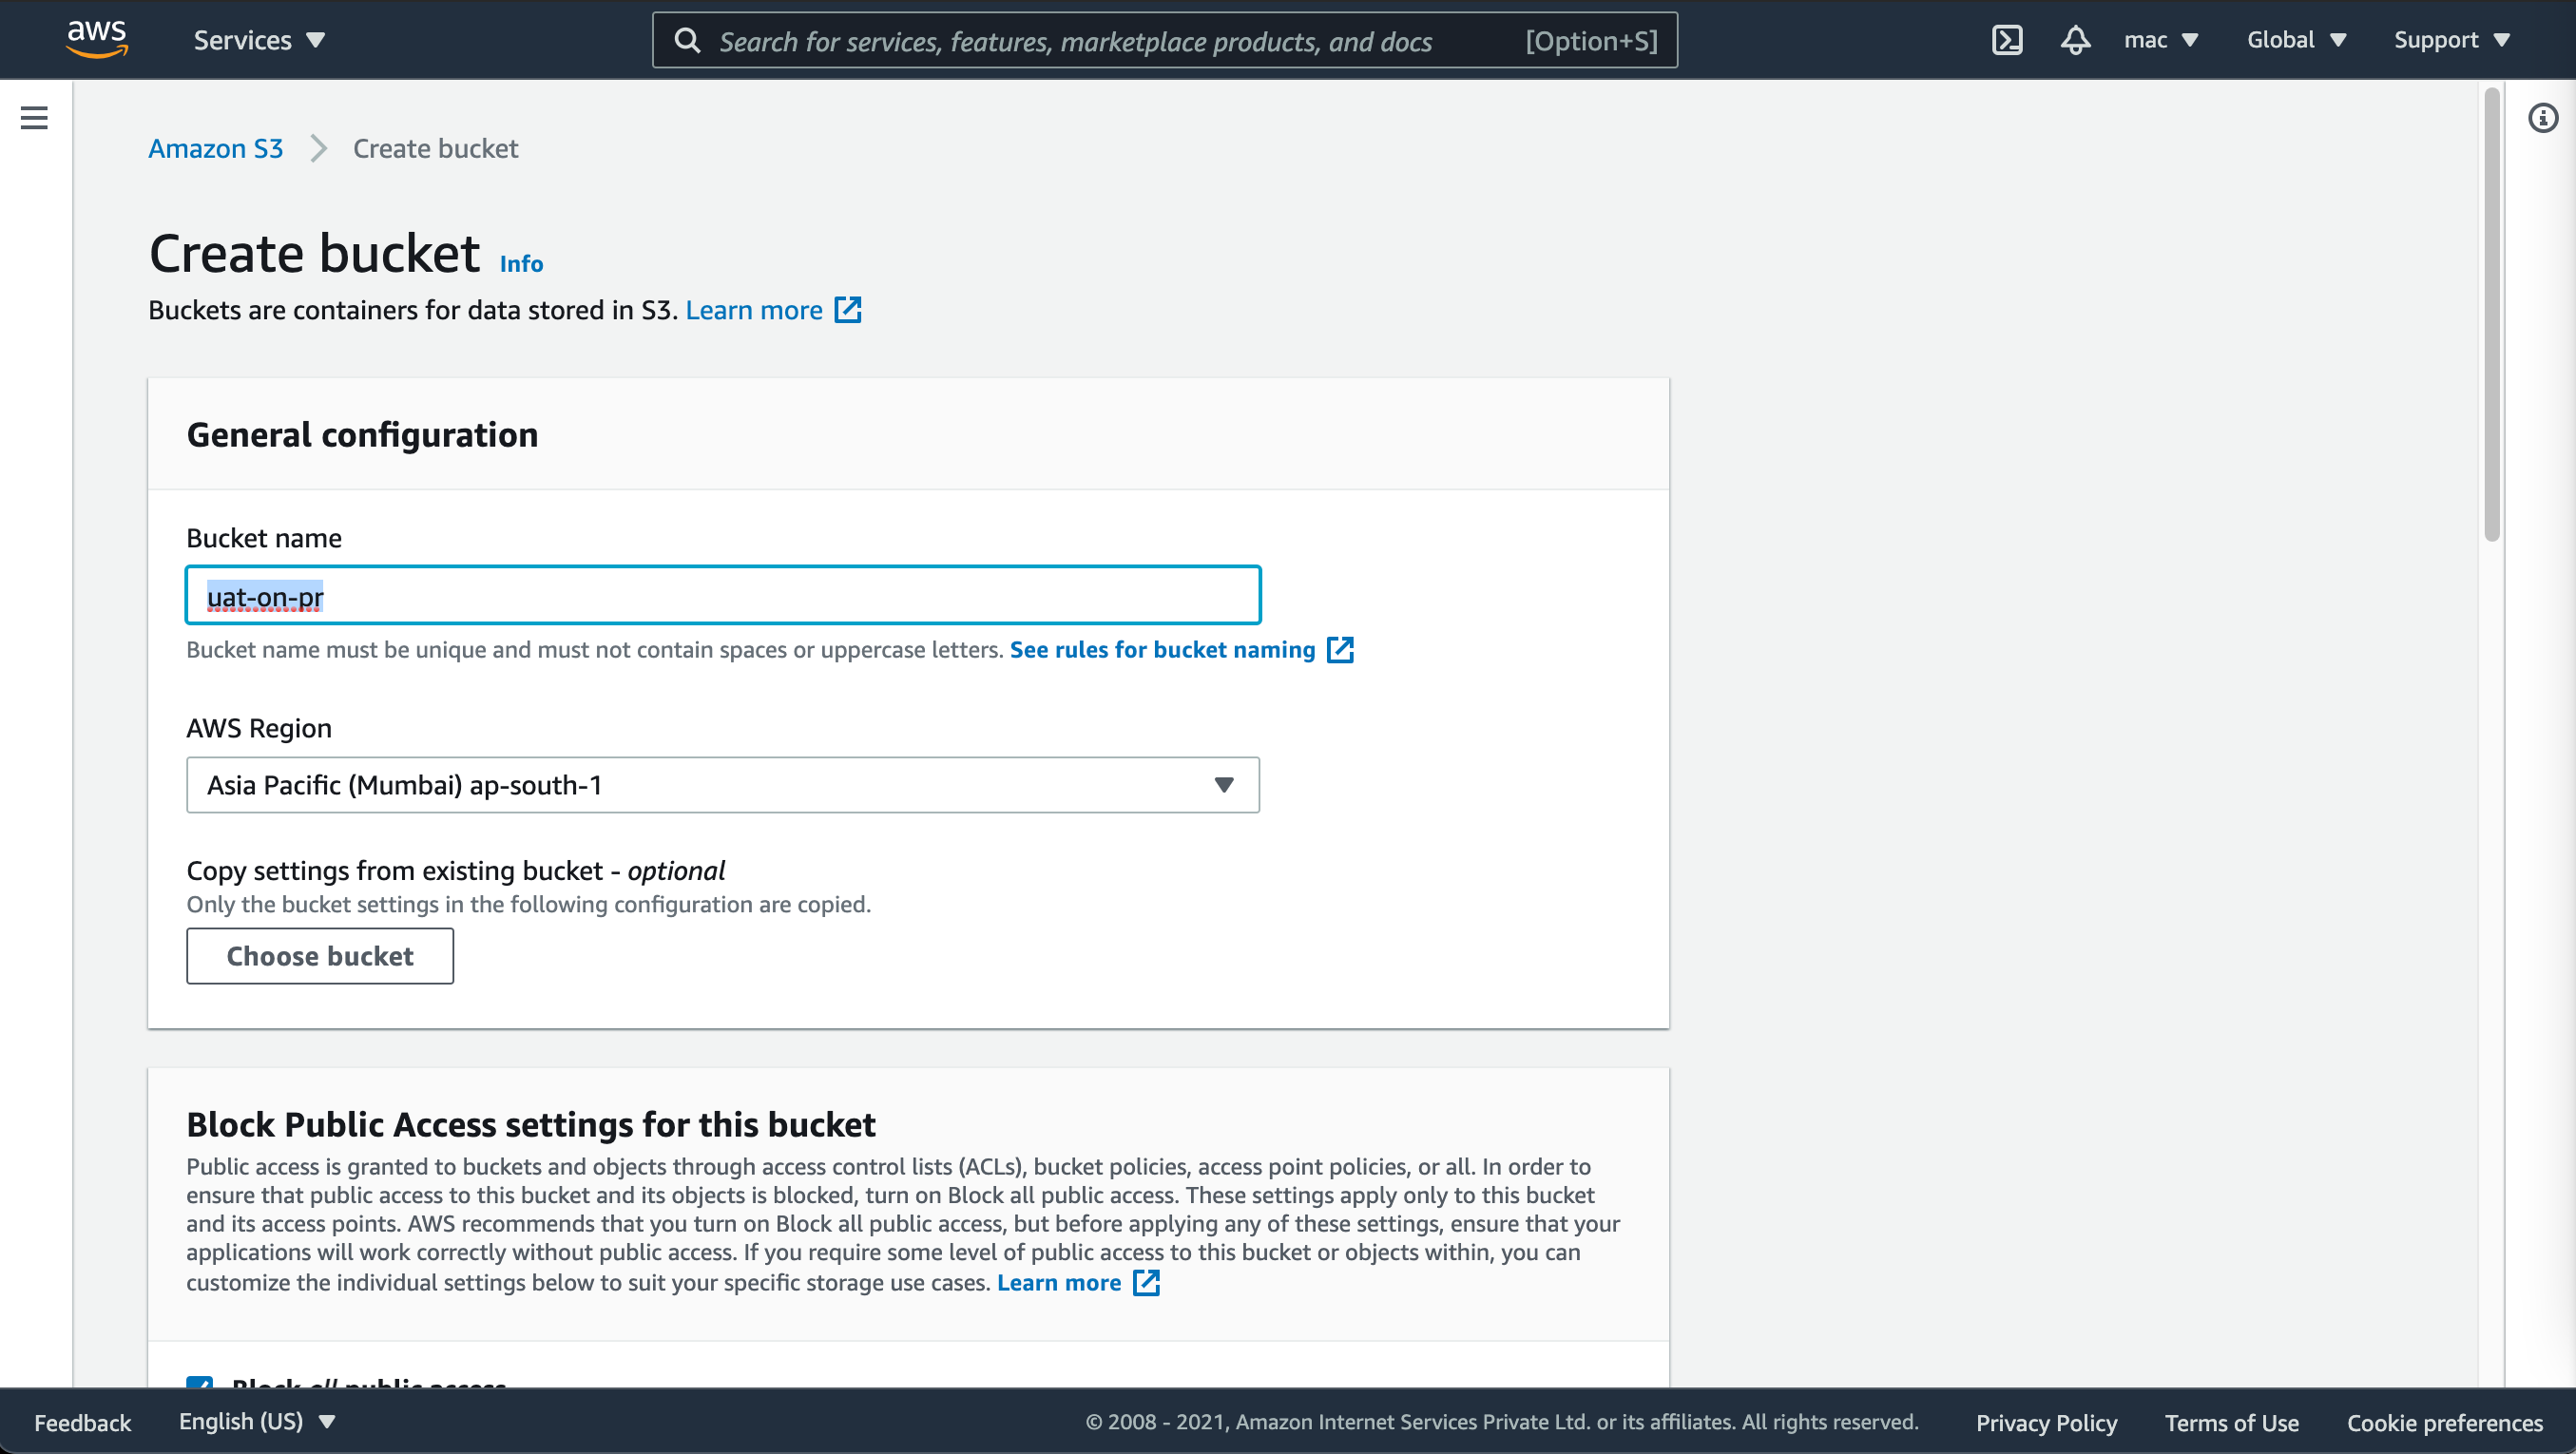
Step 3
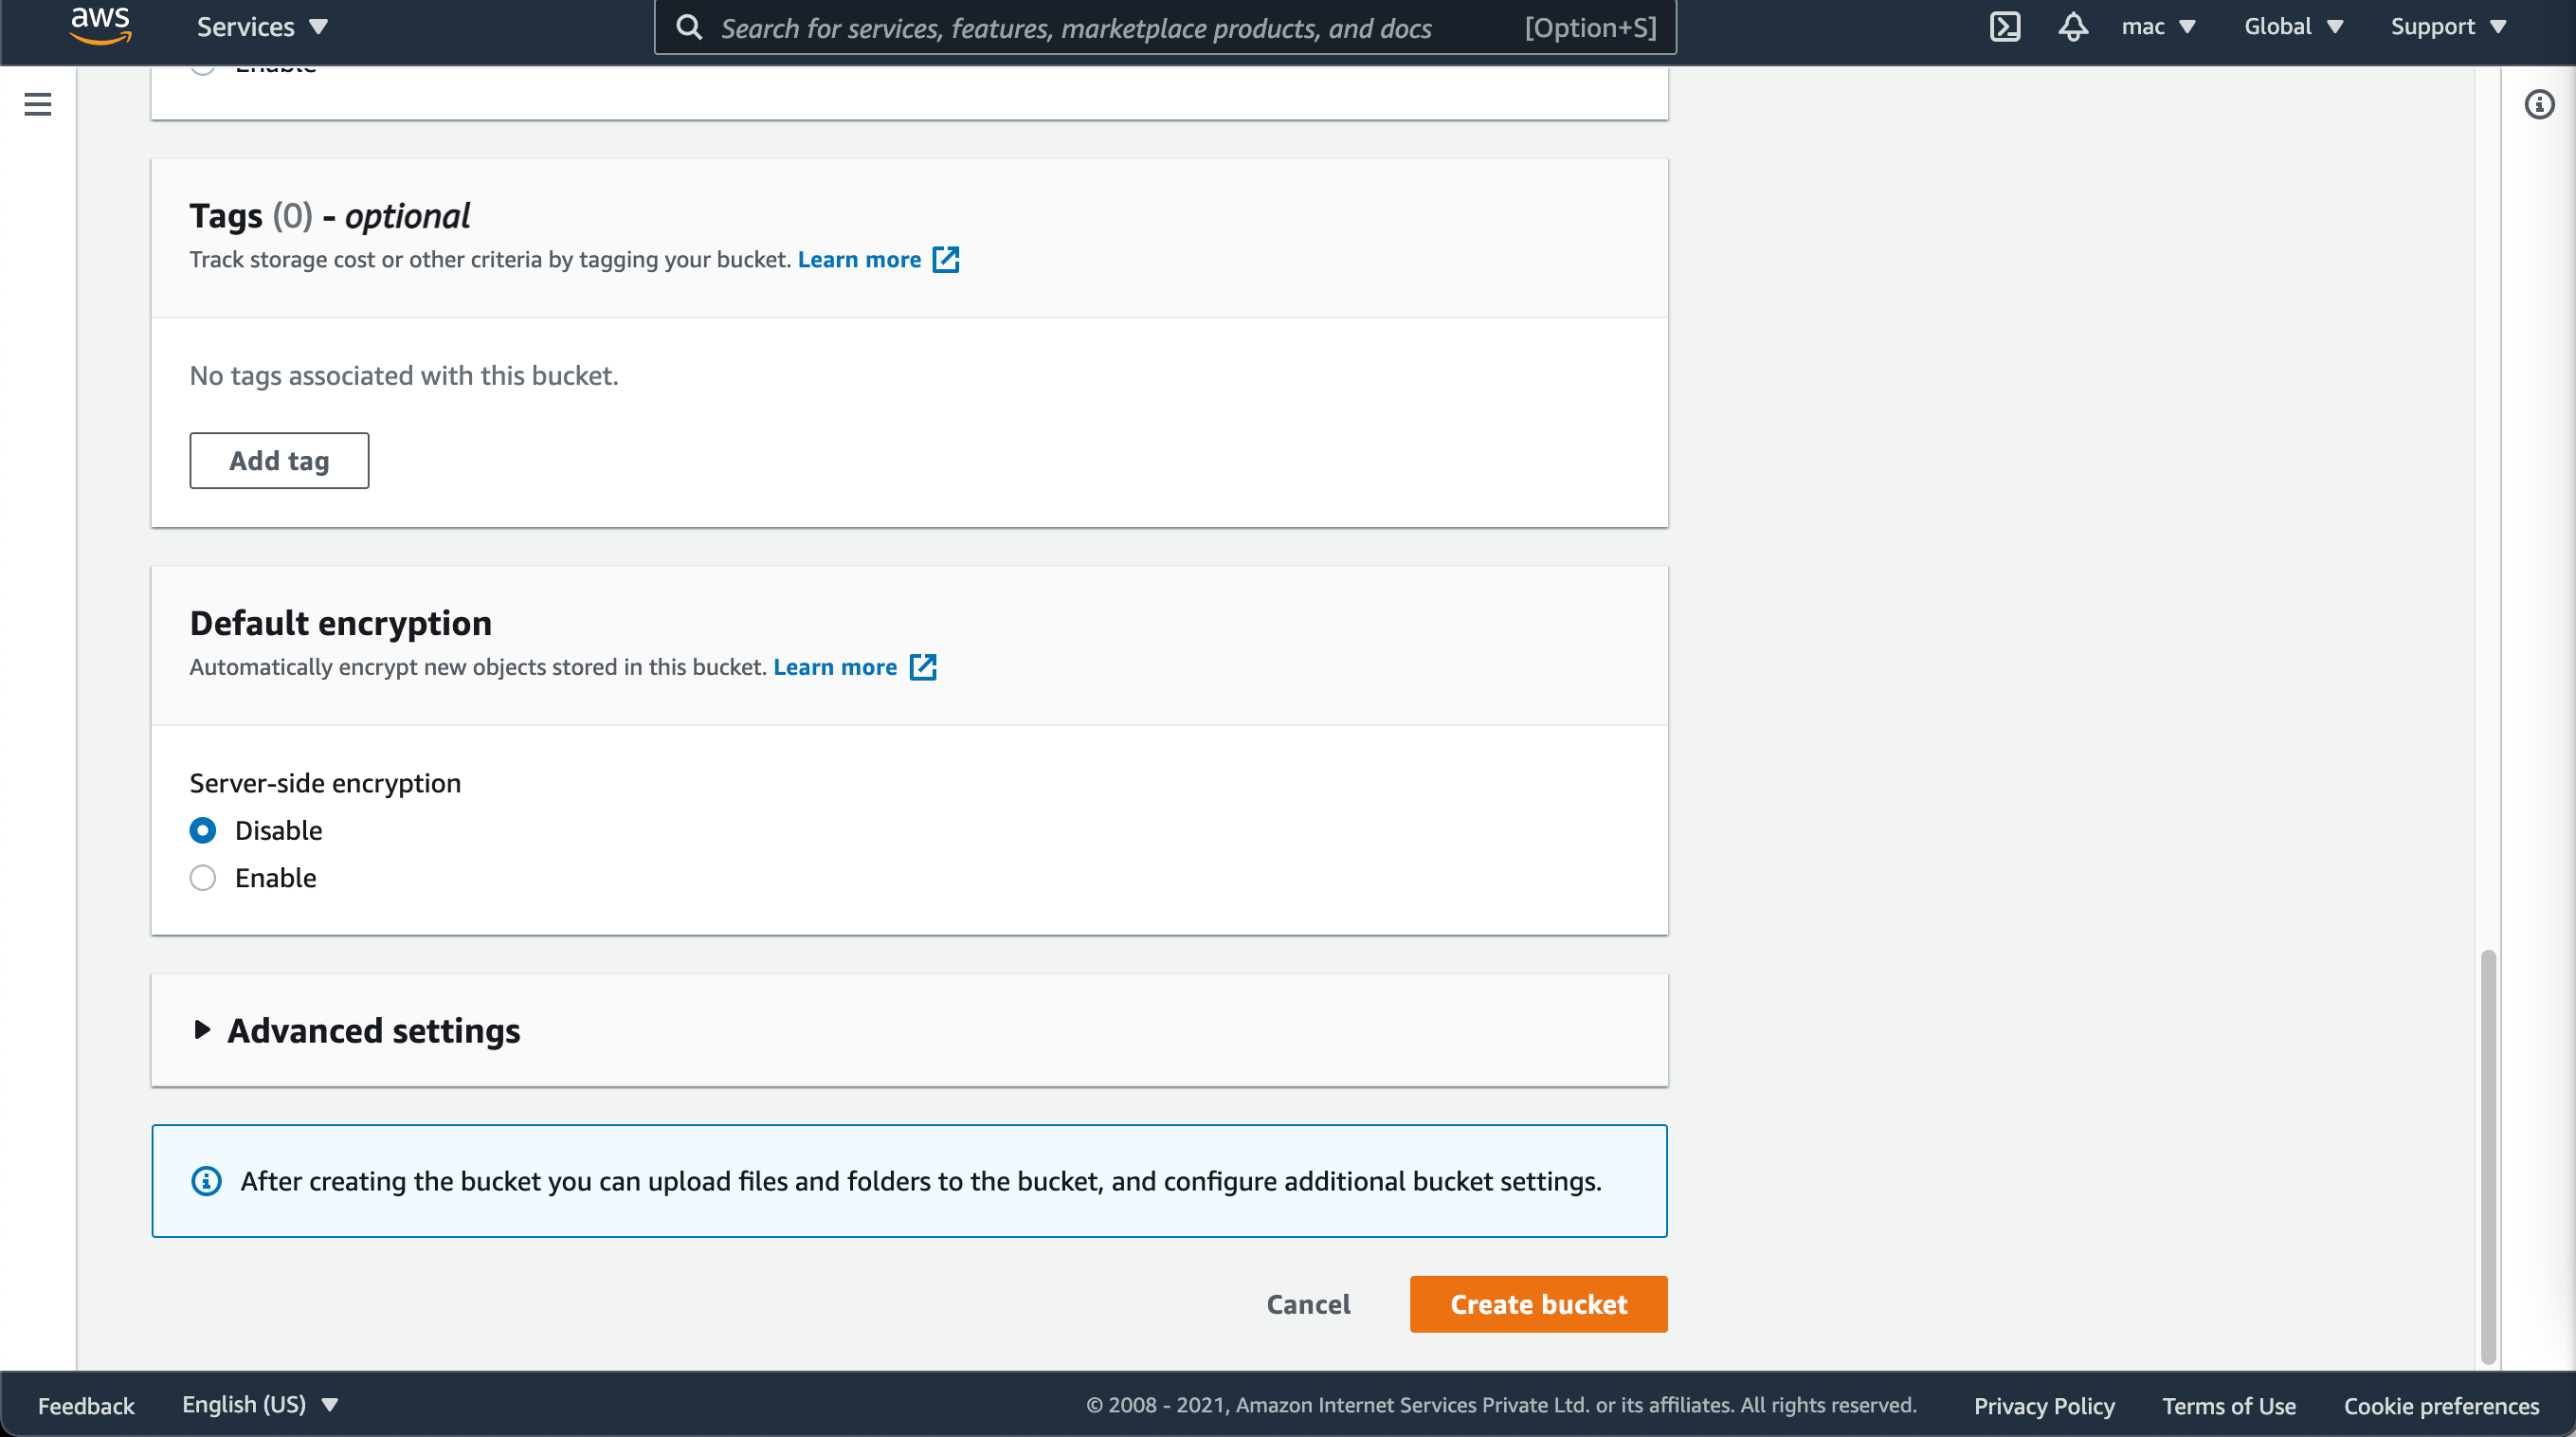
Create a new bucket.
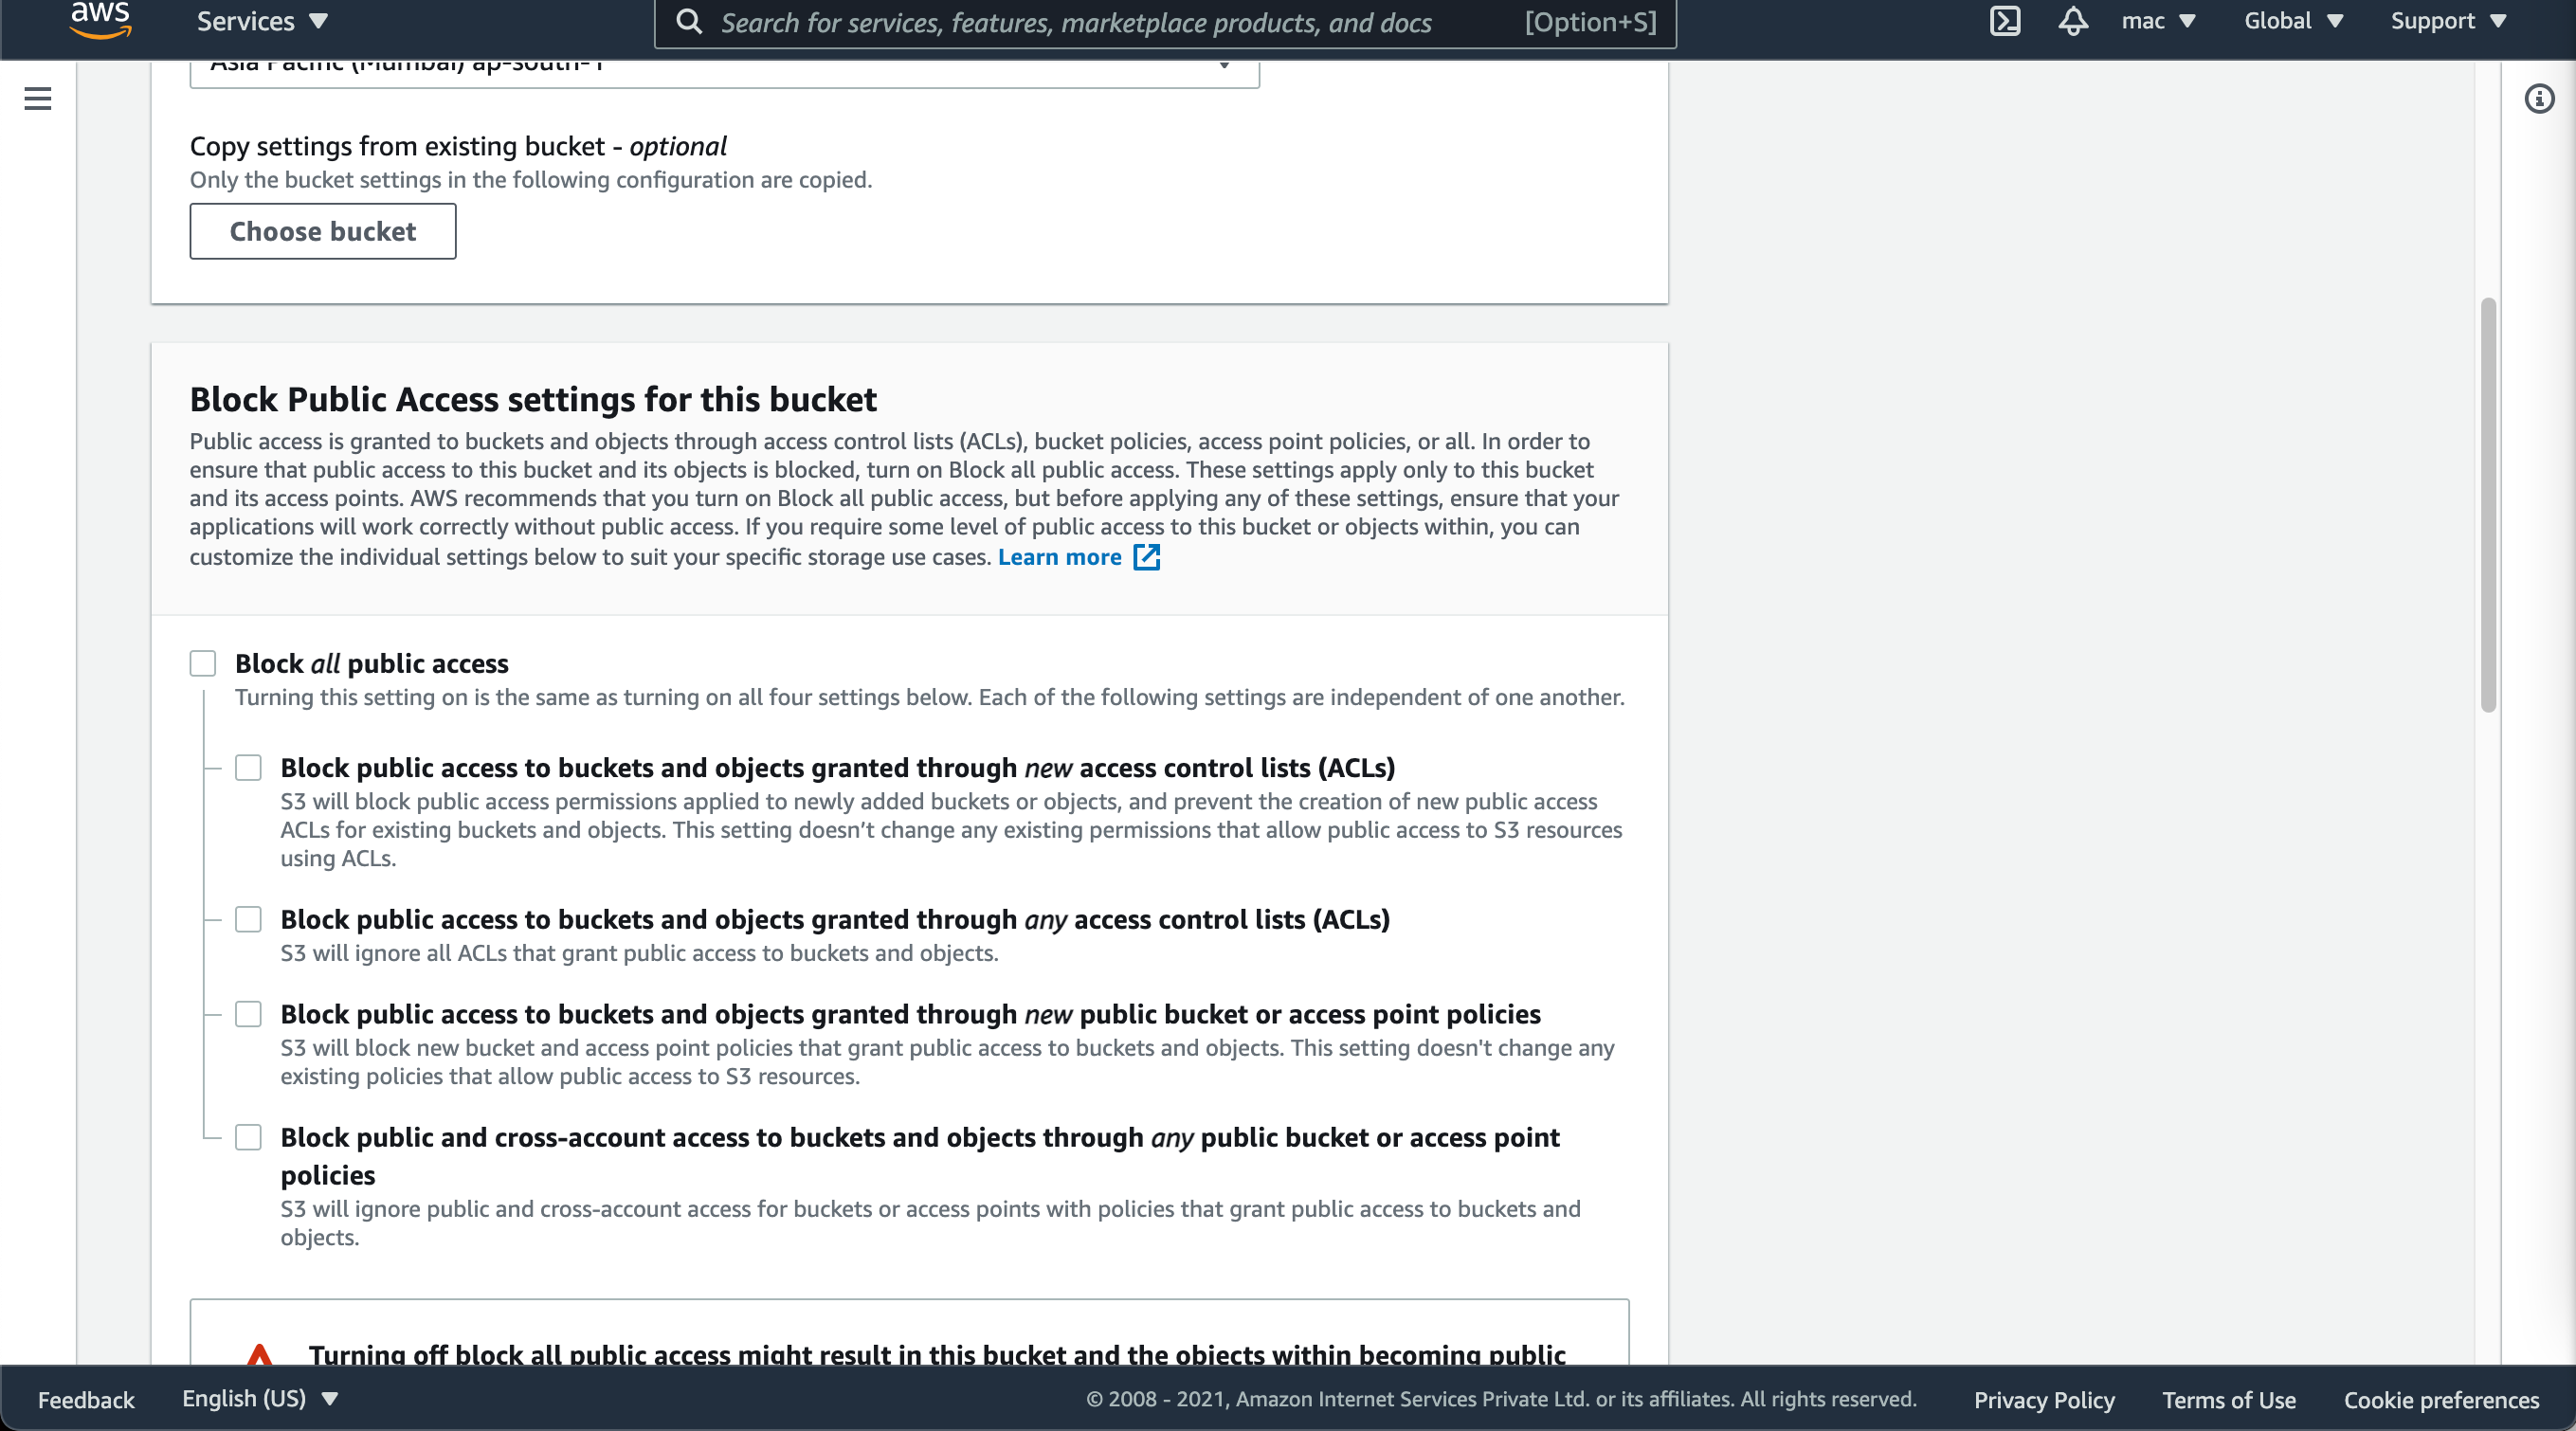
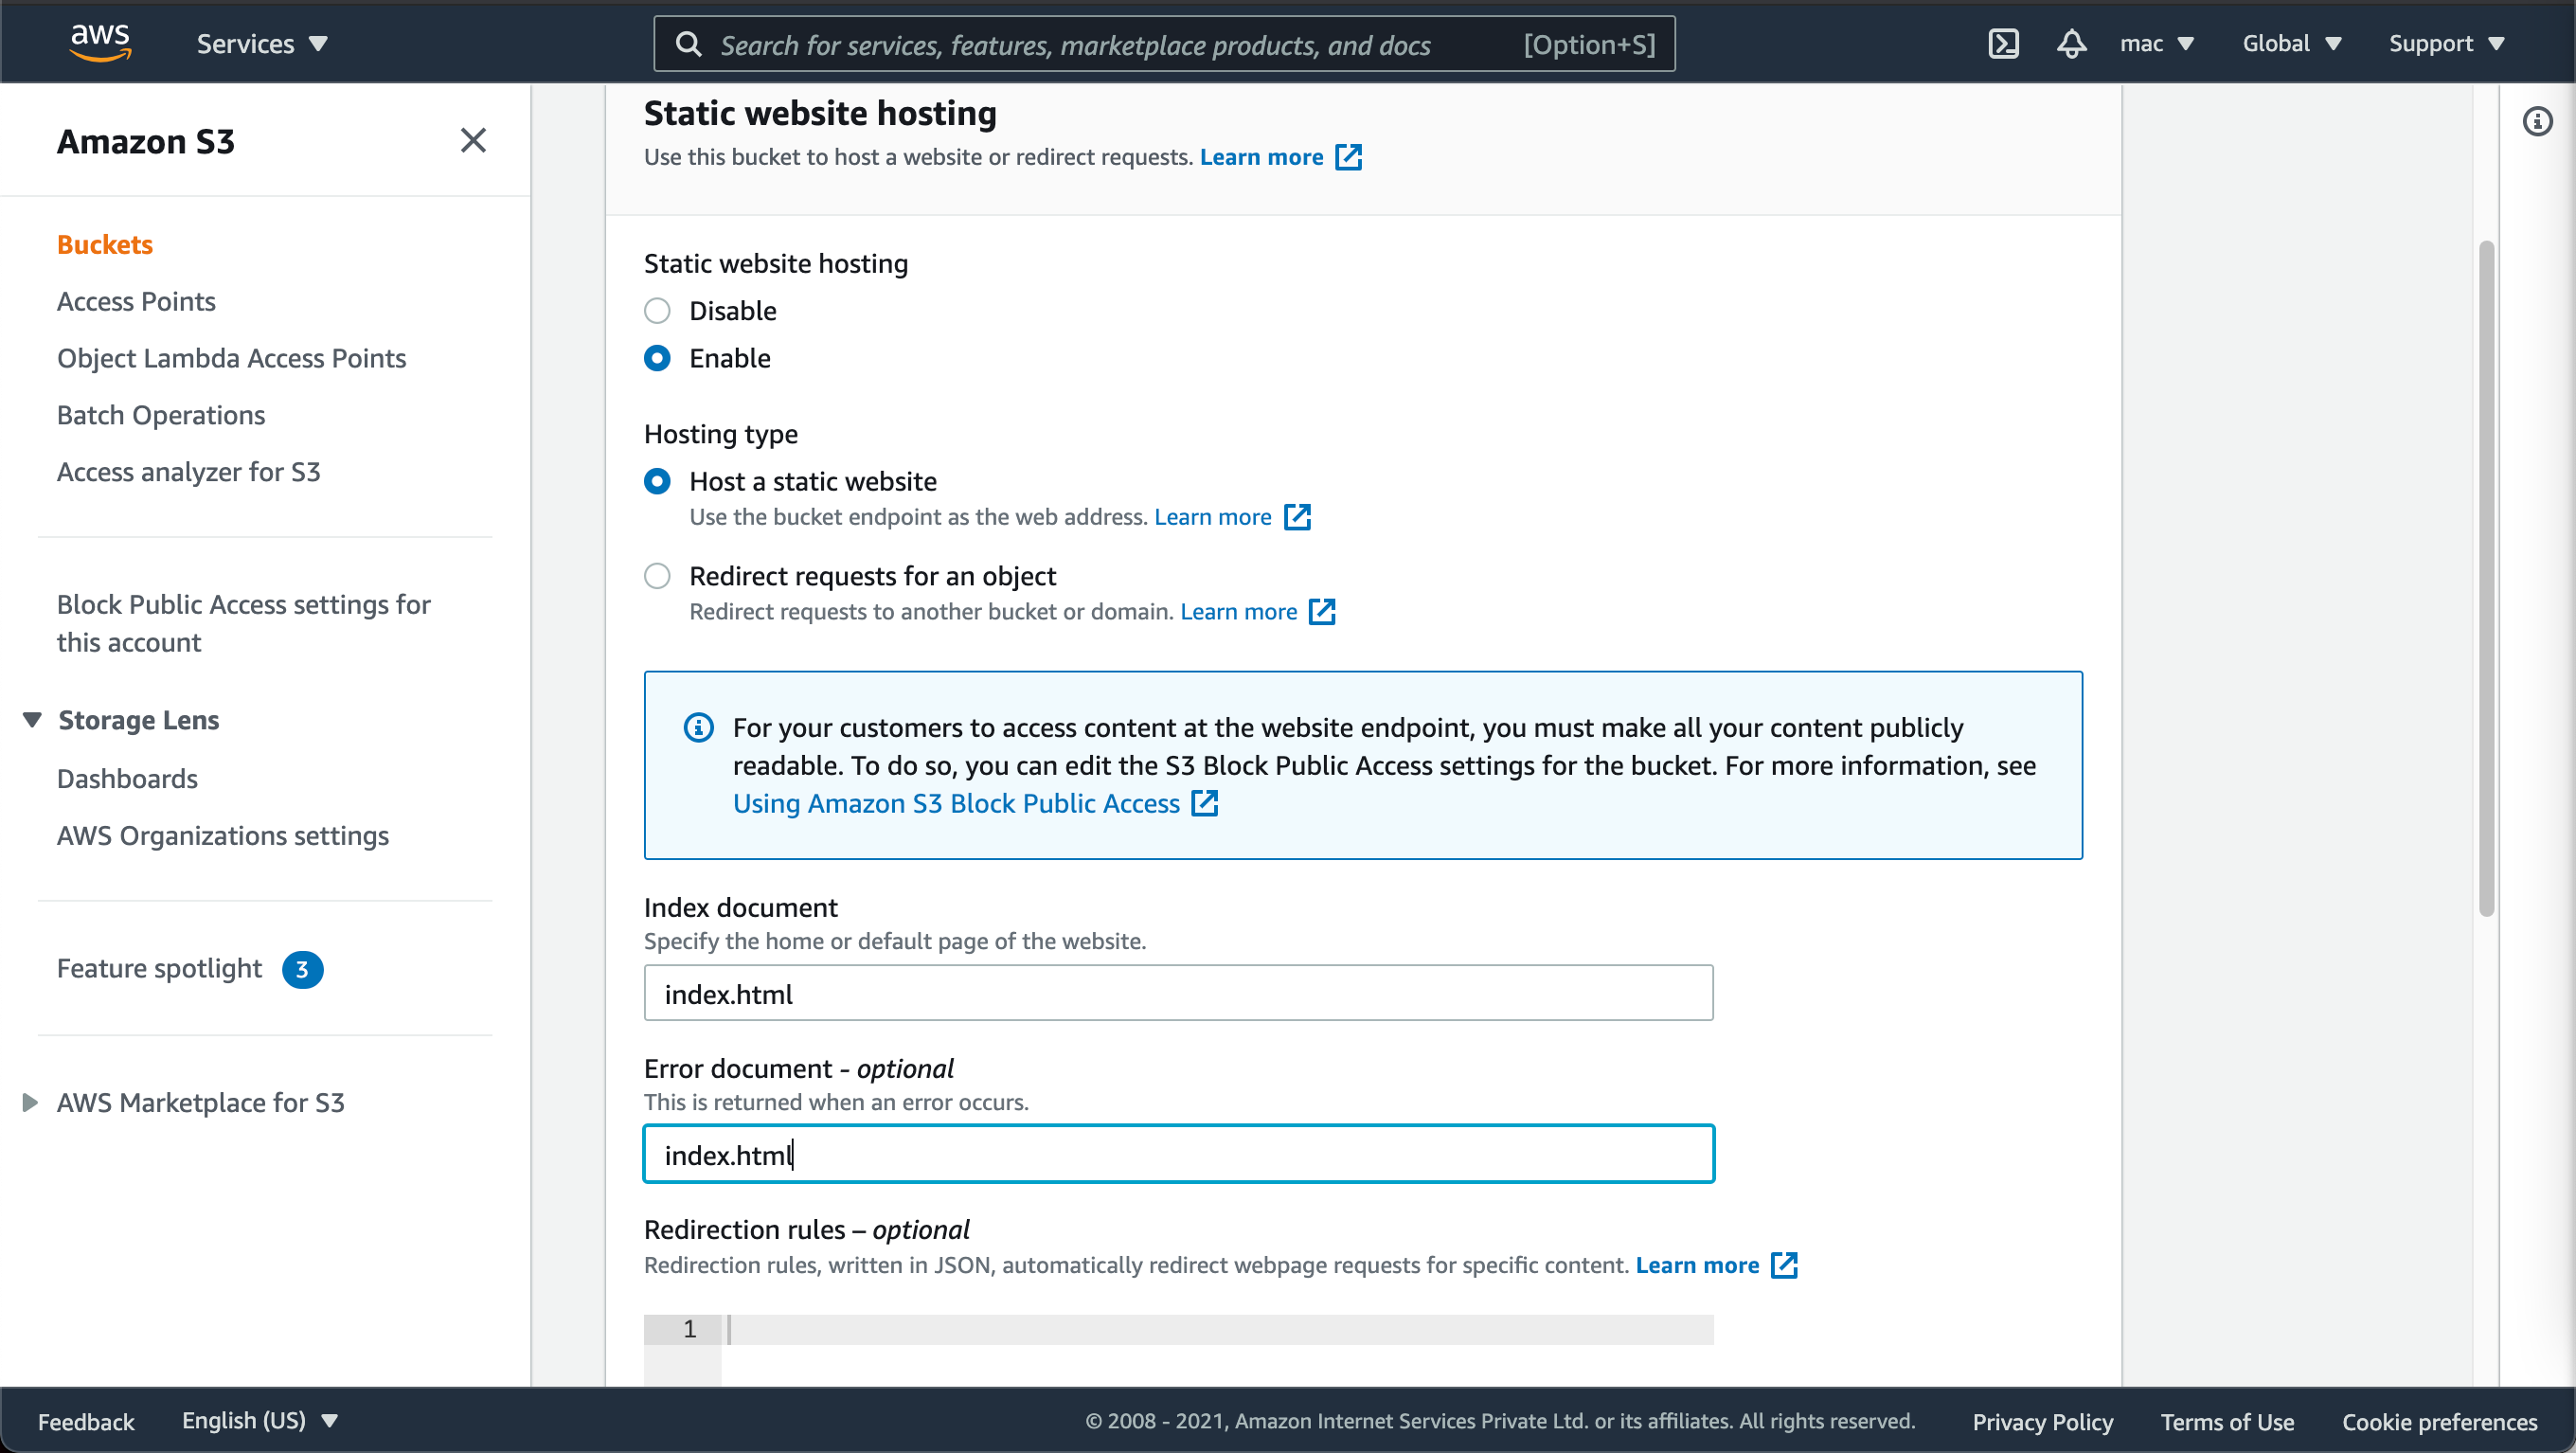
Enable static website hosting
Step 1
Navigate to the newly created bucket and go to the properties tab
Step 2
At the bottom of the page, you will see the Static Web Hosting option. Edit and enable it. Save the changes.
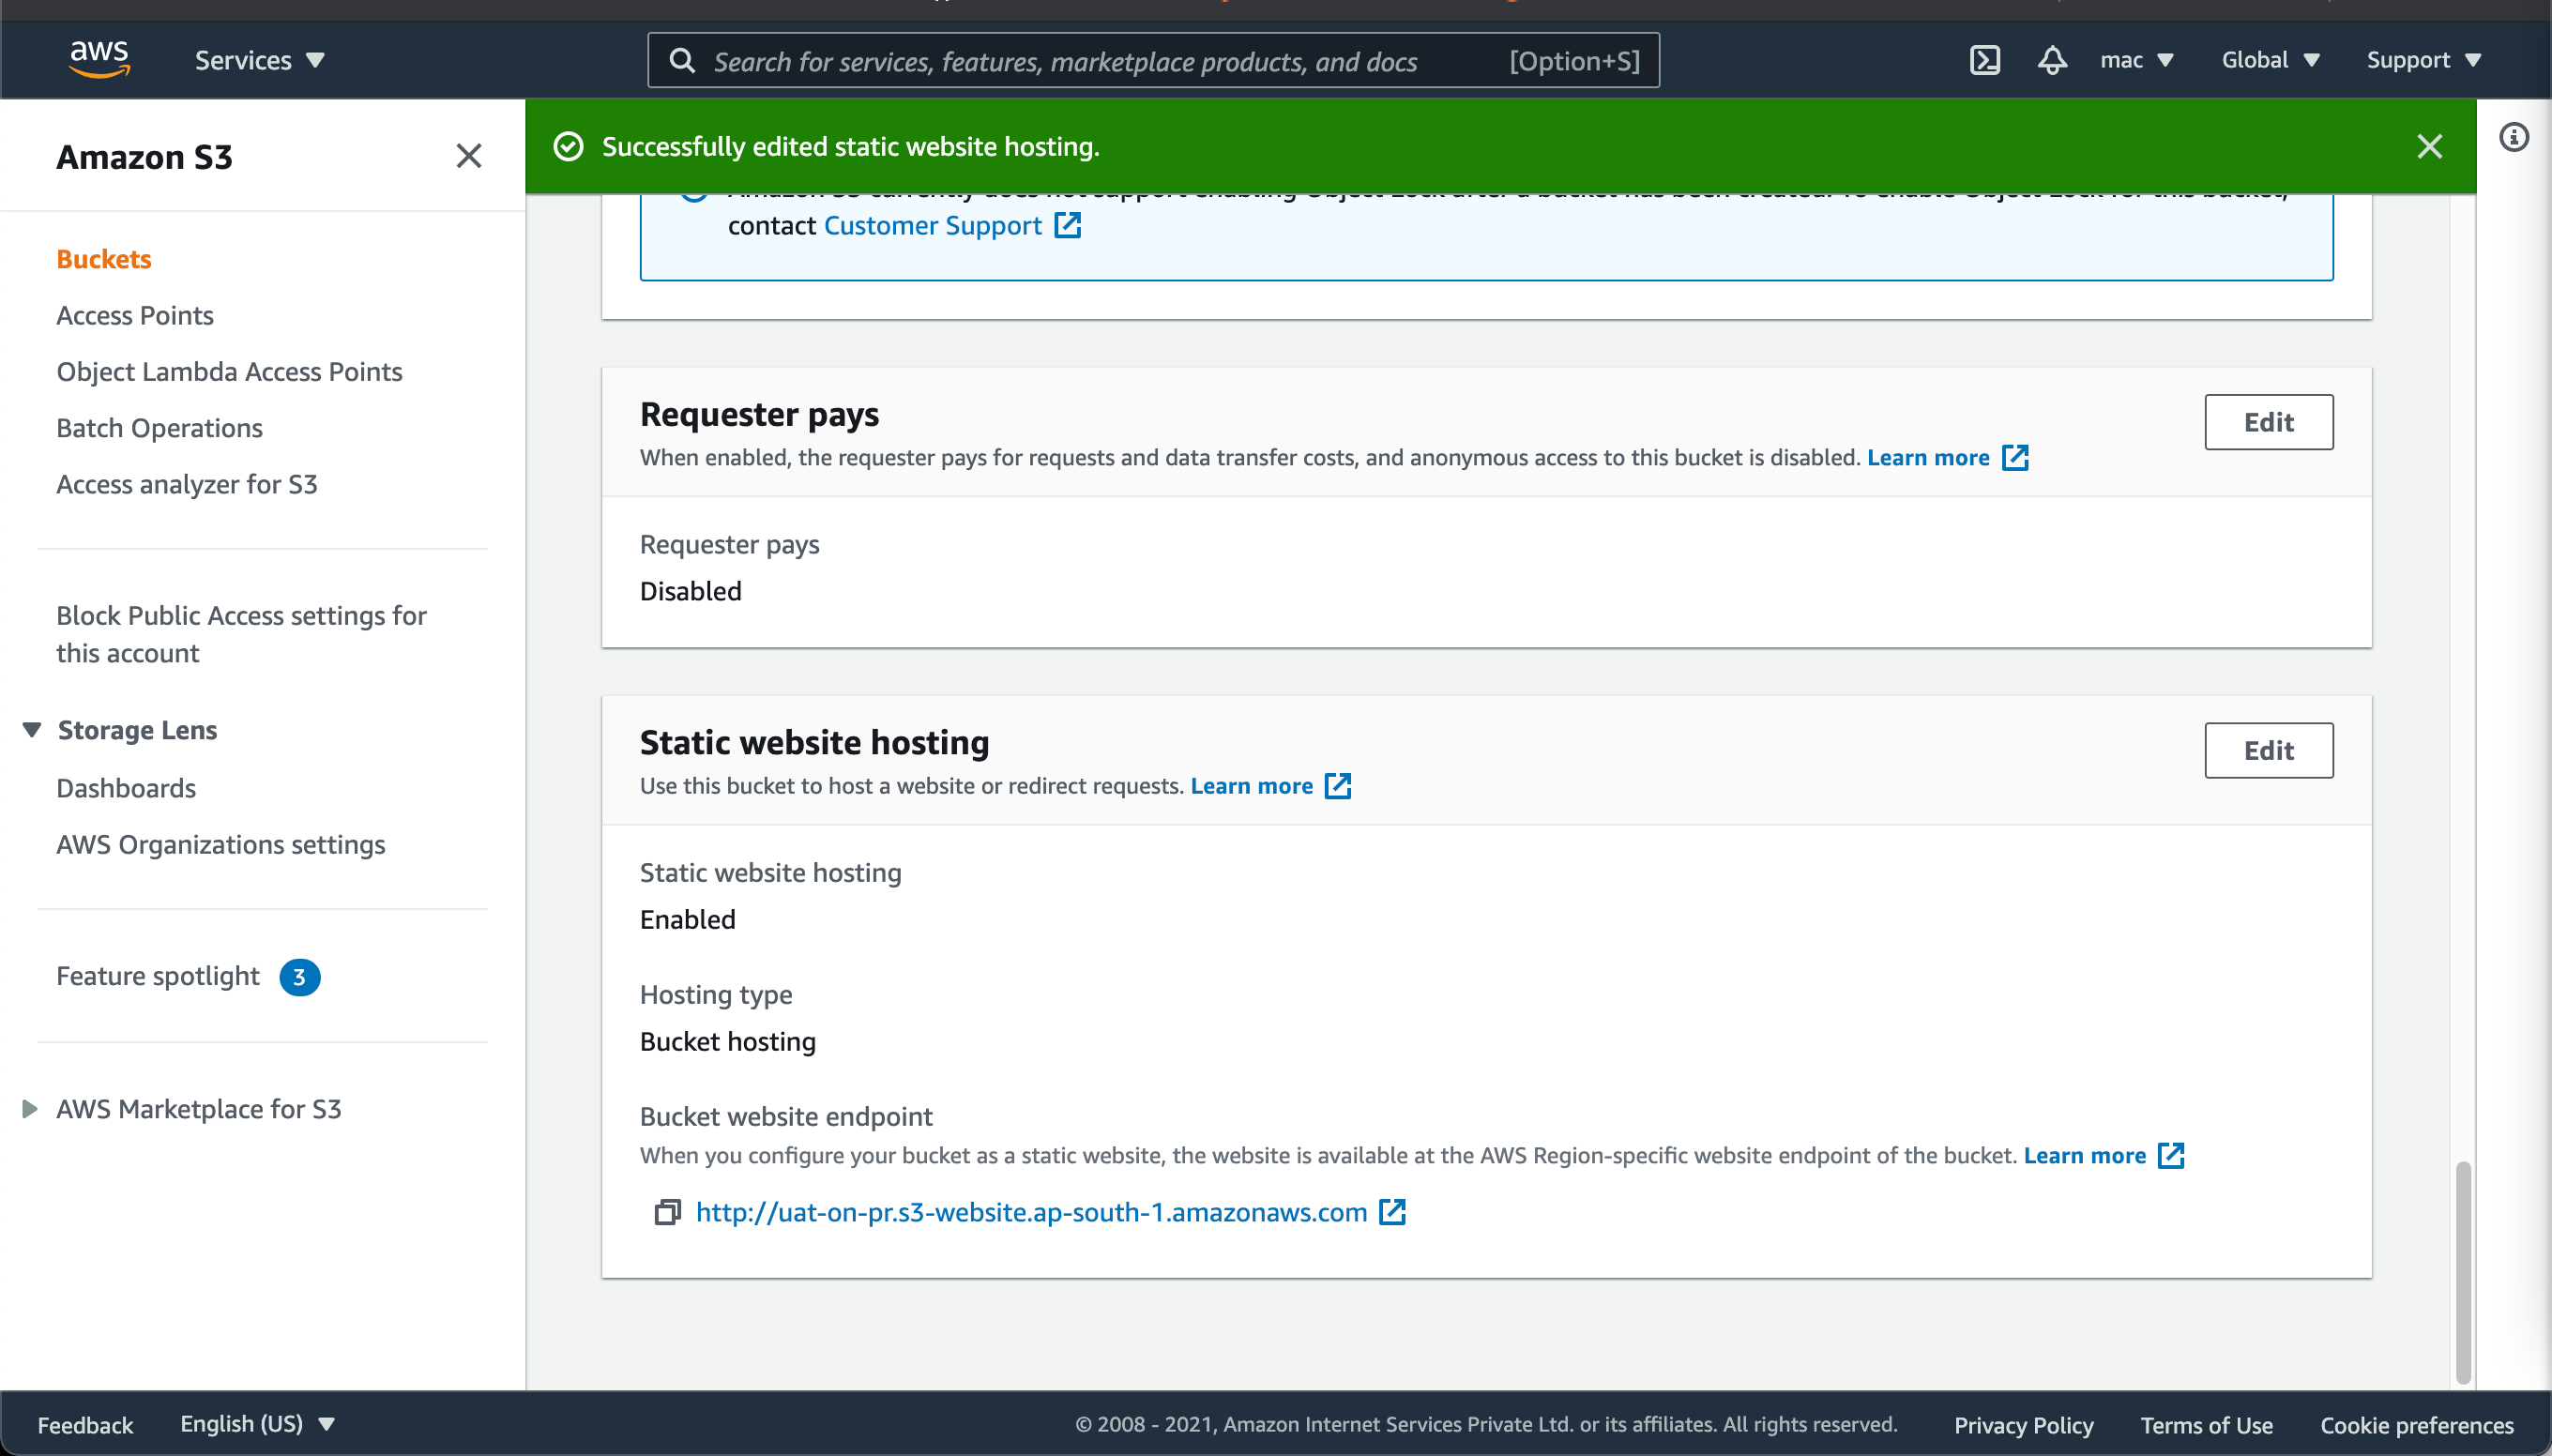
Step 3
Once your changes are saved you’ll see the link to your bucket. Copy it and keep it handy. You will need it in a few minutes.
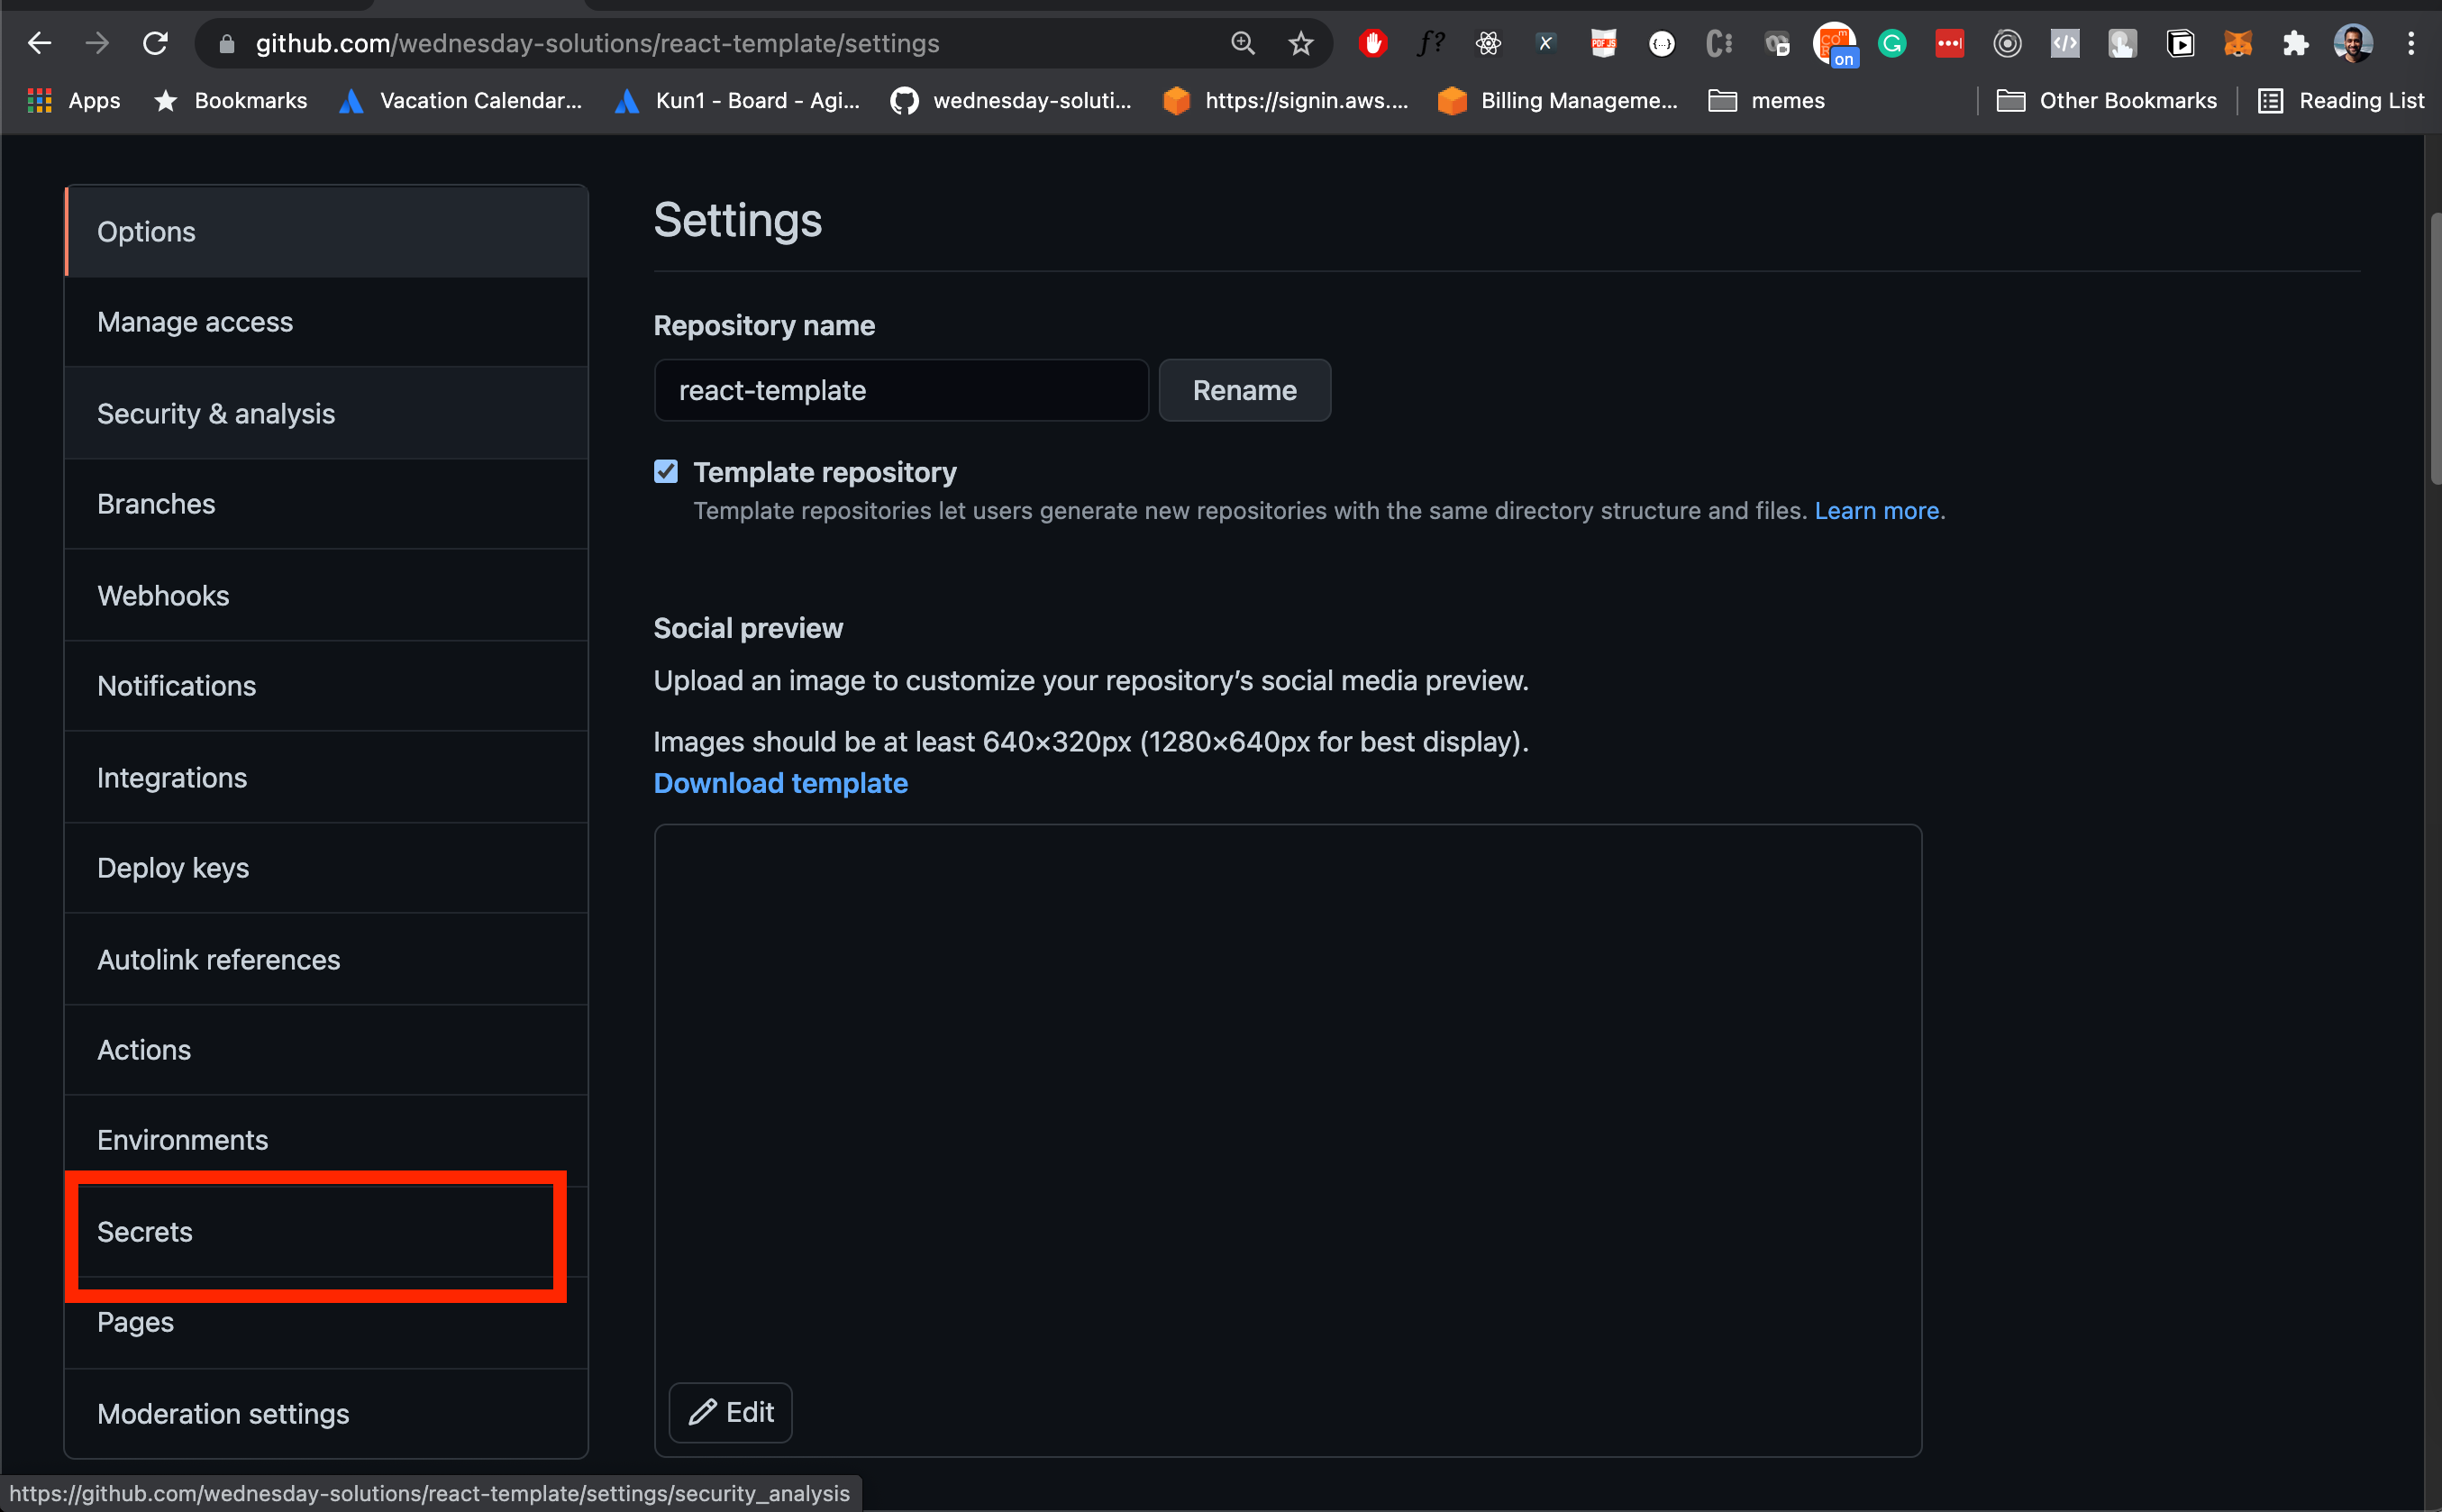
Setting up secrets
Step 1
Go to the settings tab
Step 2
Go to the secrets section
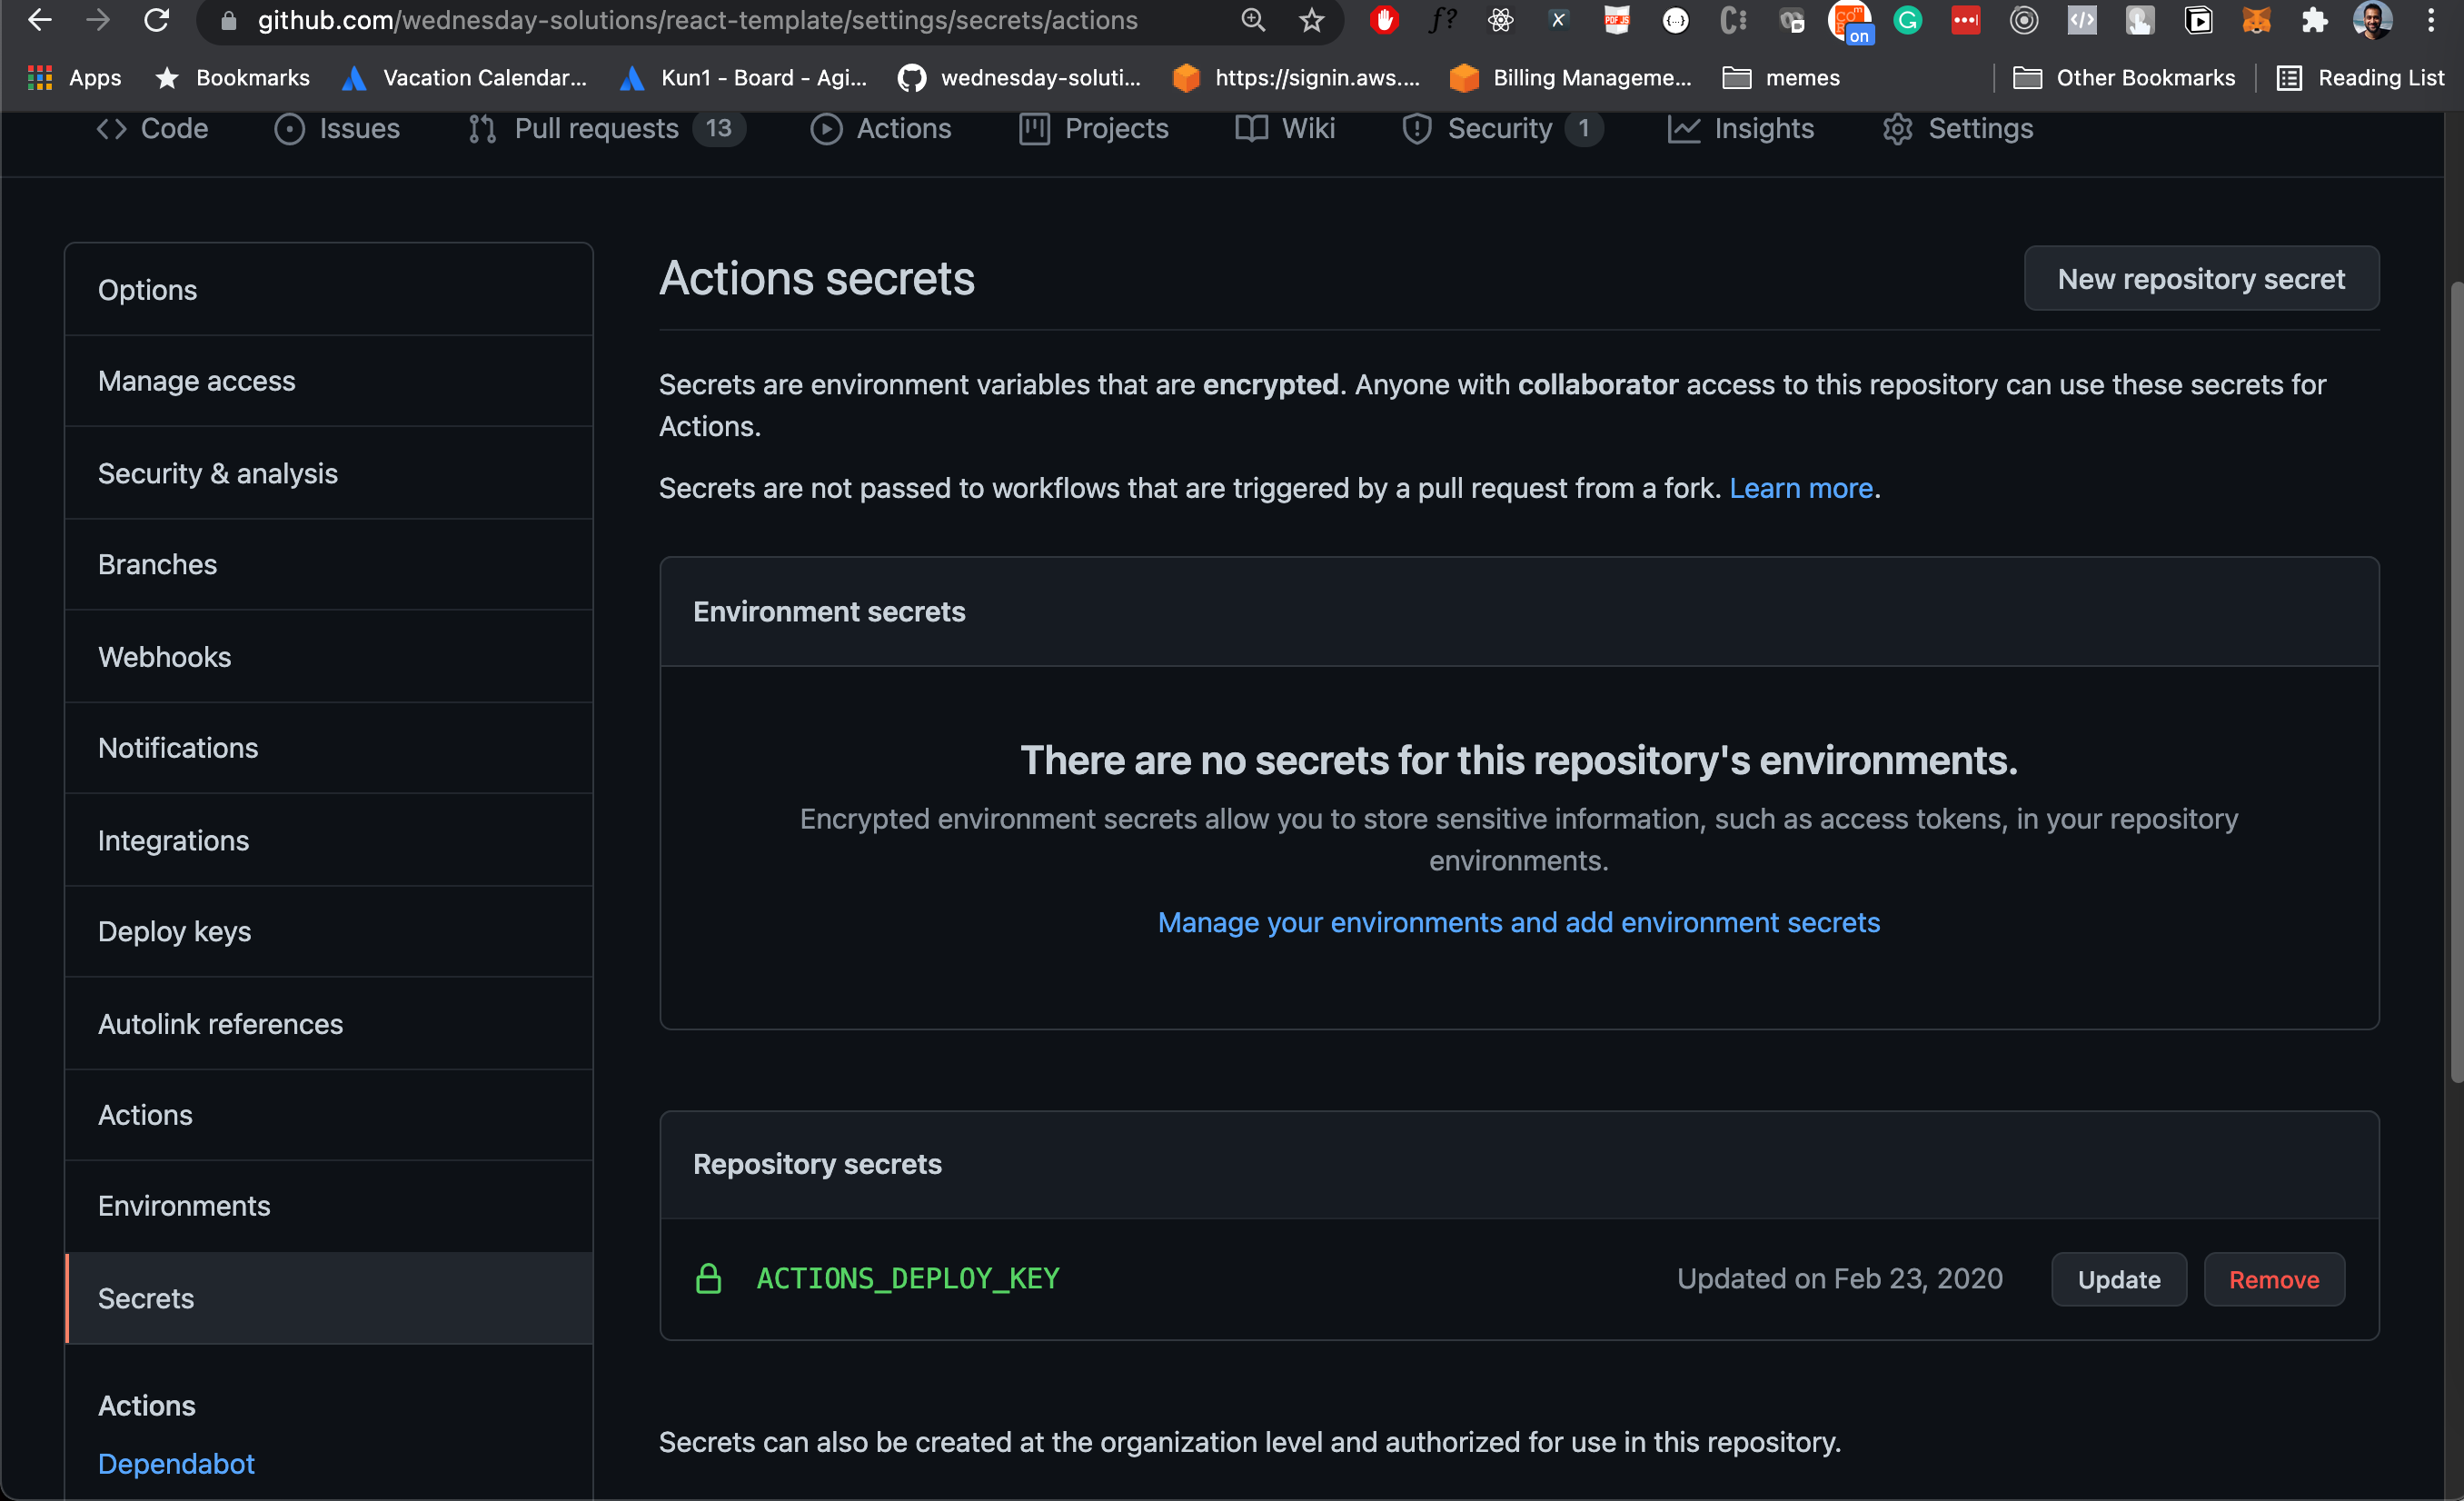
Step 3
Add secrets for AWS_REGION, AWS_SECRET_ACCESS_KEY, AWS_ACCESS_KEY_ID and AWS_S3_BUCKET
Create a new workflow for UAT deployments
Step 1
Create a new file
touch .github/workflows/uat.yml
Step 2
Copy the snippet below into the newly created file
name: Continuous Deployment on PR
# 1
on:
  pull_request:
    branches:
      - develop

jobs:
  deploy:
    name: Deploy
    runs-on: ubuntu-latest
    strategy:
      matrix:
        node-version: [12.x]
    env: #2
      SOURCE_DIR: './build/'
      AWS_REGION: ${{ secrets.AWS_REGION }}
      AWS_ACCESS_KEY_ID: ${{ secrets.AWS_ACCESS_KEY_ID }}
      AWS_SECRET_ACCESS_KEY: ${{ secrets.AWS_SECRET_ACCESS_KEY }}
      PATHS: '/*'
      AWS_S3_BUCKET: ${{ secrets.AWS_S3_BUCKET }}
-
This workflow will be triggered whenever a PR is created to the develop branch
-
In the react-template, the build artifact is stored in build directory. AWS_REGION, AWS_SECRET_ACCESS_KEY, AWS_ACCESS_KEY_ID, and AWS_S3_BUCKET are set using Github secrets.
... steps: - uses: actions/checkout@v1 #1 - name: Get branch name #2 id: vars run: echo ::set-output name=branch::${{github.event.pull_request.head.ref}} - name: Install dependencies #3 run: yarn - name: Build # 4 run: yarn build:uat - name: AWS Deploy #5 uses: jakejarvis/s3-sync-action@v0.5.0 with: args: --acl public-read --follow-symlinks env: DEST_DIR: ${{steps.vars.outputs.branch}}
-
Check out the code
-
Get the name of the branch
-
Install all of the dependencies
-
Create a UAT build
-
Copy the artifact to S3. The Destination directory is the same as the branch name.
Push your code and create a PR
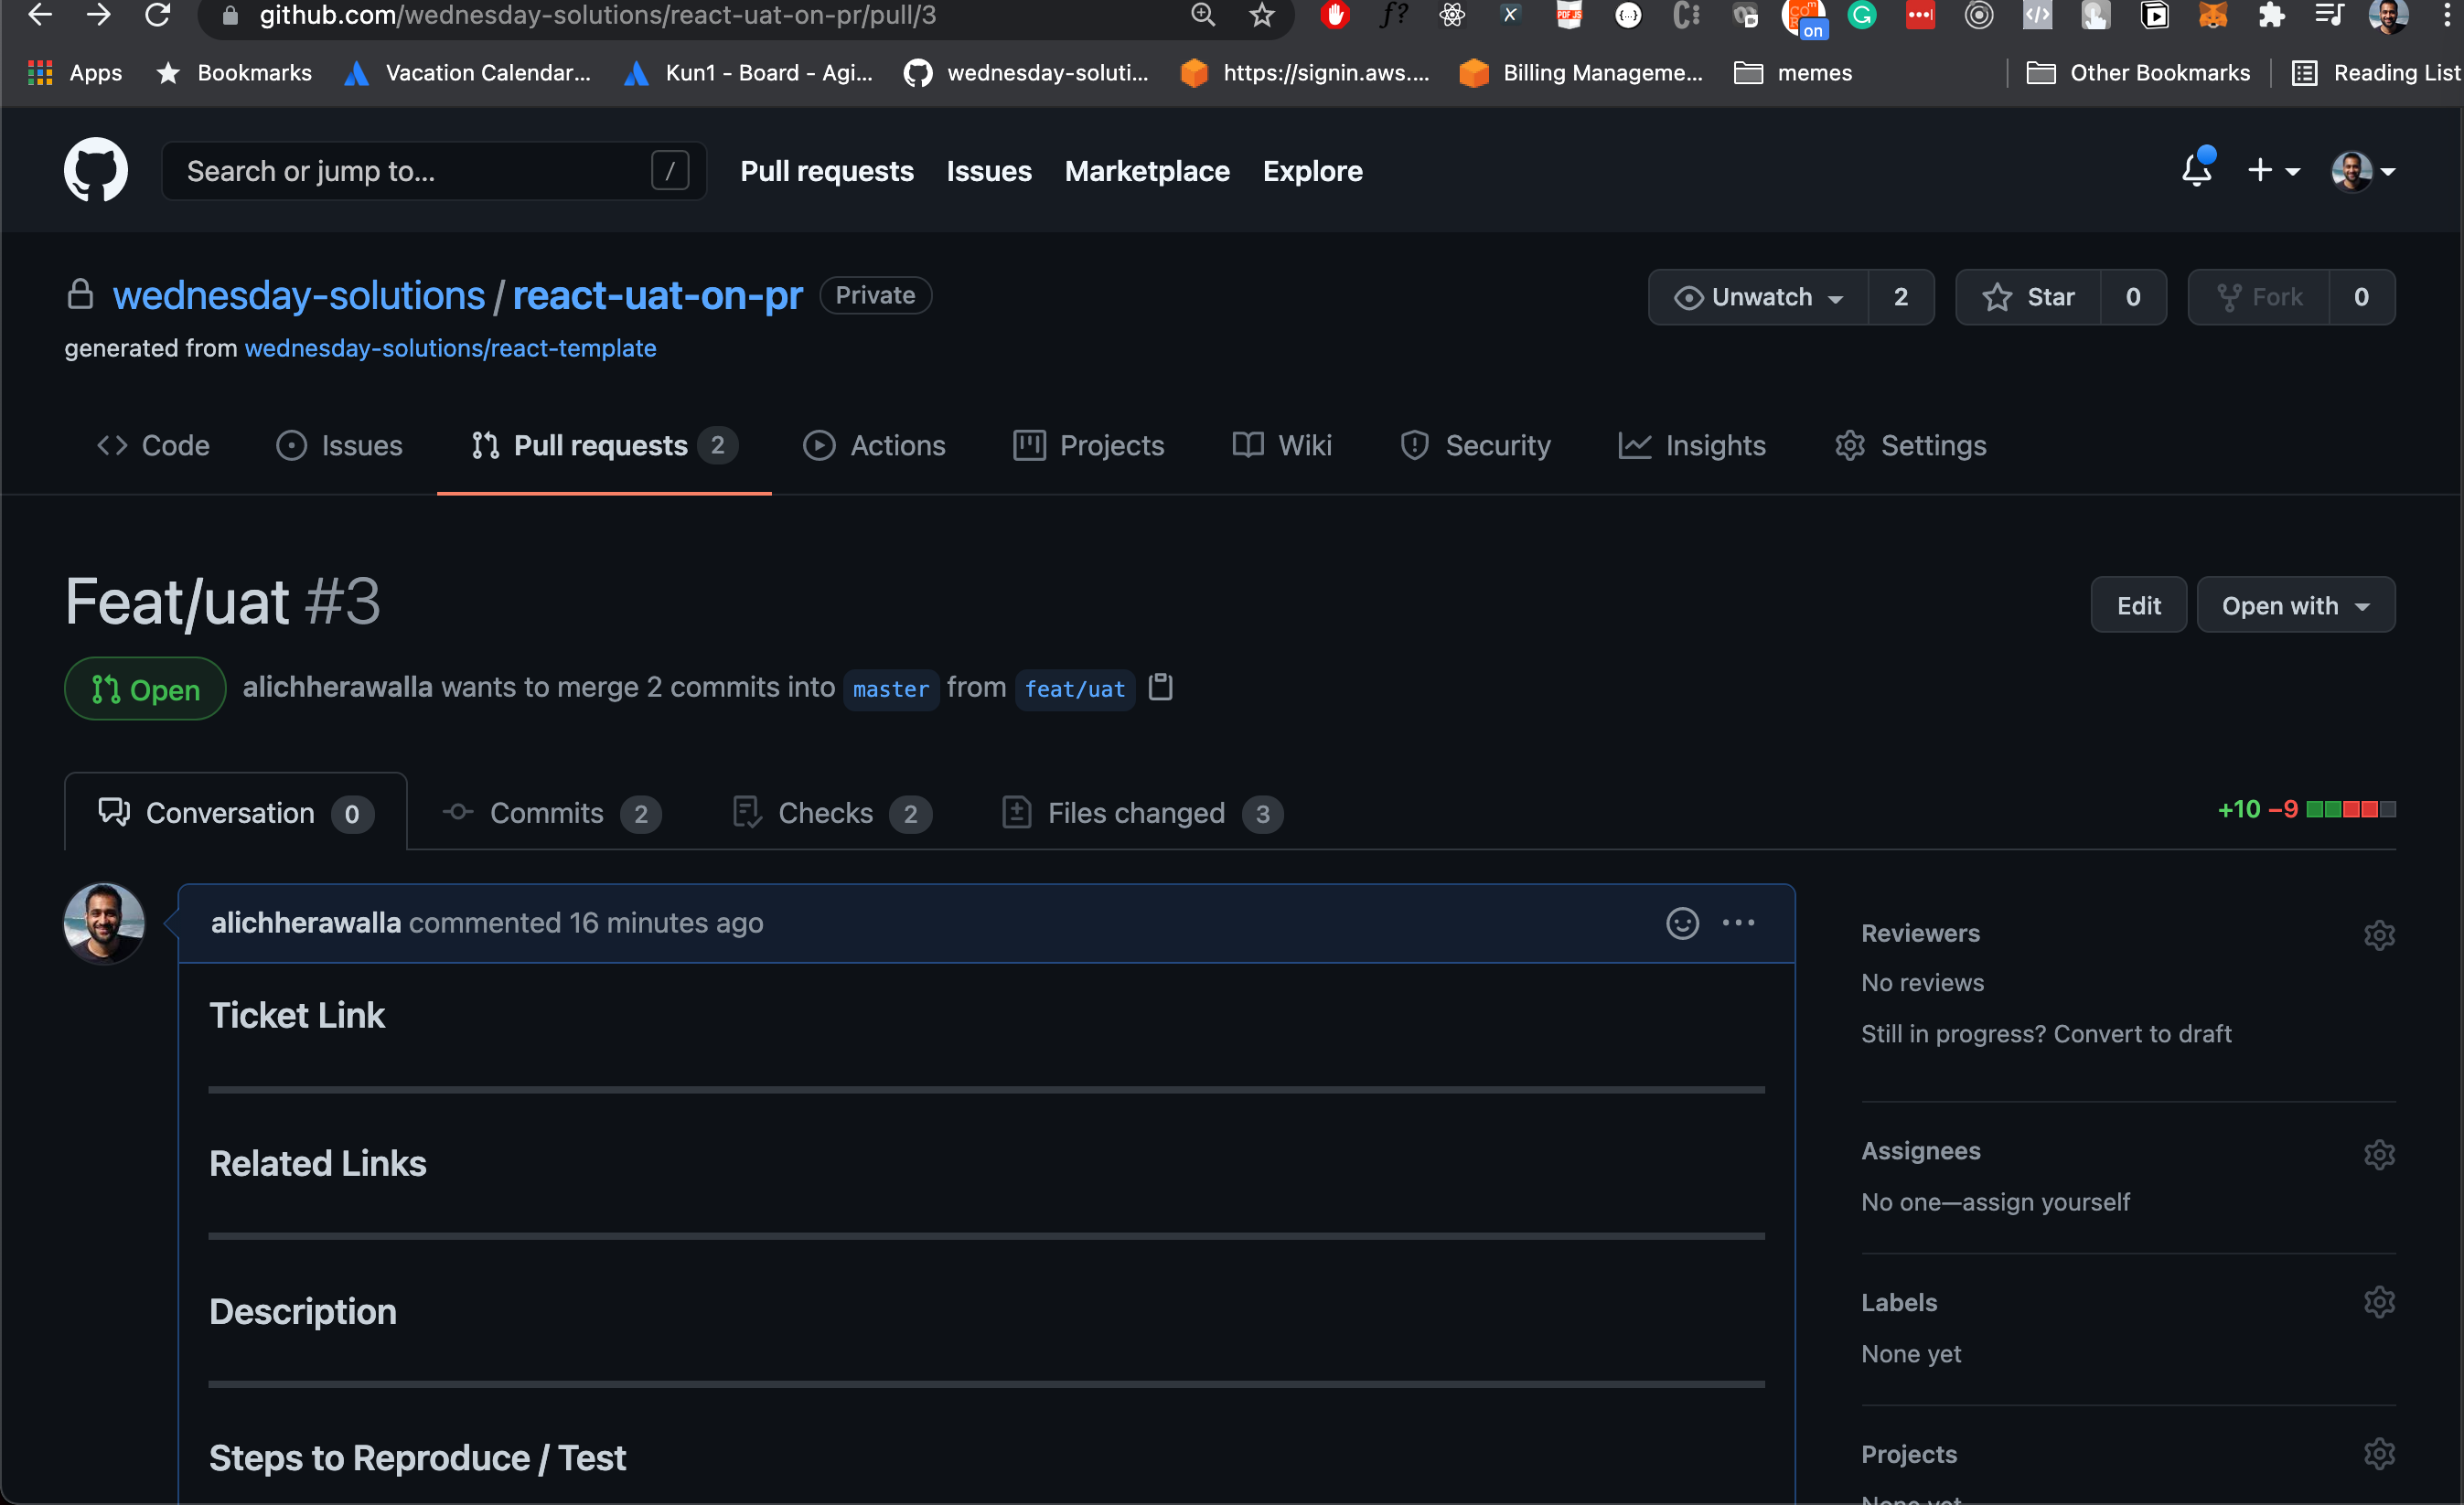
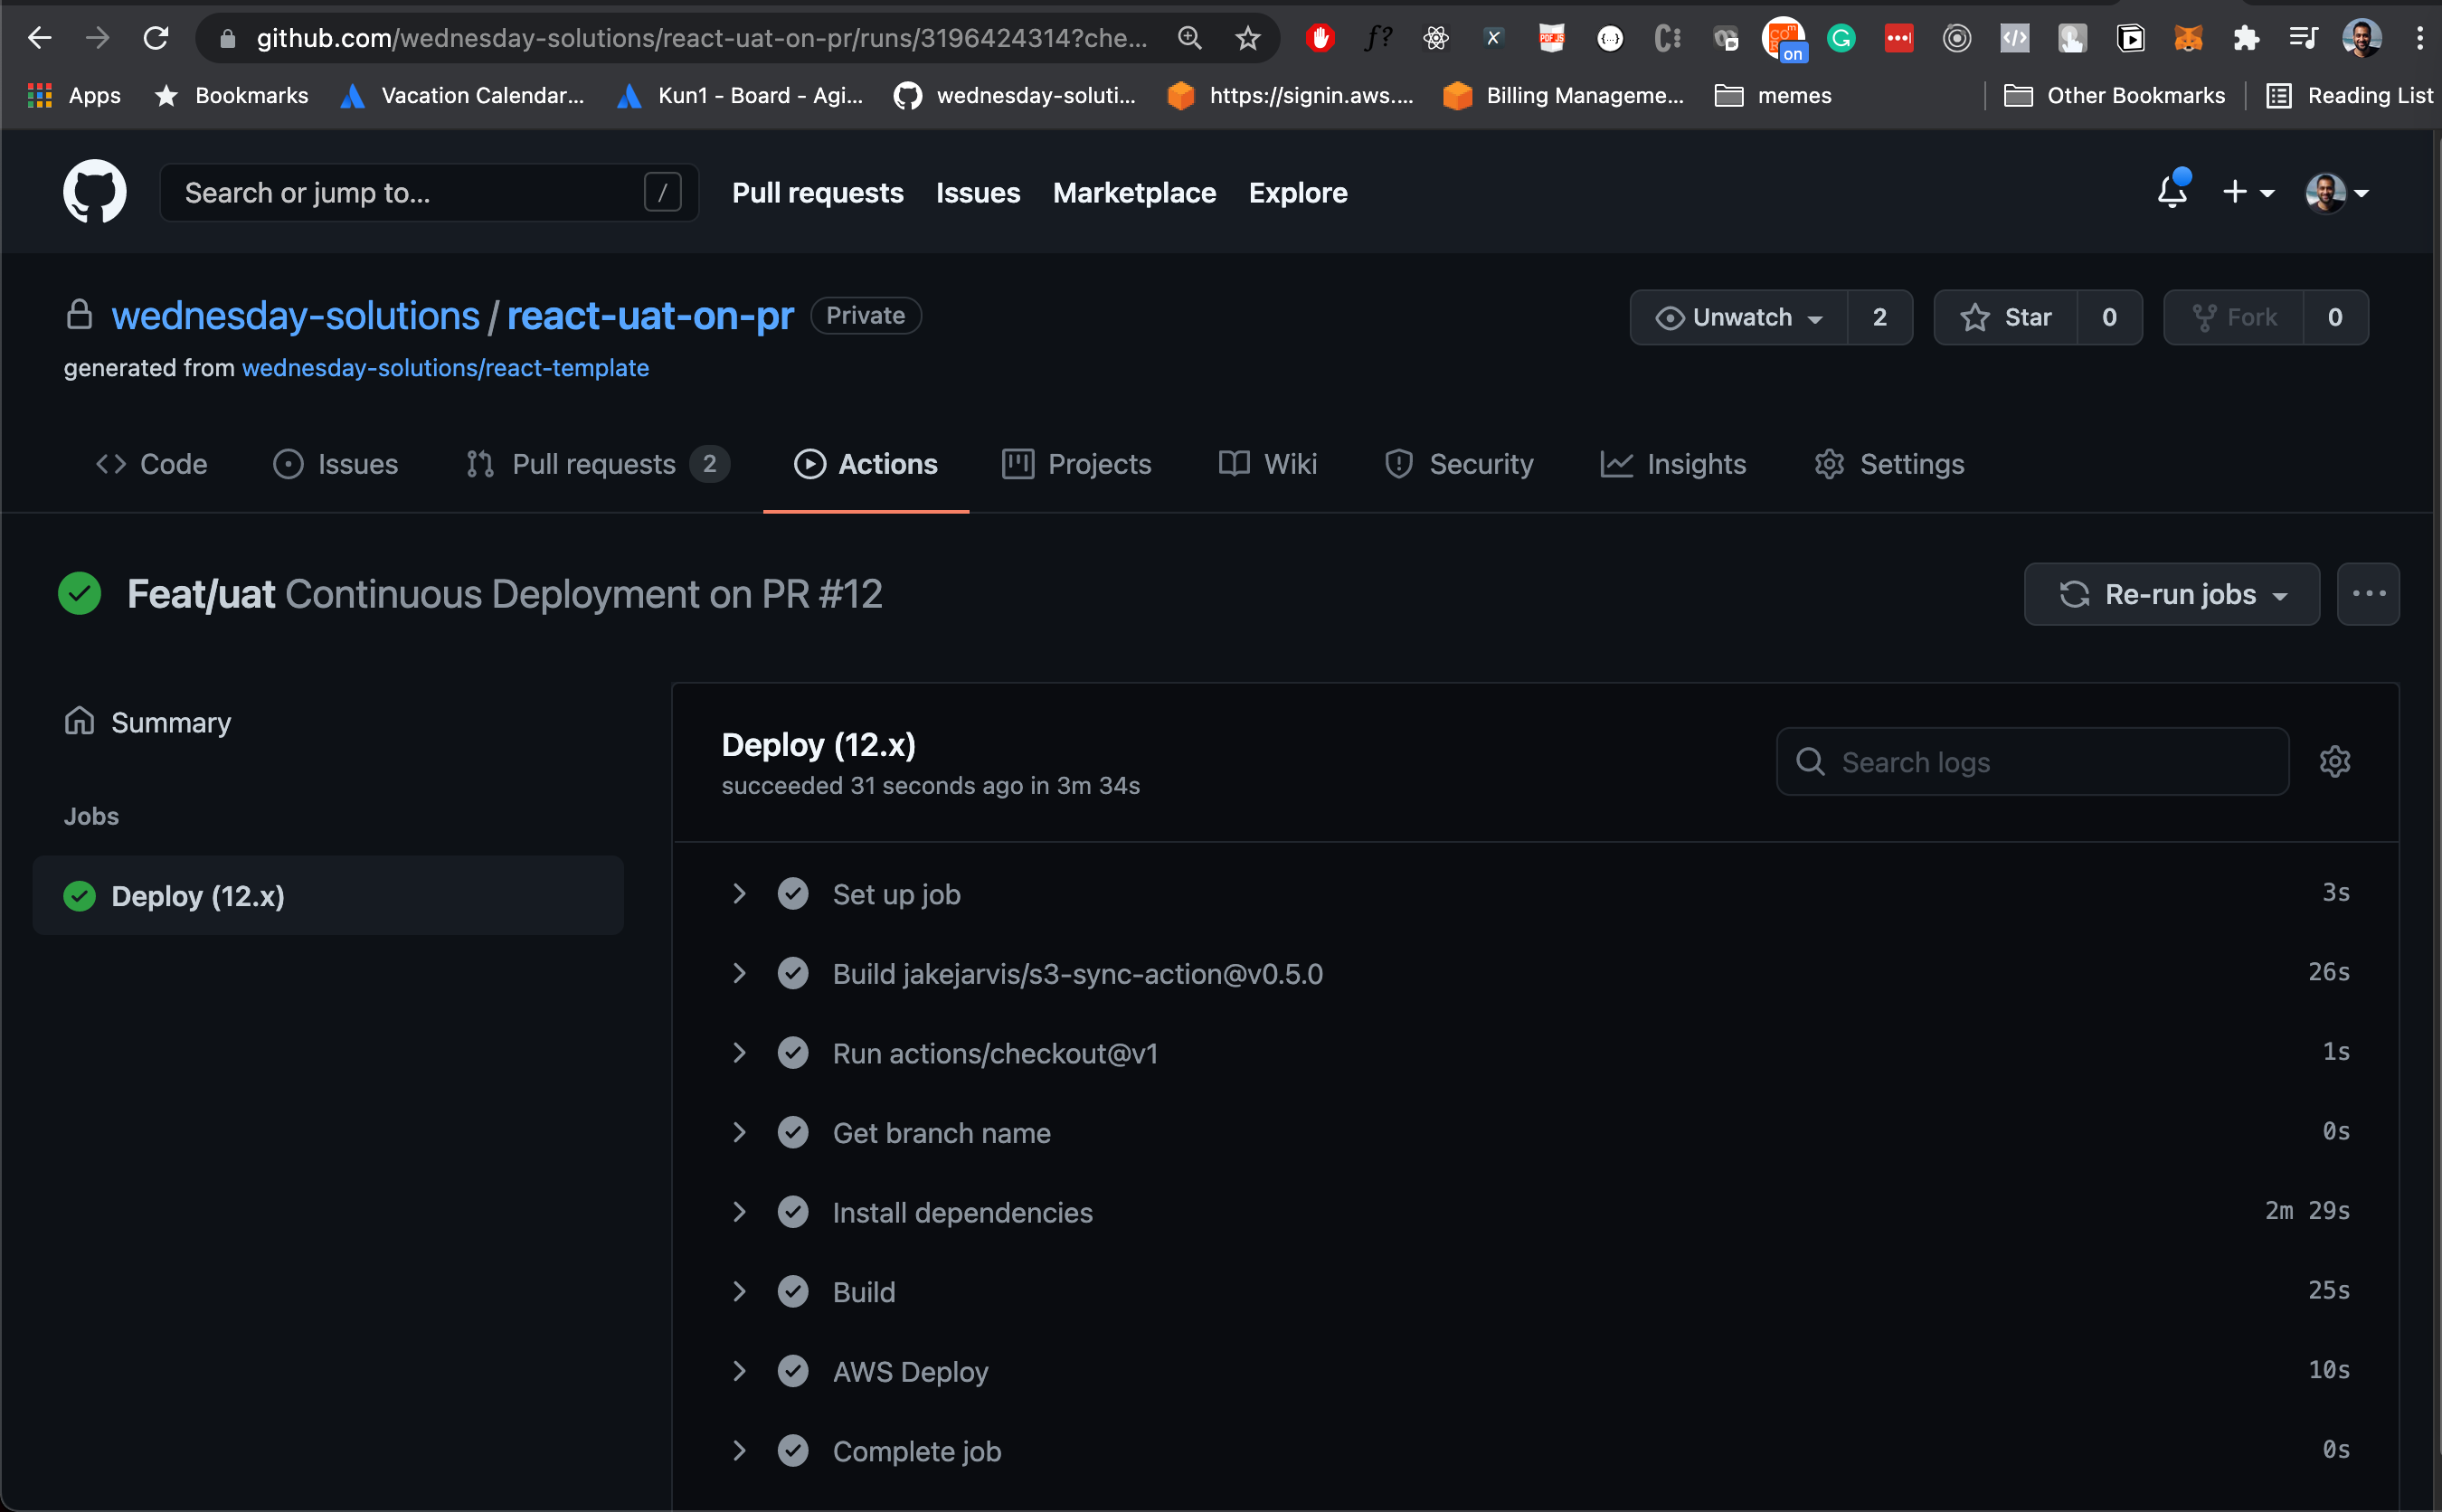
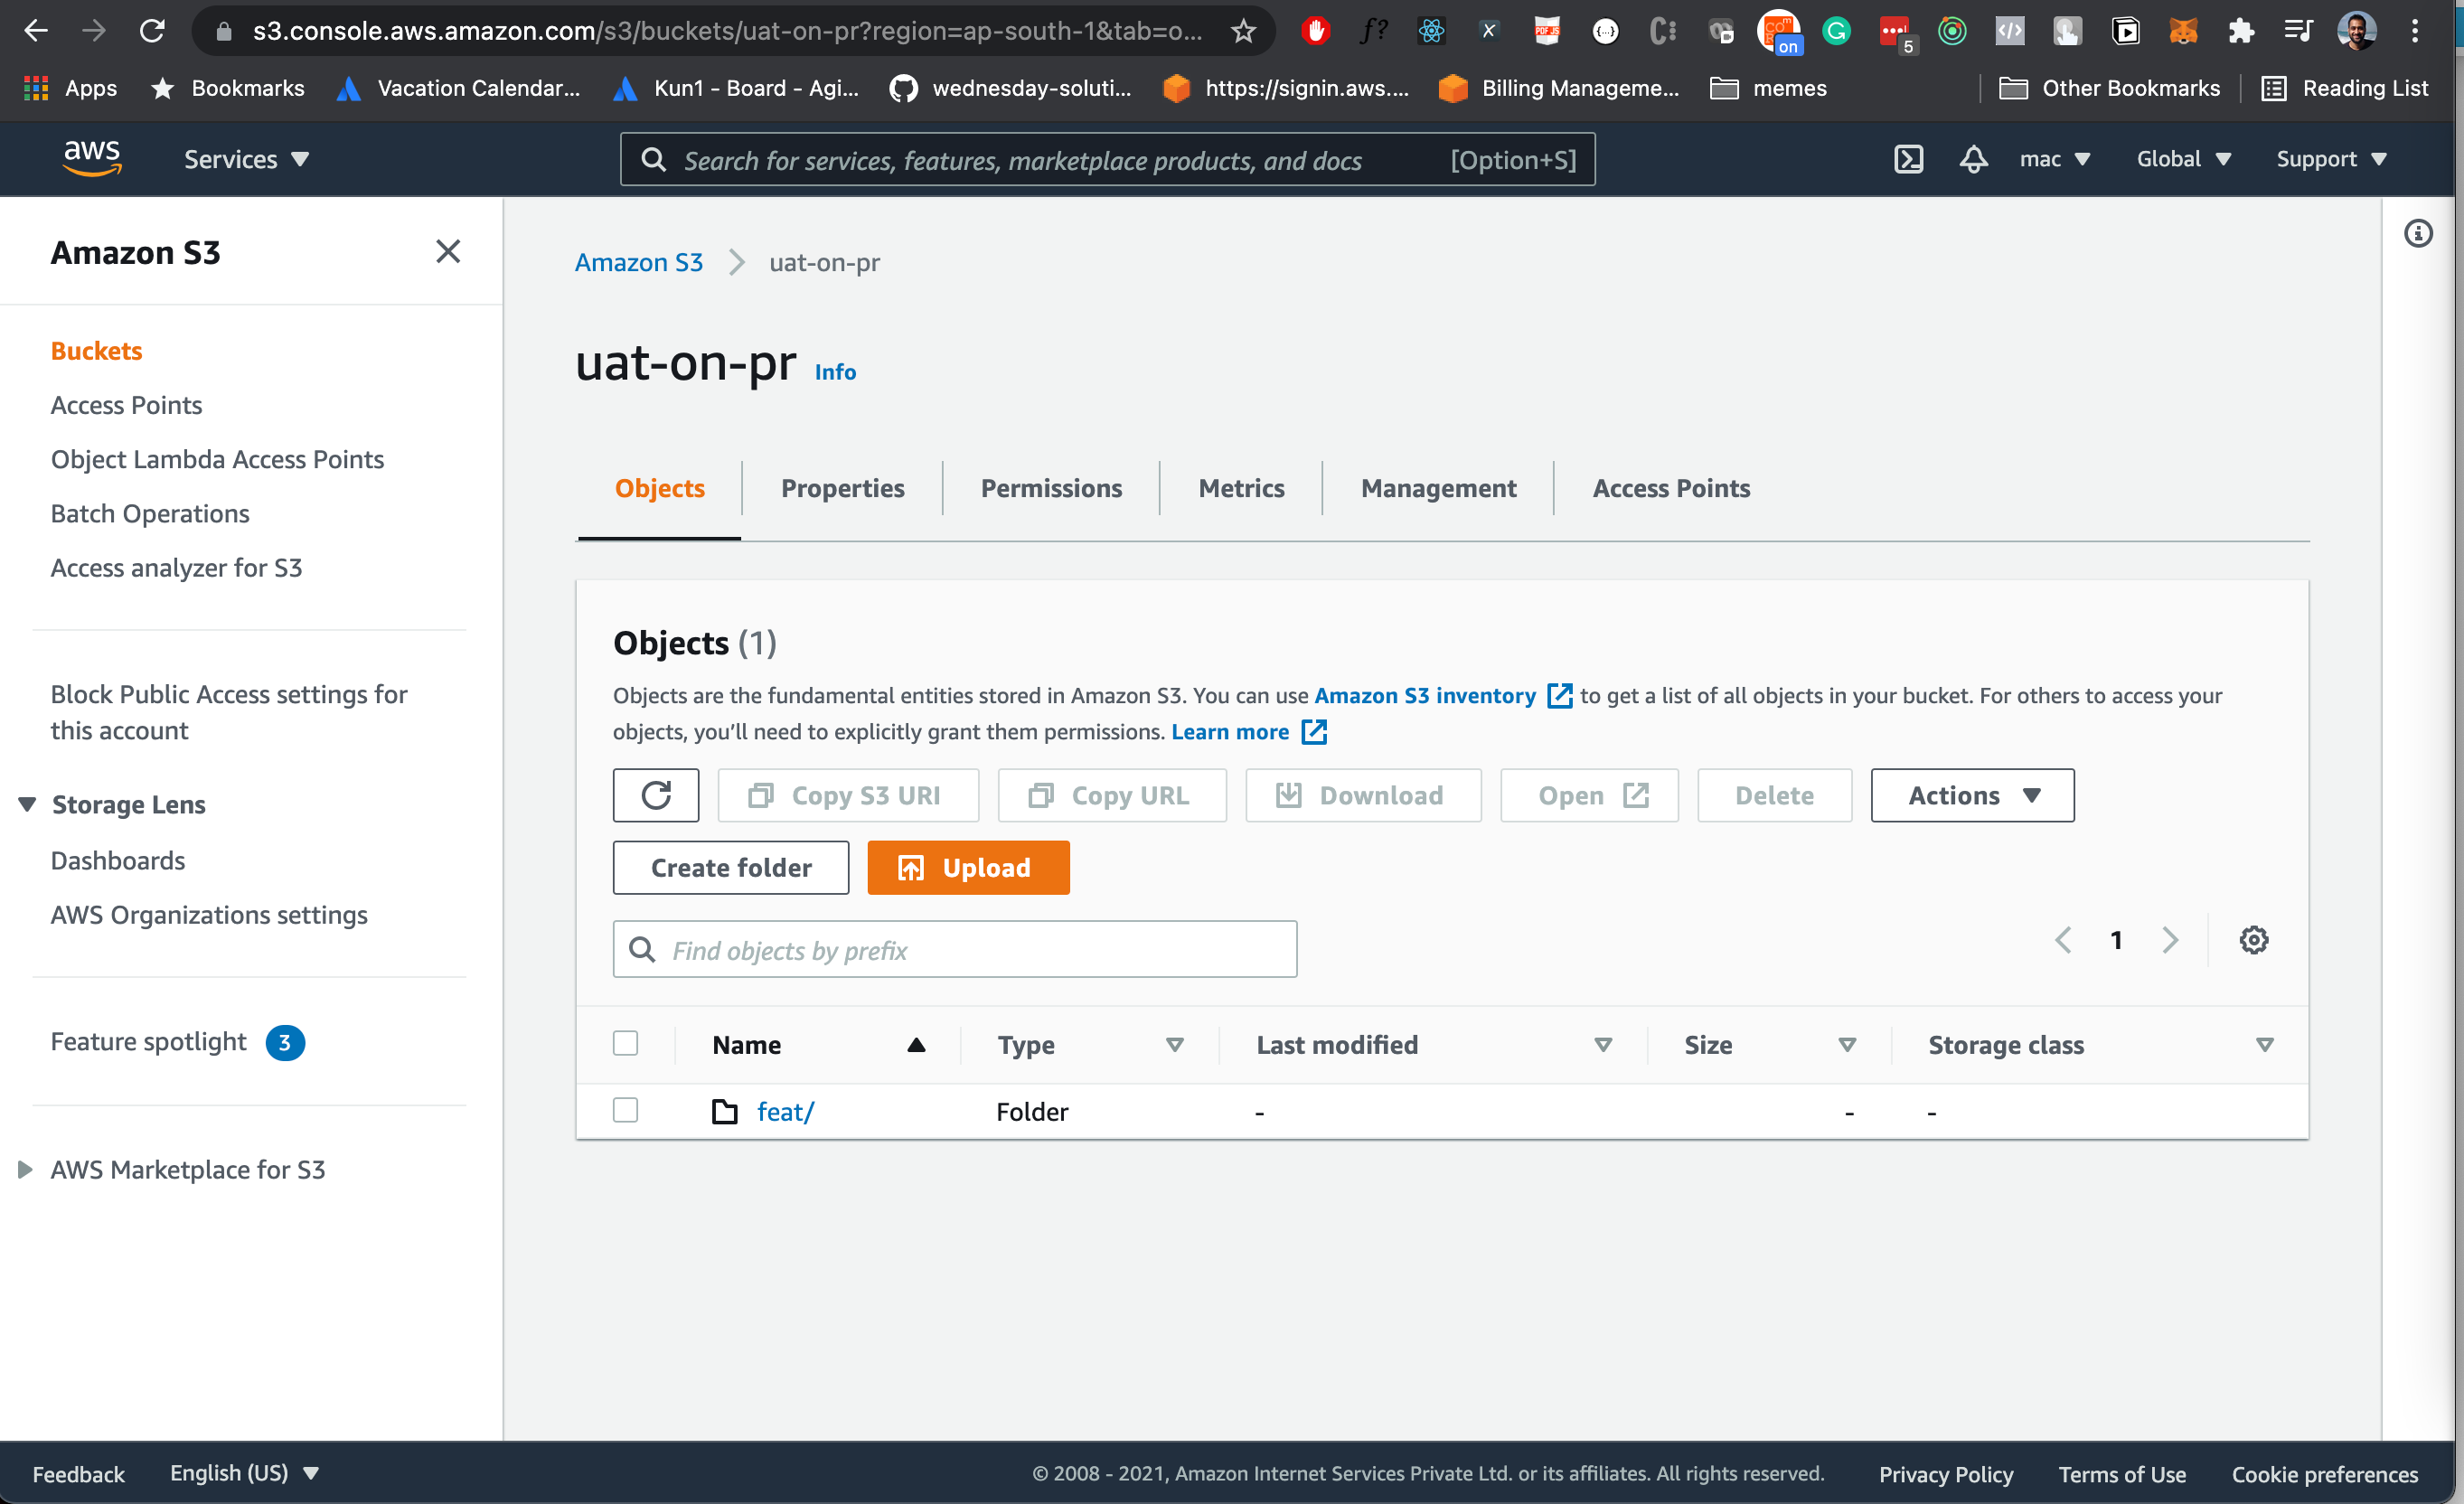
Upon successful deployment head over to your S3 bucket. You will now see a folder there with the same name as your branch.
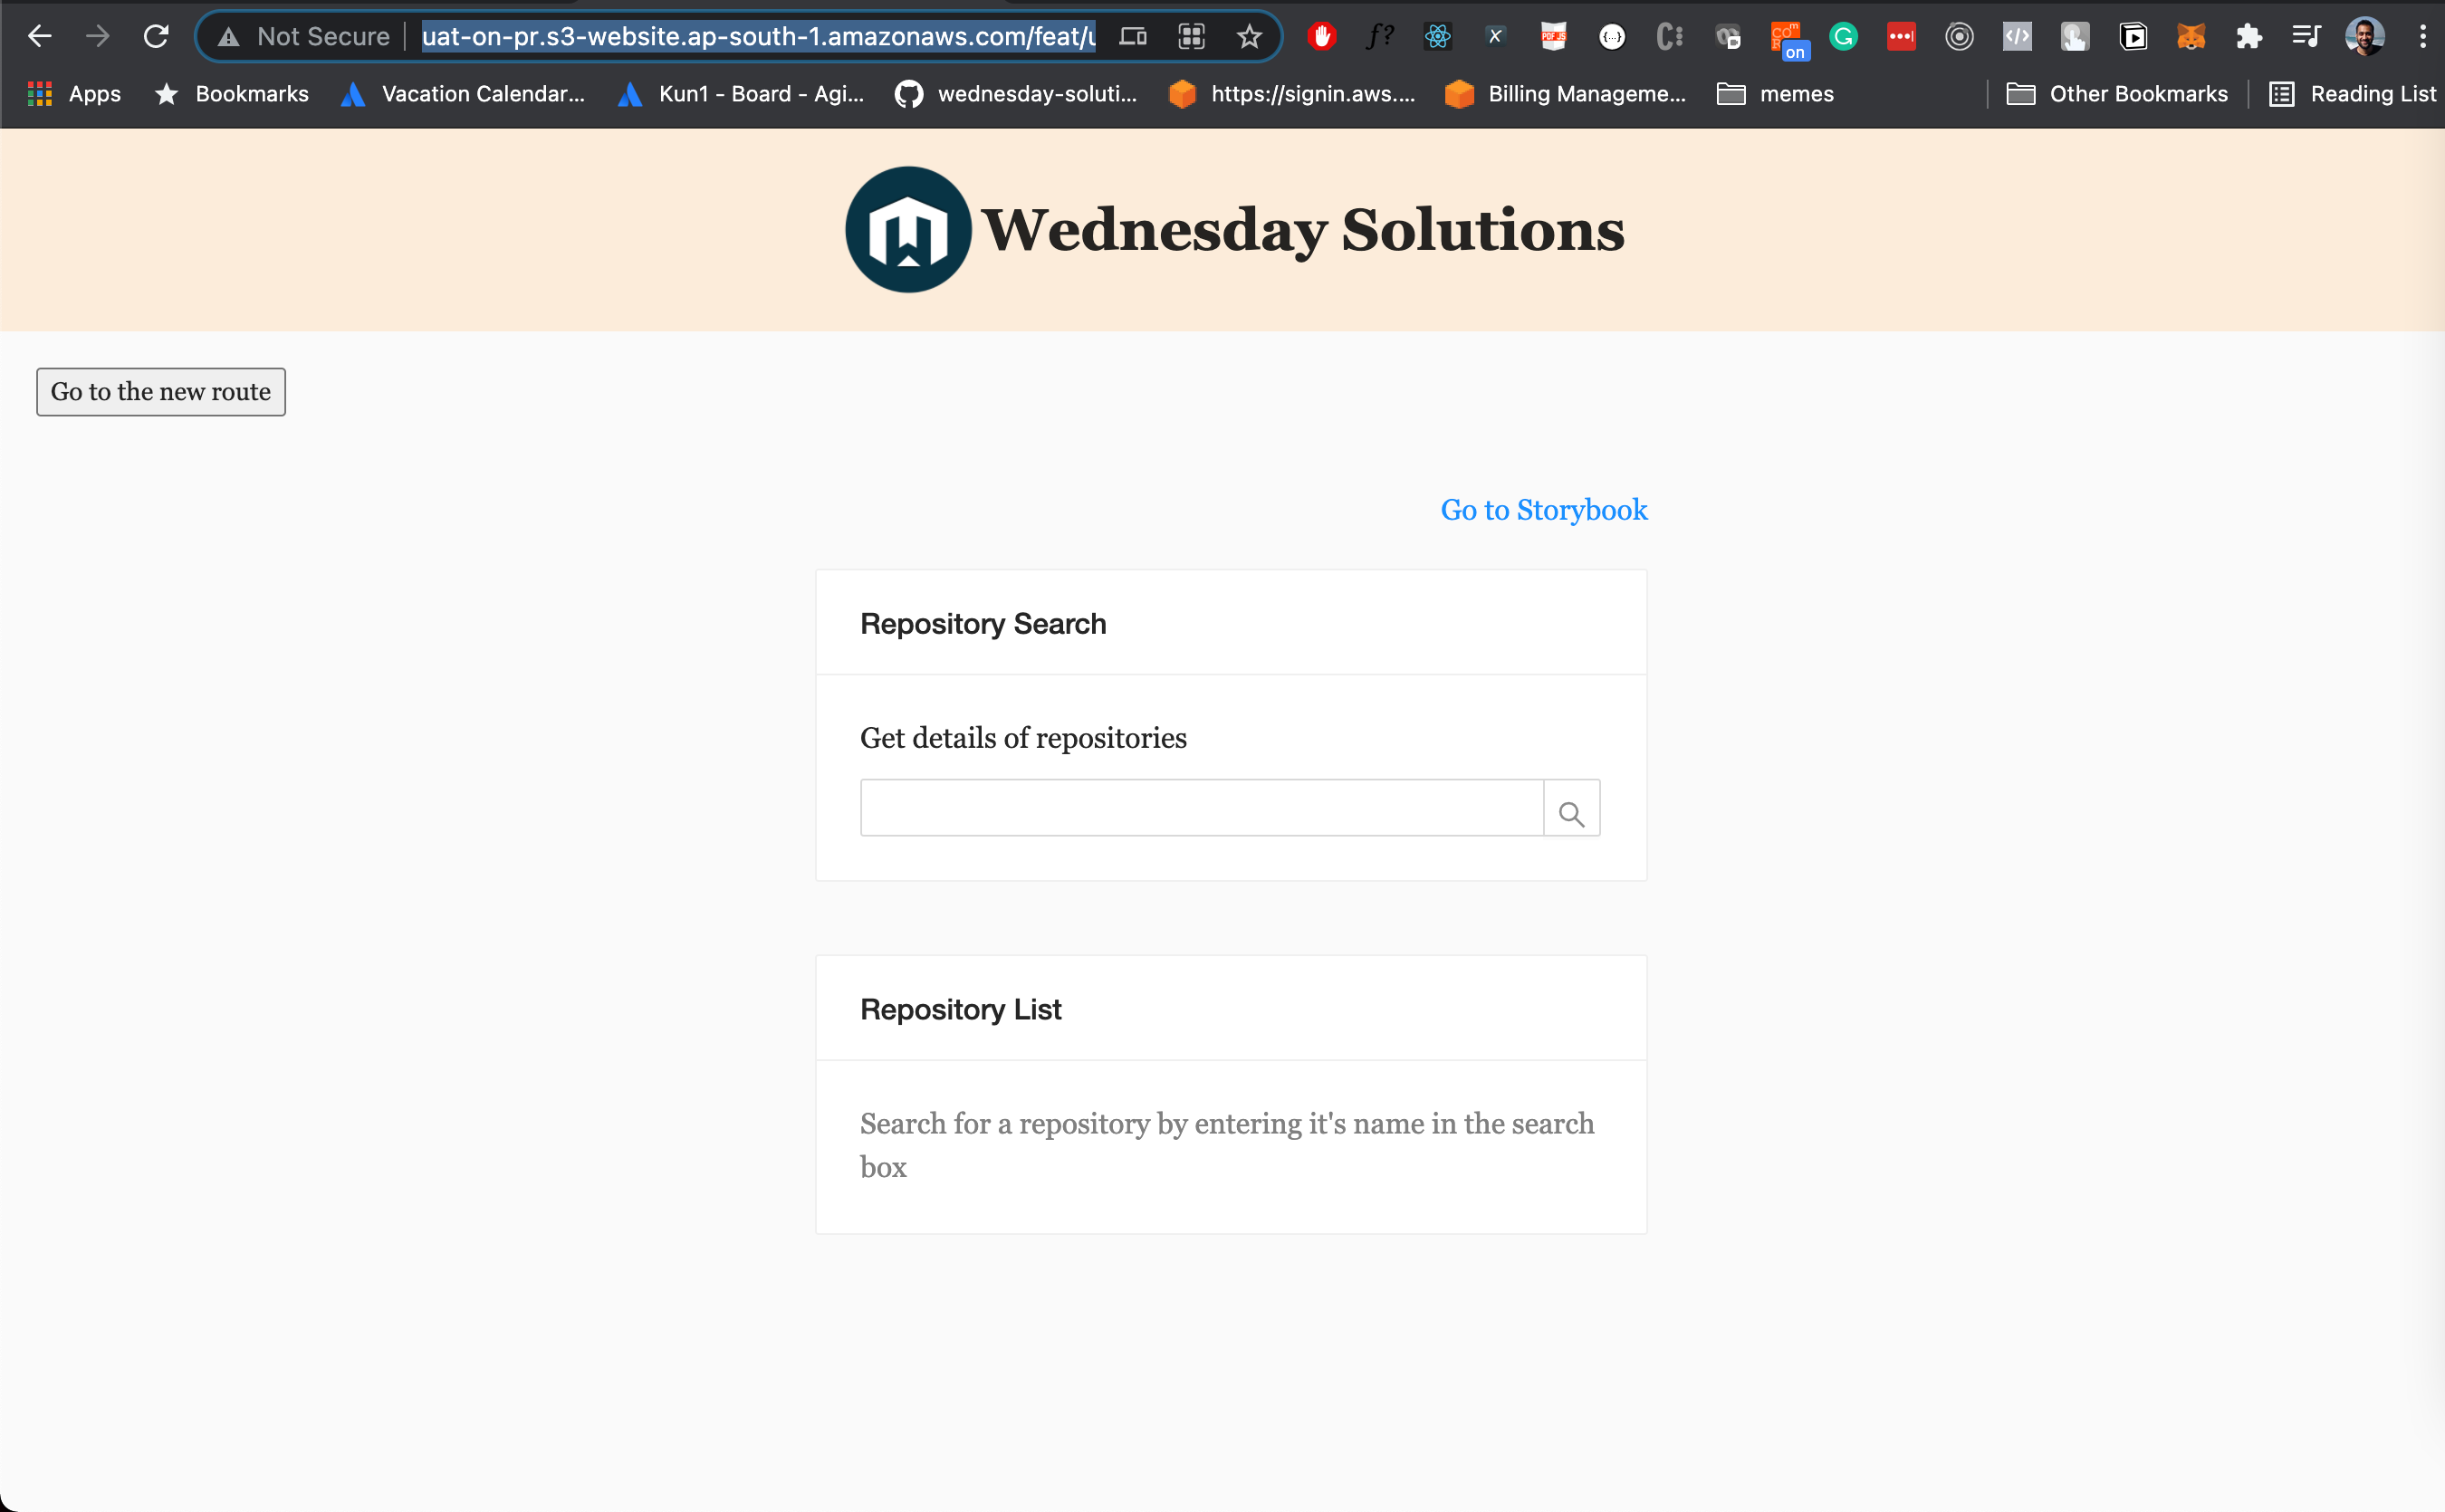
Now use the base link of your S3 deployment, the same one that you copied after enable static hosting.
Mine is: http://uat-on-pr.s3-website.ap-south-1.amazonaws.com/
Add the name of your branch to this base URL like this: http://uat-on-pr.s3-website.ap-south-1.amazonaws.com/feat/uat
Now head over to that link et voila!
Where to go from here
I hope you enjoyed this tutorial on how to create an environment for UAT on creation of PR for a React application. If you have any questions or comments, please join the forum discussion below.
I would highly recommend taking a look at the CI pipeline that comes along with the starter project
This blog was originally posted on https://wednesday.is
To know more about what it’s like to work with Wednesday follow us on Instagram | Twitter | LinkedIn
Comments
Loading comments…