In this article, we are going to create an invoice in Node.js in the easiest way possible. We will be using the NPM library EasyInvoice. Notice: This article is based on Easy Invoice version 2.3.0

Please note, the EasyInvoice library is available for:
- JavaScript (frontend and backend) through NPM
- Python through PyPi/PIP
- PHP through Packagist/Composer
1. Prerequisites
In preparation for this example, make sure you have Node.js installed on your operating system.
2. Create a new Node.js project
Go ahead and start a new Node.js project in your favorite editor. I like to keep this process as lean as possible. We only need two files in a single folder for our example to work, namely index.js and package.json:
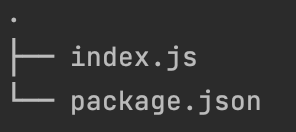
Required files for our demo
I usually go ahead and create an empty index.js file manually. Next, we are going to create our package.json. This file will hold our app information and external libraries. To do this, run the following command using your preferred command-line interface (CLI) in the same directory as your index.js file (from now on called project root directory):
npm init -y
For this demo, I use the ‘-y’ argument in the above command which will just create the package.json with it’s default values. If you want a higher level of customization you can run ‘npm init’. Now we have our two files, we can move along with installing EasyInvoice into our project.
3. Install EasyInvoice in our project
Next, we are going to install the EasyInvoice NPM package into our project by running the following command in our project root directory:
npm install easyinvoice --save
When successful, you will notice a folder and a file have been added to your project. The folder is called node_modules and the file package-lock.json. You can ignore these, for now, they are required by NPM for our library to work properly.
Your project file tree should look like this now:
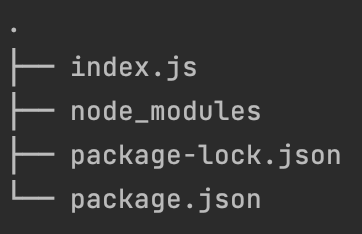
Our project file tree, including node_modules and package-lock.json
When you open the package.json file, you should see EasyInvoice in the dependencies section. Like so:
4. Let’s create an invoice!
Now, let's open our index.js file and add some code: Now personally, I am a huge fan of the NPM Async library, since it makes our code more readable. Luckily for us, EasyInvoice supports Async! Please review the EasyInvoice documentation for examples on how to use Async. You may have noticed we kept the data object empty in our coding sample. So running the above code should provide us with a basic blank invoice. Let’s do that first, by running our index.js file using NodeJS in the root of our project directory using the CLI:
node index.js
Now, if everything worked the way it should, you will find a file that has appeared in your project with the name invoice.pdf:
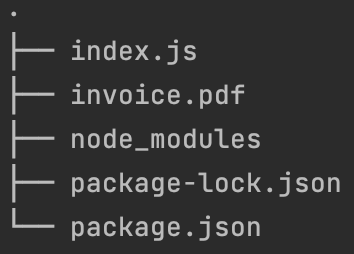
File tree including our invoice.pdf
Go ahead and open the file. Have a look! You will notice our invoice PDF is still empty. The invoice should look something like this:
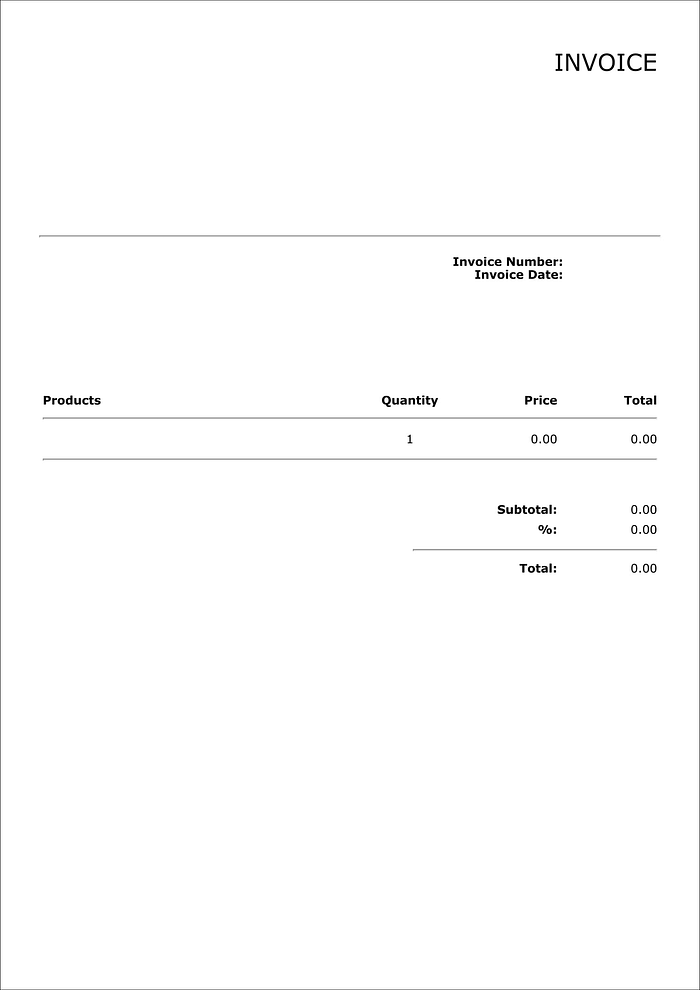
Sample blank invoice
Let’s go ahead and fill it with some data.
5. Adding data to our invoice
Now, let’s go back to our data object which we kept empty in our previous example. Time to fill it with the data we would like to see on our invoice:
Let’s run the code we used for our first invoice including the data object we created above. This should provide us with u nicely filled invoice which should look like this:
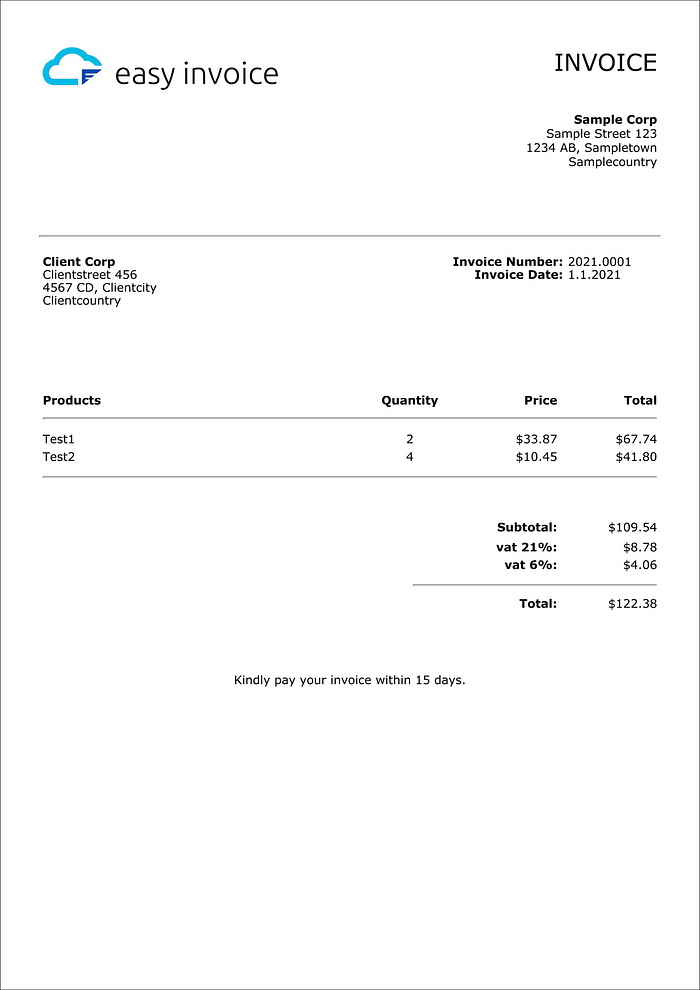
Sample invoice filled with data
That’s it! You created a beautiful invoice with minimum effort.
Final Notes
Did you have any trouble getting the above example to work? No worries! We uploaded the fully working sample code to Github. Click here to go to our sample repo. Please make sure to follow the instructions in the README.md file. If this post helped you in any way, please give Easy Invoice on Github a star for doing a great job.
Comments
Loading comments…