
Intro
When creating a web app on your desktop, you might have come across the URL of your app which may have looked something likehttp://localhost:8000. But what if you’re creating an app that uses APIs which require a secured ( HTTPS) URL even during development, like Instagram’s API*?* Or you might want to check your app's network performance before deployment? In such cases, it is better to see to it that your local machine mimics the HTTPS protocol. In the following tutorial, we will learn how to go from http://localhost:PORT to https://localhost:PORT! Requirements: Level — Beginner
- JavaScript basics
- Node.js basics
- Git and VS Code Installed If you haven’t installed Git or VS Code check out this article for the same!
Initialization
Clone this repo to get the basic code. After cloning use the npm i command in your terminal to install the required dependencies.
After cloning and installing, use npm run serverto start the app.
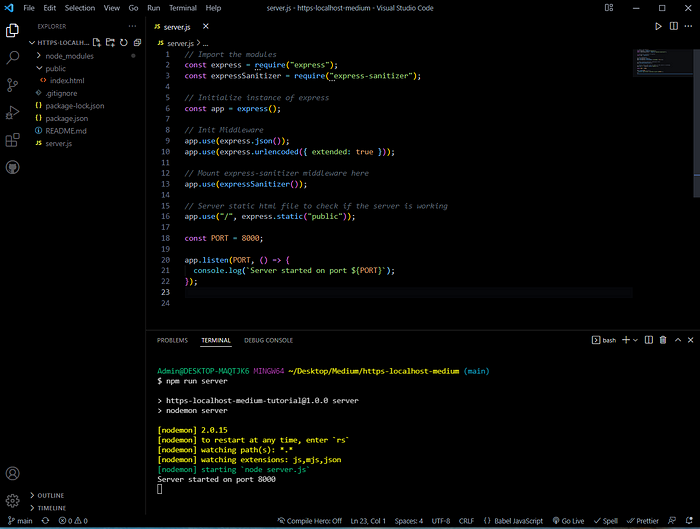
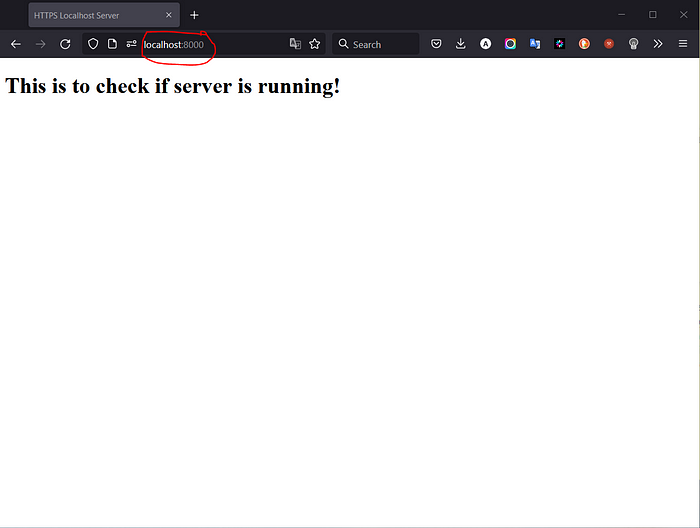
This is what you’ll see after the server starts running successfully on PORT 8000. If you open any browser window with the URL http://localhost:8000 or localhost:8000 you’ll see the main page being served by our server.
Even though the files are being served by our server on http://localhost:PORT, the aim of this tutorial is to see to it that the same file is served on https://localhost:PORTwhere the ‘s’ in ‘https’ is important. So, without further ado let’s begin!
Theory
Note: If you’re familiar with the concept of HTTP and TLS (SSL ) please feel free to skip this section.
HTTP stands for Hyper Text Transfer Protocol which is a protocol for transferring data over a network. The S in HTTPS stands for Secure which uses TLS or SSL to encrypt HTTP requests and responses.
So, if only HTTP is used, someone spying on the network can intercept the data in plain text whereas by using HTTPS the spy would only see an encrypted random string which makes it hard to read the data which is being transferred as illustrated in the diagram below.

HTTP vs HTTPS diagram by cloudflare.com
In order for HTTPS to work, public-key encryption is used. This type of encryption uses two keys viz. public and private keys. The public key is shared with client devices via the server’s SSL certificate.
When a connection is opened up between the client (us) and the server, these two keys are used to create special session keys which are used to encrypt the data between the client and server. This ensures enhanced protection for the data.
The process of encryption is illustrated below.

Public key encryption by geeksforgeeks.org
Hence, in order to have HTTPS for our local host, we need to create a certificate that will include the public key and a separate private key.
For a certificate to be valid it needs to be issued by a trusted Certificate Authority (CA) which confirms that the site being is used is genuine.
As we develop our app locally, we need to create a local CA which will generate locally-trusted certificates with the domains which are trusted, which in our case is localhost or 127.0.0.1.
Note: _127.0.0.1_ is a special-purpose IPv4 address known as localhost which all computers use as their own address but cannot be used to communicate with other devices.
In order to do all of this, we will install mkcert, which is a simple tool for making locally-trusted development certificates.
Mkcert:
In order to globally install mkcert on your machine, open the Git Bash terminal and enter npm install -g mkcert.
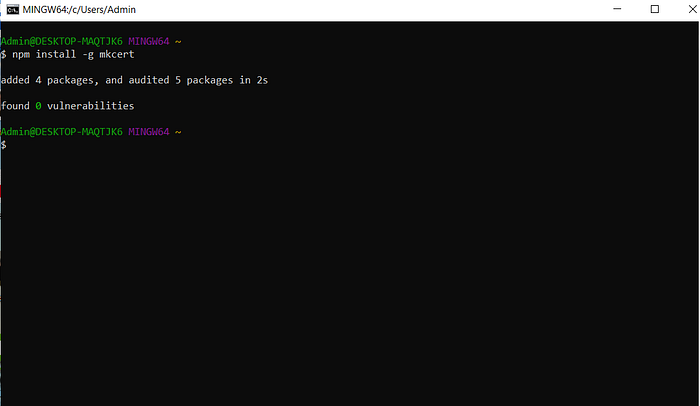
Mkcert globally installed on my PC
The first order of business is to create a Certificate Authority which will further issue local certificates to us. In order to do so, in your terminal enter mkcert create-ca.This will create and store the CA private key (ca.key) and the certificate (ca.crt) in the locations given in your terminal. For me, they are stored in the C:\Users\Admin\ folder.
Note: It is important to store the private key safely in a different location, but for the sake of simplicity we will not be changing its location.
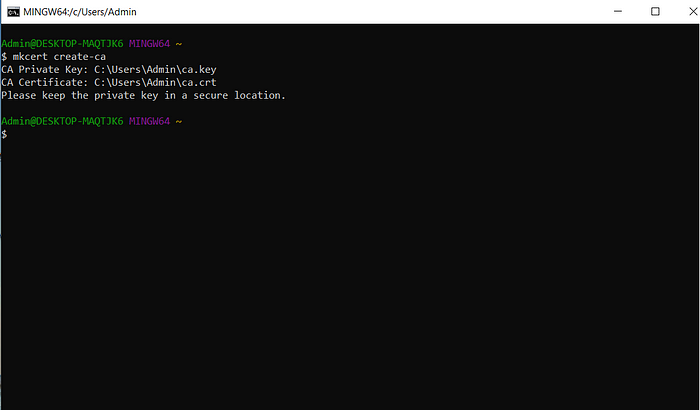
CA key and certificate created and stored in the C drive
As we have our CA, the next step is to create our local certificate and it’s the private key, which will enable our application on localhost to be ‘secure’.
In your terminal, enter mkcert create-cert.This command takes a bunch of options like duration of validity, ca-key, ca-cert, domains to include, and more.
As we haven’t moved our ca.key and ca.crt files from the folder they are in and the domain we are going to be using is localhost or _127.0.0.1_ ,we don’t have to provide the mkcert create-certcommand any options as all of the above are default.

Local certificate and private key for localhost created and stored in the C drive
The certificate (cert.crt) and private key (cert.key) are created and stored in the same folder as the ca.crt and ca.key.
Now, as we have the required files, the next step is to copy the cert.key and cert.crt files into our application’s folder. Before we do this, create a folder named config in your application’s folder.
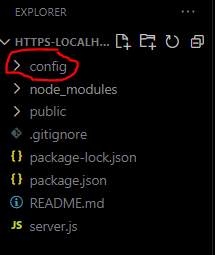
Updated folder structure with the config folder
Go to the folder where the files are stored (location given in the terminal) and copy and paste them into the config folder.
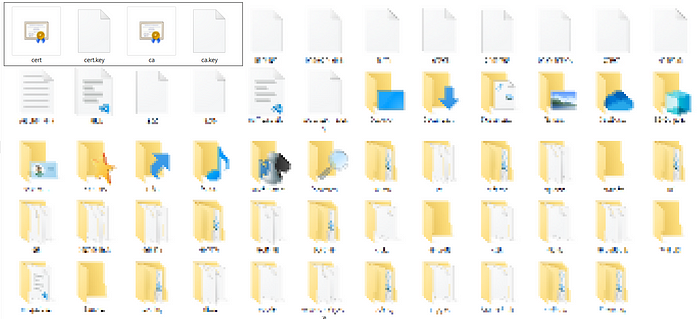
Copy the cert and the cert.key files
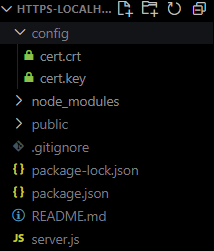
Config folder with the cert files
With the creation and storage of the required files done, the time is to create our HTTPS server!
HTTPS Server
Import the https (preinstalled dependency) and fs (in-built) modules to the server.js file.
In order to start an HTTPS server in Node.js, we need to pass an options objectto it which will include the private key and the local certificate we created. By using the readFileSync() method of the fs module, the required files are read into server.js.
For the last step, we will create and start listening to our HTTPS server on Port 8080 (any other port can be used) by initializing it with the options object.
Note: As it is not possible for two servers to listen on the same port if they have the same IP address (as is the case with our local machine) we have to use a different port number for our HTTPS server.
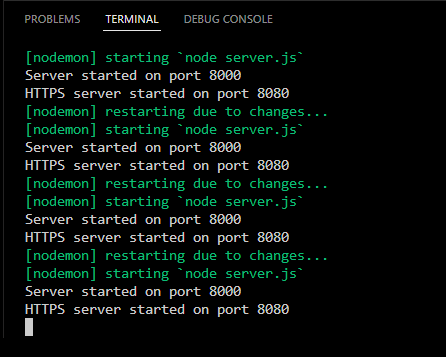
You’ll see two servers running in the terminal. First on port 8000 and the HTTPS server on port 8080.
 Now, for the finale! Open your favorite browser and go to
 https://localhost:8080 - You’ll see the same message as on the normal server (port 8000). This is because the same file is being successfully served on both servers!
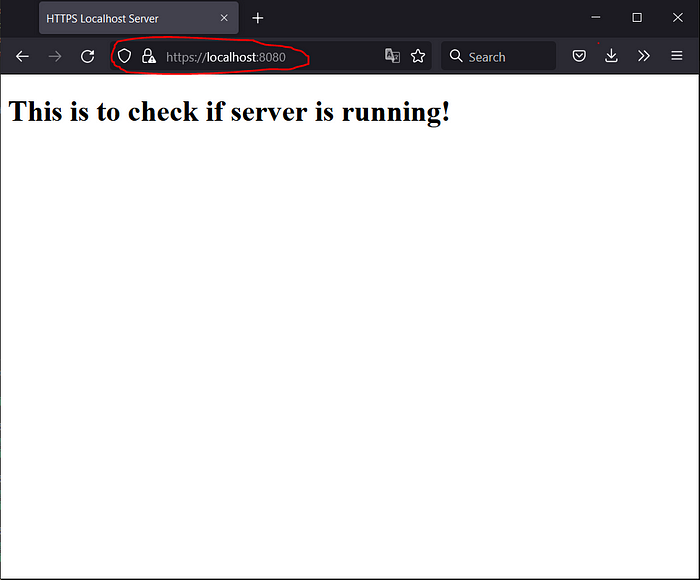
The file being served on https://localhost:8080
Conclusion
In this article, we saw how to enable HTTPS for our local server during application development in Node.js. Until next time!
References
- 127.0.0.1 Address Explained by Livewire
- Public key encryption by GeeksforGeeks
- What is HTTP and HTTPS? by Cloudflare
- mkcert by Filo Sottile
Comments
Loading comments…