In my last article, I discussed what a lambda function is and how you can create a lambda function using the AWS console. In this article, we will further expand our knowledge of lambda functions and learn about AWS lambda layers.
Note: Before jumping into the details, in this article, I will use Python and some third-party Python libraries for demo tasks.
What is Lambda Layer?
AWS Lambda layers allow the Lambda functions to import additional code or data without including that additional code in the deployment package.
A layer is a zip file that contains all the additional code. A layer can contain some third-party libraries, custom runtimes, or data, and you can refer to that layer from any lambda function.
Why do we need AWS Lambda layers?
Scenario 1:
Let’s start with the very basics, almost every project is dependent on some 3rd party libraries, and while working with AWS lambda we still can use those third-party libraries, So the first way is to install all the required libraries and import them into your handler function and then use it, and when your code is completed what you need to do is simply create a zip file of your main project folder and upload it to the AWS that zip file is your deployment package.
While uploading our deployment package, AWS will not allow us to upload a .zip file that is larger than 10MB and 10MB is too small for a medium or complex project even for some small projects. The deployment package size is usually larger than 10MB, so how do we upload our code?
Scenario 2: (concept of re-usability)
Suppose you have 30 different lambda functions and it’s obvious that most of them are using some common libraries, do you want to add those libraries independently in every lambda function or would it be better to have a central location where shared libraries are installed. All lambda functions are importing these libraries from this central place (concept of re-usability) which also helps us to reduce deployment package size?
To tackle these scenarios AWS Lambda Layers come to rescue us, which means every time we deploy our Lambda function it contains less code.
How does Lambda Layers work?
Let’s take an example of two lambda functions lambdaFunction1 and lambdaFunction2 and both lambda functions are using some common libraries like MyLoggingLibrary & MyExceptionHandlingLibrary
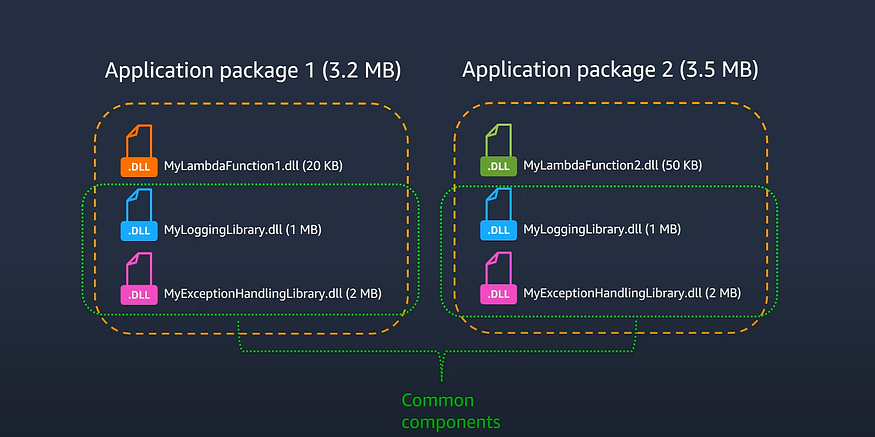
This screenshot is taken from the AWS youtube channel
So when we deploy our lambda they will be deployed as separate packages as shown in the image, even though both have some common components. Notice the size of lambda layers is 3.2MB and 3.5MB or in total 6.7MBs but when we use lambda layers we can separate the common components into a layer and only package the application respective files into the deployment package.
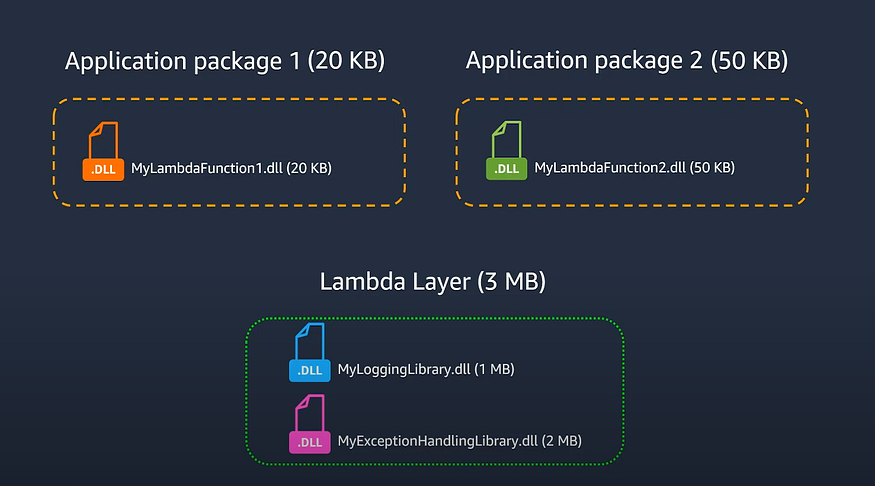
This screenshot is taken from the AWS youtube channel
Now, look at the size of the application packages they are much smaller than the previous package size, and this extra code is pulled automatically when we invoke our lambda function.
Let’s jump into practical:
First, we will make a deployment package without creating lambda layers.
- Create an empty directory in any of your computer's local disks.
- Create a file named
lambda_function.pyand open it in your editor. - Write a lambda handler function code inside
lambda_function.py
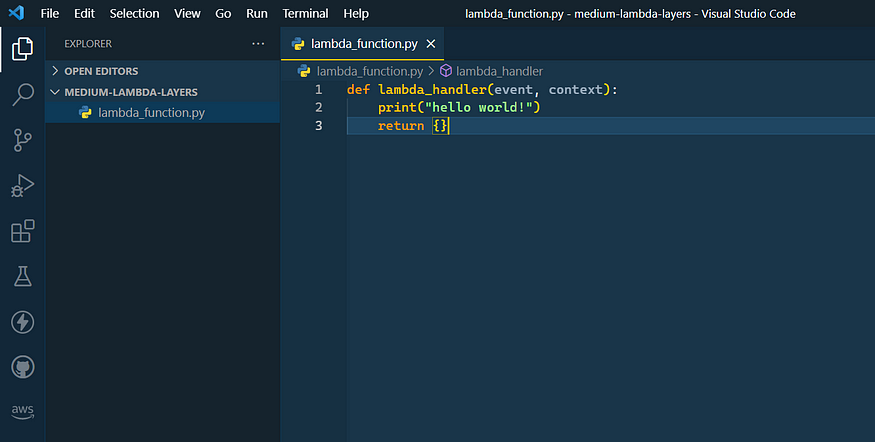
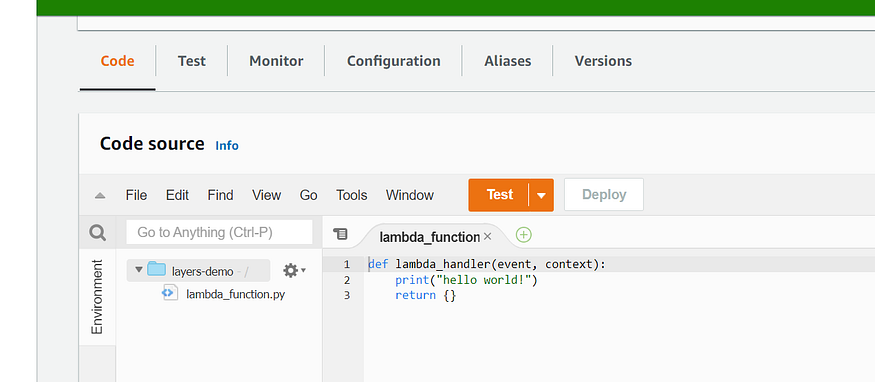
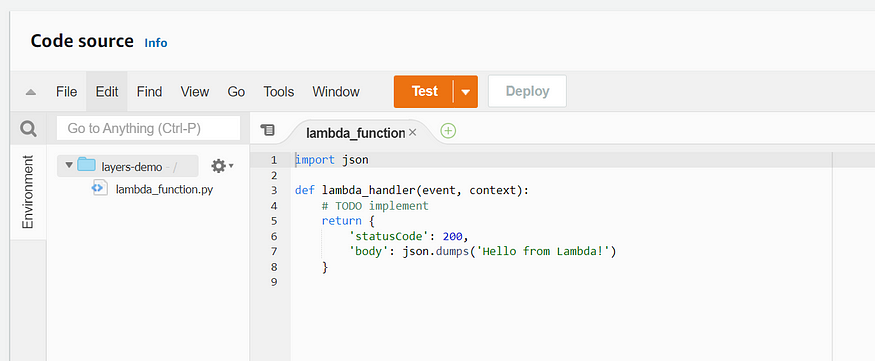
After writing some test code inside your lambda_function.py file let’s make this a package and deploy it on AWS as a Lambda function.
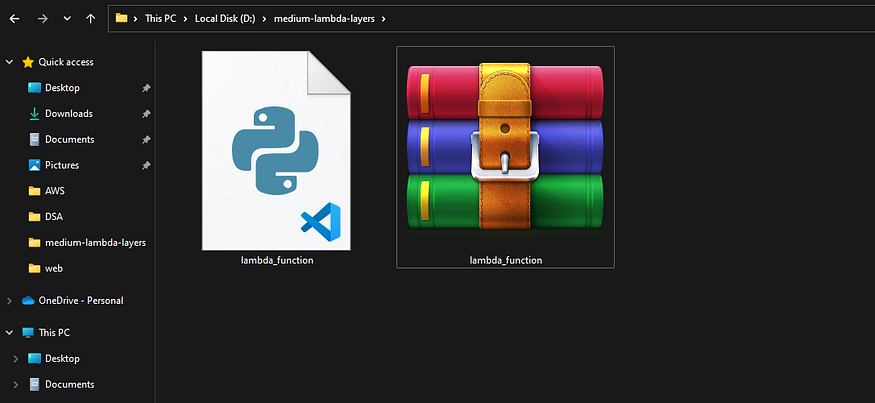
You only need to convert this file to a .zip file.
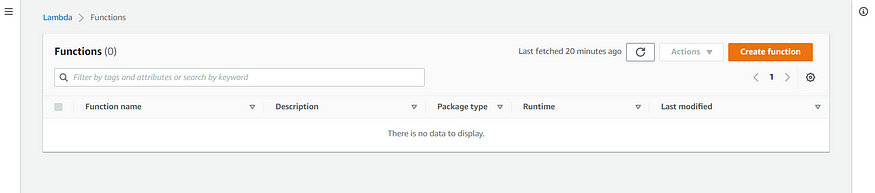
Now upload only the zip file (no any other file) to the AWS lambda console. To upload it on AWS Lambda first you need to create a lambda function using the AWS management console.
- Click on Create Function button.
- Add function name (of your choice).
- Choose a runtime (python 3.7 in my case)
- Leave everything as default and click on create function.
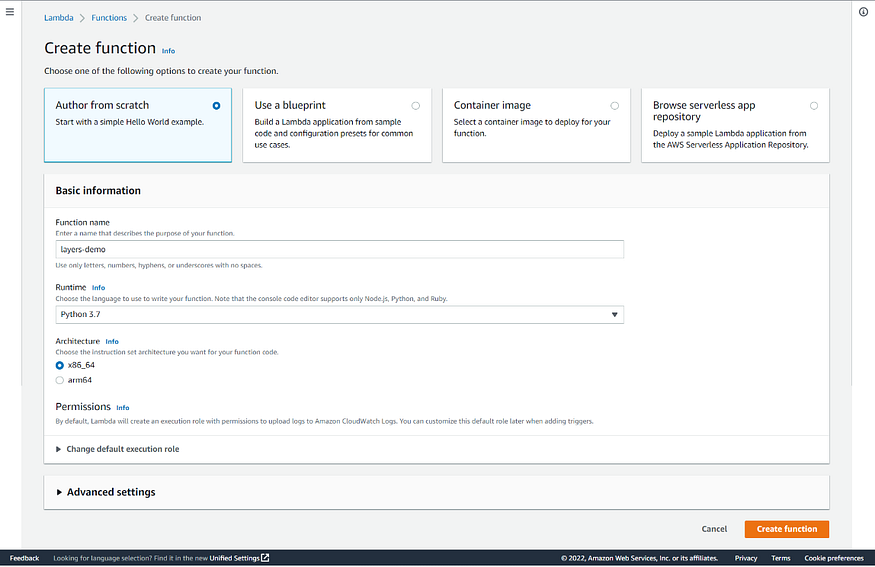
Once you click on create function button your lambda function will be created.
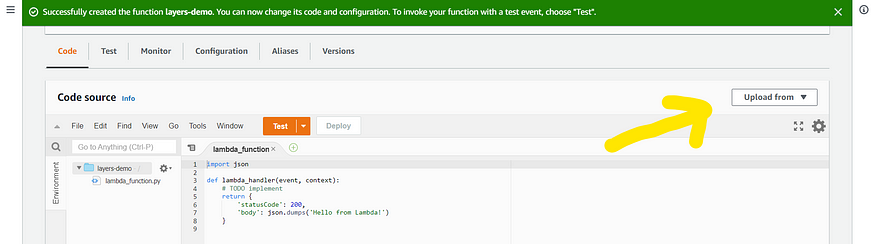
Now we need to upload our deployment package and this will be done using this “upload from” button. Once you clicked on this button you will see two options one is from the .zip file and the other is from the Amazon S3 location. In our case, we want to upload a .zip file, click on this option, and then click on upload once the upload is completed click on the save button.
Now, this is the code that we have written in our local editor, until now we completed a very basic task next we need to tackle 2 scenarios which we have discussed above using lambda layers.
Let’s practically see scenario 1:
I am going to install some libraries and also assume that our project needs all these libraries.
Go back to your local directory where we write our lambda function and open the command line in that directory to install some python libraries, you can also do the same using your editor. To install a python library in our current local directory we use this command.
$pip install <package-name> -t .
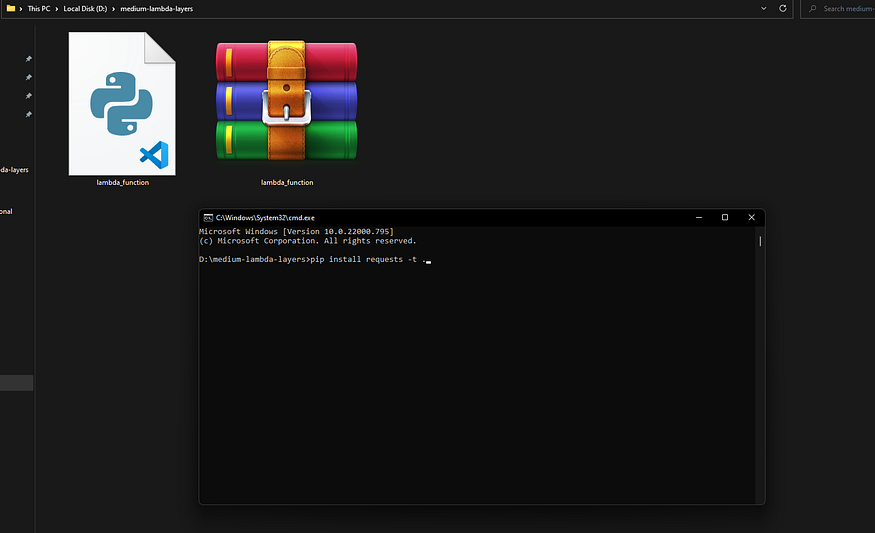
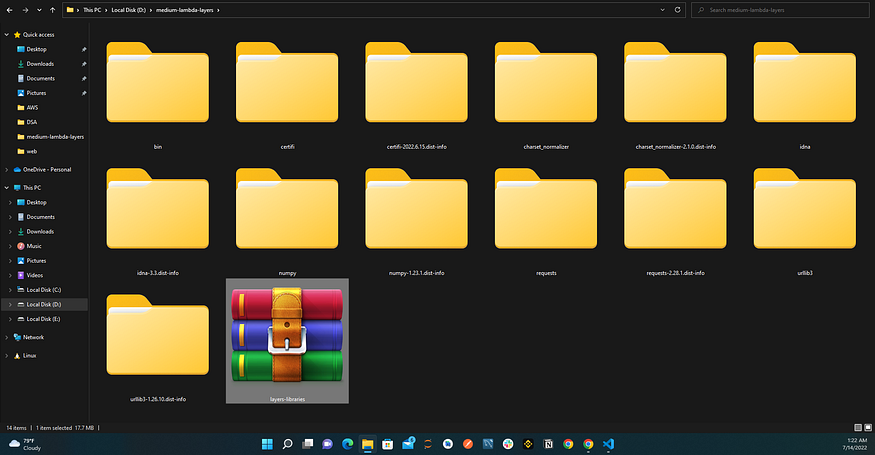
I am deleting the old .zip file because we no longer need that file & also installing libraries (requests, NumPy, pandas) to increase my package size from above 10MB to show you the limitation and also assuming that in our real project we need all of these libraries.
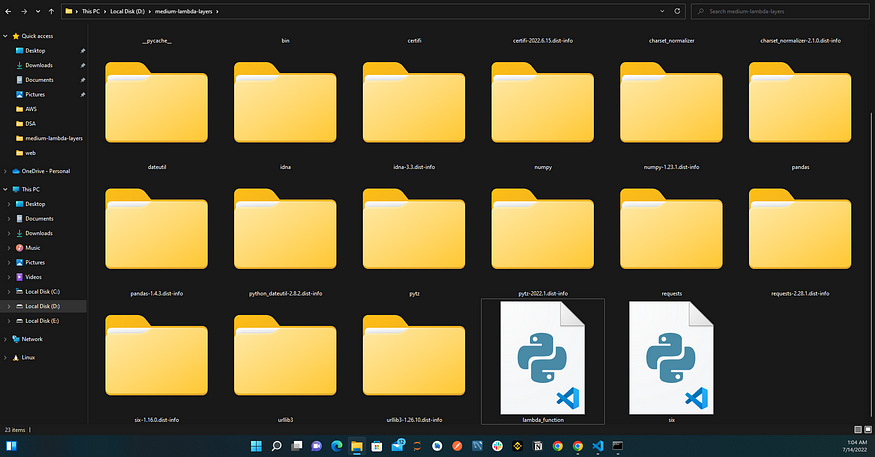
Now our folders are getting messy (another problem), next step is to select all files or Ctrl + A and add them to a .zip file so we can upload this as a deployment package.
Note: Follow all the above steps to upload a .zip file to the AWS console.
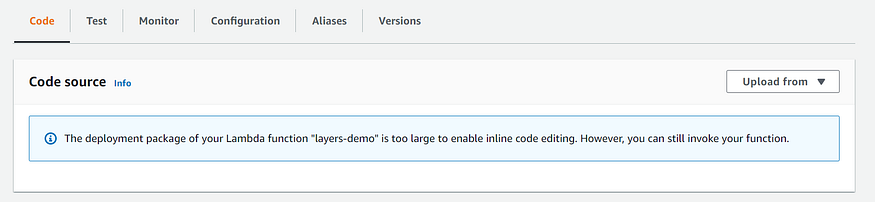
Once deployment is completed we see this message, which shows that we were no longer able to edit our code because our current package size is 34.7MB which is greater than 10MB so this was the problem we discussed in above Scenario 1. While Scenario 2 is very clear which is related to code reusability and reducing the deployment package size.
Let’s fix this by creating Lambda layers:
Delete all the files (lambda_function.py and other library files) from your local machine/directory and let’s start from the beginning again so you don’t get confused.
- Create a folder on any of your local disks.
- open the command line to install libraries.
- Run
pip install <package-name> -t .command (for as many libraries as you want to install, in my case I am installing 2 libraries (requests and numpy). - Zip all files (ctrl + A then compress to zip).
Note: You don’t need to write the Lambda handler function because we will write code from the console, these steps are for layer (layer containing libraries).
Now open the AWS console then the Lambda service, delete the previous Lambda function (optional), and create a new one. Once the lambda function is created you will see this screen.
To create layers firstly you need to open the left panel and click on the Layers option inside the left panel.

Create a new layer by clicking on Create layer button, once you click this button you need to add the name of your layer (any meaning full name) then you need to add a description which is optional, after that you have to choose an option whether your libraries files are inside S3 or in your local computer in our case we have a .zip file in our local computer choose the first option, then upload your zip file which contains all the libraries, then choose architectures and runtimes option based on your requirements. After completing all click on Create button.

Layer successfully created :)

Now next step is to attach that layer with our lambda function. Go back to your lambda function using the left navigation panel then navigate to the bottom of your lambda function page.

By default no layer is added, now we simply need to add a layer that we just created by clicking on Add a layer button.
Choose the Custom layers option and specify the layer you want to add and choose the latest version then click on Add button.
Note: You can attach multiple layers to a single Lambda function.

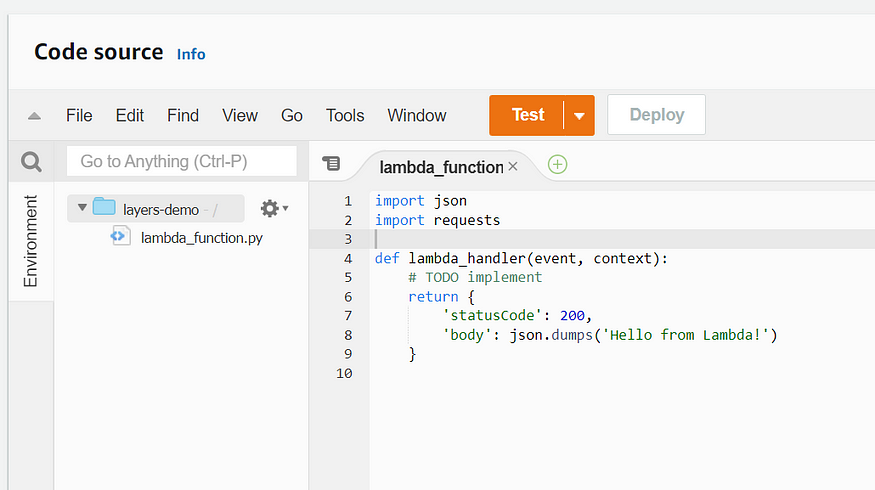
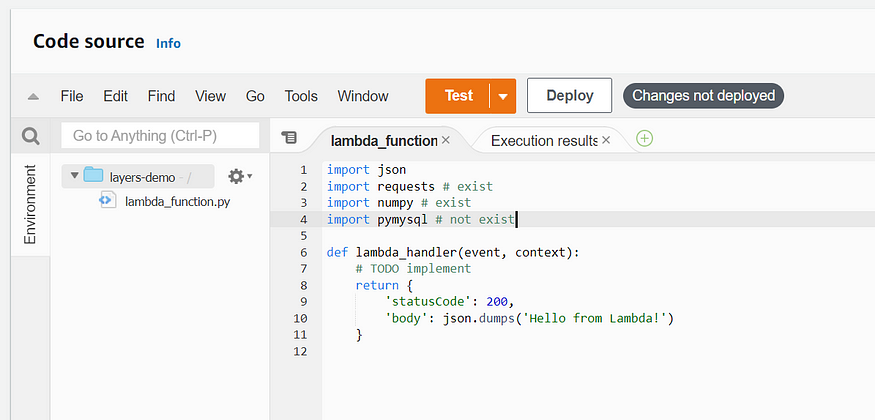
Now layer is added to our lambda function, let’s test it. To test whether I am able to import and use the installed libraries I will first import libraries that are added inside our layer, then I will import some libraries that are not added and see whether everything is working fine or not.
And when we click on the Test button, everything should work fine without giving an error.
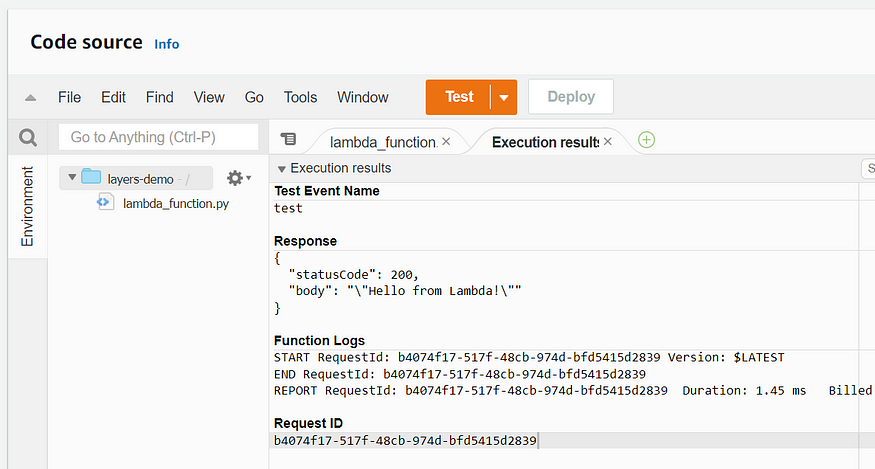
Yes, everything is working fine, now let’s import a library that is not present inside our lambda layer.
Let’s deploy and test.
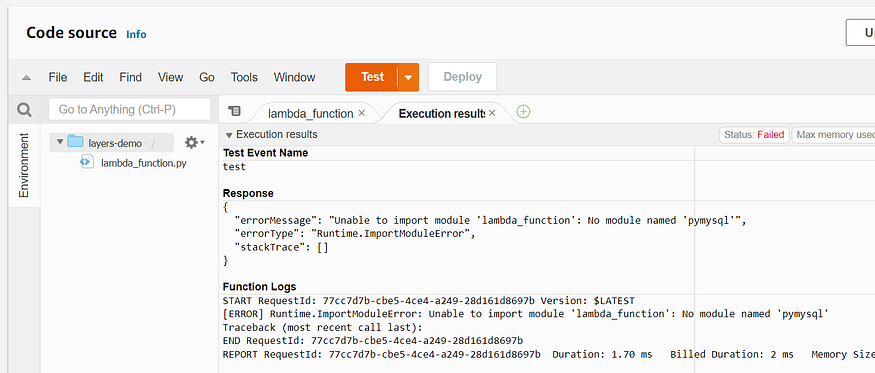
Execution got failed as expected (because that library doesn’t exist in our Lambda layer) which means our lambda layers are working fine.
That’s all you need to know about AWS lambda layers, if you want to know more about AWS Lambda function you can check my previous blog.
Comments
Loading comments…