In this post, we will learn about express-validator. We will also learn about custom error handling and custom validator. To follow along with this article, you should have some basic understanding of express.js.
Introduction to express-validator
Express-validator is an express middleware that provides us with validation and sanitization functions. Actually, Express validator is built on top of validator.js. Validator.js is a library which helps us to validate several different kinds of data.
Why validation?
You might be thinking “why do we need validation at all?” That’s a good question. Let’s say we have a robust app with multiple rich features. That feature rich app offers the user to make phone calls to any phone number in the world, let’s say. To make a phone call we obviously need the phone number from the user. What if the user gave us an invalid format of the phone number or just random string? Well in that case, our app might malfunction. But the developers of this robust app had implemented validation so that the app would respond with some error message if the user input was invalid. This is just one example where validation can be useful.
Just keep this in mind “the data received from client-side shouldn’t be blindly trusted.” So, add a validation check. Simple!
Now let’s move on to the fun part! We will be learning about express-validator by creating validation for user signup. Now, hop over the terminal in your working directory, and write the following command:
npm init -y
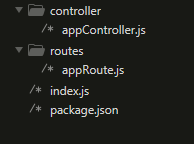
Now let’s create a file called index.js in your main project directory. After that create two directories in your working directory named routes and controller. In the routes directory, create a file named appRoute.js. Also, create appController.js file in the controller directory. This should make our folder structure look like this:
Now let’s install the packages we need.
npm i express express-validator
Now that we have installed the packages, let’s also install Nodemon as our dev dependency.
npm i -D nodemon
Nodemon is a package which helps us to make our development process easier by automatically restarting the server after every change. The -D flag helps us to install the package as a dev dependency package.
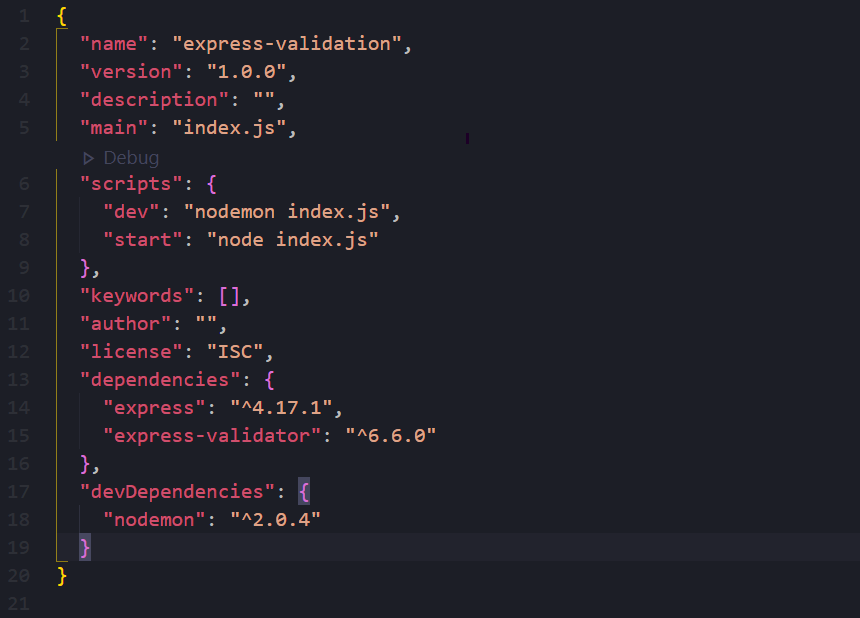
Now let’s open the file package.json and make some changes to the scripts so that we can make use of Nodemon.
"scripts": {
	 "dev": "nodemon index.js",
	 "start": "node index.js"
}
This should make our package.json file look similar to this:
Now in your command line, type this:
npm run dev
This will start our development server which will also restart automatically on every change made.
Now, let’s go to the file index.js in our main project directory and write the following lines of code:
const express = require("express");
const AppRoute = require("./routes/appRoute");
const app = express();
const PORT = process.env.PORT || 3000;
app.use(express.json());
app.use("/api/", AppRoute);
app.listen(PORT, () => console.log(`listening on port ${PORT}`));
In the above code, we have imported AppRoute and initialized the app. We are using express.json() middleware to handle JSON data. Then, we added a /api/ route. After that we started our server on the PORT .
Now let’s move on to the routes directory and open appRoute.js. Our appRoute.js file should have the following lines of code:
const express = require("express");
const { signupController } = require("../controller/appController");
const router = express.Router();
router.post("/signup", signupController);
module.exports = router;
Nothing’s fancy here. We imported appController and added a route of /api/signup.
Now let’s move on to the file appController.js in the controller directory.
const signupController = (req, res) => {
  // add the user to the database
  return res.status(200).json({ msg: "success" });
};
module.exports = { signupController };
In the above code, we are sending our user with the status of 200 and a message. You obviously know that this function will only work when the data is validated. Notice that I have not added code for signup functionality, but just pseudocode is written here. This is because our focus here is to implement validation.
Now let’s implement express-validator. For that, let’s open the file appRoute.js in our routes folder, and let’s write the following lines of code:
const express = require("express");

const { check, validationResult } = require("express-validator");

const { signupController } = require("../controller/appController");

const router = express.Router();

router.post(
  "/signup",

  [
    check("name")
      .isLength({ min: 3 })

      .withMessage("the name must have minimum length of 3")

      .trim(),

    check("email")
      .isEmail()

      .withMessage("invalid email address")

      .normalizeEmail(),

    check("password")
      .isLength({ min: 8, max: 15 })

      .withMessage("your password should have min and max length between 8-15")

      .matches(/\d/)

      .withMessage("your password should have at least one number")

      .matches(/[!@#$%^&*(),.?":{}|<>]/)

      .withMessage("your password should have at least one sepcial character"),

    check("confirmPassword").custom((value, { req }) => {
      if (value !== req.body.password) {
        console.log(req.body.password, req.body.confirmPassword);

        throw new Error("confirm password does not match");
      }

      return true;
    }),
  ],

  (req, res, next) => {
    const error = validationResult(req).formatWith(({ msg }) => msg);

    const hasError = !error.isEmpty();

    if (hasError) {
      res.status(422).json({ error: error.array() });
    } else {
      next();
    }
  },

  signupController
);

module.exports = router;
There are a lot of things we have added here. Let’s talk about it one by one. We have imported check and validationResult from express-validator. Then we implemented a check. The check method is used to add validation to the fields. In our case we have added check validation for name, email, password, confirmPassword. You can also use body method instead of check method. But in our case, we will be using check over body, okay?
Now, let’s look at check("name")closely. Here, we have implemented .isLength({min:3}). Its function is to tell the express-validator that the name field should have a minimum length of 3 characters. You can also set up max length if you want. Here’s the way you can use max:
check("name").isLength({ min:3, max:20 })
It’s up to you whether you want to implement it or not.
Then we have .withMessage(). It helps us to tell express-validator what the error message should be. Express-validator does provide us with error messages by default, but the message provided by express-validator isn’t that clear. This error message has to be provided to our user. In order to make the message understandable and more user friendly, we use .withMessage() . You get the point, right?
Now, let’s look at check(“email”). We need to check whether the data we receive in this field is an email or not. Fortunately, express-validator offers .isEmail() functionality which helps us to check whether the data is an email or not. After that we used .normalizeEmail() , which helps us to normalize the email received from the user.
Now, let’s look at check(“password”). It’s up-to you with the type of data you want the user to enter as a password. I want the user to have at least one digit, at least one special character , minimum length of 8 and maximum length of 15. You can see that we used .isLength() for min and max length. Then, we used .matches(/\d/).The command tells express-validator that it should include at least one digit. The matches() command actually takes in regex. If you didn’t understand what /\d/ does, it’s just regex. I recommend you to take a look at regex once. Then, we implemented .matches(/[!@#$%^&*(),.?":{}|<>]/) . This helps us to check whether the password contains at least one special character.
Now, let’s take a look at check("confirmPassword"). Here we implemented .custom(), which means we created a custom validator. The .custom() takes value and {req}. The value is the data we receive from the user in the confirmPassword field, while req gives us access to the request. Then we compared whether the confirmPassword (which is value) and password (which is req.body.password) match or not. If the confirmPassword wouldn’t match, we will throw a new Error() with an error message, else we return true.
After that you can see a function/ middleware right after the validation check similar to this:(req,res,next)=>{...} , right? Inside of the function you can see validationResult(req). This command returns us with error. This error returns with multiple values, which we might not need. In some cases, we do need it though.
But, in this article I assume that we only need the error message. So, I have used the .formatWith() command. This command helps us to format our error message. As I had said earlier, we are just going to return an error message which is msg. There are multiple other data we can receive and format using .formatWith(). They are: location, msg , param, value , nestedErrors. You can learn more about it in the express-validator documentation. Okay?
Then you can see the command !error.isEmpty() . This returns either true or false. Pretty simple, right? Then we have stored the Boolean in hasError variable.
After that, we executed a condition in the above code. If hasError is true, the user receives the status of 422 and an error message. Notice that we have used error.array() , which helps us to create an array of error messages. That array is sent to the user. Dead simple right? If hasError is false we use next(). I hope you know what next() does.
This means you have successfully implemented express-validator!
This post should definitely get you started with express-validator. Now, I recommend you to definitely check out express-validator’s documentation to dive deeper.
Comments
Loading comments…