Photo by Maxwell Nelson on Unsplash
The next impressive iteration of the fan-favorite package manager.
Before we get started, feel free to check out my article about Yarn 2, “Getting started with Yarn 2 and TypeScript”, it's a little dated (June 2020 👀) but if you're not looking to upgrade and need an introduction there you have it). All set? Alright then!
So it's been a long, long time. Yarn 2 had changed a lot almost immediately after it was released. Between SDK changes for VS Code and other editors and environments, to how various core package files were stored and named, it was a well-deserved headache, but a welcome one for dedicated developers who followed the release. Myself included! However, Yarn Modern has finally stabilized and with newfound stability and a metric ton of feedback, we find ourselves in the midst of a brand new iteration of Yarn, Yarn 3.0!
Migration
As with every major version change, a handful of breaking changes are expected. The good news is that the Yarn team has made this iteration less of a hassle than the initial Yarn 1 → Yarn 2 switch. I'll only cover the major issues common developers will face, instead of the lower-level changes only Yarn API developers will run into such as the virtual filesystem being renamed from $$virtual to __virtual__.
Node 10 is now unsupported
Yarn 3 has dropped support for Node 10, following other companies such as Amazon AWS after Node 10 was finally EOL'd in April 2021. Nothing out of the ordinary but if you'll find yourself dealing with errors should you still use Node 10 and attempt to install Yarn 3.
Most current and new Node developers while probably find themselves using the recent LTS version 12, or the current LTS 14, so this isn't a problem. Existing and older projects running on Node 10 on the other hand will need to upgrade if they wish to use Yarn 3 this time around.
@yarnpkg/sdks
If you use an editor or environment with Yarn you'll often need to add additional support via a tool so that the Yarn filesystem is recognizable to it. I won't go in-depth with the Yarn filesystem but in summary, it uses a virtual filesystem and physically stores your modules in compressed files instead of plain files such as the popular node_modules which can easily take up to 1 GB with a single dependency installation because of dependency trees.
Before you could simply yarn pnpify --sdk vscode (I think that was the old command?), however, with Yarn 3, you'll need to use @yarnpkg/sdks in order to add needed support. This time you have two options, executable or dependency-based SDK support.
-
Dependency-based support means you simply run
yarn add --dev @yarnpkg/sdksand then runyarn sdks vscode. For example, if you're looking to make sure VS Code understands what Yarn is doing. -
Binary-based support allows you to use
yarn dlx @yarnpkg/sdks vscodeinstead of adding to your dependencies. Given how rarely you'll use the SDK support tool, I'd recommend this option.
Regenerate your cache
Timestamps needed to be changed in order to fix a flaw with the zip spec that was causing issues with some third-party tools so it's recommended you regenerate your .yarn/cache. This one is super easy simply run yarn cache clean followed by yarn to reinstall your dependencies!
Alright, I believe that wraps up the common migration, onto the newbies!
Installing Yarn Global
In order to do anything, first, make sure you have Node installed. I recommend Node 14 as it's the current LTS, but feel free to use Node 17 or whatever is the latest. Just remember not all tools will support the latest Node just yet.
If you have Node installed then we're ready to install Yarn Global aka Yarn Classic (Classic is an okay name but really Yarn Global better represents its purpose since Yarn Modern (2 and up) can only be installed per-project via Yarn Global), so we'll use npm which ships with Node by default to install Yarn. So let's install Yarn!
npm i -g yarn
This is much simpler than it used to be, you used to have to manually install Yarn via an MSI package, Chocolatey, and other methods making updating a pain. Anyway, once the installation is finished you're ready to get started with Yarn Modern!
Creating a new project
Creating a new project is easy, but you've got a few options. Modern init and Classic init. While both roughly do the same job, you'll probably find yourself preferring the Modern init over Classic init because of the setup it comes with.
Classic init
To get started you'll want to take care of the basics with creating the directory and running yarn init and answering the setup questions.
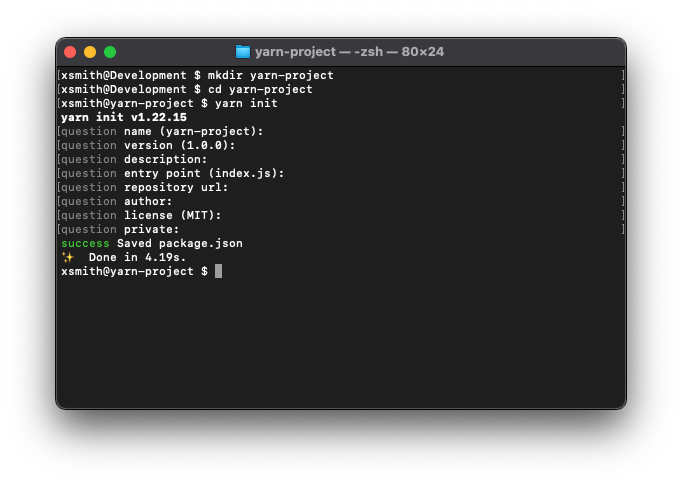
Yarn Classic init prompt
Here you'll be greeted with a long-winded setup prompt asking the name, version, etc… and finally, the result is a simple package.json and seconds of wasted time. 🤦🏻♂️
This is why Classic's init is far from the preferred choice but is definitely the most simple one.
Modern init
Here we have some additional steps to get to Modern init, in addition to creating the directory we'll also need to set the version to “berry” followed by our init command to finish up.
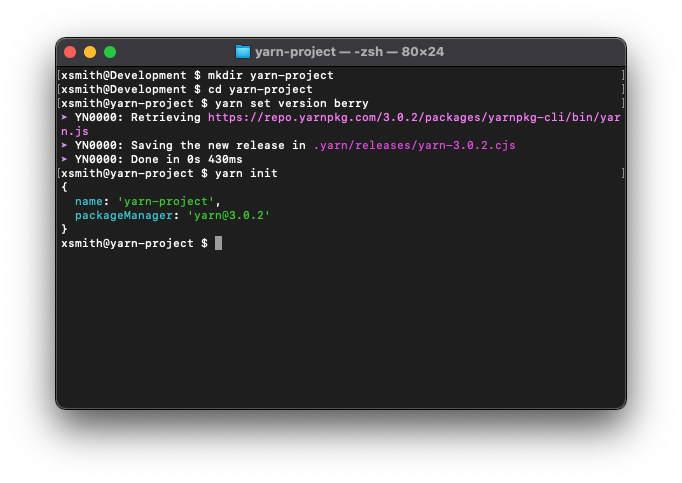
Yarn Modern's init
Now we've got a taste of the minimal init of Yarn Modern! As you can see we ran yarn set version berry to install Yarn 3 first, followed by yarn init which now uses Yarn 3 to get us started. Even better, it auto-generates our package.json without all the questions! But wait, there's more! In addition to our package file, Yarn 2 and up give us a starting project structure to get us really going. This includes the defacto “README”, automatically running git init behind the scenes, and a .editorconfig file to smooth out cross-editor setups. Here's a look:
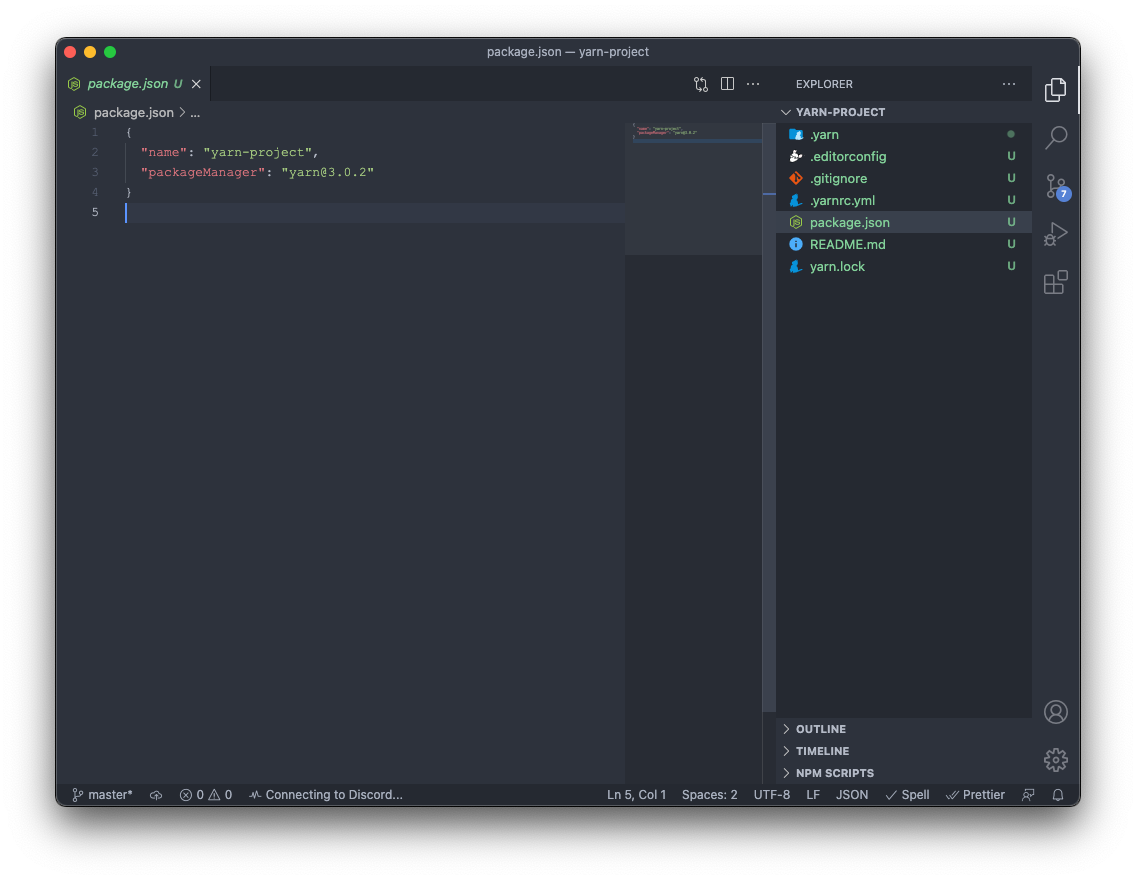
An overview of the Yarn 3 project structure
This is already my favorite setup routine, but feel free to use whatever you like!
Adding TypeScript
Since you're reading this far I'll assume you're familiar with TypeScript already and skip the introduction, if not then definitely check out TypeScript for yourself!
Of course, this is probably the main reason you're reading this article, much as the last one when Yarn 2 was released. Following the pattern, integration is as easy as possible thanks to plugins. To get started you'll want to import the TypeScript plugin for Yarn, and install TypeScript itself of course, along with getting the environment setup using @yarnpkg/sdks we learned about earlier. Let's get started!
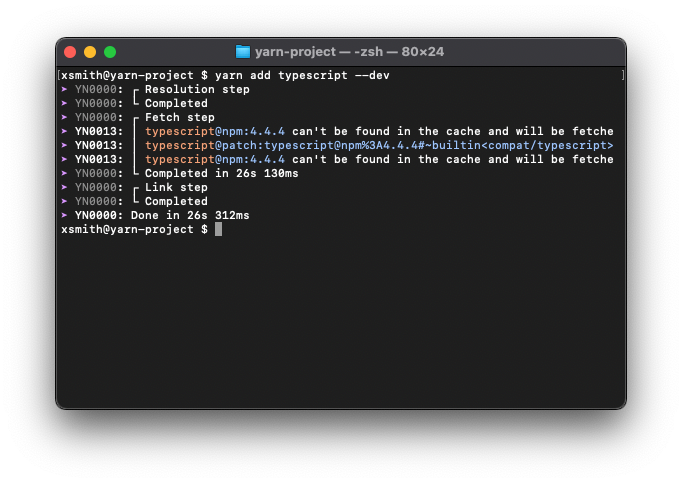
Installing TypeScript
Installing TypeScript is super simple, as is any dependency, and thanks to Yarn, it's also very fast!
Optional: Import the TypeScript Plugin
Here you could easily just get started developing as usual, but there's one thing about TypeScript support for packages that has always been a pain, and that's installing the typings. Some packages do offer TypeScript typings shipped within the packages themselves, but others tend to be so large they'd rather ship optional features separately. One example of this is React, by the way, I added the Yarn Package link instead of React's website so that you can see how Yarn tells you what packages have TypeScript typings/support.
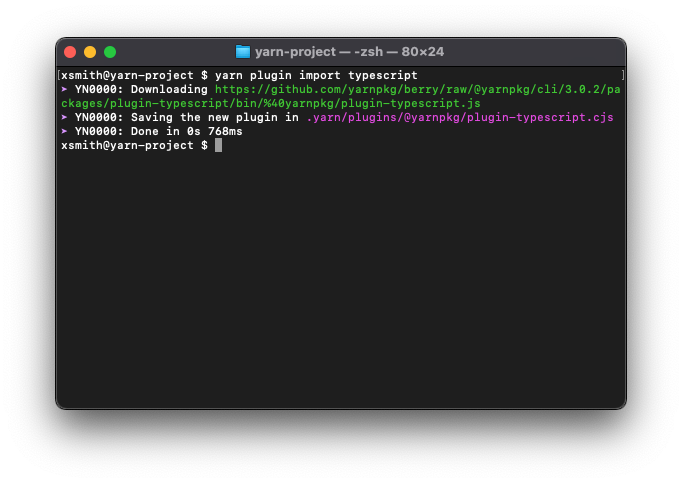
What this plugin does, however, is automatically import these typings for us whenever we install a supported package! So instead of yarn add react && yarn add @types/react --dev we only need to yarn add react!
Adding TypeScript support to our editor
Under the hood, Yarn will patch packages to allow them to work with its virtual filesystem. I don't know many of the packages, but from personal experience, I do know that TypeScript is one of them with a rather rocky support history that's leveled out a while ago. The issue with this patch is that while the package understands how Yarn works, our editor no longer understands how TypeScript's language server works which means when using TypeScript we'll encounter various issues such as modules missing or random language features being disabled because we're using two different versions.
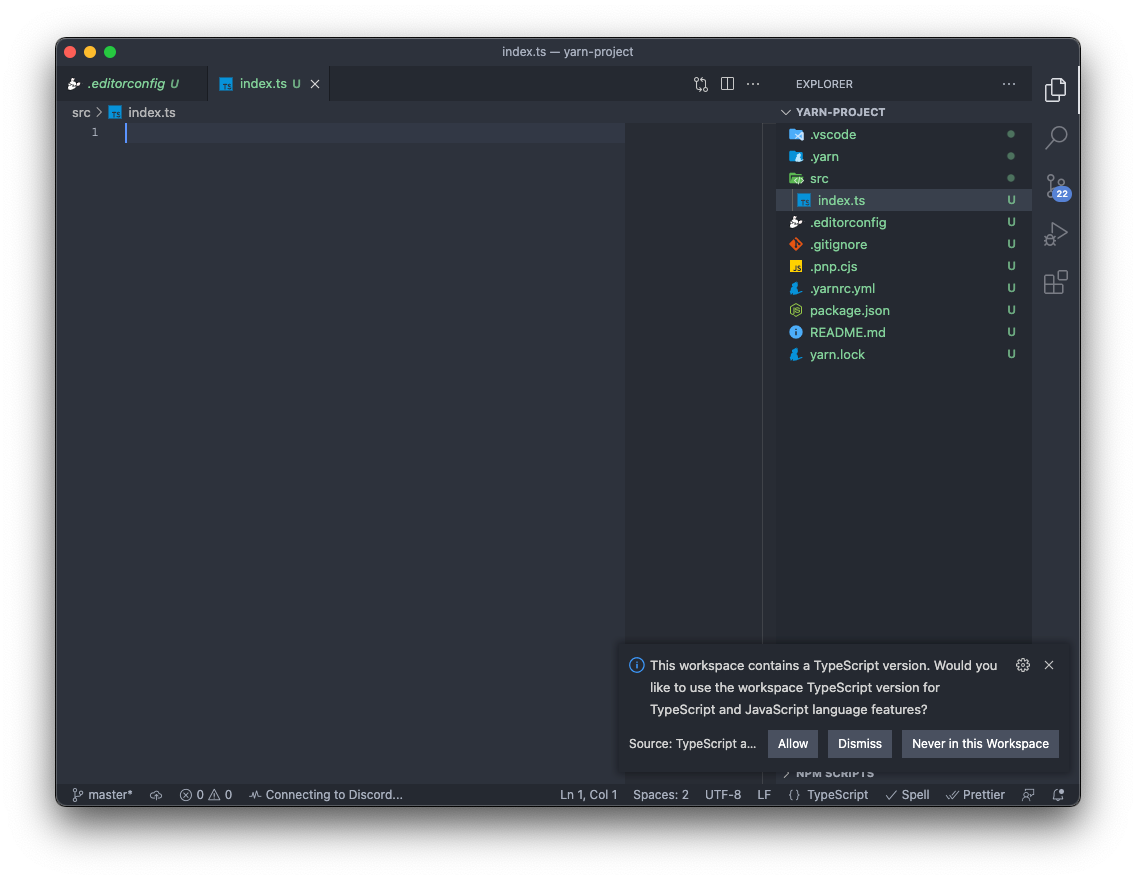
So to solve this, we'll just use yarn dlx @yarnpkg/sdks, or yarn sdks if you chose the dependency route, to update everything.
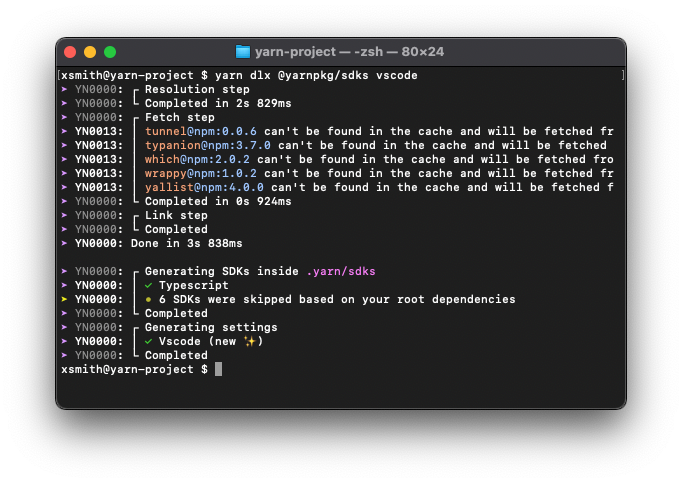
You can see it now shows a check next to TypeScript, and additionally, once we open a TypeScript file in our editor, we'll get a request telling us a different version has been detected. This version being our patched version being added to the editor workspace settings via our SDKs tool.
Conclusion
That's everything you need to know to either get started or migrate. Honestly, they couldn't have made it any easier this time around, and overall it's a pleasant experience working with Yarn. Although many people have expressed distaste for the per-project installation, it was a requirement due to Yarn Classic not being project-locked, but overall it's a perfect system in my eyes.
Yarn Classic is a basic but still fast package manager, which can be used anywhere npm can be used, however Yarn Modern (2, 3, etc.) can be used optionally if you're looking to use the more advanced features such as plugins and such. This means if you're working on a backend, Yarn Classic acts similar to a version manager, and each project can ship with its own versions and patches. The isolation works in my favor, how about you?
So, it's been a long time since I've written. After writing “Getting started with Yarn 2 and TypeScript” I really just fell out of touch with it all since my life kept taking wrong turns everywhere. But I kept getting emails about that post, and the success it had gathered with no promotion from me and even seeing it in my newsfeed was just something I couldn't wrap my head around. So that article has definitely fallen out of being up-to-date sadly.
But I got a message on Twitter not long ago thanking me personally for writing one of the follow-up articles about Webpack and Yarn 2, which inspired me to try and get back to writing articles to help others that may have had a hard time finding answers and figured it out myself and wanted to share the solution.
Thank you for reading this far, it means a lot 😊.
Comments
Loading comments…