This project utilizes GitLab CI/CD pipeline and Terraform modules to deploy infrastructure in AWS. The Terraform state will be stored in AWS S3. The infrastructure that will be built is a VPC with 2 public subnets and an Autoscaling group of EC2 instances. So let's get started!
Prerequisites
- AWS account with proper credentials, CLI installed and configured
- Terraform installed and configured
- GitHub account
- GitLab account and access token
- IDE, VSCode
What is GitLab? GitLab is an open-source code repository. It provides the full cycle of DevOps capabilities for each stage of the software development lifecycle. GitLab enables teams to automate building and testing out of their code in a collaborative environment.
S3 Bucket
First we will create an S3 bucket that will be our Terraform backend and store the Terraform state. I will use VSCode terminal for this portion of the project. Ensure you have the AWS CLI installed and configured. Input the following command to create an bucket in S3, using a unique name.
aws s3api create-bucket --bucket <bucket-name>
The output will show your bucket's name if it was successful.

Now that we have our bucket created we can move on to the next step.
Code
Next we will edit the code that we will be using to deploy the infrastructure as code. The following is the file system I created.
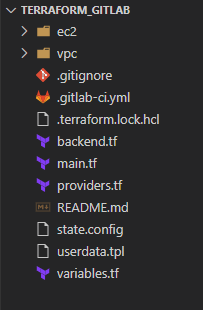
You will need to fork my repository from GitHub here. The file system contains the Terraform modules and everything needed to build out the project in Gitlab. You will need to update the backend.tf file to include the S3 bucket name you just created.
Let's take a closer look at the .gitlab-ci.yml file.
image:

name: registry.gitlab.com/gitlab-org/gitlab-build-images:terraform

entrypoint:

- '/usr/bin/env'

- 'PATH=/usr/local/sbin:/usr/local/bin:/usr/sbin:/usr/bin:/sbin:/bin'

variables:

TF_VAR_gitlab_token: ${GITLAB_ACCESS_TOKEN}

AWS_ACCESS_KEY_ID: ${MY_AWS_KEY}

AWS_SECRET_ACCESS_KEY : ${MY_AWS_ACCESS_KEY}

AWS_DEFAULT_REGION: "us-east-1"

cache:

paths:

- .terraform

before_script:

- terraform --version

- terraform init -backend-config="state.config"

stages:

- validate

- plan

- apply

- destroy

validate:

stage: validate

script:

- terraform validate

plan:

stage: plan

script:

- terraform plan -out="planfile"

dependencies:

- validate

artifacts:

paths:

- planfile

apply:

stage: apply

script:

- terraform apply -input=false "planfile"

dependencies:

- plan

when: manual

destroy:

stage: destroy

script:

- terraform destroy --auto-approve

when: manual
This is the pipeline template that Gitlab will follow. It provides the CI/CD workflow for the project. This workflow is shown in stages. Being the stages of Terraform; validate the code, plan, apply, and finally destroy. The before-script is where Terraform will initialize the backend, which is the S3 bucket. I created a separate file, state.config, with the S3 bucket information to configure the backend. More information on how to create the file can be found in the GitLab docs.
GitLab
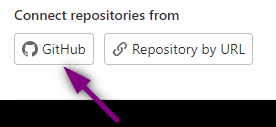
Now that the code is prepared we can navigate to GitLab. Click on Create new project > Run CI/CD for external repository. Then click on connect repositories from GitHub.
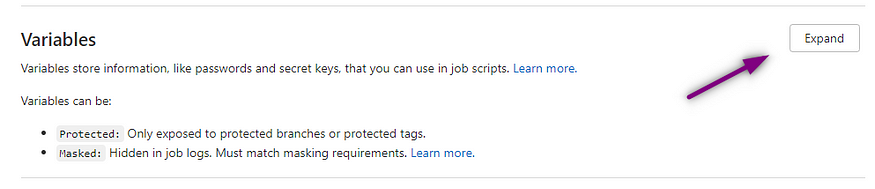
Here you will need to authenticate with GitHub and then select the repository with our code. Next we will set environment variables. On the left hand side navigation menu click on Settings > CI/CD. Then Expand the Variables section.
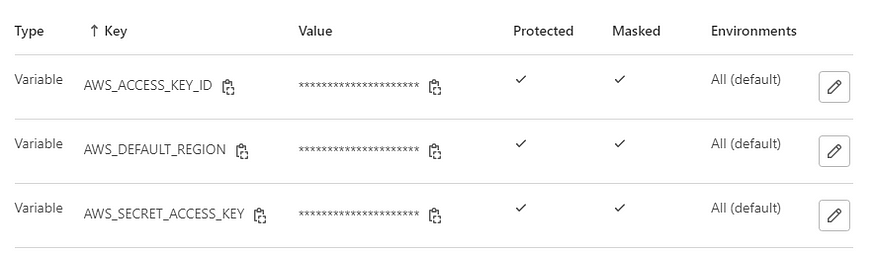
Input the following environment variables and be sure to mark them as masked.
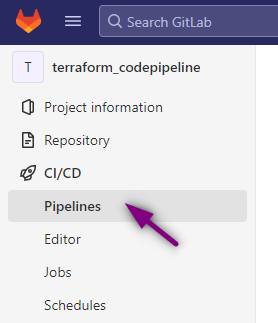
Now we should be ready to create the pipeline. Navigate to the left hand side of the screen and select CI/CD > Pipelines.
Click on Run pipeline and since our variables are already set select Run pipeline again. The pipeline will show the stages we had assigned in the pipeline template file. GitLab will go through each stage and if it works we will get a green check mark.
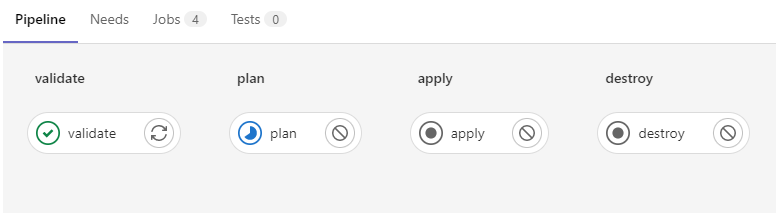
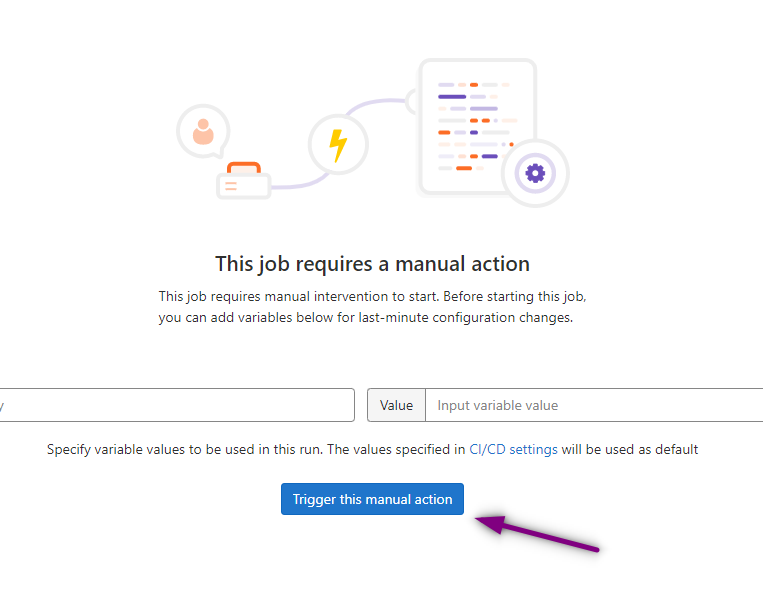
For the apply and destroy stages I had selected manual approval so those will need to be approved before the stage can be completed. To do so click on apply and then Trigger this manual action.
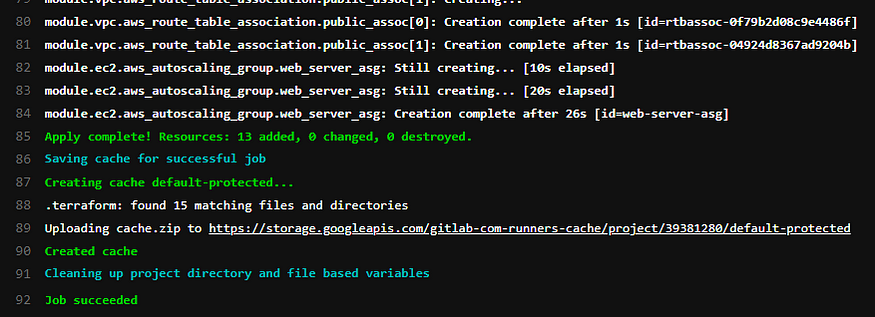
Once the apply is completed your screen should look like this.
To check that the Terraform code did indeed successfully launch our infrastructure head over to the AWS console.
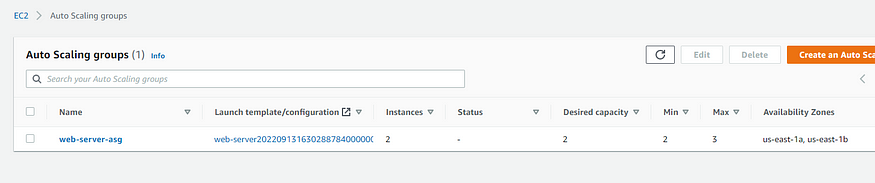
ASG created

Instances Running
To check that the instances have internet access, grab the public ipv4 address and paste into a browser.
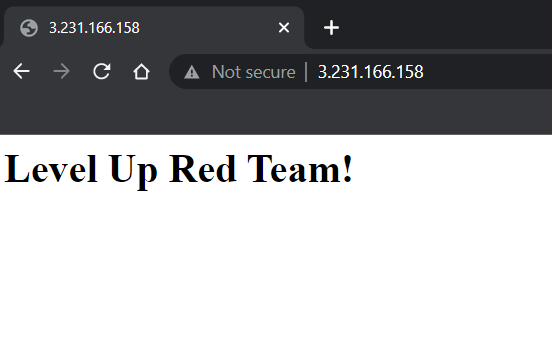
Success!
Finally in S3 you should see a state file in your bucket.

Everything was deployed correctly in AWS.
Automation
Now if changes are made to the code in GitLab it should trigger the pipeline to make those changes automatically. To demonstrate this I will change the code to have a desired capacity of 3 EC2 instances rather than 2.

I will commit the changes to the main branch, which is not best practice, but practical for demonstration purposes. Go back over to the pipeline and you will see it was triggered by the change I committed.

I will manually approve the apply again. Once it is completed, check back in the AWS console.

A new instance is initializing due to the changes we made in the code to a desired capacity of 3! How amazing is that?!
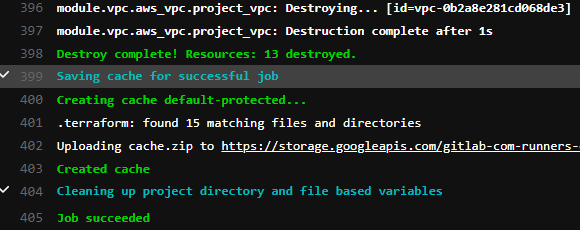
Destroy
To clean up I included a destroy stage in my plan. In the GitLab pipeline select the destroy phase and click Trigger this manual action. This will destroy all of the infrastructure built in AWS.
That concludes creating a CI/CD Pipeline with Gitlab and Terraform. I hope you enjoyed the process as much as I did!
Comments
Loading comments…