What is Docker?
Docker is a platform for developing applications that use containers, which are small and lightweight execution environments that share the kernel but otherwise run independently of one another. Docker is an open-source project launched in 2013 that helped popularize containers by making it easier than ever for developers to package their software so that it can be run anywhere, regardless of the underlying operating system.
Objectives:
- Create your own image using Nginx. Include a customized index.html file that can be viewed from a local browser.
- Deploy your container with port 8080 open
- Save your container data to the AWS Elastic Container Registry (ECR), and your Docker Hub account.
Prerequisites:
- Docker Installed
- Docker Hub account
- AWS free tier and AWS CLI configured
- An AWS ECR created
Step 1: Create Dockerfile and Custom HTML Page
First, create a new directory containing our Dockerfile and custom index.html page.
mkdir <directory name>
Make this your current working directory. Now, create your custom index.html page.
<!DOCTYPE html>
<html>
  <head>
    <title>LUIT Week 16 Project!</title>
  </head>
  <body>
    <h1>This is our Custom Home Page</h1>
  </body>
</html>
Next, create a new file called Dockerfile. A Dockerfile contains the commands or instructions used during the build to create the Docker image.
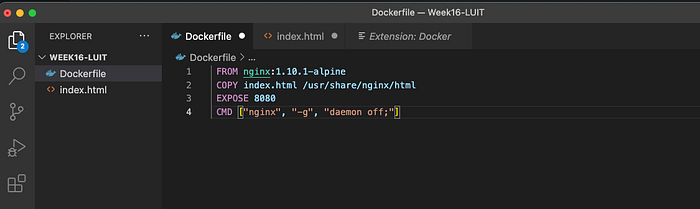
 FROM nginx:1.10.1-alpine
 COPY index.html /usr/share/nginx/html
 EXPOSE 8080
 CMD ["nginx", "-g", "daemon off;"]
The COPY command copies our custom index.html page into the Nginx image. Per our objective, we will need to expose port 8080. The EXPOSE command is optional and is used for documentation as you can expose any port when you go to create the container.
Step 2: Build the Image
Now that we have our Dockerfile and source files, we can build the image. We use the docker build command and specify a tag and the location of the Dockerfile, and a context. The context is the set of files to which the build process can reference. In our case, we are using the COPY command to access our custom index.html file.
docker build -t <new_image_name> <url or path of context>
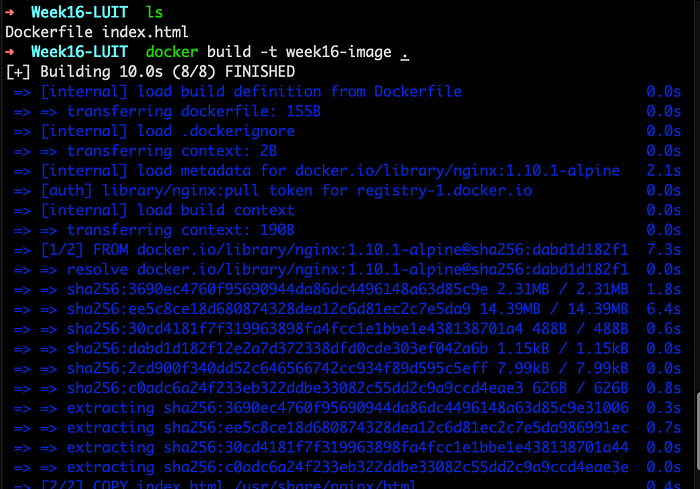
Showing build command
Let’s confirm our image has been created. You can run the following command to list out the images.
docker images

Showing our created image
Step 3: Create and Deploy the Container
To create the container, run the following command. You may use any name you would like to call the container but you need to use the name or image ID of the image we just created. The “-p” switch will map port 8080 of the host to port 80 of the container.
docker run -d --name <name-container> -p 8080:80 <image_name>

Let’s confirm that it is running by entering the following command:
docker ps

Showing container running
Verify you can reach the landing page by inputting the IP address and specifying port 8080 in a web browser. Since I’m building this lab on my local machine I’ll use localhost:8080.
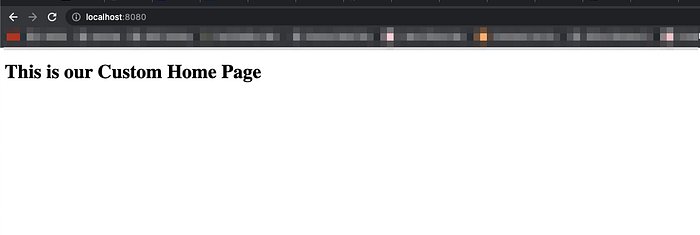
Show our custom index page
Step 4: Push the Image to Docker Hub
Log into your Docker Hub account from the command line by using the following command:
docker login
We want to rename or tag our image with our Docker Hub username and repo so that Docker Hub knows where we want the image pushed to. We will use the docker tag command to achieve this.
docker tag <image name>:<tag> <dockerhub username>/<image name>:<tag>
Now we can push the image by running the following command:
docker push <image name:tag>
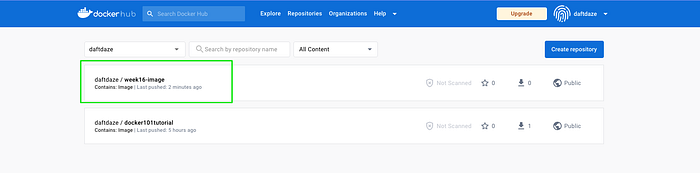
 Now we can see our image has been pushed to Docker Hub.
Step 5: Push the Image to AWS ECR
Within the AWS console, navigate to your repository and click on “View push commands”.
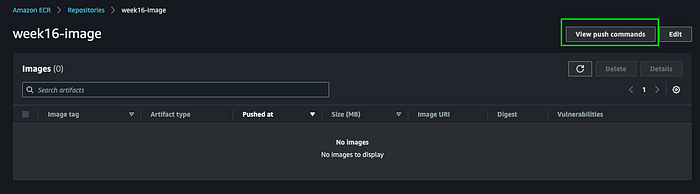 This will provide the necessary commands needed to run. Note we can skip step two as we have already created the image.
 First, we need to authenticate the Docker client to the registry as specified in step 1. To get the token, I will run the following command. Your URI will be specific to your repo.
aws ecr get-login-password --region us-east-1 | docker login --username AWS --password-stdin 233489832487.dkr.ecr.us-east-1.amazonaws.com

Showing login succeeded
We need to tag the image to prepare it to be pushed to ECR. Same as we did before with Docker Hub.
docker image tag <IMAGE_NAME>:<IMAGE_TAG> <REPOSITORY_URI>:<IMAGE_TAG>a
Now run the push command.
docker image push <IMAGE_NAME[:TAG]>

Let’s check the console to see if our image is listed.
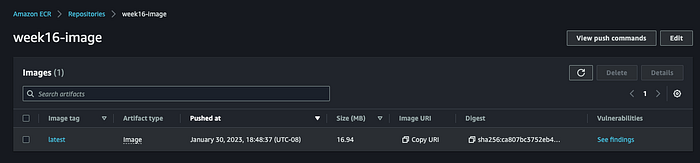
It looks like we were successful!
Comments
Loading comments…