“Developer Friendly Deployment Doc’s”

Firebase Hosting
Prerequisites to Proceed Further
- Basic Linux Scripting
- Install Node Package manager in your System
Deploy HTML Static Website to Firebase Hosting
Create a Firebase account with your Gmail and Create a New Firebase Project of Name of your website like the below images
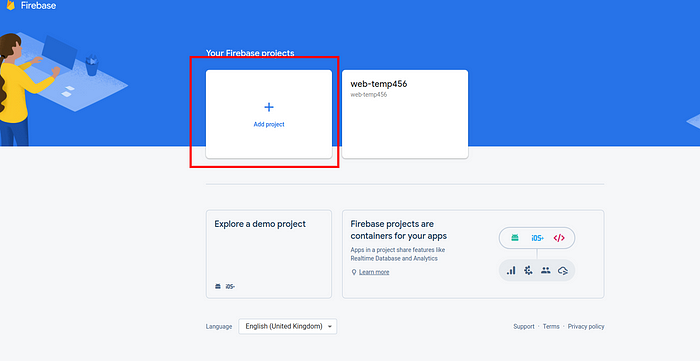
Click the Add Project for creating a new Firebase project.
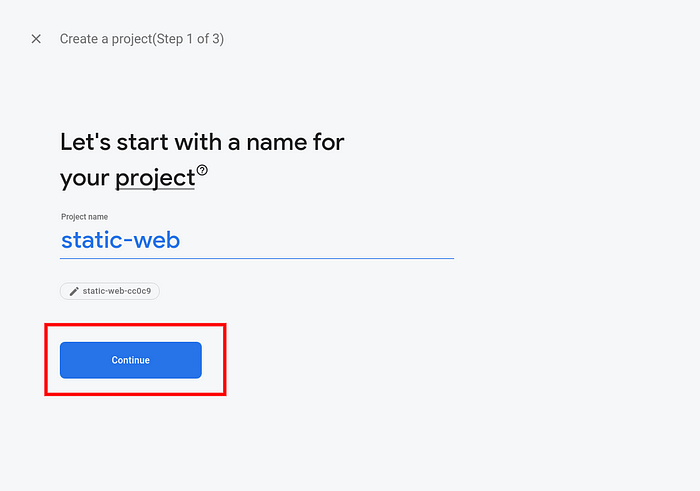 Type the Name of the Website you want to deploy and click on the continue button:
 You can create a new account or choose the already existing account. In my case, I’m choosing the default account and creating the new project
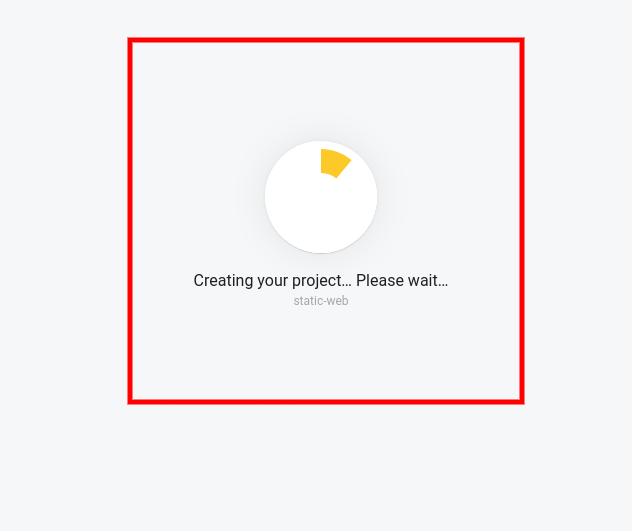
Creating the Firebase Project
Creating the Firebase Project will take some time, so, wait until it finishes:
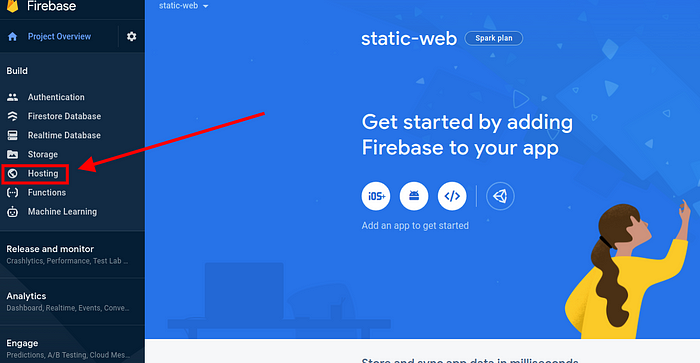
Once the project creation is completed, you will redirect to this page and click on the Hosting from the side menu since we are using it only for hosting purposes:
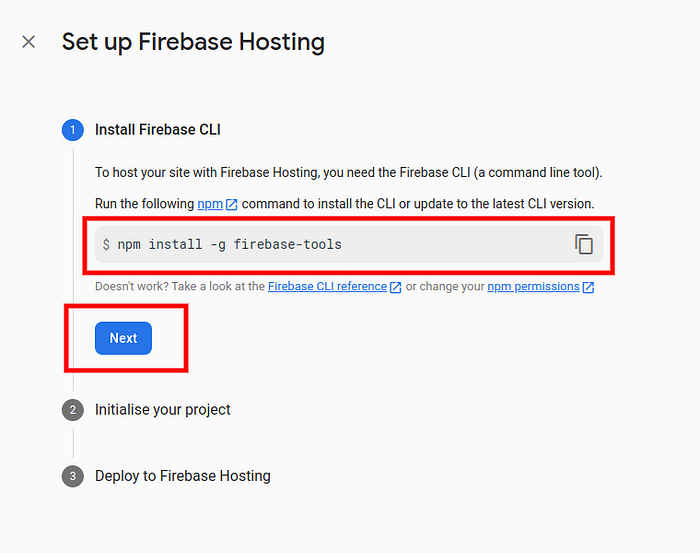 For Deploying the Website we need Firebase CLI (Command Line Tool) so install the CLI by running the above command in Terminal or Power shell. And click on the Next button after successful installation:

Firebase Login
After successful installation, log on to the Firebase Console using the CLI command. Copy the Firebase login command and run it in your Terminal/Power shell. You have to verify the Mail ID for log in. After Log in alert, go to the source code folder, open the terminal, and initialize the Firebase into your source code:
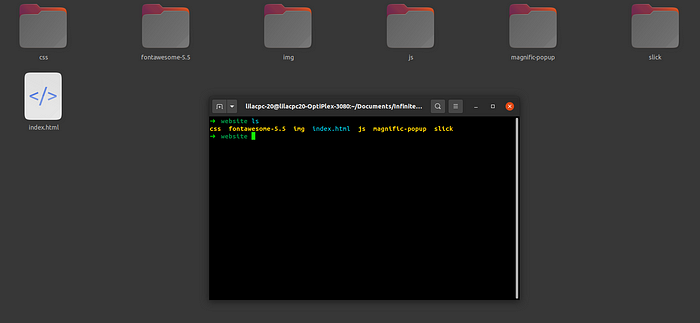
Open Terminal in Root of the Source code
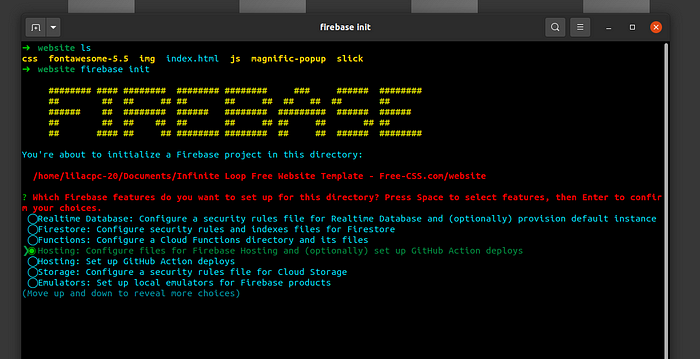
You will get a terminal console when you run the firebase init command and move the courser and point to
“ Hosting: Configure files for Firebase Hosting and (optionally) set up GitHub Action deploys “
By Clicking “ SPACE BAR ”, we will select the pointed part and click the Enter to Next Step
Firebase Console
Click on the Use existing project option since we have already created a new Firebase project in the previous step or new users can create a New Firebase Project from here:
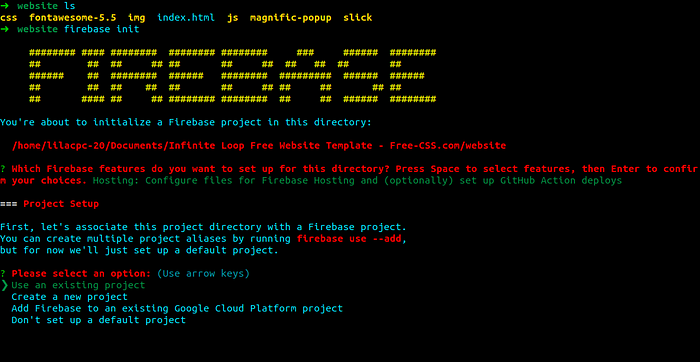
Use an existing project
Then you can see the project name you have created in the terminal and click on your project name:
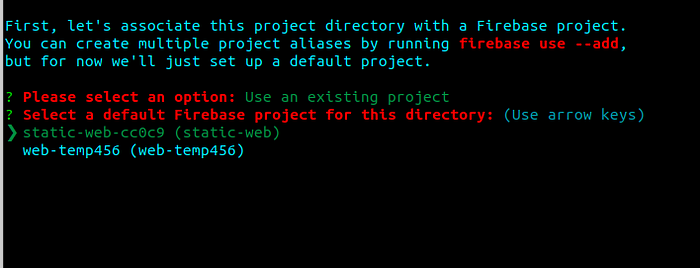
Click on your project name
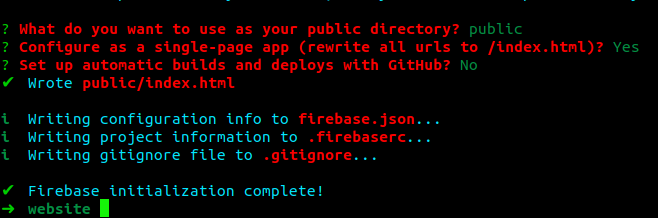
Next, you can see a Hosting Setup option in that you have to give a name for the directory where the files are to be put so by default we can give “public” as the root directory:

give the directory name as public and click enter
Then one more Yes or No question they will ask for rewriting URLs. Type “Yes” then click enter. After that, one more question, “Set up automatic builds and deploys with GitHub?” will be asked,answer “No”, here we are going with direct code deployment from our File manager so we don’t have to use the GitHub deployment:
 After completing all the steps go to the file manager and you can see some files and folders are created at the root of the source code
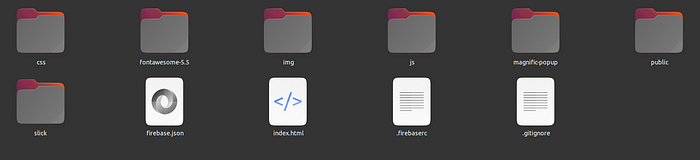
Check some file named firebase.json and public folder is created
Cut all the source code (note only our source code like CSS, IMG, JS, and index.html, and any others you have) to the newly created public folder after the cut operation the file manager looks like this.
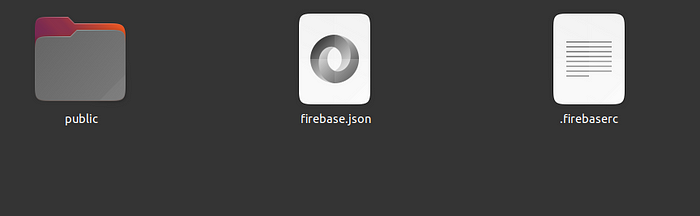
After Cut Operation
All Set now we have to deploy the project so that open the terminal in the current directory and run the command:
firebase deploy
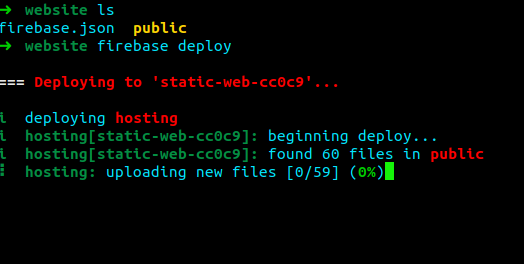
Deploy Starts
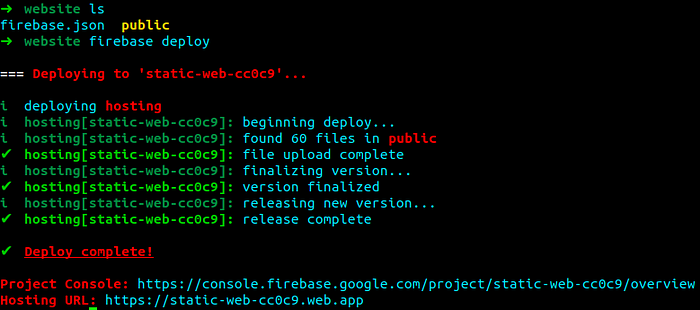
Deploy Ends
After all the tasks are completed, click the Hosting URL to view our website and Enjoy!
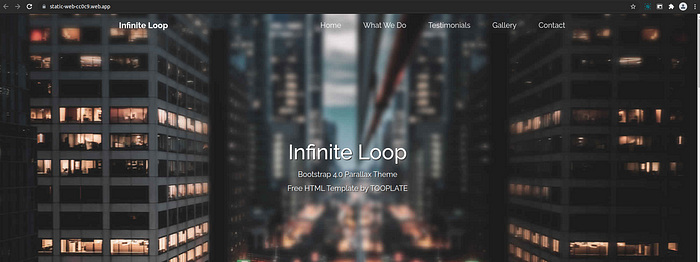
Sample code Taken from Internet and Designed by TOOPLATE
And there you have it. Thank you for reading.
Comments
Loading comments…