Real-time face swap for PC streaming or video calls
Are you interested in using the DeepFace Live application for real-time face swap during PC streaming or video calls? In this tutorial, we will guide you through the process of installing DeepFace Live on your Windows computer. However, before we get started, it's important to note that your PC must have compatible graphics cards and meet the basic system requirements for this application to work properly, which can be checked on the GitHub repository.
1. Download and Install Anaconda
To run DeepFace Live, we need to install Python. For this tutorial, we will be using Anaconda, which is a free and open-source distribution of Python. You can download Anaconda from the official website and install it on your computer. Once the installation is complete, open the Anaconda prompt (and not Anaconda Navigator) by searching for it in the start menu and running it as an administrator.

2. Create a Python Environment
In the Anaconda prompt, the first thing we need to do is create a new environment for DeepFace Live.
Python 3.9: Type conda create -n deepfake python=3.9
(Instead of deepfake, you can use any name you want).
This will create a new environment with Python 3.9. Please note that we tried with Python 3.10 and 3.11, but it didn't work!
After creating the environment, we need to activate it.
Activate Env: Type `conda activate deepfake (or use the earlier name you used for the environment). This will change the base name to deepfake.

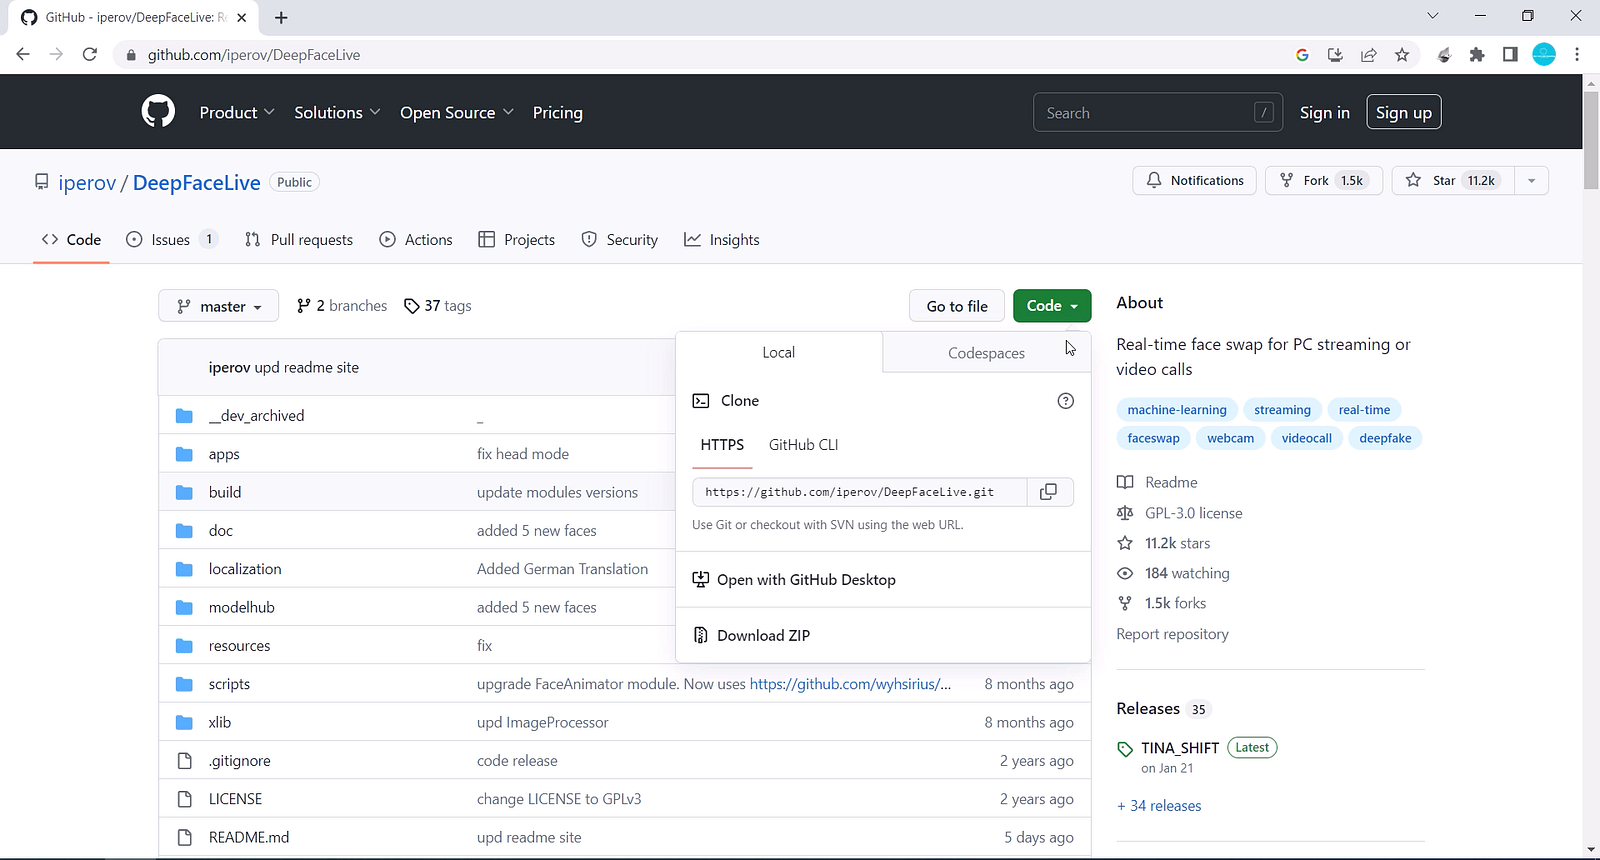
3. Download the DeepFace Files
Next, we need to download the DeepFace files from GitHub. You can do this by clicking on the code and downloading it as a zip file. Once you've downloaded it, extract the files to your computer.
Download DeepFaceLive files: Click here
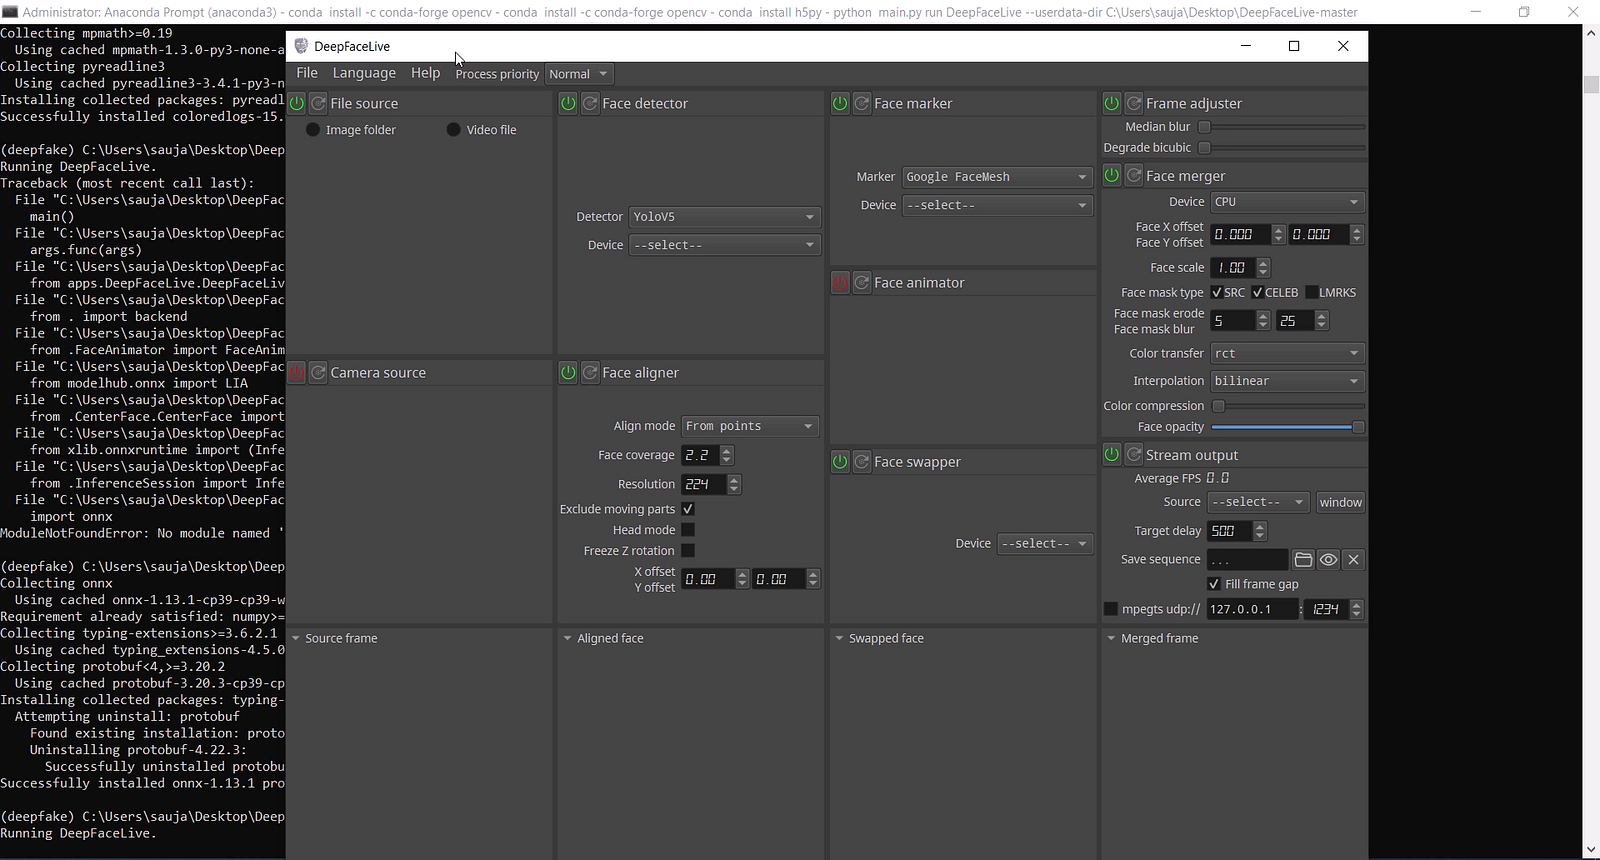
4. Run DeepFace Live
Navigate to the DeepFace files directory in the Anaconda prompt (for this you can type cd C:/users... (Where you have kept your Python files)
Run the command: python main.py run DeepFaceLive --- user data-dir C:/users...
(copy and paste the whole address where you have extracted the DeepFaceLive files).
We will require several modules to run the DeepFace Live application. These modules may vary depending on your PC and the Python environment. Here are some of the required modules, but you might also have to install additional modules.
PyQt6: Type pip install PyQt6 --- upgrade --- force-reinstall
NumPy: Type pip install numpy
CV2: Type conda install -c conda-forge opencv
NumExpr: Type pip install numexpr
h5py: Type conda install h5py
ONNX Runtime: Type pip install onnxruntime
ONNX: Type pip install onnx
For more check this link
After following all these steps, you should have a running DeepFace Live application on your Windows computer. For more information and examples on how to use DeepFace Live, please check out the GitHub repository and tutorial video provided.
For more interesting content, click here
Comments
Loading comments…