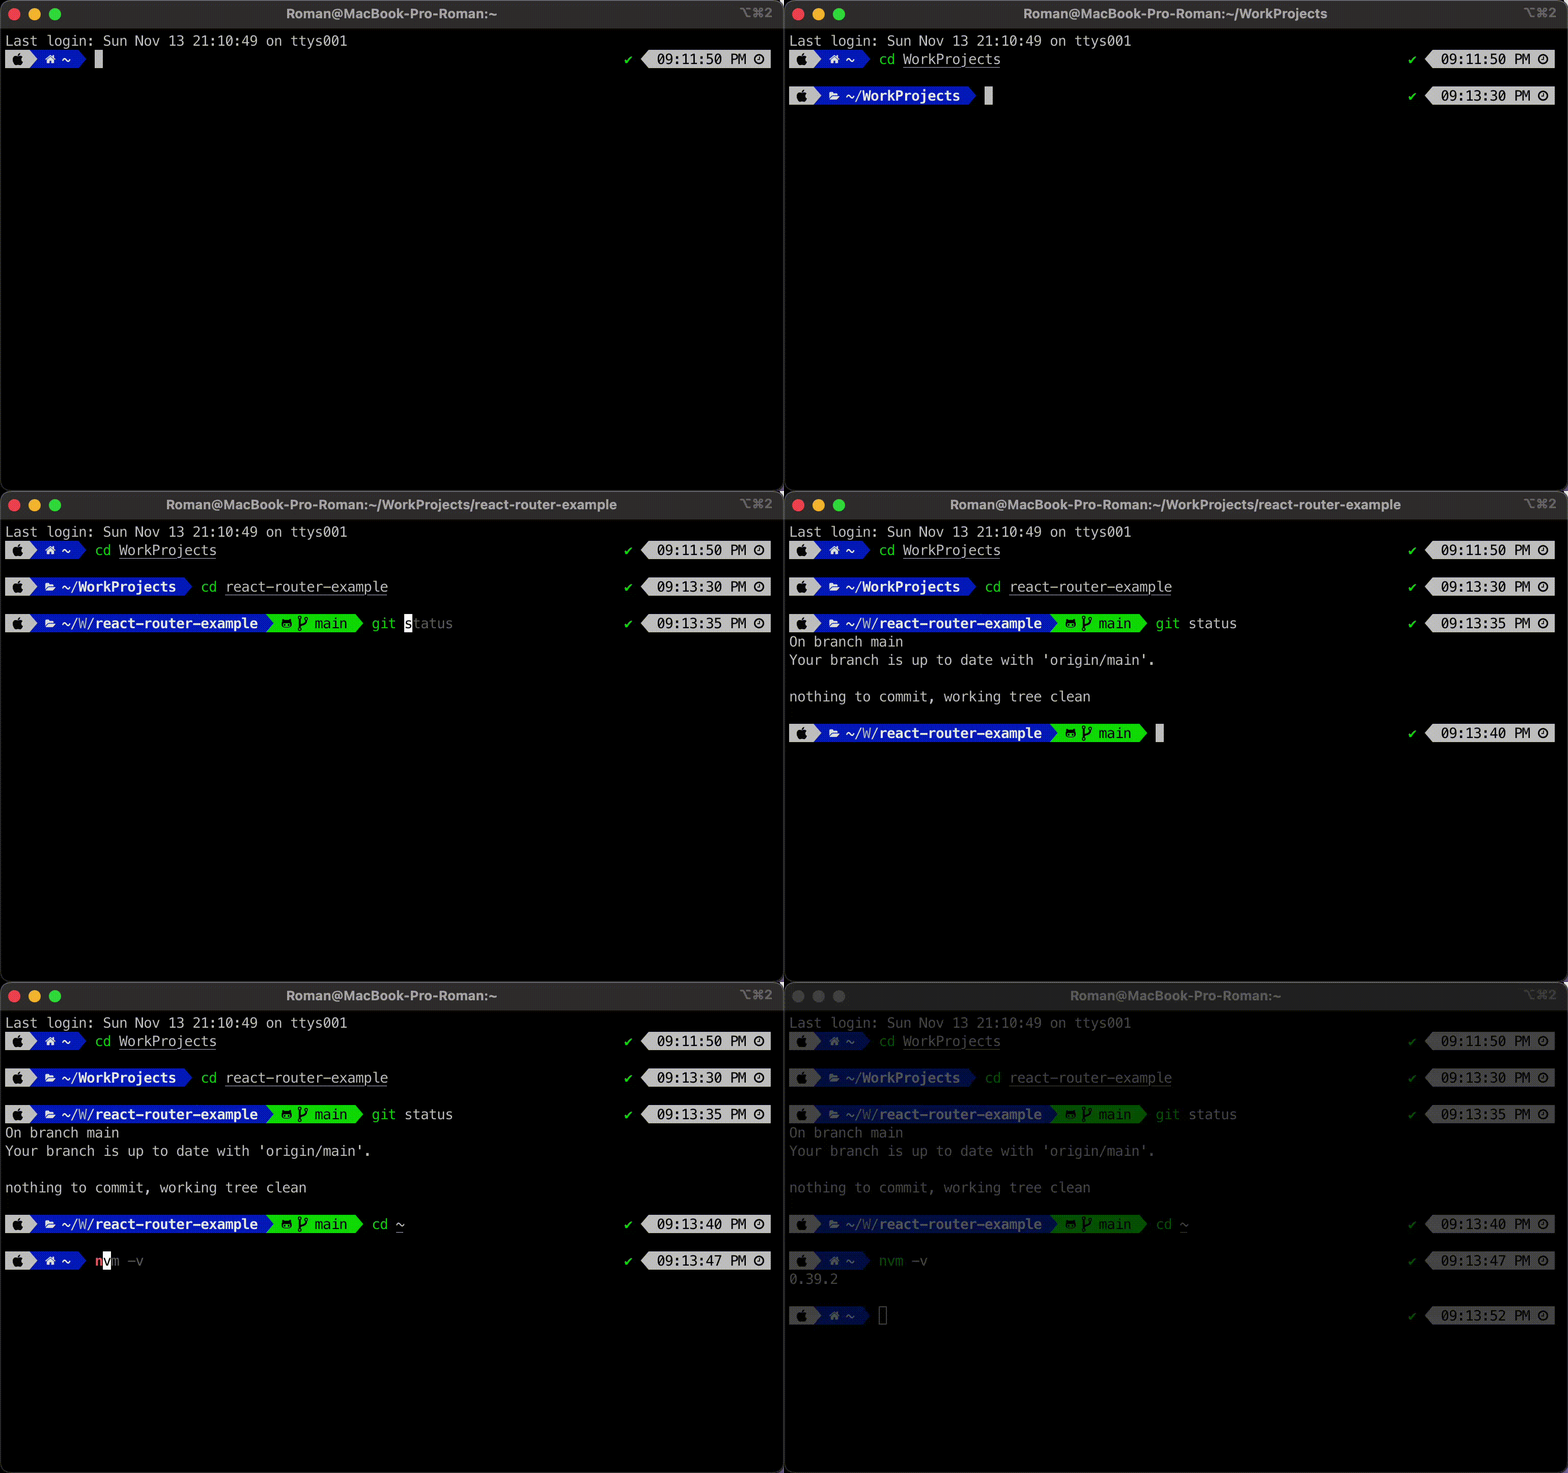
If you’re a software engineer with a Mac, like me, you probably work a lot in the Mac terminal. Working in the default Terminal is not very convenient to use, in this article I would like to talk about tools that will help improve your terminal.
Step 1. Homebrew
Homebrew (brew) — package manager that allows you to install applications and software on macOS depending on the user’s desire. It is recommended for its simplicity and efficiency in terms of saving time and effort. To install, you need to run a command:
/bin/bash -c "$(curl -fsSL https://raw.githubusercontent.com/Homebrew/install/HEAD/install.sh)"
After installing, add it to the path replace 3 more commands will appear in the terminal that you will need to execute. In “[username]” must be your actual username:
echo '# Set PATH, MANPATH, etc., for Homebrew.' >> /Users/[username]/.zprofile echo 'eval "$(/opt/homebrew/bin/brew shellenv)"' >> /Users/[username]/.zprofile eval "$(/opt/homebrew/bin/brew shellenv)"
💡 Speed up your blog creation with DifferAI.
Available for free exclusively on the free and open blogging platform, Differ.
Step 2. iTerm2
The default Terminal app on MacOS does a great job. But there are better options. I am using iTerm2. It has a bunch of cool features like: autocomplete, copy mode, split panes, search, paste history and much more you can check their website iTerm2 for more details.
To install, run:
brew install --cask iterm2
If you don’t have it installed, install git as well:
brew install git
Switch to iTerm2 for the remainder of this walkthrough.
Step 3. Oh My Zsh
Oh My Zsh — help to spruce up your terminal and make it more colorful. Run this to install Oh My Zsh:
sh -c "$(curl -fsSL https://raw.githubusercontent.com/ohmyzsh/ohmyzsh/master/tools/install.sh)"
How to get NVM to work with it.
Once it installs, exit out of the terminal window and open up a brand new terminal window. If you try running the command
nvm, you might notice it doesn’t work. That’s because it’s not set as a plugin. To fix this, there are a couple of things you have to do.
First, open up your .zshrc file to edit it:
vi ~/.zshrc
Use your down arrow key to scroll down in the file until you see
plugins=(git). Press the i key to go into edit mode. Adjust your cursor using your arrow keys and then add nvm in the parenthesis so it looks like this:plugins=(git nvm). Make sure there is a space betweengitandnvm.
When this is done, save and exit this file by doing the following: Press your escape key, then type
:wq, and then press enter.
Next, to refresh with your edits, run this command:
source ~/.zshrc
Step 4. Theme for Oh My Zsh
The most popular scheme for Oh My Zsh is PowerLevel10K

Run this to install PowerLevel10K:
git clone https://github.com/romkatv/powerlevel10k.git $ZSH_CUSTOM/themes/powerlevel10k
Next open up your .zshrc file to edit it:
vi ~/.zshrc
Change the value of “ZSH_THEME” as shown below:
ZSH_THEME="powerlevel10k/powerlevel10k"
Next, to refresh with your edits, run this command:
source ~/.zshrc
After which you should get the following message:

Install the font by pressing “y” and then quit iTerm2.
Next, you will need to reopen ITerm2 and select the configuration and suggested options. If you do not like the selected configuration, you can change it by calling the command
p10k configure

Change iTerm2 Colors to Custom Theme
- Open iTerm2 preferences
- Go to Profiles > Colors
- Import the downloaded color profile or change colors manually
- Select the color profile
You can find other themes here: Iterm2 Color Schemes
Step 5. ZSH Plugins
Auto Suggestions plugin — This plugin will look at your history and suggest stuff that you have typed earlier. So it differs from the default auto-completion in that it is not very smart. It just suggests what you have typed before, including typos and errors.
Install zsh-autosuggestions:
git clone https://github.com/zsh-users/zsh-autosuggestions ${ZSH_CUSTOM:-~/.oh-my-zsh/custom}/plugins/zsh-autosuggestions
Syntax Highlighting — plugin is the syntax highlighter. It will highlight your command as you type:
Install zsh-syntax-highlighting:
git clone https://github.com/zsh-users/zsh-syntax-highlighting.git ${ZSH_CUSTOM:-~/.oh-my-zsh/custom}/plugins/zsh-syntax-highlighting
Next need to open the “~/.zshrc” file vi ~/.zshrc and modify the plugins line to what you see below.
plugins=(git nvm zsh-autosuggestions zsh-syntax-highlighting)
Load these new plugins by running:
source ~/.zshrc
Well, that’s all, now you have a more convenient and colorful terminal.

Hope it was useful for you!
Thanks for reading! See you soon. 😊