Excel Writing with Openpyxl
Just like other file formats can be read using Python, we can also read Excel files using openpyxl . Openpxyl is officially made for writing, reading, and updating excel files. We will also look at how we can make a bot using openpyxl just like Excel macro.
In this article, we will go through all classes of openpyxl modules and learn to read and write the excel file and also modifying the existing excel file. First thing first if you had already the latest version of Python installed then install openpyxl by using the following command.
pip install openpyxl
Reading Excel Files:
To read the data from the excel file, first, we need to import the module and set up the read format of openpyxl. Check the below code to read the file data setup.
#import libraries
from openpyxl import load_workbook

wb = load_workbook("Excel.xlsx")
sheet = wb.active
From the above code example, we have seen that the load_workbook class of openpyxl takes an Excel filename argument, and next, we will read sheets on an Excel file. As we know Excel files can have unlimited sheets you can select the currently active sheet but if you had multiple sheets you can use the following format to select a specific sheet for reading data.
#import libraries
from openpyxl import load_workbook

#Selecting specific sheet
wb = load_workbook("Excel.xlsx")
sheet = wb.worksheets[0] # 0 1 2 3 or any
Now that we have loaded our Excel file in the openpyxl class, it's time to read the data from it. We had two types of data reading in openpyxl .
-
Cell reading
-
Column reading
Cell Data Reading:
Let’s take the following Excel data example. Suppose you had an excel with 3 headers name, age, and salary like the following format. And our task is to read the first column first and last cell.
Name      age    salary
Haider    21     $56,000
John      24     $36,000
Jim       20     $26,000
Sam       26     $76,000
Willaim   22     $46,000
#import libraries
from openpyxl import load_workbook

wb = load_workbook("excel.xlsx")
sheet = wb.active

#reading cell
print("First cell: ", sheet['A1'].value)
print("Second cell: ", sheet['A6'].value)
Amazing! So we use the sheet variable/object that we create and store the active worksheet data in it. openpyxl stores the data of each column in list form. Well, according to Python list syntax, we can iterate the list using Square brackets [ ]. Then we input the cell location in the form of String. Here we need the first and last cell. Excel name their as column in Alphabetic order and openpyxl also, take input in Alphabet. A1 denotes the first cell means Column A and row number 1 and then A6 which denotes the last column. Column A and row number 6 .
Output:
First cell:  Name
Second cell:  Willaim
Awesome! We can also read multiple cells at a time by using the range method. Check out the following code.
#reading multiple cell
cells = sheet['A2':'C2']

for c1, c2, c3 in cells:
    print(c1.value, c2.value, c3.value)
Well, we had to use the range method to tell openpyxl that we want data from the A2 → C2 column and row no 2. It will store the 3 column row data in the form of a tuple and to access the tuple, we will iterate it using the for loop. We had 3 elements in the tuple so we store each data in different variables as we did in the for loop. And next, using the value method we can access their stored location value.
Sheet.cell()
We have another amazing way to read the specific cell of an Excel file by using the sheet.cell method. Check the below code to understand how this method works.
#reading specific column
cell1 = sheet.cell(row = 1, column = 1).value
cell2 = sheet.cell(row = 1, column = 2).value
cell3 = sheet.cell(row = 1, column = 3).value

print(cell1, cell2 ,cell3)
We can notice the sheet.cell() method takes 2 argument — rows and columns — and in the end, we use the .value method to convert the address data into string format data.
Column Data Reading:
We can read specific or all columns in an Excel file using the openpyxl module. To read a specific column just use the method we had seen in the cell reading section but instead of giving the row cell number with alphabet, only type column alphabet. Check the below code for a better understanding.
#import libraries
from openpyxl import load_workbook

wb = load_workbook("excel.xlsx")
sheet = wb.active

#reading specific column
columns = sheet["A"]

for data in columns:
    print(data.value)
One extra thing you need to do is iterate the data of columns. As we know already, openpyxl gives the location of the specific cell. That means we store all locations of data in column A and using the for loop, we can go to each of the cells in column A and print their data. Check out the output of this code.
Output:
Name
Haider
John
Jim
Sam
Willaim
Writing Excel Files:
To write Excel files, we have to follow the same openpyxl code syntax but with some little differences. Let’s say we have an empty Excel file and we want to write the data into it. We can write data in Excel in two forms:
-
Cell writing
-
Row Column Writing
Both are the same but the way they work is different. We will go through both of them and take a look at how they actually work.
Cell Writing
Cell writing is the same as reading the cell. But a minor modification will be added. Check the below code.
#import libraries
from openpyxl import load_workbook

wb = load_workbook("excel.xlsx")
sheet = wb.active

#reading specific column
columns = sheet["A1"].value="Name"
columns = sheet["B1"].value="Age"
columns = sheet["C1"].value="Salary"

wb.save("excel.xlsx")
Instead of reading the data, we modifed the sheet[“A1”] to sheet[“A”].value=”Name”. So openpyxl has a combination of classes and each class has its objects. So we called the object value and gave it String. I did the same for the B1 and C1 cells. And in the end, we have to save our workbook so I used the save method and named it excel.xlsx, which is the same as the excel file at the start. If you run the code, you will get the following output.
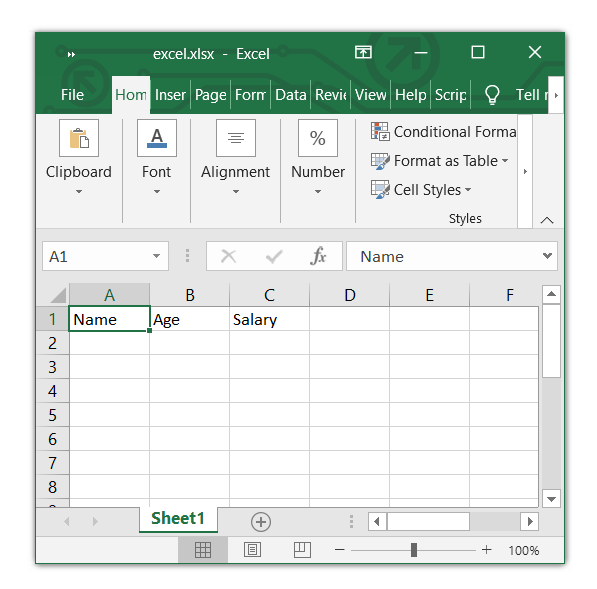
Amazing! Right, you can test this by yourself and learn more about cell writing in openpyxl. Let’s move on to row-column writing.
Row-Column Writing
Row-column writing. By its name, you will get an idea of what exactly happens. We will write the cell using row and column numbers and it comes handy when you want to write a lot of data in different rows of different columns. Let’s take the above example and try to write it again in excel using the row-column writing method.
#import libraries
from openpyxl import load_workbook

wb = load_workbook("excel.xlsx")
sheet = wb.active

#reading specific column
sheet.cell(row=1, column=1).value="Name"
sheet.cell(row=1, column=2).value="Age"
sheet.cell(row=1, column=3).value="Salary"

wb.save("excel.xlsx")
Well, yes! You are right. We have to use another reading method for writing to Excel by calling its value object. And if you see, we have done the same by calling the value object, assigning it a string, and saving the changes using the wb.save() method. If we run the code, we get the same output as the one above.
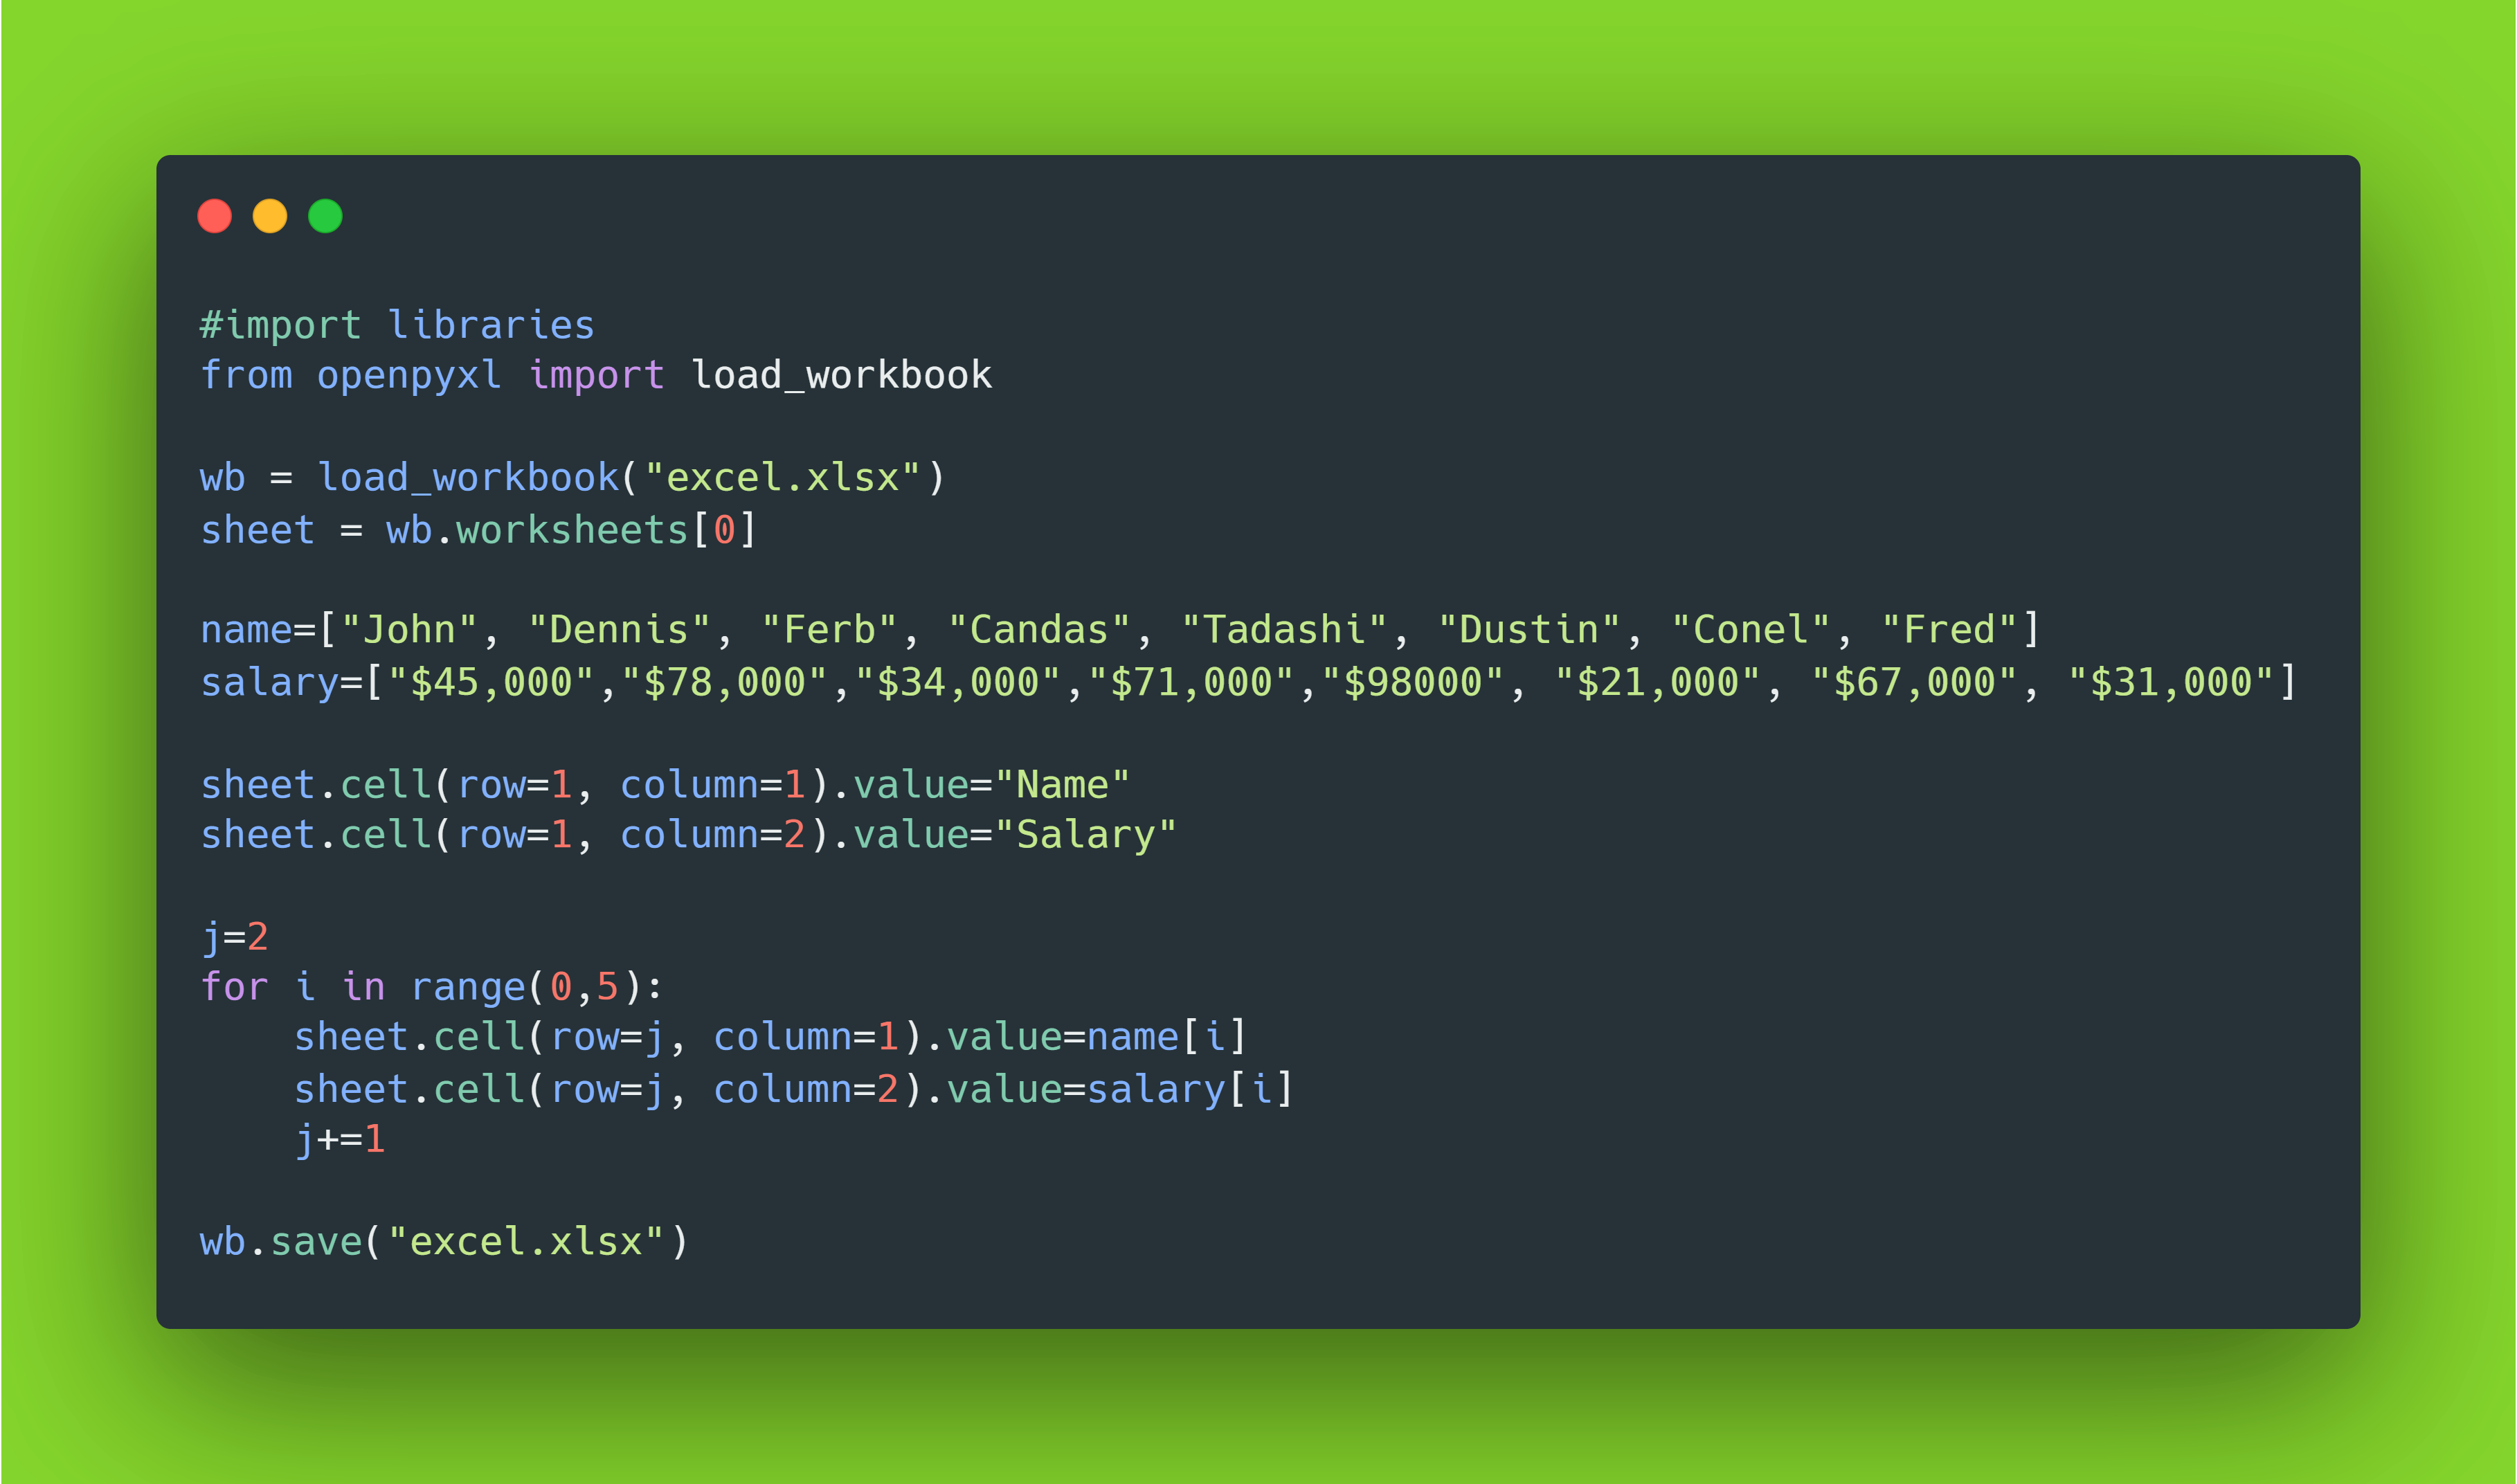
Let’s try a different scenario. Suppose we have two list names and salary and we want to write it in excel. We will use the row-column writing method, check the below code.
#import libraries
from openpyxl import load_workbook
wb = load_workbook("excel.xlsx")
sheet = wb.worksheets[0]
name=["John", "Dennis", "Ferb", "Candas", "Tadashi"]
salary=["$45000","$78000","$34000","$71000","$98000"]
sheet.cell(row=1, column=1).value="Name"
sheet.cell(row=1, column=2).value="Salary"
j=2
for i in range(0,5):
sheet.cell(row=j, column=1).value=name[i]
sheet.cell(row=j, column=2).value=salary[i]
j+=1
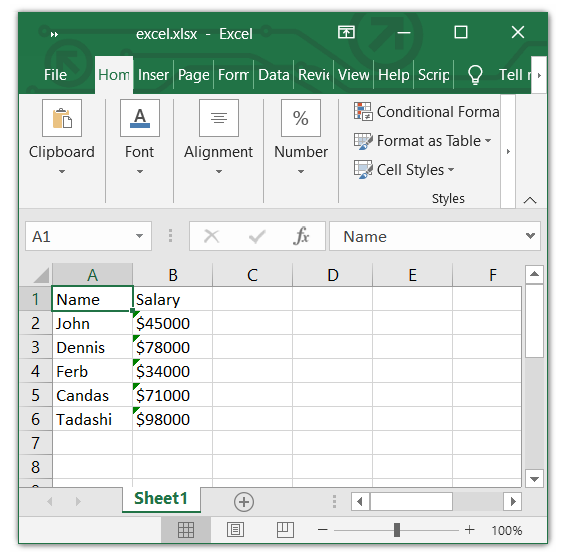
wb.save("excel.xlsx")
At first, we have to write the headers of the Excel file. So, in the beginning, we hardcoded the row and column for headers, and next, we iterate the elements in name and salary. And we know that the first row of every column is reserved for headers. So, we start writing from the 2nd row. If we run this code, we get the following output in Excel.
Conclusion:
So far, we learned how we can read Excel files using different openpyxl reading methods and also took a look at writing Excel files. You can learn more about openpyxl functions for modifying and making your Python script more accurate in order to write and read Excel files. Check out the official documentation. Hope you find this article helpful in the future.
Comments
Loading comments…