
Foreword
I was asked this question during the interview, and it was an online coding programming question. Although the idea was correct at the time, unfortunately, it was not completely correct.
In the end, it took a while to sort out the ideas, so how to realize a large file upload, and how to realize the function of resuming the upload in the upload?
This article will build the frontend and backend from scratch, and implement a demo for uploading large files and resuming uploads from a breakpoint.
Frontend: Vue.js@2 + Element-ui
Backend: Node.js@14 + multiparty
Large file upload
The whole idea (frontend)
Most of the articles on the frontend large file upload online have given solutions. The core is to use the Blob.prototype.slice method. Similar to the slice method of an array, the slice method of a file can return a chunk of the original file.
The size of a single chunk is pre-defined, the file is divided into chunks, and multiple chunks are uploaded at the same time with the help of the concurrency of HTTP. In this way, the original upload of a large file has become a concurrent upload of multiple small file chunks, which can greatly reduce the upload time.
In addition, due to concurrency, the order of transmission to the server may change, so we also need to record the order for each chunk.
The whole idea (backend)
Merging all chunks after receiving them.
Here are two more questions:
-
When to merge chunks, i.e. when chunks are transferred?
-
How to merge chunks?
The first problem requires the cooperation of the front end. The frontend carries the information of the maximum number of chunks in each chunk and automatically merges the chunks when the server receives this number of chunks. Or you can send an additional request to actively notify the server to merge the chunks.
The second question is how to merge chunks? Here you can use Nodejs's read and write streams (readStream/writeStream) to transfer the stream of all chunks to the stream of the final file.
Talk is cheap, show me the code, then we use the code to implement the above ideas.
Frontend Implementation
The frontend uses Vue.js as the development framework, which does not have many requirements for the interface. It can be native. Considering the beauty, Element-UI is used as the UI framework.
Upload control
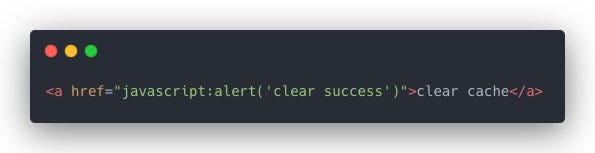
First, create a control for selecting files and listening to the change event, and the other is the upload button:

Request logic
Considering the versatility, there is no third-party request library, but a simple encapsulation of native XMLHttpRequest to send requests:
Upload chunk
Then to implement the more important upload function, upload needs to do two things:
• Slice the file
• Transfer the chunk to the server
When the upload button is clicked, createFileChunk is called to slice the file. The number of chunks is controlled by the file size. Here, 10MB is set, which means that a 100MB file will be divided into 10 chunks of 10MB.
Use the while loop and slice method in createFileChunk to put the chunk into the fileChunkList array and return.
When generating file chunks, you need to give each chunk an identifier as a hash. Here, the file name + subscript is used temporarily, so that the server can know which chunk the current chunk is, which will be used for subsequently merged chunks.
Then call uploadChunks to upload all the file chunks, put the file chunk, slice hash, and file name into formData, then call the request function in the previous step to return a promise, and finally call Promise.all to upload all the chunks concurrently.
Send merge request
Use the second method of merging chunks mentioned in the overall idea, that is, the frontend actively informs the server to merge.
The front end sends an additional merge request, and the backend merges the chunks when the request is received.
Backend Implementation
Use the HTTP module to build a simple server.
Accept chunk
Use multiparty to process formData from the front end.
In the callback of multiparty.parse, the files parameter saves the files in formData, and the fields parameter saves the non-file fields in formData.
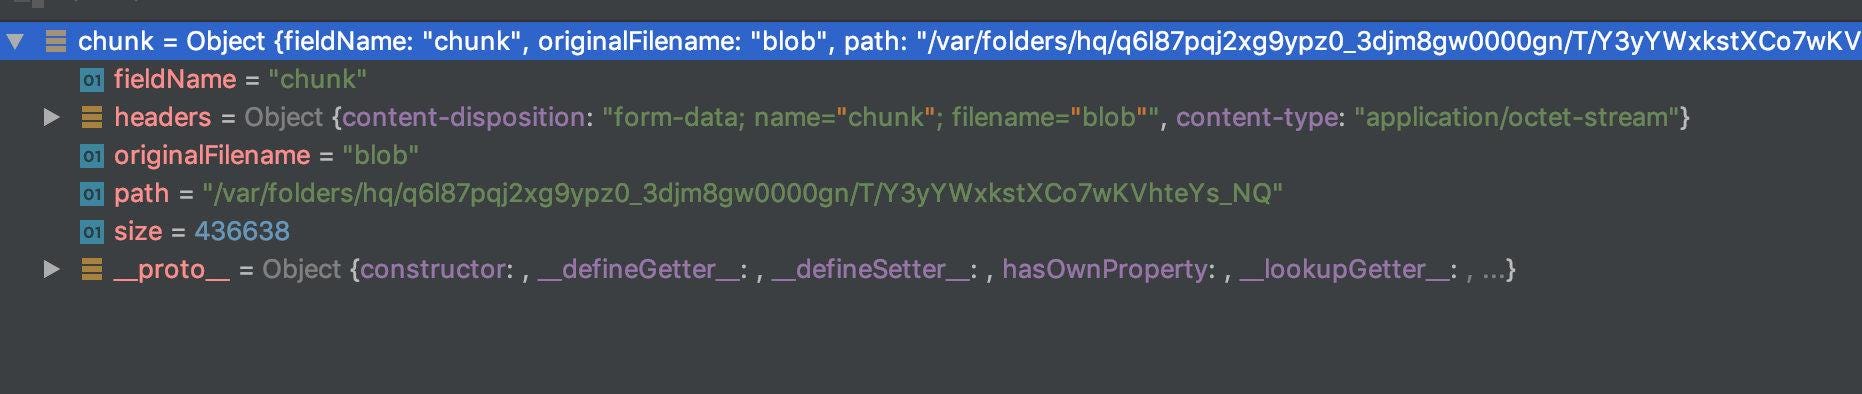
View the chunk object processed by multiparty, “path” is the path to store the temporary file, and “size” is the size of the temporary file, it is mentioned in the multiparty document that fs.rename can be used (here replaced by fs.remove, because the rename method of fs-extra is in There is a permission problem on the Windows platform).
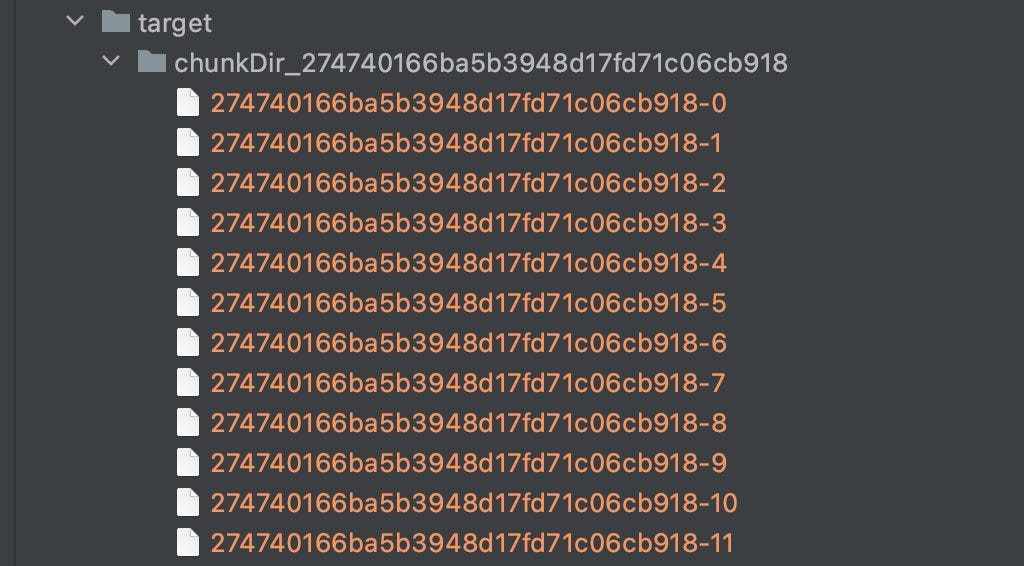
When accepting file chunks, you need to create a folder for temporarily storing chunks, prefixed with chunkDir and the filename as a suffix.
Since the frontend additionally carries a unique value hash when sending each chunk, the hash is used as the file name, and the chunk is moved from the temporary path to the chunk folder. The final result is as follows:

Merge chunks
After receiving the merge request sent by the front end, the server merges all the chunks under the folder:
Since the front end will carry the file name when sending the merge request, the server can find the chunk folder created in the previous step according to the file name.
Then use fs.createWriteStream to create a writable stream, the writable stream file name is the file name when uploading.
Then traverse the entire chunk folder, create a readable stream through fs.createReadStream, and merge the transmission into the target file.
It is worth noting that each time the readable stream will be transferred to the specified position of the writable stream, which is controlled by the second parameter start of createWriteStream, the purpose is to be able to merge multiple readable streams into the writable stream concurrently, so that even if the order of the streams is different when concurrent, but also can be transmitted to the correct location.
Therefore, it is also necessary to let the front end provide the previously set size to the server when requesting, and the server specifies the starting position of the readable stream according to the size.

In fact, you can also wait for the previous chunk to be merged before merging the next chunk so that you do not need to specify the location, but the transmission speed will be reduced, so the method of concurrent merging is used.
Then just make sure to delete the chunk after each merge, and delete the chunk folder after all the chunks are merged.

At this point, a simple large file upload is completed, and then we will expand some additional functions on this basis.
Show upload progress bar
There are two kinds of upload progress, one is the upload progress of each chunk, the other is the upload progress of the whole file, and the upload progress of the whole file is calculated based on the upload progress of each chunk, so we first implement the progress bar of a single chunk.
Progress bar for a single chunk
XMLHttpRequest natively supports the monitoring of upload progress, and only needs to monitor upload.onprogress. We pass in the onProgress parameter on the basis of the original request and register the monitoring event for XMLHttpRequest.
Since each chunk needs to trigger an independent listener event, a factory function is required to return different listener functions according to the incoming chunk.
Add the listener function part to the original frontend upload logic.
When each chunk is uploaded, the percentage attribute of the corresponding element of the data array will be updated through the listener function. Then the data array will be displayed in the view.
Total progress bar
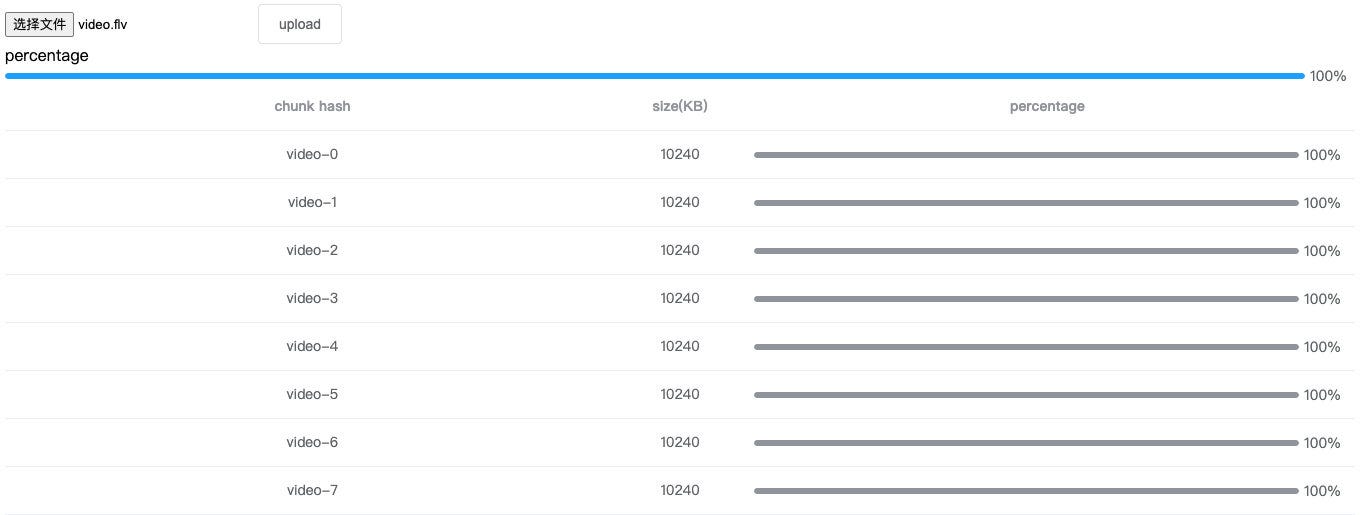
The upload progress of the current file can be obtained by accumulating the uploaded parts of each chunk and dividing by the size of the entire file, so we use Vue's computed properties here.
The final display is as follows
Resume from break-point
The principle of resuming the upload from a breakpoint is that the frontend/backend needs to remember the uploaded chunks so that the previously uploaded part can be skipped in the next upload. There are two schemes to realize the function of memory.
• The front end uses localStorage to record the uploaded chunk hash.
• The server saves the uploaded chunk hash, and the front end obtains the uploaded chunk from the server before each upload.
The first is the frontend solution, the second is the server, and the frontend solution has a flaw. If you change a browser, you will lose the memory effect, so I choose the latter here.
Generate hash
Whether it is the front end or the server, the hash of the file and the chunk must be generated. Before, we used the file name + chunk subscript as the chunk hash. Once the file name is modified, it will lose its effect. In fact, as long as the file content remains unchanged, The hash should not change, so the correct way is to generate the hash based on the file content, so let's modify the hash generation rules.
webpack contenthash is also based on this idea.
Another library spark-md5 is used here, which can calculate the hash value of the file according to the content of the file.
In addition, considering that if a large file is uploaded, it is very time-consuming to read the file content and calculate the hash, and it will cause UI blocking and lead to the suspended state of the page, so we use web-worker to calculate the hash in the worker thread so that the user can still the normal interaction of the main interface.
When instantiating web-worker, the parameter is a js file path and cannot be cross-domain, so we create a separate hash.js file and put it in the public directory. In addition, it is not allowed to access the dom in the worker, but it provides importScripts The function is used to import external scripts, through which spark-md5 is imported.
In the worker thread, accept the file slice fileChunkList, use fileReader to read the ArrayBuffer of each chunk, and continuously pass it into spark-md5, after each chunk is calculated, a progress event is sent to the main thread through postMessage, and the final hash is completed after all send to the main thread.
In the spark-md5 document, it is required to pass in all chunks and calculate the hash value. You cannot directly put the entire file into the calculation, otherwise, even different files will have the same hash.
Then write the logic for the communication between the main thread and the worker thread.
The main thread uses postMessage to pass in all chunks fileChunkList to the worker thread and listens to the postMessage event sent by the worker thread to get the file hash.
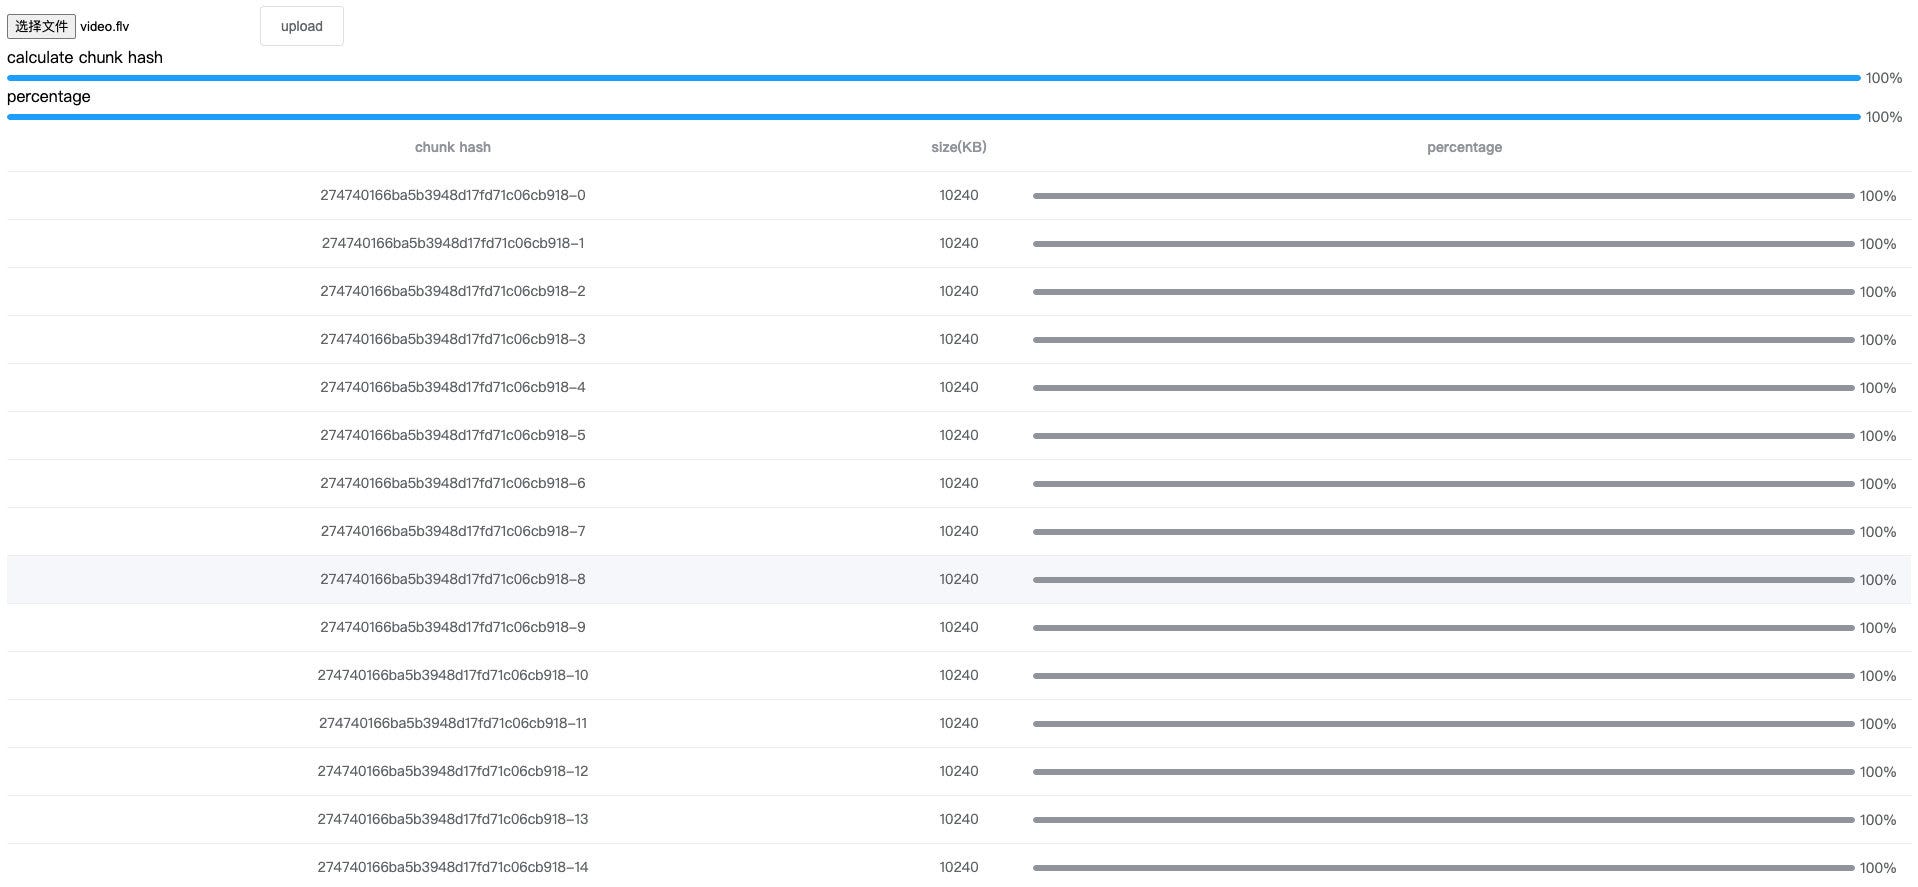
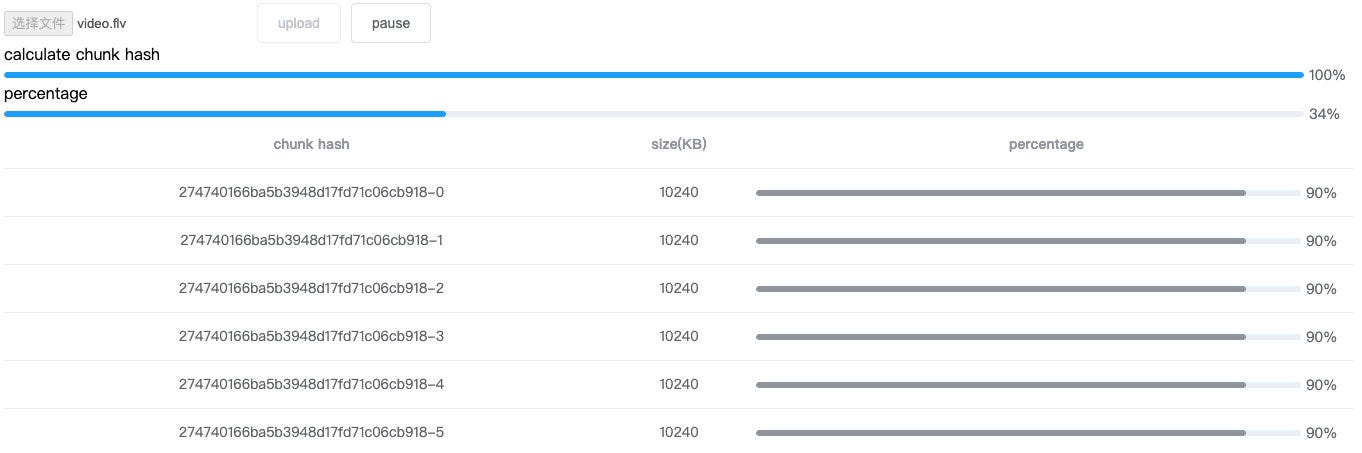
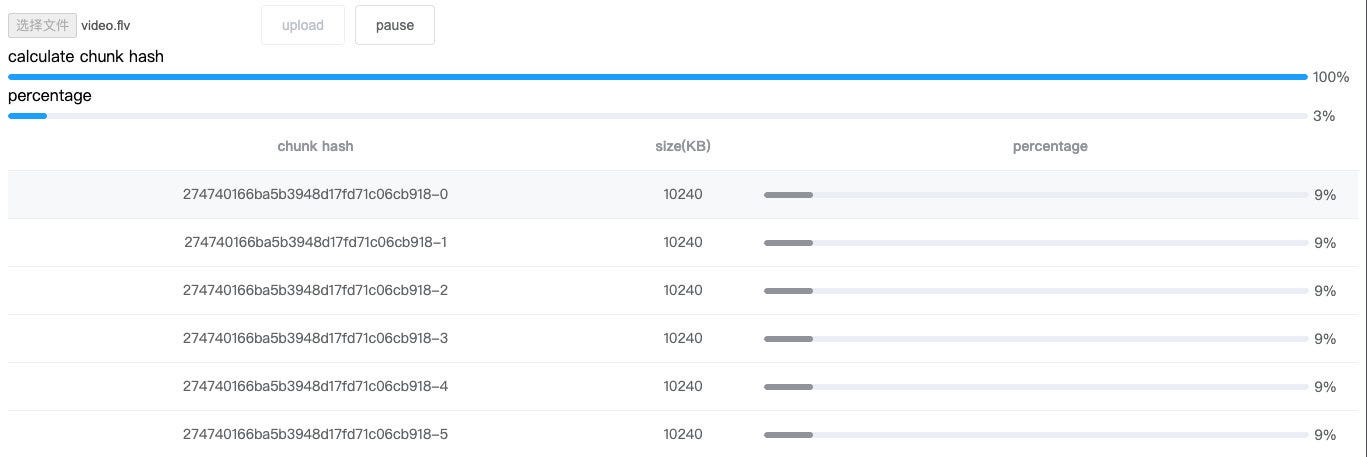
Plus a progress bar that shows the hash of the calculation, looks like this:

At this point, the front end needs to rewrite the previous use of the file name as the hash to the hash returned by the worker.
The server uses a fixed prefix + hash as the chunk folder name, hash + subscript as the chunk name, and hash + extension as the file name.

File transfer in seconds
Before implementing breakpoint resuming, let's briefly introduce the second file transfer.
The so-called file upload in seconds means that the uploaded resource already exists on the server-side, so when the user uploads again, it will directly prompt the upload to be successful.
The second file transfer needs to rely on the hash generated in the previous step, that is, before uploading, the file hash is calculated first, and the hash is sent to the server for verification. Due to the uniqueness of the hash, once the server can find the file with the same hash, then just return the successful upload information.
This is actually just a trick for users to see, in essence, there is no upload at all.
:)
The logic of the server is very simple. Add a verification interface to verify whether the file exists.
Pause upload
After talking about generating hash and file transfer in seconds, go back to the breakpoint to resume the transfer.
Breakpoint resume, as the name suggests, is breakpoint + resume, so our first step is to implement “breakpoint”, which is to pause the uploading.
abort method of XMLHttpRequest to cancel the sending of an XHR request. For this reason, we need to save the XHR object that uploads each chunk. Let's remodel the request method.
In this way, when uploading a chunk, pass in the requestList array as a parameter, and the request method will save all XHR in the array.
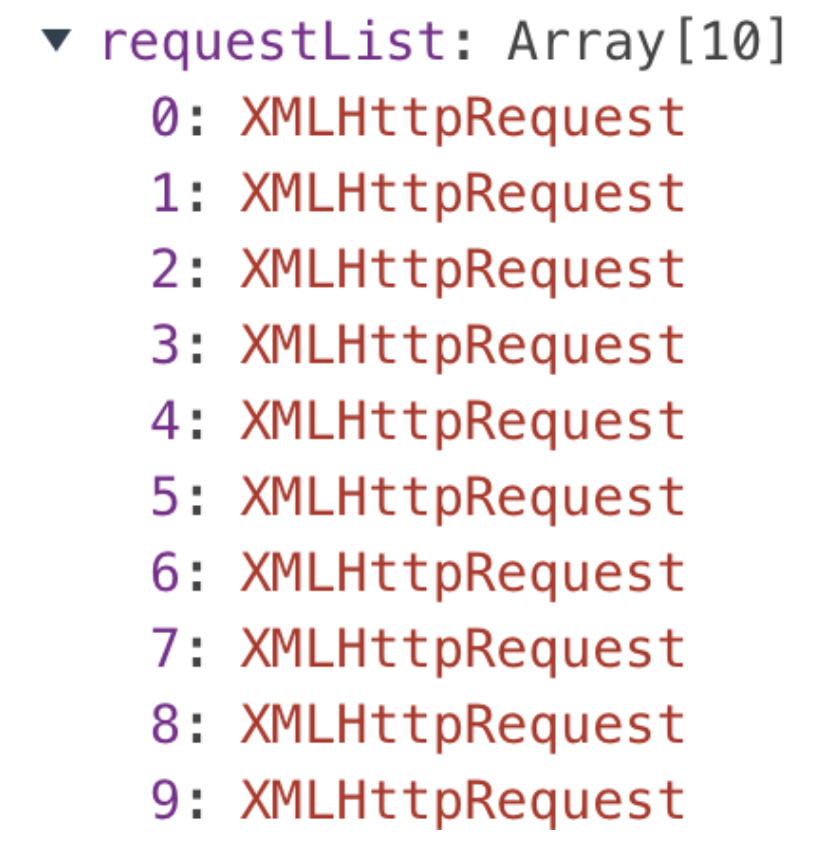
Whenever a chunk is uploaded successfully, delete the corresponding XHR from the requestList, so only the XHR of the uploading chunk is saved in the requestList.
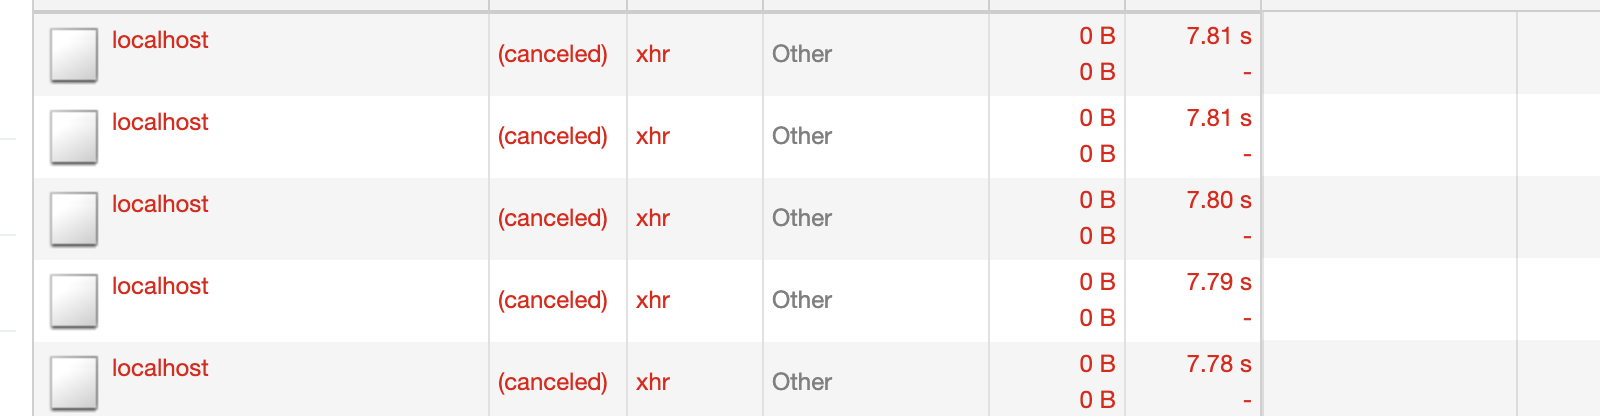
Then create a new pause button, when the button is clicked, call the abort method saved in XHR in the requestList, that is, cancel and clear all the uploading chunks.

Click the pause button to see that XHR has been canceled.
Resume upload
When I introduced the resumed upload from a breakpoint, I mentioned the use of the second server-side storage method to implement resumed uploads.
After uploading file chunks, the server will create a folder to store all uploaded chunks, so an interface can be called before each frontend upload, the server will return the chunk name of the uploaded chunk, and the frontend will skip these uploaded chunks. Slicing, so as to achieve the effect of “continuation”.
And this interface can be combined with the previous verification interface of the second upload, the front end sends a verification request before each upload and returns two results:
• The file already exists on the server and does not need to be uploaded again
• If the file does not exist on the server or some file chunks have been uploaded, notify the front end to upload and return the uploaded file chunk to the front end
So let's transform the server-side verification interface of the previous file transfer in seconds.
Then go back to the front end, there are two places in the front end that need to call the verification interface:
• When uploading is clicked, check if an upload is required and the chunks that have already been uploaded
• Click Resume Upload After Pause to return to the uploaded chunk
Added a restore button and modified the original logic of uploading chunks.

Here, the uploaded list parameter is added to the original function of uploading chunks, that is, the chunk name list returned by the server in the above figure. The uploaded chunks are filtered out by filter, and since the uploaded part is added, the trigger condition of the previous merge interface is made some changes.
At this point, the function of breakpoint resuming is basically completed.
Progress bar improvements
Although the breakpoint resume is implemented, the display rules of the progress bar need to be modified, otherwise, the progress bar will deviate when the upload is paused/received the uploaded chunk.
The single chunk progress bar
Since when uploading/resuming upload is clicked, the verification interface will be called to return the uploaded chunk, so the progress of the uploaded chunk needs to be changed to 100%.
The uploaded list will return the uploaded chunks. When traversing all chunks, you can judge whether the current chunk is in the uploaded list.
Total progress bar
It was mentioned earlier that the total progress bar is a calculated attribute, which is calculated based on the upload progress of all chunks, which leads to a problem.
The clicking pause will cancel and clear the XHR request of the chunk. If a part has been uploaded at this time, you will find that the progress bar of the file has regressed.
When clicking resume, the total progress bar will go backward due to the re-creation of XHR, which causes the chunk progress to be cleared.
The solution is to create a “fake” progress bar that is based on the file progress bar but only stops and increments and then shows the user this fake progress bar.
Here we use Vue.js's listener property.
When uploadPercentage increases the real file progress bar, fakeUploadPercentage also increases, once the file progress bar goes back, the fake progress bar just needs to stop.
At this point, a large file upload + breakpoint resume solution is completed.
Summarize
Large file upload:
• When the frontend uploads a large file, use Blob.prototype.slice to slice the file, upload multiple chunks concurrently, and finally send a merge request to notify the server to merge the chunks
• The server receives the chunk and stores it, and uses the stream to merge the chunk into the final file after receiving the merge request
• The upload.onprogress of native XMLHttpRequest monitors the upload progress of chunks
• Use Vue computed properties to calculate the upload progress of the entire file based on the progress of each chunk
Resume from break-point:
• Use spark-md5 to calculate the file hash based on the file content
• Through the hash, you can judge whether the server has uploaded the file, so as to directly prompt the user that the upload is successful (second upload)
• Pause uploading of chunks via the abort method of XMLHttpRequest
• Before uploading, the server returns the uploaded chunk names, and the front end skips the upload of these chunks.
Source code
The source code adds some button states, the interaction is more friendly, and the article expression is more obscure, you can jump to the source code to view it.
Thanks for reading. :)
Comments
Loading comments…