Technology: Angular 8, BootStrap, HTML5, CSS3.
GitHub Link: https://github.com/mehulk05/Mehul.Kothari
Working Demo: https://mehul-kothari.vercel.app/
Video Explanation:
https://www.youtube.com/watch?v=MHzWXfjdE0w
Angular is one of the most popular Javascript frameworks in the world for building modern web applications. Angular was created & developed by Google and has huge community support behind it.
I made my Personal Portfolio Using Angular 8. Though I have used Angular8 there is not much difference in other versions of angular
Prerequisites for an Angular 8 Project
Angular brings a solution to deal with all of the configurations: Angular CLI. We can start developing an Angular project within a couple of minutes by using Angular CLI.
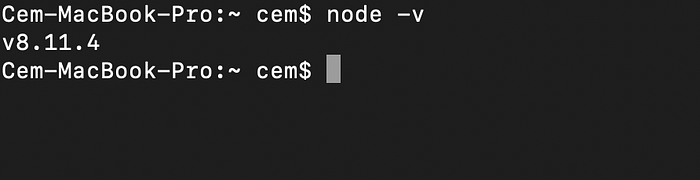
- Node js version 10.9.0
- Npm (version 8.x or 10.x).
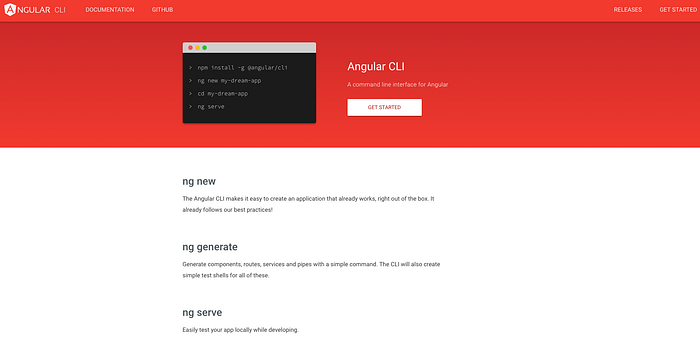
What is Angular CLI?
CLI stands for Command Line Interface. Angular CLI is being used for automating operations in Angular projects rather than doing them manually. CLI supports developers in an Angular project from beginning to end.
For example, Angular CLI can be used for:
- Configurations, Environment Setup
- Building components, services, the routing system
- Starting, testing, and deploying the project
- Installing 3rd party libraries like Bootstrap, Sass, etc. (with Webpack)
How to start an Angular app with CLI?
If you visit the official website above, you can see that there are some commands written. These are 4 main steps to start an Angular app:
- Node Package Manager (NPM) installation (prerequisite)
- Angular CLI installation
- Creating an Angular app with the CLI
- Running the app
Step 1: Install NPM:
Angular, Angular CLI, and Angular apps depend on features and functionality provided by libraries that are available as npm packages. To download and install npm packages, you must have an npm package manager. You can download NPM from here.
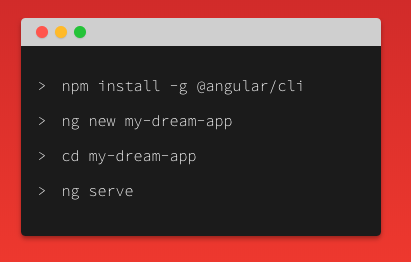
Step 2: Install the Angular CLI
After you’ve installed NPM, you can install Angular CLI as the 2nd step. Open your terminal or command prompt and type the command below:
npm install -g @angular/cli
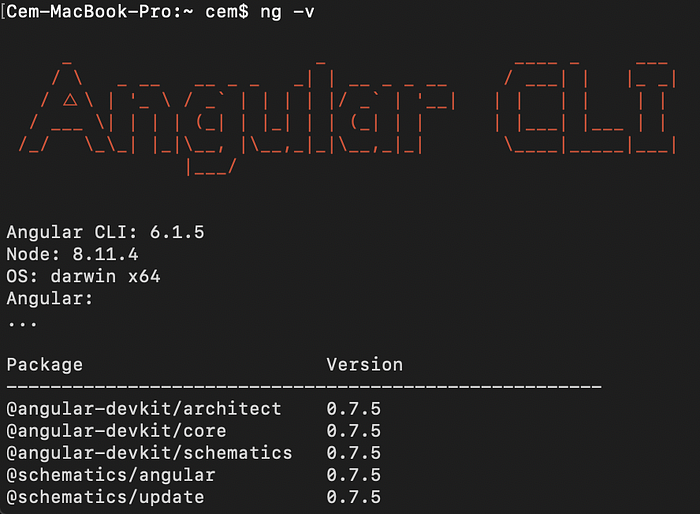
ng stands for Angular and -v is version.
Step 3: Create a New Angular Project with the CLI
You develop apps in the context of an Angular workspace.
To create a new workspace and initial starter app:
- Run the CLI command
ng newand provide the namemy-app, as shown here:
ng new Personal-Portfolio
- The
ng newcommand prompts you for information about features to include in the initial app. Accept the defaults by pressing the Enter or Return key.
Step 4: Run the application
The Angular CLI includes a server so that you can easily build and serve your app locally.
- Go to the workspace folder (
my-app). - Launch the server by using the CLI command
ng serve, with the--openoption.
ng serve --open
The --open (or just -o) option automatically opens your browser to [http://localhost:4200/](http://localhost:4200/).
Step 5: Understanding Folder Structure
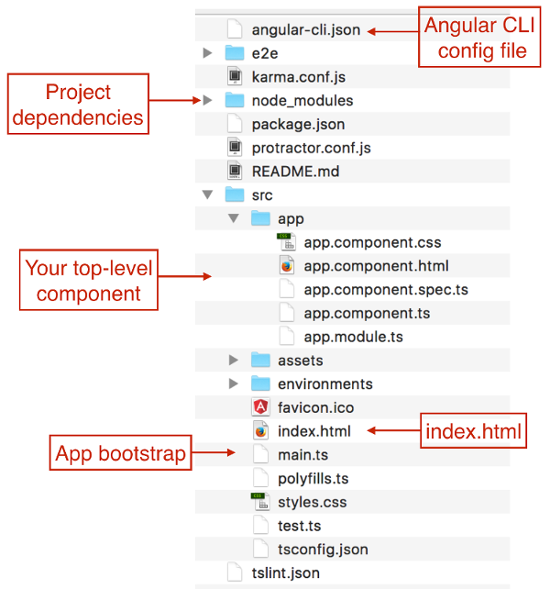
Let’s go one by one and see what the purpose of each file and folder is.
- e2e(end-to-end) — This folder contains test cases for testing the complete application along with its specific configuration files.
- node_modules — This contains all the node modules used in the angular application.
- src — The complete source code of the application resides in the src folder.
- app — root component of the application.
- assets — contains all the images or resources used in the application.
- environments — contains build configuration environments of the application. We can create any target environment and specify its configuration here.
- index.html — This is the main HTML page that is rendered when someone opens your website or application.
- main.ts — This is the main entry point of the angular application which compiles the AppModule and renders the specified bootstrap component in the browser.
- styles.css — Contains all the styles to be used globally in the application.
- .editorconfig — This file is used for defining a consistent configuration.
- angular.json — This file is mainly used for specifying the configuration of CLI. It includes the configuration of build, serves, tests, lint, and e2e commands which are used by @angular-cli.
- karma.conf.js — This specifies the configuration for karma, which is used for testing angular applications.
- package.json — Specifies all the project dependencies.
- tsconfig.json — defines the configuration of TypeScript in the project.
- tslint.json — defines TSLint configuration for the project. TSLint is an extensible static analysis tool for TypeScript.
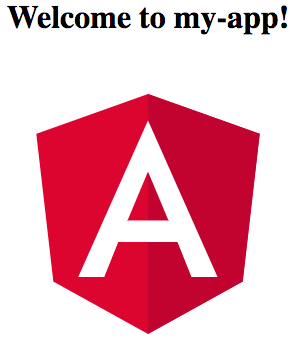
Step 6: Add the code to your project
You can create your own component or you can visit my repository and copy the code and paste it into your project.
Link to my repository for this project:
GitHub - mehulk05/Mehul.Kothari
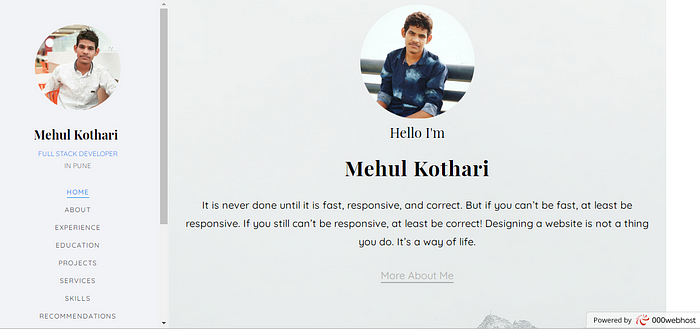
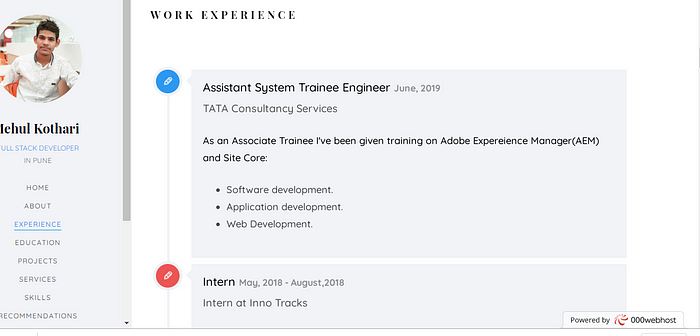
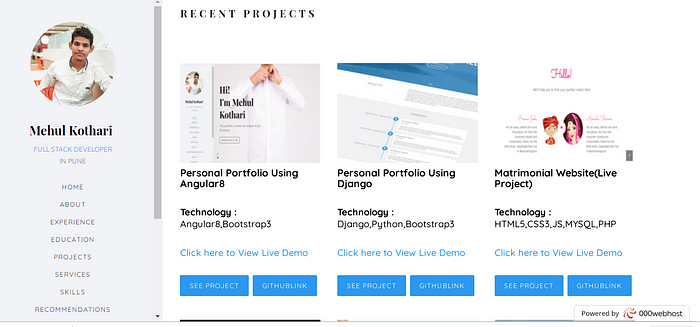
After adding code run your app,It will look like this

Summary
So now, you have a better understanding of what those commands mean:
Commands are written on the official website of CLI
- First, install NPM
- Install Angular CLI
- Create an App via CLI
- Serve it
So this is how we start developing an Angular app from scratch. Angular CLI is very helpful for developing Angular apps. However, sometimes unexpected problems/errors may occur. Well, welcome to programming :)
Comments
Loading comments…