In today's article, I want to show you how to transform and validate HTTP request query parameters in NestJS. As you might know, a query parameter is part of the URL of a website, so that means, it's always a string.
In NestJS and ExpressJS it's an object that contains strings as values. But sometimes, we want to cast these string types to something else like numbers, dates, or transforming them to a trimmed string, and so on. I think you get the idea. In this step-by-step guide, I wanna tell you how we going to archive this.
We initialize a new NestJS project with its CLI. That might take up to a minute. The CLI script will ask you what package manager you want to use. For this example, I select NPM.
$ nest new nest-transform-query -p npm
After this command is done you can open your project in your code editor. Since I use Visual Studio Code, I gonna open the project by typing:
$ cd nest-transform-query
$ code .
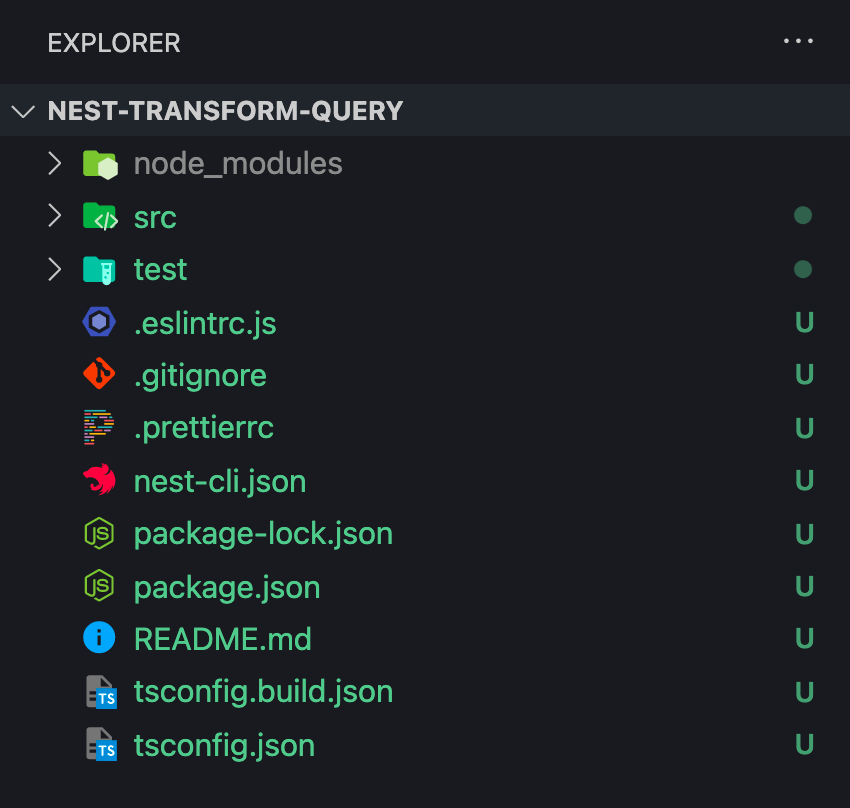
My project looks like this in VSCode (Visual Studio Code):
Usually, I commit the original installation, so I gonna type:
$ git add .
$ git commit -m "chore(): init nest.js"
Let's install some dependencies we going to need.
$ npm i class-validator class-transformer class-sanitizer
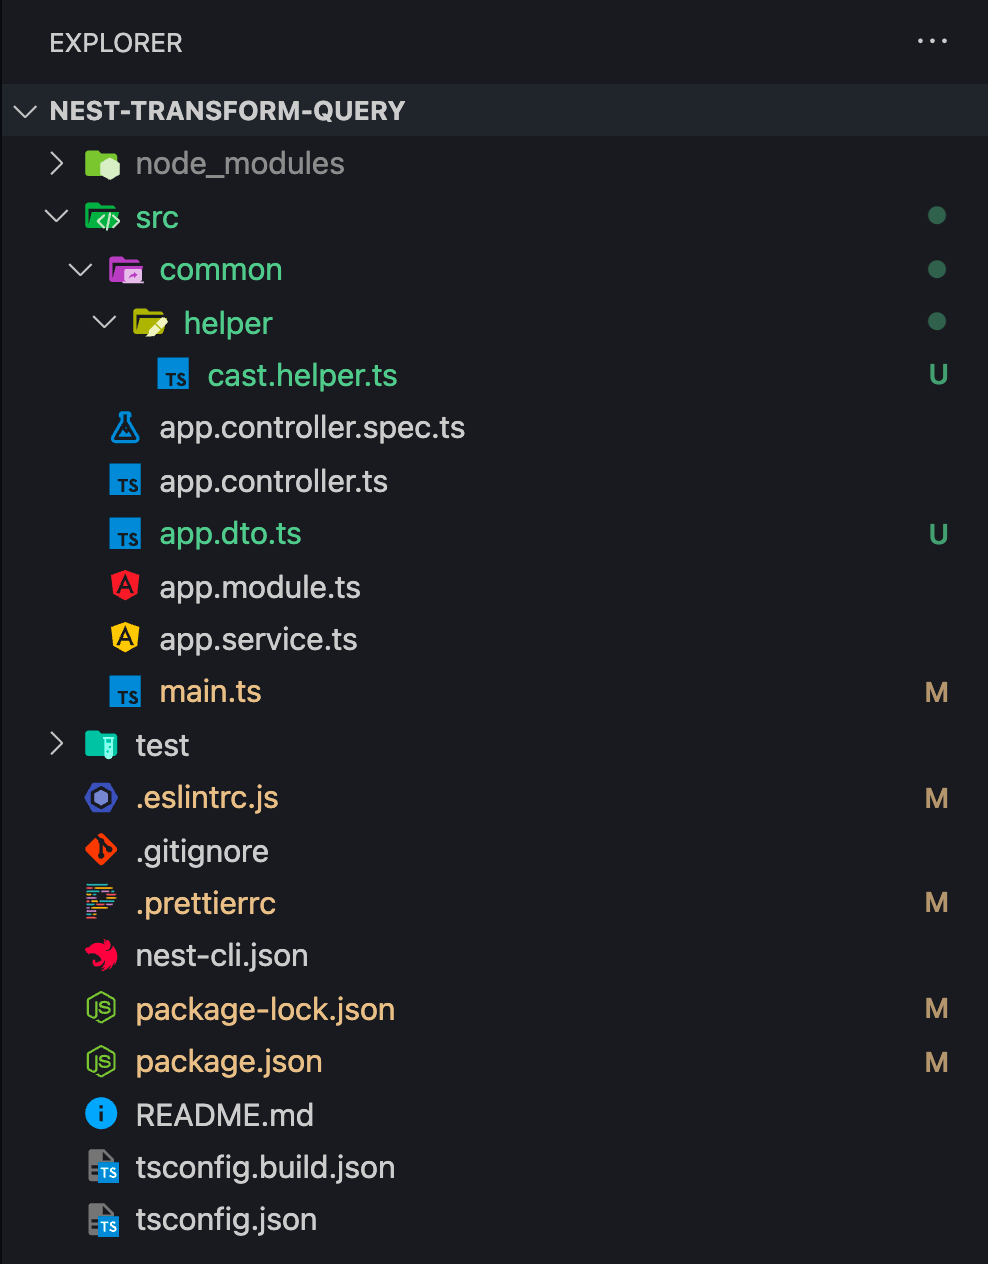
Now, let's start to code. To have a clean project structure, we going to create some folders and files, don't worry, we keep it simple.
$ mkdir src/common && mkdir src/common/helper
$ touch src/common/helper/cast.helper.ts
$ touch src/app.dto.ts
Our project tree should look like this:
Helper
Now it's time to start to code. First, we need to create some helper functions in our src/common/helper/cast.helper.ts file.
interface ToNumberOptions {
  default?: number;
  min?: number;
  max?: number;
}

export function toLowerCase(value: string): string {
  return value.toLowerCase();
}

export function trim(value: string): string {
  return value.trim();
}

export function toDate(value: string): Date {
  return new Date(value);
}

export function toBoolean(value: string): boolean {
  value = value.toLowerCase();

  return value === "true" || value === "1" ? true : false;
}

export function toNumber(value: string, opts: ToNumberOptions = {}): number {
  let newValue: number = Number.parseInt(value || String(opts.default), 10);

  if (Number.isNaN(newValue)) {
    newValue = opts.default;
  }

  if (opts.min) {
    if (newValue < opts.min) {
      newValue = opts.min;
    }

    if (newValue > opts.max) {
      newValue = opts.max;
    }
  }

  return newValue;
}
As you can see, most of them are pretty simplified, except toNumber. As you can see, you can create even complex helper functions which can certain arguments.
Validation
Now, let's create our DTO (Data Transfer Object) to validate our query.
import { Transform } from "class-transformer";
import {
  IsBoolean,
  IsDate,
  IsNumber,
  IsNumberString,
  IsOptional,
} from "class-validator";
import {
  toBoolean,
  toLowerCase,
  toNumber,
  trim,
  toDate,
} from "./common/helper/cast.helper";

export class QueryDto {
  @Transform(({ value }) => toNumber(value, { default: 1, min: 1 }))
  @IsNumber()
  @IsOptional()
  public page: number = 1;

  @Transform(({ value }) => toBoolean(value))
  @IsBoolean()
  @IsOptional()
  public foo: boolean = false;

  @Transform(({ value }) => trim(value))
  @IsOptional()
  public bar: string;

  @Transform(({ value }) => toLowerCase(value))
  @IsOptional()
  public elon: string;

  @IsNumberString()
  @IsOptional()
  public musk: string;

  @Transform(({ value }) => toDate(value))
  @IsDate()
  @IsOptional()
  public date: Date;
}
Controller
We are almost done, just two steps left. Let's add our DTO class to the endpoint of the file src/app.controller.ts.
import { Controller, Get, Query } from "@nestjs/common";
import { QueryDto } from "./app.dto";
import { AppService } from "./app.service";

@Controller()
export class AppController {
  constructor(private readonly appService: AppService) {}

  @Get()
  getHello(@Query() query: QueryDto): QueryDto {
    console.log({ query });

    return query;
  }
}
Configuration
Last but not least, we need to add a global pipe to be able to transform our incoming request data such as query, body, and parameters.
import { ValidationPipe } from "@nestjs/common";
import { NestFactory } from "@nestjs/core";
import { AppModule } from "./app.module";

async function bootstrap() {
  const app = await NestFactory.create(AppModule);

  app.useGlobalPipes(new ValidationPipe({ whitelist: true, transform: true }));

  await app.listen(3000);
}
bootstrap();
-
whitelist — removes any property of query, body, and a parameter that is not part of our DTO
-
transform — enables the transformation of our incoming request
Testing
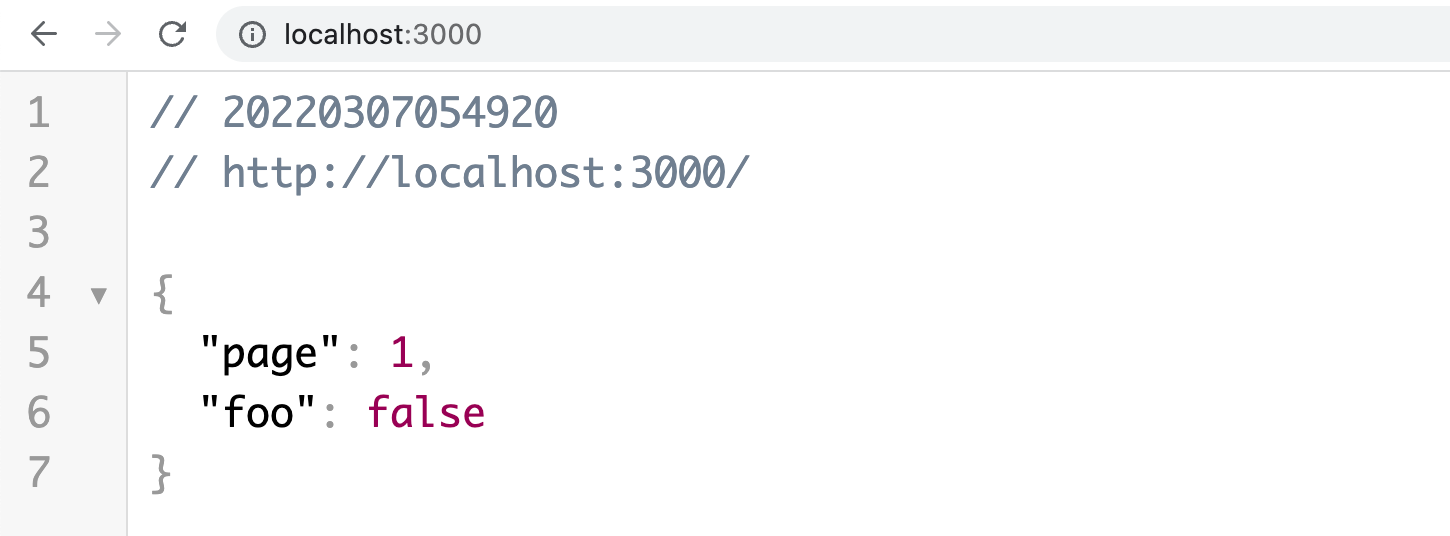
We are done! That was easy, right? Now let's run our NestJS application.
$ npm run start:dev

Our application runs on port 3000, so let's visit:
[http://localhost:3000](http://localhost:3000)
Looks good right? In our DTO classes, we added default values to our page and our foo property. But so far we are not transforming anything.
Let's visit:
[http://localhost:3000/?page=-1&foo=1&bar=%20bar&elon=Elon&musk=50&date=2022-01-01T12:00:00](http://localhost:3000/?page=-1&foo=1&bar=%20bar&elon=Elon&musk=50&date=2022-01-01T12:00:00)
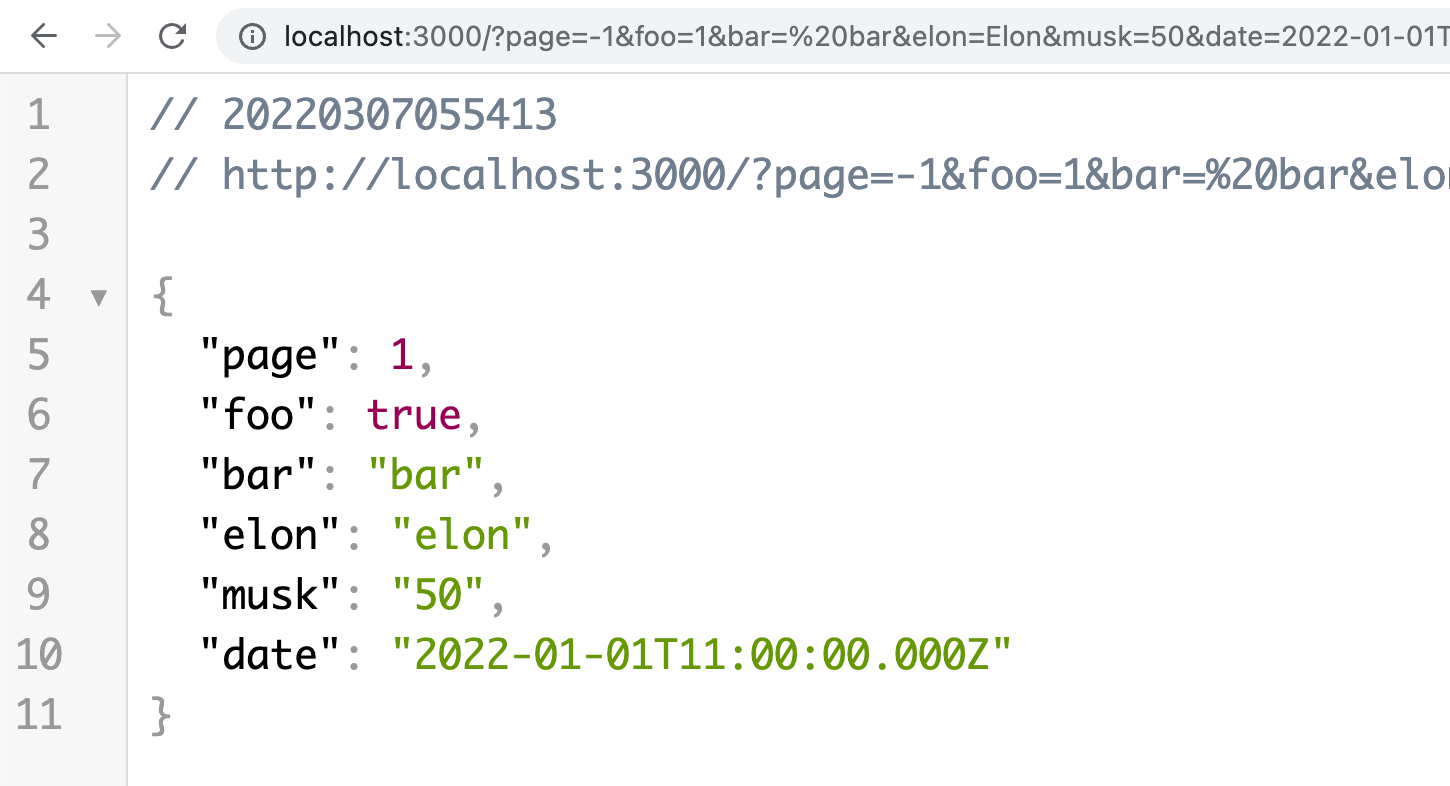
As you can see, every single property is getting in some way transformed and validated at the same time.
That's it! Thanks for reading my brief guide on how to transform and validate Query Parameters in NestJS. I hope, you could learn something new.
I have uploaded this project on Github. Check it out.
Cheers
I hope you enjoyed reading this. If you'd like to support me as a writer, consider signing up to become a Medium member. It's just $5 a month and you get unlimited access to Medium.
Want to support me? Buy me a coffee.
Learn more about NestJS
Build a NestJS App With TypeORM and Postgres (2022) How to Update NestJS (2022) A Simple Way to Use Path Aliases in NestJS
