 Photo by
 How to get it all working?
The initial steps of setting up a suitable environment on local systems should not become an impediment for one’s exciting journey in the realm of deep learning. For many beginners, the first hurdle is installing Python, the programming language that forms the backbone of most deep learning frameworks. Navigating through different versions, understanding the significance of virtual environments, and ensuring compatibility with various learning libraries such as TensorFlow or PyTorch.
Streamlining the Onboarding Process:
Enter fastsetup — a game-changer in simplifying and expediting the process of setting up a deep learning environment on local systems. It not only automates the installation of popular deep learning libraries such as TensorFlow, PyTorch, and Keras but also automates the installation of necessary drivers for Jupyter Notebooks. This allows beginners to focus on their projects rather than spending time troubleshooting setups.
What is fastsetup?
Fastsetup is actually a GitHub repository developed by Jeremy Howard, co-founder of fast.ai. In this guide, we’ll walk you through the steps to install FastSetup and get your deep learning environment up and running seamlessly.
Step 1: Clone the FastSetup Repository
Begin by visiting the FastSetup GitHub repository at https://github.com/fastai/fastsetup. Once there, locate the “Code” button on the repository’s main page. Click on it to reveal the repository’s URL. You can copy this URL and use it in your terminal to clone the repository.
git clone https://github.com/fastai/fastsetup.git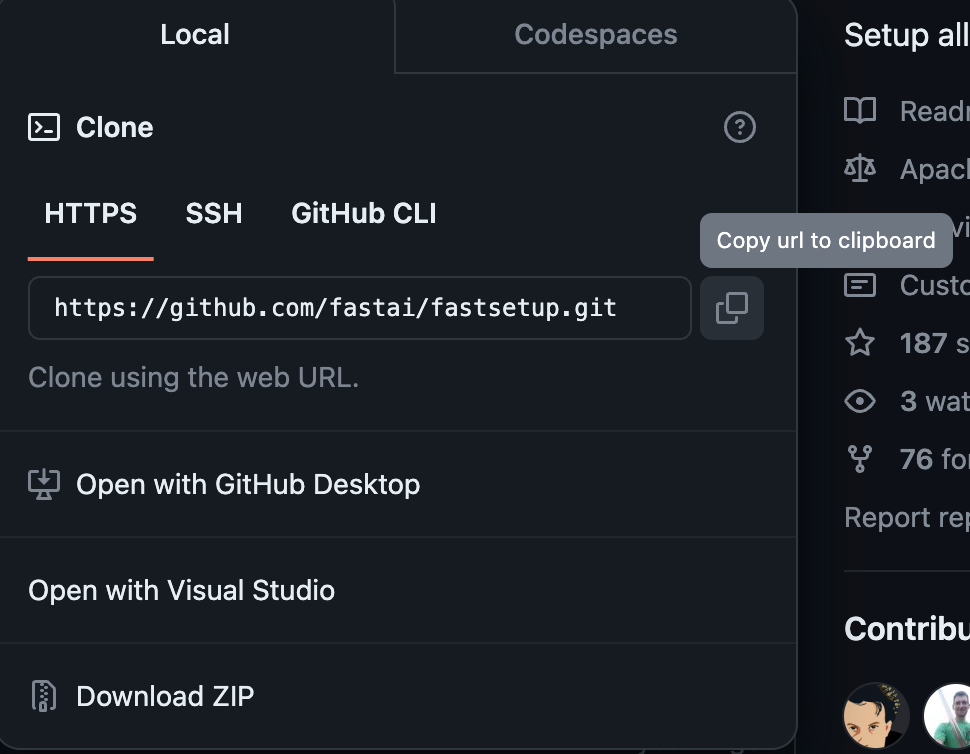
Alternatively, if you have Github Desktop installed, you can click on “Open with Github Desktop” and then select “Clone.”
Step 2: Navigate to the Cloned Repository
Once the repository is successfully cloned, navigate to the directory where it is stored using the terminal.
cd fastsetup
Step 3: Run the Conda Setup Script:
Confirm that you are inside the FastSetup directory by running ls (list) in the terminal. You should see the contents of the directory, including the "setup-conda.sh" file.
ls
Execute the setup script by running:
./setup-conda.sh
This script automates the setup of a Python environment, ensuring compatibility with FastAI.
Note: Avoid Using System Python
- If you are on Linux or macOS, it’s emphasized not to use the system Python for FastAI development. The system Python is used by the operating system, and making changes to it can lead to issues.
- Instead, the script sets up a dedicated Conda environment for your FastAI development, ensuring isolation and control over your Python version. The setup script installs the recommended Python version as per FastAI’s specifications.
Step 4: Install fastai
After running setup-conda, reopen your terminal. You must now have a new command called mamba and mamba helps you install stuff. Verify that the installation of Mamba was successful by running:
mamba --version
If mamba command is still not available, verify that the correct MambaForge bin directory is in your PATH. You can do this by running:
echo $PATH
Ensure that /Users/{name}/mambaforge/bin is listed in the output. If the MambaForge bin directory is not currently in your PATH. To add it, you can modify your shell profile file (e.g., ~/.bashrc for Bash or ~/.zshrc for Zsh).
Once the path is set, use mamba to install the FastAI library by running the following command:
mamba install fastai
If you prefer additional details or want to explore specific installation options, visit the official FastAI documentation at docs.fast.ai.
Similiarly, you can install nbdev by running:
mamba install nbdev
Step 5: Launch Jupyter Notebooks
Open your terminal. Run the following command to launch the Jupyter server:
jupyter notebook --no-browser
This command initiates the Jupyter server, and the --no-browser flag ensures that the notebook interface doesn't open automatically in your default web browser.
After running the command, you’ll see output in the terminal containing a URL, typically starting with http://localhost:8888/. Copy the entire URL provided in the output.
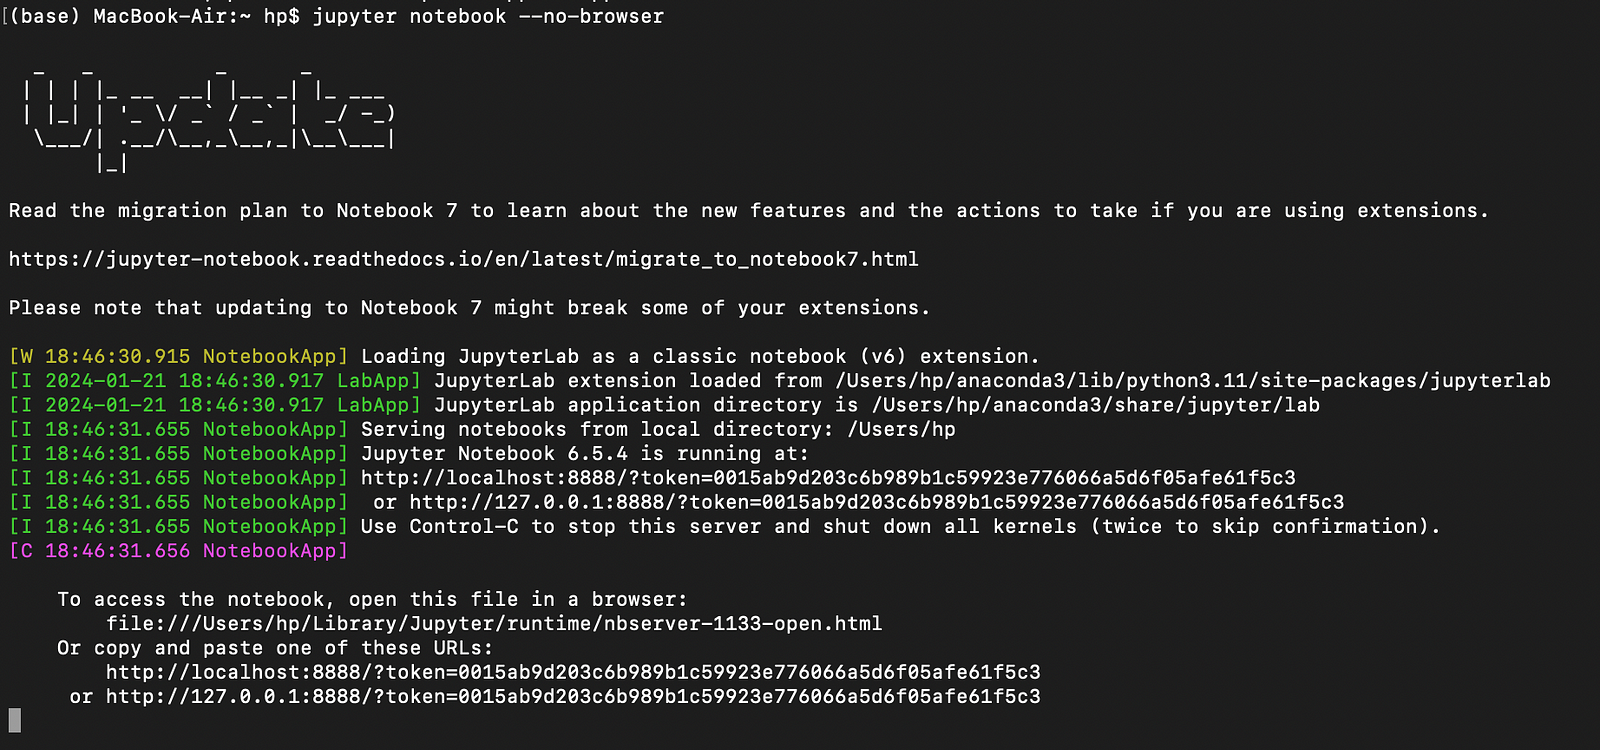
Open your preferred web browser (e.g., Chrome, Firefox, Safari). Paste the copied URL into the browser’s address bar and press Enter. The browser will now display the Jupyter Notebook interface, showcasing the contents of the directory where you launched the Jupyter server.
Start experimenting!
Congratulations! You are now ready to create, edit, and run Jupyter Notebooks. Utilize the power of the FastAI library within the Jupyter environment for seamless deep learning development.
Comments
Loading comments…