In today's article, I want to briefly explain how to use Path Aliases in NestJS without breaking your builds and tests. Keep in mind, I will keep this project as simple as possible.

In case you don't know what I am talking about:
**Original:**
import CatModule from '../../cat/cat.module.ts'

**Alias Path:**
import CatModule from '@/cat/cat.module.ts'
As you can see, the pathing of imports becoming way cleaner.
Prerequisites
It's required to have a basic understanding of Node.js, TypeScript, and PostgreSQL which you have installed locally on your machine. I will choose Visual Studio Code as my code editor. You can use whatever you prefer.
Nest.js Application
Let's continue with NestJS! We are going to install the NestJS CLI, so open the terminal of your choice and type:
$ npm i -g @nestjs/cli
We initialize a new NestJS project with its CLI. That might take up to a minute. The “-p npm” flag means, that we going to choose NPM as our package manager. If you want to choose another package manager, just get rid of this flag.
$ nest new nest-alias -p npm
Furthermore, we're creating a PlayerModule, PlayerController, and a helper function in a different destination.
$ nest g mo player && nest g co player --no-spec
$ mkdir src/common && mkdir src/common/helper
$ touch src/common/helper/utils.helper.ts
After this command is done you can open your project in your code editor. Since I use Visual Studio Code, I gonna open the project by typing:
$ cd nest-alias
$ code .
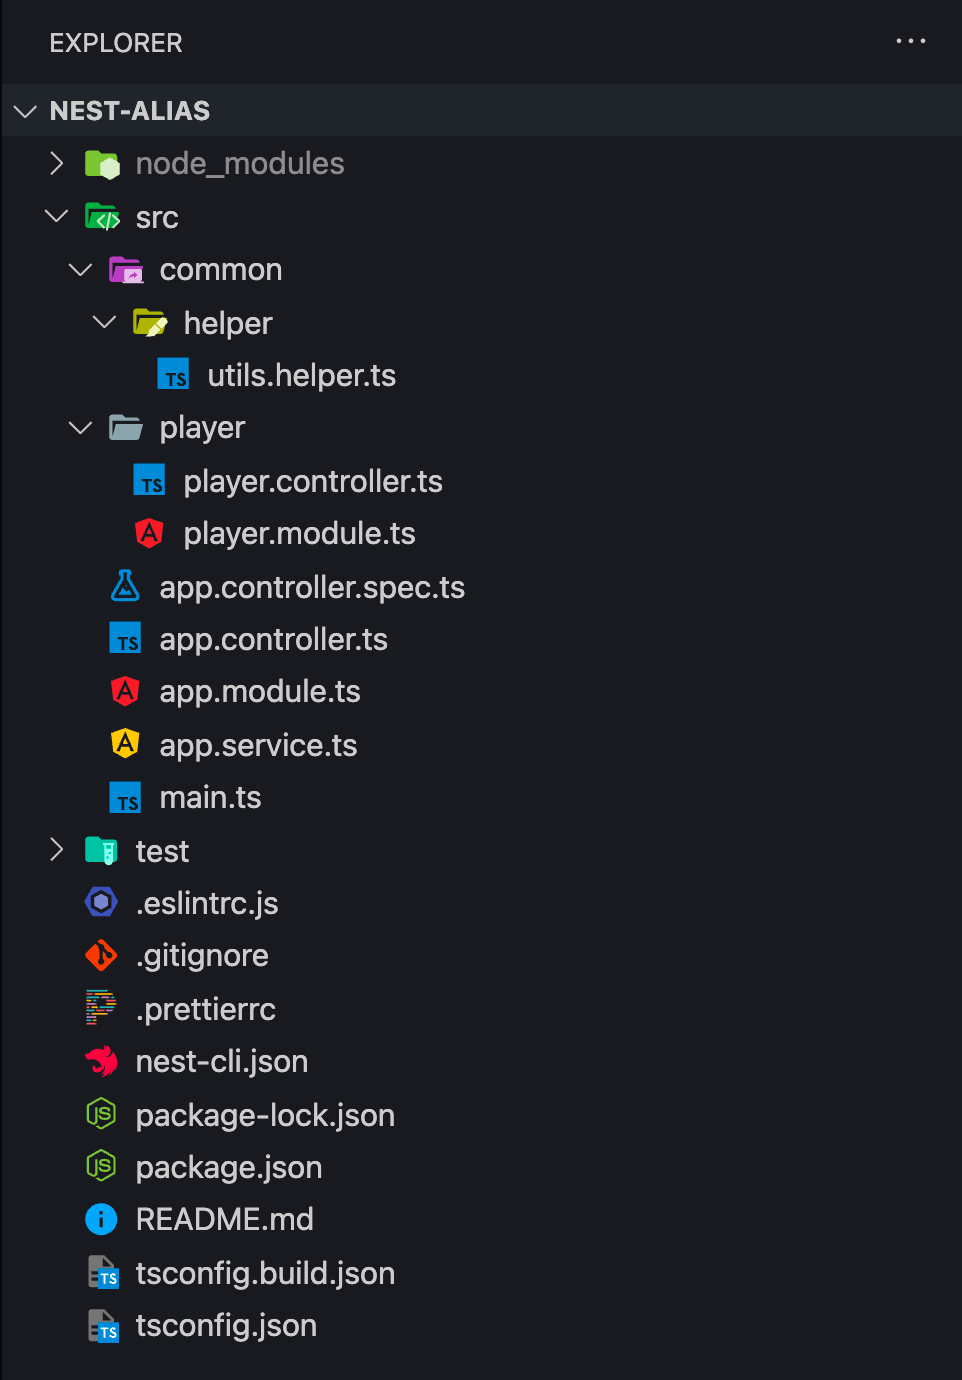
My project looks like this in VSCode (Visual Studio Code):
So, before we modify the PlayerModule, we need to adjust the config of our Nest.js application in three steps.
Step 1: Adding paths in tsconfig.json
First, we need to add paths to our tsconfig.json file which you find in our root folder. So we going to change this file from:
{
  "compilerOptions": {
    "module": "commonjs",
    "declaration": true,
    "removeComments": true,
    "emitDecoratorMetadata": true,
    "experimentalDecorators": true,
    "allowSyntheticDefaultImports": true,
    "target": "es2017",
    "sourceMap": true,
    "outDir": "./dist",
    "baseUrl": "./",
    "incremental": true,
    "skipLibCheck": true,
    "strictNullChecks": false,
    "noImplicitAny": false,
    "strictBindCallApply": false,
    "forceConsistentCasingInFileNames": false,
    "noFallthroughCasesInSwitch": false
  }
}
to
{
  "compilerOptions": {
    "module": "commonjs",
    "declaration": true,
    "removeComments": true,
    "emitDecoratorMetadata": true,
    "experimentalDecorators": true,
    "allowSyntheticDefaultImports": true,
    "target": "es2017",
    "sourceMap": true,
    "outDir": "./dist",
    "baseUrl": "./",
    "incremental": true,
    "skipLibCheck": true,
    "strictNullChecks": false,
    "noImplicitAny": false,
    "strictBindCallApply": false,
    "forceConsistentCasingInFileNames": false,
    "noFallthroughCasesInSwitch": false,
    "paths": {
      "@/*": ["src/*"],
      "@Helper/*": ["src/common/helper/*"]
    }
  }
}
As you can see, we added just four lines at the bottom. Now we need to do kinda the same for our testing configuration.
Step 2: Adding mapper to our jest config
Second, we need to adjust our package.json file.
Attention: I just show you the JEST part of the package.json file! Do not change anything else there.
"jest": {
  "moduleFileExtensions": [
    "js",
    "json",
    "ts"
  ],
  "rootDir": "src",
  "testRegex": ".*\\.spec\\.ts$",
  "transform": {
    "^.+\\.(t|j)s$": "ts-jest"
  },
  "collectCoverageFrom": [
    "**/*.(t|j)s"
  ],
  "coverageDirectory": "../coverage",
  "testEnvironment": "node"
}
to
"jest": {
  "moduleFileExtensions": [
    "js",
    "json",
    "ts"
  ],
  "rootDir": "src",
  "testRegex": ".*\\.spec\\.ts$",
  "transform": {
    "^.+\\.(t|j)s$": "ts-jest"
  },
  "collectCoverageFrom": [
    "**/*.(t|j)s"
  ],
  "coverageDirectory": "../coverage",
  "testEnvironment": "node",
  "moduleNameMapper": {
    "^@/(.*)$": "<rootDir>/../src/$1",
    "^@Helper/(.*)$": "<rootDir>/../src/common/helper/$1"
  }
}
Step 3: Adding mapper to our jest e2e config
Last but not least, we need to adjust our test/jest-e2e.json file. Let's change it from:
{
  "moduleFileExtensions": ["js", "json", "ts"],
  "rootDir": ".",
  "testEnvironment": "node",
  "testRegex": ".e2e-spec.ts$",
  "transform": {
    "^.+\\.(t|j)s$": "ts-jest"
  }
}
to
{
  "moduleFileExtensions": ["js", "json", "ts"],
  "rootDir": ".",
  "testEnvironment": "node",
  "testRegex": ".e2e-spec.ts$",
  "transform": {
    "^.+\\.(t|j)s$": "ts-jest"
  },
  "moduleNameMapper": {
    "^@/(.*)$": "<rootDir>/../src/$1",
    "^@Helper/(.*)$": "<rootDir>/../src/common/helper/$1"
  }
}
Great, now we are done with our configuration. Now, let's test it by giving our application a little bit of life.
Earlier, we've created a file called src/common/helper/utils.helpers.ts, let's add two functions. The function wait is simply a delay function, the function randomInt returns an integer.
// Delay function
export async function wait(ms: number): Promise<void> {
  return new Promise((resolve) => setTimeout(resolve, ms));
}

// Generating a random integer
export async function randomInt(min: number, max: number): Promise<number> {
  return Math.floor(Math.random() * (max - min + 1)) + min;
}
Now, we going to make the magic happen in src/player/player.controller.ts , here we add both helper functions in two different ways, based on our path & mapper configuration we just added to our Nest.js application.
import { Get } from '@nestjs/common';
import { Controller } from '@nestjs/common';
// import { randomInt } from '../common/helper/utils.helper'; <- would be the normal way
import { randomInt } from '@Helper/utils.helper';
// import { randomInt } from '../common/helper/utils.helper'; <- would be the normal way
import { wait } from '@/common/helper/utils.helper';

@Controller('player')
export class PlayerController {
  @Get()
  public async getPlayer(): Promise<number> {
    await wait(1000);

    return randomInt(0, 100);
  }
}
So as you can see, the actual path of the randomInt function would be this:
*import { randomInt } from '../common/helper/utils.helper';*
but now it's this:
import { randomInt } from '@Helper/utils.helper';
We are done! Alias paths make things easier to read, right? I have uploaded this application on Github.
Thanks for reading my brief tutorial about how to add Path Aliases in Nest.js. I hope, you could learn something new.
Cheers!
Want to support me? Buy me a coffee.
Comments
Loading comments…