
In this story, I will be sharing about capturing images via webcam. This is going to be very interesting! So, let’s begin.
To implement** the Webcam Capture** feature in a React Application, we will require a few Node.js modules.
Firstly, we need the package called ‘react-webcam’.
To create a new React application, use your terminal and type
-
npx create-react-app applicationName
-
Open the application in your suitable Editor. Here, I will be using VS Code.
-
To get the application running, open a new terminal in VS Code.
-
Type npm run start.
-
This will open up your browser on localhost:3000
Great, you have got your application running!
Source Code will be available here.
Go through the article and then take the help of the source code if required!
Before we design the webcam component, I will create a form that will accept some details along with the image captured via Webcam.
Here, I have created a file named HomeCmp.jsx and also added a stylesheet called homecmp.css
Now,lets begin with** HomeCmp.jsx file**.
Create a basic form with input elements that will capture the image of the user and some more details.
import React,{useState} from 'react'

import { WebcamCapture } from '../Webcam/Webcam';

import './homeStyles.css'

const Home = () => {

const [name,setName]=useState('')

const [email,setEmail]=useState('');

const submitForm = () =>

{

    alert("Form submitted")

}

return (

<div className="home-container">

 <div className="container">

   <div className="text">

    <h1>Fill up this form!</h1>

   <form className="form">

 <input type="email" placeholder="Email" onChange={(e)=>setEmail(e.target.value)}/>

 <input type="text" placeholder="Name" onChange={(e)=>setName(e.target.value)}/>

  <button type="submit" id="login-button" onClick={(e)=>submitForm(e)}>Submit</button>

      </form>

    </div>

 </div>

</div>

)

}

export default Home
The values in the input fields will be stored in the hook variables once you start typing inside the input box.
If you don’t know about {useState}, you can learn about it here.
Next, you can give some styling to your JSX file!
Here, you can use your CSS file to design your JSX Component.
Styling added to the CSS file:
@font-face {

font-family: 'Source Sans Pro';

font-style: normal;

font-weight: 200;

src: url(https://fonts.gstatic.com/s/sourcesanspro/v14/6xKydSBYKcSV-LCoeQqfX1RYOo3i94_wlxdr.ttf) format('truetype');

}

@font-face {

font-family: 'Source Sans Pro';

font-style: normal;

font-weight: 300;

src: url(https://fonts.gstatic.com/s/sourcesanspro/v14/6xKydSBYKcSV-LCoeQqfX1RYOo3ik4zwlxdr.ttf) format('truetype');

}

.home-container {

box-sizing: border-box;

/* background-color: rgb(250, 193, 193); */

background: #FBD3E9;  /* fallback for old browsers */

background: linear-gradient(to left, #FBD3E9, #0e6e02);

margin: 0;

min-height:80vh;

padding:60px 0;

overflow: hidden;

font-family: 'Source Sans Pro', sans-serif;

}

.home-container .container {

max-width:60vw;

margin: 0 auto;

display: flex;

padding: 0;

background-color: white;

border-left: 1px solid white;

border-radius: 8px 0 0 8px;

}

.home-container .container h1 {

font-size: 40px;

color:#0e6e02;

font-weight:600;

animation: fadein 3s;

margin-bottom:20px;

}

.home-container .container .text

{

width: 90%;

padding:30px 0;

text-align: center;

margin:0 auto;

}

.home-container form {

padding: 20px 0;

position: relative;

z-index: 2;

width: 70%;

margin:0 auto;

}

.home-container form input {

-webkit-appearance: none;

-moz-appearance: none;

appearance: none;

outline: 0;

border: 1px solid #0e6e02;

width: 55%;

border-radius: 3px;

padding: 10px 15px;

margin:10px auto 10px auto;

display: block;

text-align: center;

font-size: 18px;

color: #0e6e02;

transition-duration: 0.25s;

}

.home-container form input:hover {

background-color: #0e6e02;

color:#FBD3E9;

}

.home-container form input:focus {

background-color:#0e6e02;

width: 300px;

color:#FBD3E9;

}

.home-container form ::placeholder

{

color:#0e6e02;

}

.home-container form input:hover::placeholder

{

color:white;

}

.home-container form button {

-webkit-appearance: none;

-moz-appearance: none;

appearance: none;

outline: 0;

background-color: #0e6e02;

border: 0;

padding: 10px 15px;

color: #FBD3E9;

border-radius: 3px;

font-size:20px;

width: 60%;

cursor: pointer;

transition-duration: 0.25s;

}

.home-container form button:hover {

border: 1px solid  #0e6e02;

border-radius: 5px;

background-color: #f5f7f9;

color: #0e6e02;

}
Media queries ~
@media screen and (max-width:1000px)

{

.home-container .container

{

max-width:90vw;

}

}

@media screen and (max-width:678px)

{

.login-container

{

padding-top: 10%;

}

.home-container .container

{

max-width: 80vw;

}

.home-container form

{

width:90%;

}

.home-container .loginDesign

{

display: none;

}

.home-container .container .text

{

width: 100%;

padding: 80px 20px;

}

}
In the App.js component, make a call to the Homecmp Component using
function App() {

return (

<div className="App">

<HomeCmp/>

</div>

);

}

export default App;
Now, let's see how our application looks ~
Open localhost:3000 on your browser
See below👇🏻
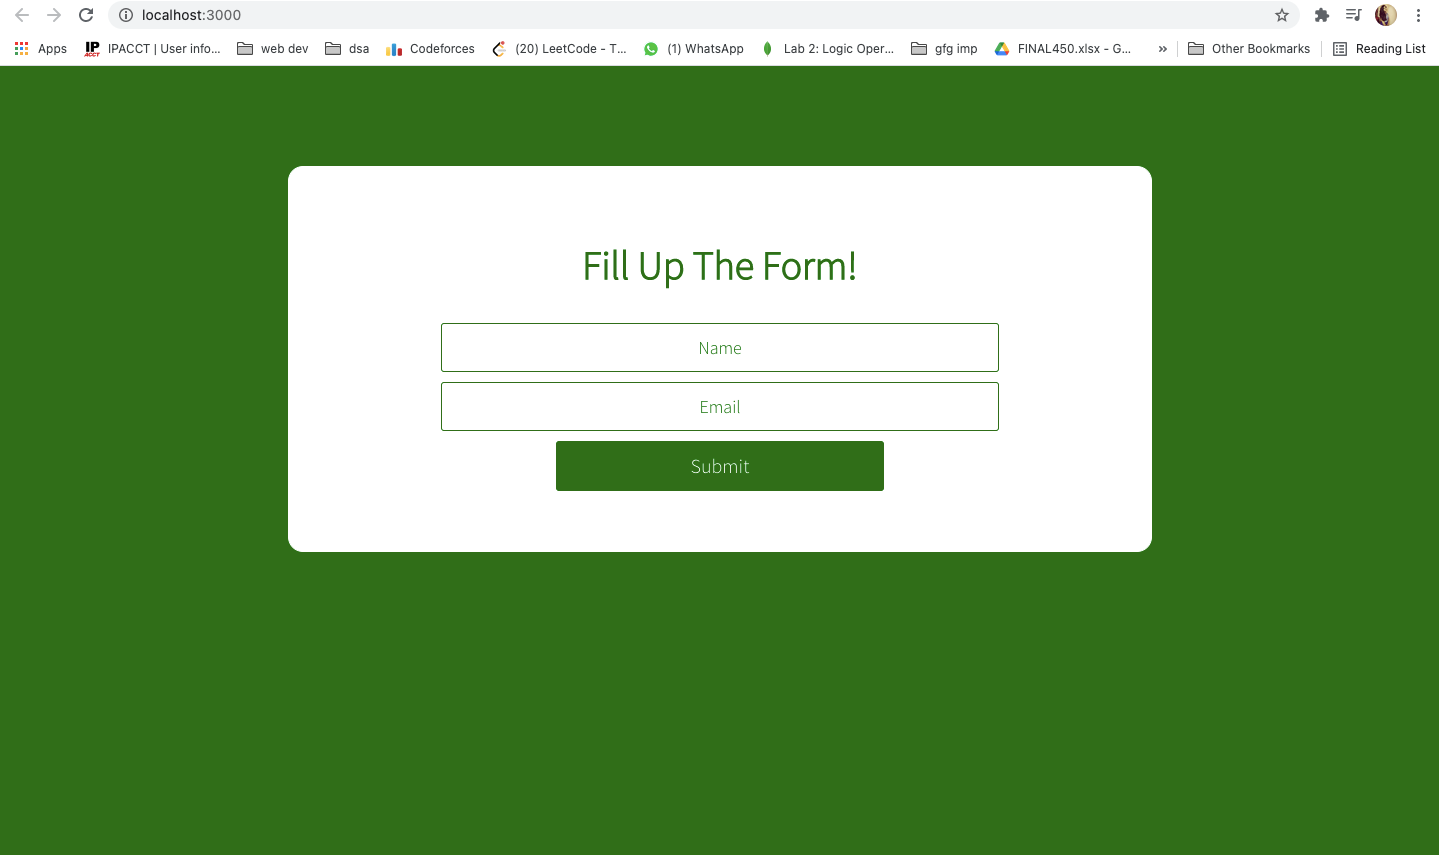 This is how our application looks currently!
Hooray!
You have come halfway through our application.

Webcam Component
Create a file called “WebcamCapture.jsx”
import React, { Component, useState } from 'react';

import './cameraStyles.css'

import Webcam from "react-webcam";

**const WebcamComponent = () => <Webcam />;**

const videoConstraints = {
  width: 220,
  height: 200,
  facingMode: "user"
};

const WebcamCapture = () => {

const webcamRef = React.useRef(null);

  const capture = React.useCallback(
    () => {
      **const imageSrc = webcamRef.current.getScreenshot();**
    },

    [webcamRef]
  );

  return (
    <div className="webcam-container">
      <**Webcam**
        audio={false}
        height={200}
        ref={webcamRef}
        screenshotFormat="image/jpeg"
        width={220}
        videoConstraints={videoConstraints}
      />
      <button
      onClick={(e)=>{e.preventDefault();capture();}>
      Capture</button>
    </div>
  );
};
This piece of code shall open up your webcam and capture an image for you that can be processed later on.
The Webcam component has various props that can be assigned a value.
-
height and width define the dimensions of the image to be captured.
-
**video constraints **define the properties of the video recording that goes on before the image is captured.
-
screenshotFormat returns a base64 encoded string of the current webcam image.
Use the ‘Capture’ button to click your photo.
Display captured image
const [image,setImage]=useState('');
To view the image captured, we will take the help of Hooks in React.
const capture = React.useCallback(

() => {

const imageSrc = webcamRef.current.getScreenshot();

**setImage(imageSrc)**

});
Now, we can use the image source as the src variable value. The screenshot captured is stored in our src variable.
<div className="webcam-container">

 <div className="webcam-img">

 {image==''?<Webcam

 audio={false}

 height={200}

 ref={webcamRef}

 screenshotFormat="image/jpeg"

  width={220}

 videoConstraints={videoConstraints}

/>:<img src={image}/>}
</div>
</div>
This piece of code acts as a check for whether the image variable is empty or not and will display the captured image after the screenshot has been captured.
Retake Image Button
Let us add a Retake Image button and display it once the image has been captured.
<div>
{image!=''?

<button onClick={(e)=>

{

e.preventDefault();

setImage('')

}}

className="webcam-btn">

Retake Image</button>:

<button onClick={(e)=>{

e.preventDefault();

capture();

}}

className="webcam-btn">Capture</button>

}
</div>
Add some styling to the buttons inside the homecmp.css file
.homecmp-container .webcam-container

{

display: flex;

flex-direction: column;

text-align: center;

padding:10px 0;

}

.homecmp-container .webcam-container .webcam-btn

{

margin-top: 10px;

width:30%;

}
Now you are ready to test your code, but** before** that, do not forget to reference this component from your HomeCmp.jsx.
<form className="form">

**<WebcamCapture/>**

<input type="text" placeholder="Name"

   onChange={(e)=>setName(e.target.value)}/>

<input type="email" placeholder="Email"

   onChange={(e)=>setEmail(e.target.value)}/>

<button type="submit" id="login-button"

   onClick={(e)=>submitForm(e)}>Submit</button>

</form>
Inside the form that we had created, add your WebcamCapture component rendering.
Now, when you open up your application on the browser, you will find the video recording stream on top of the input fields inside your form.
Now, open up your browser on localhost:3000
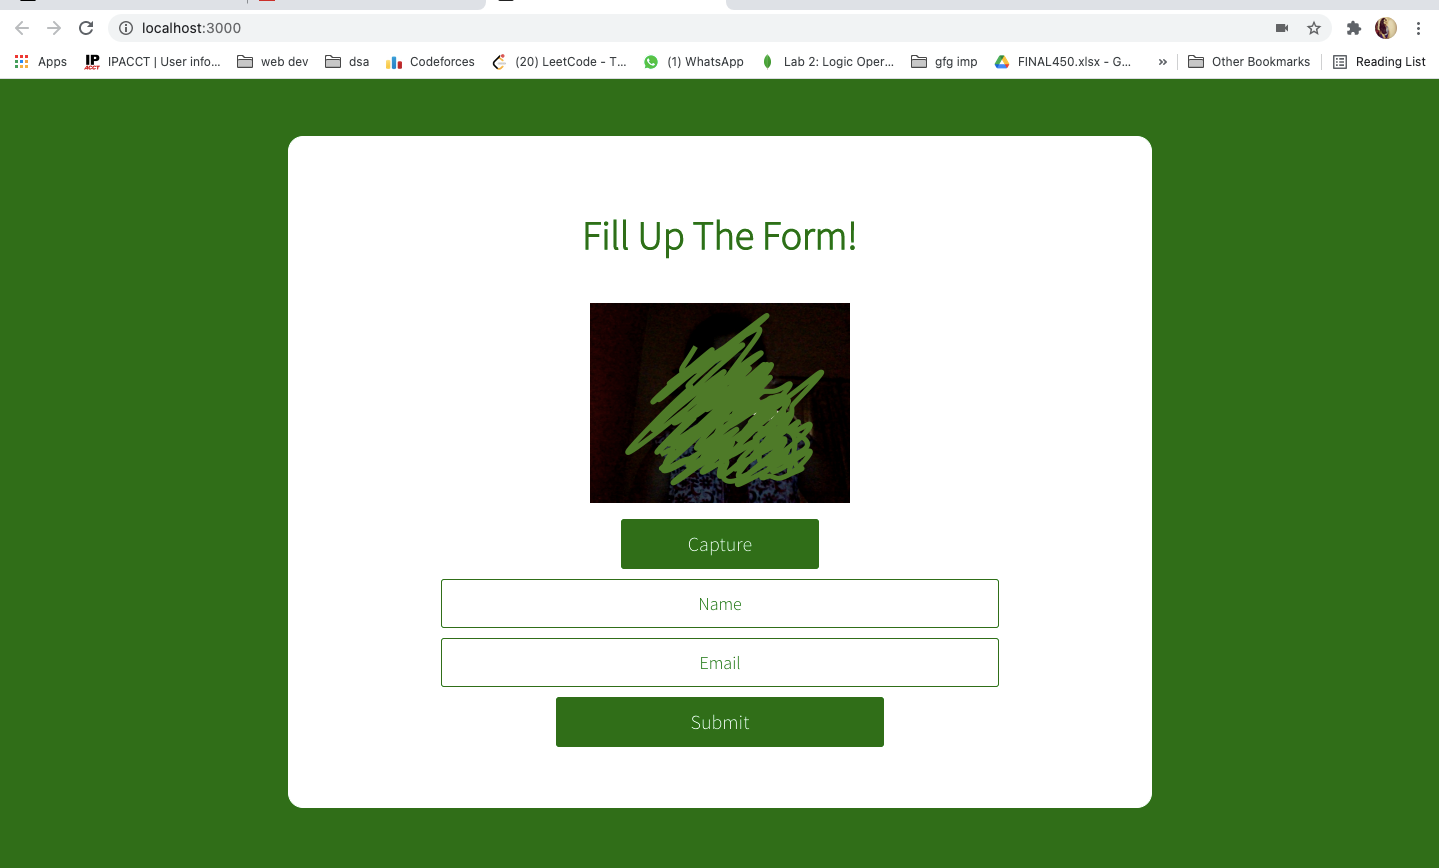 There you go, the image recording part is on as well as you have the capture button.
I used green lines to cover up my face. Ignore it…
Check out the following *video *to understand the working of the Webcam Component.
In the above video, you will be able to see that we have used the screenshot image captured to be displayed in the video recording part. Also, on clicking the Retake image button, the recording starts again and also you shall find the Capture button instead of the Retake Image button
We have successfully captured an image with the help of React Webcam.
If you want to use this image in your backend application using Node or you wish to save it in your folder, you should check out my article
Upload Images in Your Node App
Feel free to give my Github profile a visit. Also, the entire code will be available on this.
And there we have it. I hope you have found this useful.
Comments
Loading comments…