They say that half the work is doing something, and the other half is advertising. You would have spent hours writing unique and critical test cases to increase the reliability of the system. If you spend a little more time, then you can create a proper report for your pytest runs, customized to your need.
With this, you can broadcast the report to your manager or team member, use it for presentation or self-analysis, or even save it later for analyzing regression. This article assumes that you are slightly familiar with basic pytest concepts. If you don't know or want to refresh your knowledge, then quickly glance over this introductory article here.
Installation
Let's start by installing and activating the virtual environment:
$ mkdir customizing-pytest-report
$ virtualenv venv
$ source venv/bin/activate
Now install pytest, the HTML report generator.
$ sudo apt install pytest
$ pip install pytest
$ pip install pytest-html
Generating HTML report

test_case.py:
import pytest
@pytest.mark.parametrize("input, expected" ,[
	( [1, 2, 3, 4], 4),
	( [7, 8, 9 , 10], 10)
])

def test_max(input, expected):
	"Verify the max function works"
	Output = max(input)
	assert Output == expected

@pytest.mark.parametrize("input, expected" ,[
	( [1, 2, 3, 4], 1),
	( [7, 8, 9 , 10], 7)
])
def test_min(input, expected):
	"Verify the min function works"
	Output = min(input)
	assert Output == expected
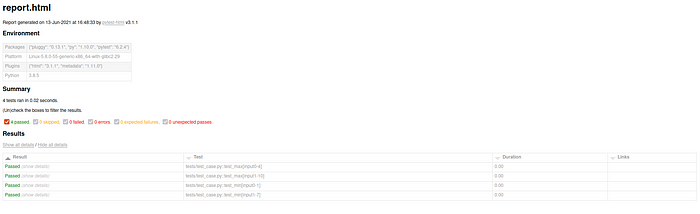
To get the output, that is, to get the pytest report:
$ pytest --html=report.html
As you see, the pytest report is a little bland. But it allows customization. We will customize the elements a section at a time.
Changing Title
We change the title in the HTML report by overwriting the _pytest_html_report_title_ function. To change the title, just add the following in conftest.py. The function will be called before adding the title to the report.
Changing the title:
def pytest_html_report_title(report):
	''' modifying the title of html report'''
	report.title = "Custom Title"
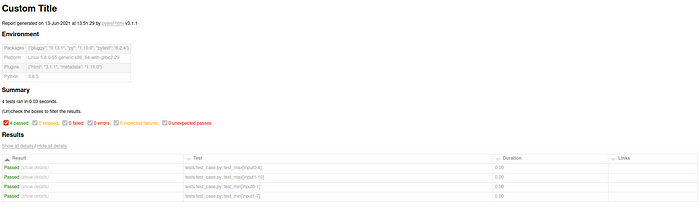
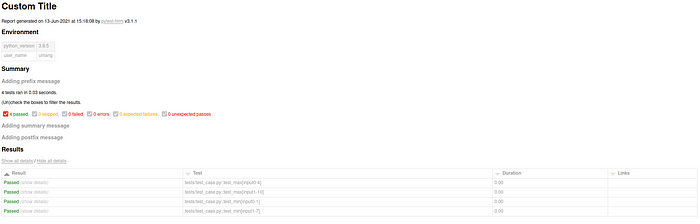
Title changed to "Custom Title" in html report:
Changing Environment
Environment parameters are in dict format. We change the _metadata in pytest_configure. For simple example refer below:
def pytest_configure(config):
	''' modifying the table pytest environment'''

	# getting user name
	from pwd import getpwuid
	from os import getuid

	username = getpwuid(getuid())[0]

	# getting python version
	from platform import python_version
	py_version = python_version()
	# overwriting old parameters with new parameters
	config._metadata = {
		"user_name": username,
		"python_version": py_version,
	}
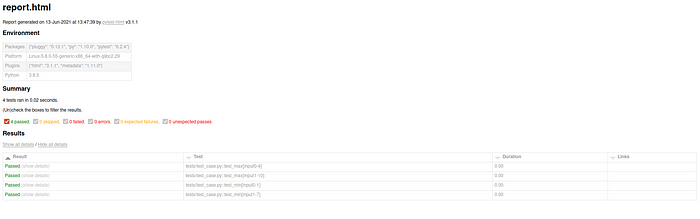
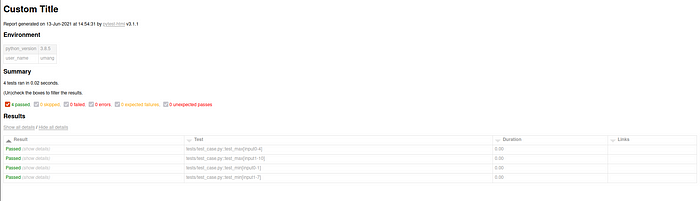
Environment changed in HTML report:
Changing Summary
There prefix, summary and postfix are a list of HTML elements. To make changes to them, we add or remove elements. The pass and fail in summary, you see, are a part of the summary array.
Changing summary:
@pytest.mark.optionalhook
def pytest_html_results_summary(prefix, summary, postfix):
	''' modifying the summary in pytest environment'''

	from py.xml import html
	prefix.extend([html.h3("Adding prefix message")])
	summary.extend([html.h3("Adding summary message")])
	postfix.extend([html.h3("Adding postfix message")])
Summary changed in HTML report:
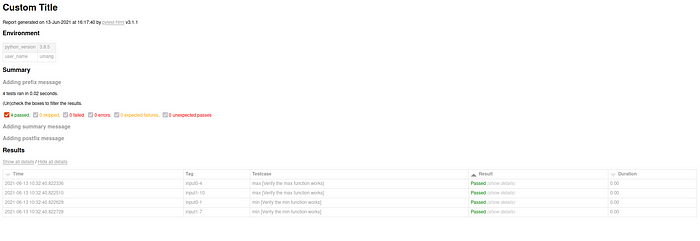
Changing Table Headers
Cells is the list of HTML elements that is taken as header. We just have to add or remove the cells. And in the end, do a pop.
Changing table ro:
def pytest_html_results_table_header(cells):
	''' meta programming to modify header of the result'''

	from py.xml import html
	# removing old table headers
	del cells[1]
	# adding new headers
	cells.insert(0, html.th('Time', class_='sortable time', col='time'))
	cells.insert(1, html.th('Tag'))
	cells.insert(2, html.th('Testcase'))
	cells.pop()
Table headers changed in Results:
Changing Table Rows
The result of the pytest has the following information:
_<TestReport 'tests/test_case.py::test_min[input1-7]' when='setup' outcome='passed'>_
To change the reports, we have to modify the output of the pytest report in pytest_runtest_makereport and to orient the result the HTML table, we edit in pytest_html_results_table_row use.
Changing table rows:
rom datetime import datetime
import re
from py.xml import html

def pytest_html_results_table_row(report, cells):
	''' orienting the data gotten from pytest_runtest_makereport
	and sending it as row to the result '''
	del cells[1]
	cells.insert(0, html.td(datetime.utcnow(), class_='col-time'))
	cells.insert(1, html.td(report.tag))
	cells.insert(2, html.td(report.testcase))
	cells.pop()

@pytest.hookimpl(hookwrapper=True)
def pytest_runtest_makereport(item, call):
	'''data from the output of pytest gets processed here
	and are passed to pytest_html_results_table_row'''
	outcome = yield
	# this is the output that is seen end of test case
	report = outcome.get_result()
	# taking doc string of the string
	testcase = str(item.function.__doc__)
	# name of the functton
	c = str(item.function.__name__)[5:]

	report.testcase = f"{c} [{testcase}]"
	# taking input args
	# example:
	# report.nodeid = 'tests/test_case.py::test_min[input0-1]'
	# data = re.split(r"\[|\]", 'tests/test_case.py::test_min[input0-1]')
	# => ['tests/test_case.py::test_min', 'input0-1', '']
	report.tag = re.split(r"\[|\]", report.nodeid)[-2]
Table row changed in Results:
Now you know the foundational knowledge to create and customize the HTML report to share and impress other people.
Comments
Loading comments…