Docker containers have revolutionized application deployment by providing a lightweight, portable, and consistent environment for running applications. Amazon Web Services (AWS) offers a powerful container orchestration service called Amazon Elastic Container Service (ECS), which simplifies the management and scaling of Docker containers. In this tutorial, I will walk you through the process of deploying a Docker container in AWS ECS, step by step.
💡 Also, find out how you can benefit from the AWS Well-Architected Framework
Prerequisites: Before we begin, make sure you have the following prerequisites:
- An AWS account with appropriate permissions.
- AWS Command Line Interface (CLI) installed on your local machine.
- Docker installed on your local machine.
Step 1: Building the Docker Image First, create a Dockerfile for your application.
The Dockerfile defines how to build your Docker image, including dependencies, configurations, and entry points. Here’s a sample Dockerfile for a simple web application:
# Use a base image
FROM python:3.10

# Set the working directory
WORKDIR /app

# Copy the application files
COPY . .

# Install dependencies
RUN pip install flask

# Install dependencies from a list
RUN pip install -r requirements.txt

# Expose the application port
EXPOSE 80

# Start the application
CMD ["flask", "run","--host","0.0.0.0","port","80"]
Refer to the Docker docs for details on the functionality of each command: Dockerfile reference | Docker Documentation
Next, use the Docker CLI to build the Docker image locally:
docker build -t my-web-app .
💡 Speed up your blog creation with DifferAI. Available for free exclusively on the free and open blogging platform, Differ.
Step 2: Setting up Amazon ECR
Log in to your AWS Management Console and navigate to the Amazon Elastic Container Registry (ECR) service.
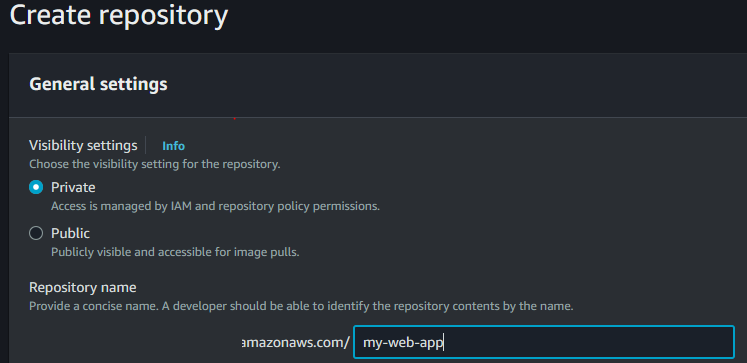
Click on “Get Started” to set up a new repository to store your Docker images. Give it a meaningful name, such as “my-web-app,” scroll all the way to the end, and click “Create repository.”
Step 3: Pushing the Docker Image to ECR
Tag the Docker image with the ECR repository URL you just created:
docker tag my-web-app:latest <your-account-id>.dkr.ecr.<region>.amazonaws.com/my-web-app:latest
To push the Docker image to ECR, authenticate Docker with ECR using the AWS CLI:
aws ecr get-login-password --region <region> | docker login --username AWS --password-stdin <your-account-id>.dkr.ecr.<region>.amazonaws.com
— — —
If the above command doesn't work, split it into two parts:
aws ecr get-login-password --region <region>
Copy the output, since that will be your password. The run the following command:
docker login --username AWS <your-account-id>.dkr.ecr.<region>.amazonaws.com
This will prompt you to input the copied password, and you should be able to login.
An example code:
[user@localhost aws]$ aws ecr get-login-password --region us-east-1

<output password>

[user@localhost aws]$ docker login --username AWS 550614244020.dkr.ecr.us-east-1.amazonaws.com
Password: <input the above password>
Login Succeeded
— — —
Finally, push the Docker image to ECR:
docker push <your-account-id>.dkr.ecr.<region>.amazonaws.com/my-web-app:latest
Step 4: Creating an Amazon ECS Cluster
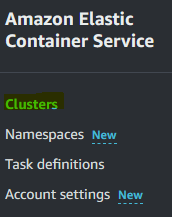
In the AWS Management Console, navigate to the Amazon ECS service and click on “Get Started”. Then click on “Create Cluster”.

Choose the Networking Only — Powered by AWS Fargate. Give your cluster a name, select your desired VPC and subnet configurations, and click “Create.”

Step 5: Defining a Task Definition
A task definition describes how your Docker container should be launched within the ECS cluster.
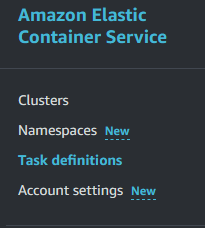
Click on “Task Definitions” in the ECS service, then click “Create new Task Definition.”
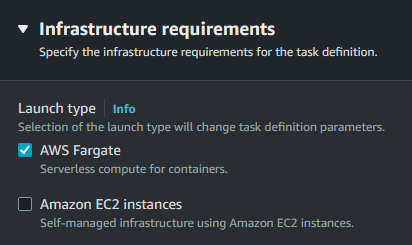
Select “FARGATE” as you lunch type if you want to use serverless compute, or “EC2” if you have your EC2 instances running in the cluster.
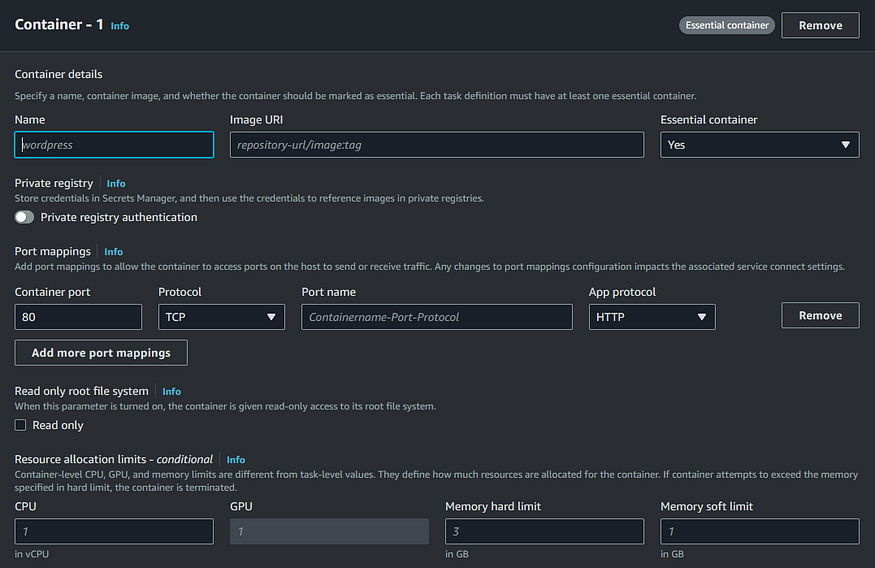
Configure the task definition with your ECR repository and container details. Set the desired CPU and memory limits, networking mode, and other settings as per your application’s requirements. Once done, click “Create.”
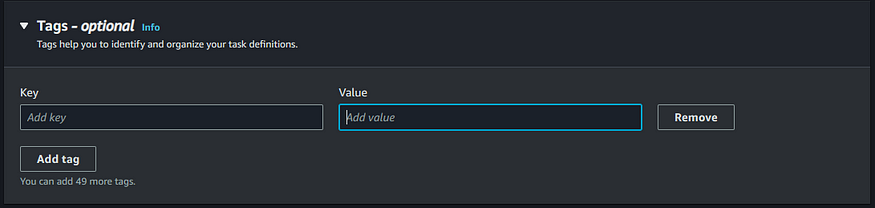
Always add a TAG to your services, this will be helpful when creating a cost report.
Step 6: Creating an ECS Service To deploy the Docker container.
Go back to your ECS cluster, and select the cluster created on Step 4.
Click on “Create” in the “Services” section of

Keep everything as defautl, and go to “Deployment Configuration”
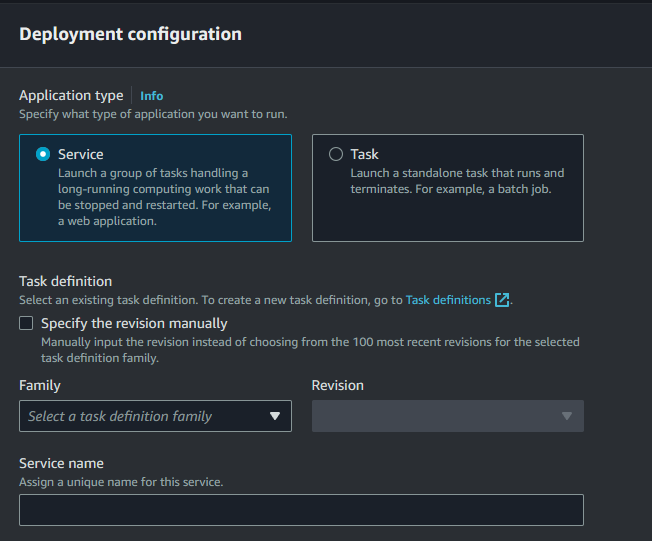
At “Family”, choose the task definition you created in the previous step, set the desired number of tasks (for this example you can keep it as one), assign a “Service Name”, and configure the load balancing options if necessary.
Go to “Networking”, and choose the right “Subnets” and “Security Groups”.

Note: Make sure that the security group allows the right “L4 ports” to connect to your container.
Click “Create Service.”
The service will create a task, you can check it by going to “Task”, and click on the Task ID.

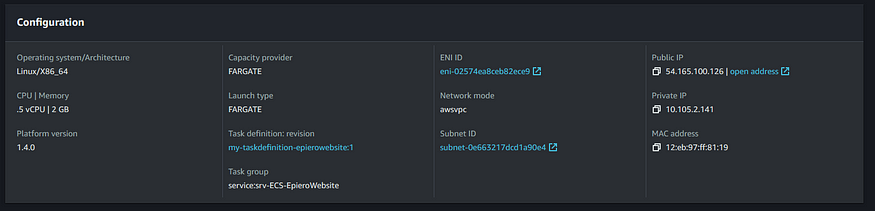
This will show you the state of the task:

Once the Task is running, go to “Configuration” and connect to your container via the Public IP:
If your container is running a web application, go to your browser and make sure you select the right port (if you are not able to connect, check the security group inbound rules):
This should load your website properly:

Congratulations! You’ve successfully deployed a Docker container in AWS using ECS and Fargate. Docker containers and AWS ECS provide an efficient and scalable way to manage and run applications.
Comments
Loading comments…