Introduction:
Welcome, young artists and curious minds! Today, we’ll embark on a magical journey to turn ordinary pictures into extraordinary works of art using the power of Python. Imagine transforming your favorite images into beautiful vector drawings, just like the ones you see in coloring books. Let’s explore the world of image processing and learn how to create fascinating vector art from pictures.
Prerequisites:
- Basic knowledge of Python programming.
- Familiarity with image processing concepts.
Step 1: Project Setup
- Install Python: If you don’t have Python installed, ask a grown-up to help you download and install it from https://www.python.org/downloads/.
- Install Libraries: We’ll need two Python libraries — NumPy and OpenCV — to work with images. Open your terminal or command prompt and run the following commands to install them:
pip install numpy
pip install opencv-python
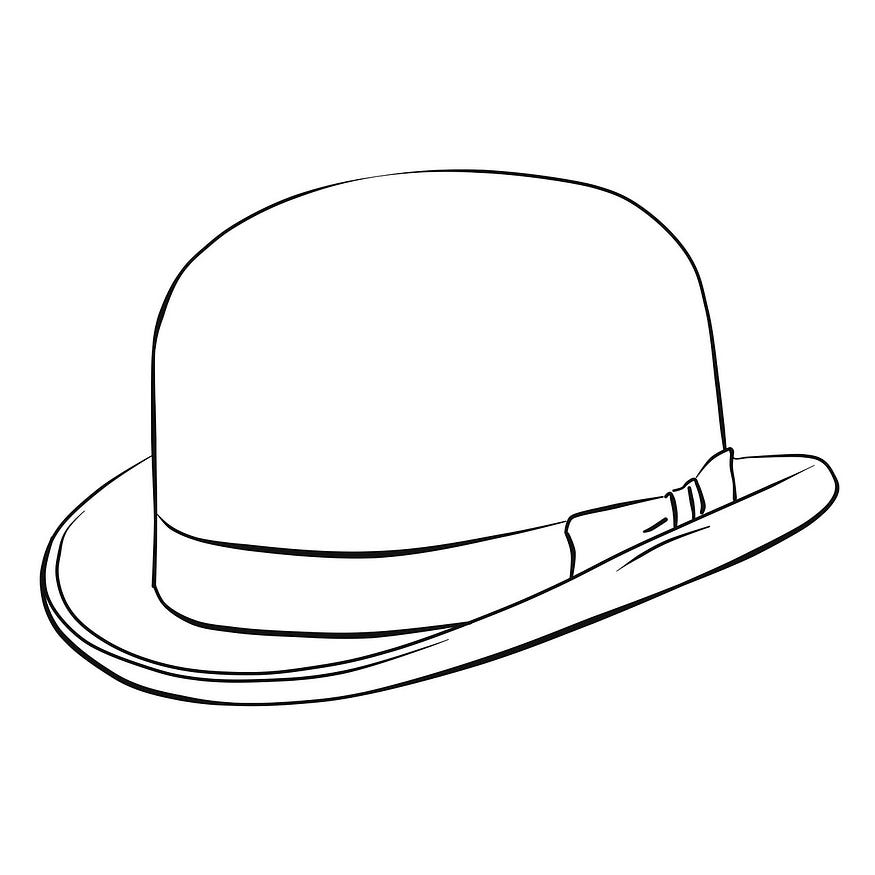
Step 2: Understand the Concept of Vectorization Imagine a picture as a collection of tiny dots or pixels. In vectorization, we convert these dots into mathematical shapes like lines, curves, and circles. This allows us to resize the image without losing its quality, making it look neat and smooth.
Step 3: Code to Convert Images to Vectors Now, let’s dive into the Python code to convert images to vectors.
import cv2
import numpy as np

def convert_to_vector(input_image_path, output_image_path):
    # Read the input image
    image = cv2.imread(input_image_path)

    # Convert the image to grayscale
    gray_image = cv2.cvtColor(image, cv2.COLOR_BGR2GRAY)

    # Apply Canny edge detection to find outlines
    edges = cv2.Canny(gray_image, 100, 200)

    # Find contours (shapes) in the image
    contours, _ = cv2.findContours(edges, cv2.RETR_EXTERNAL, cv2.CHAIN_APPROX_SIMPLE)

    # Create a new blank image to draw the vectorized image
    vector_image = np.zeros_like(image)

    # Draw contours on the blank image to form vectorized shapes
    cv2.drawContours(vector_image, contours, -1, (255, 255, 255), 1)

    # Save the vectorized image
    cv2.imwrite(output_image_path, vector_image)

# Sample input and output file paths
input_image_path = "path/to/your/input/image.jpg"
output_image_path = "path/to/your/output/vector_image.svg"

# Call the function to convert the image to vectors
convert_to_vector(input_image_path, output_image_path)
Step 4: Sample Input and Output For this example, let’s imagine you have a picture of a cute cat as your input image. After running the code, the output will be a vectorized version of the cat, with smooth shapes ready for you to color!
Step 5: Conclusion Congratulations, young artists! You’ve successfully learned how to convert images to vectors using Python. Now you have the power to turn any picture into beautiful art with just a few lines of code. The world of image processing is full of wonders, and you’ve taken your first step into this magical realm.
References:
- Python: https://www.python.org/
- NumPy: https://numpy.org/
- OpenCV: https://opencv.org/
Remember, there’s no limit to what you can create with code. Keep exploring and unleashing your creativity with Python! Happy coding and happy art-making! 🎨🐾
Comments
Loading comments…