Hello World!
Today we are going to take a look at how to use pydub to remove silence from your audio. This can be useful to shorten or clean your audio files for analysis purposes.
In today's example, we are going to take the audio from an audiobook (Alice's Adventures in Wonderland by Lewis Carrol) and reduce the silence bits in the audio by half their time.
As usual, I'll divide the post into paragraphs so feel free to skip ahead.
0. Requirements and Target
For this tutorial you'll need:
- Python 3.x
- The following package: pydub
- FFmpeg installed on your system
- optional: Audacity
We are going to install the requirements (except for Python) in the next step.
The tutorial is targeted at:
- Python intermediate programmers
- People who need to change the duration of the silence in their audio or remove it completely
1. Installing the requirements
pydub
The first thing we need to do is install the requirements. In this tutorial, we are going to use pydub to process the images.
To install the package we just need to write in the terminal:
pip install pydub
FFmpeg
Before we can start working with this library we also need a tool that is used by the package to process the audio, called FFmpeg.
Go to their webpage and download the version which is right for your OS.
If you are on Windows click on that link
On gyan.dev select the essentials version
Once you've downloaded the file you should see a zip like this one:
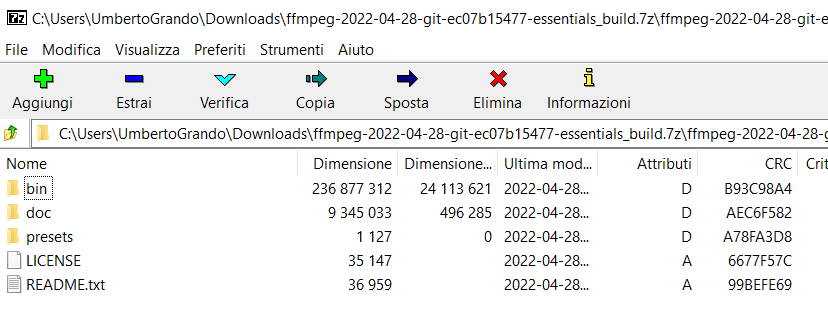
Extract those files inside a folder. I'm going to use: “C:\Program Files (x86)\ffmpeg” but you can use whatever you want:

Now we need to add the bin folder to the Environment's Variables. To do this go on the search in your Windows taskbar and look for “Environment Variables”:
You should see an option like this one
Now click on Environment Variables on the bottom right corner:


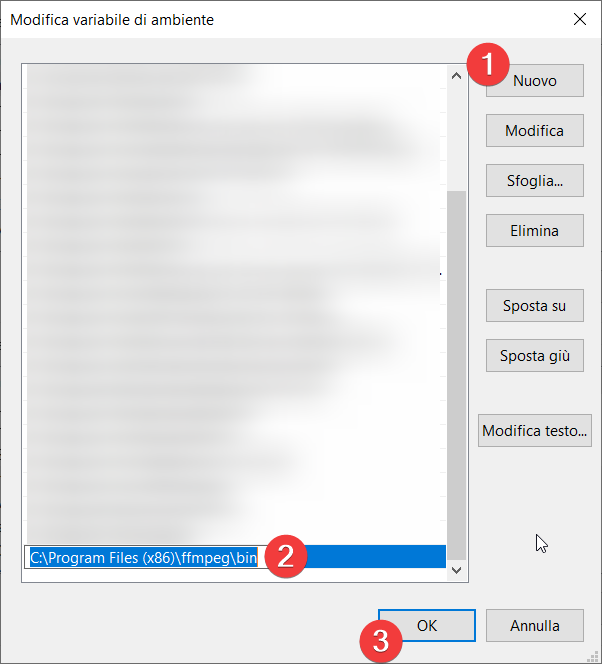
Now you just need to add the path to your bin folder:
To check if everything worked correctly, open a new terminal and write:
ffmpeg
In the output, you should see a series of commands available for that tool. If you see an error you've probably made some mistake while setting up the Path variable.
Optional: Audacity
In our example, I'm also going to show you how to use software like Audacity to check the dB level of your audio. Quoting their website: Audacity is an easy-to-use, multi-track audio editor and recorder for Windows, macOS, GNU/Linux, and other operating systems.
To install Audacity, just go to the download section of the website and then follow the setup wizard:
2. Getting audio for our example
The first thing we need to do is to get something to work with. If you already have an audio file you want to process, feel free to skip this paragraph.
For today's example, we are going to use an audiobook of Alice's Adventures in Wonderlands by Lewis Carrol. You can get it from here.
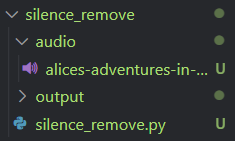
After you've downloaded the file you can set up your project directory with the following structure:
3. Checking the dB level of our file
The first thing we need to do is to check what can be considered silence in our audio file. If the audio you are processing is recorded with good quality you should expect a value of about -60db, but if your audio is recorded with a cheap microphone or is particularly old that value can be different.
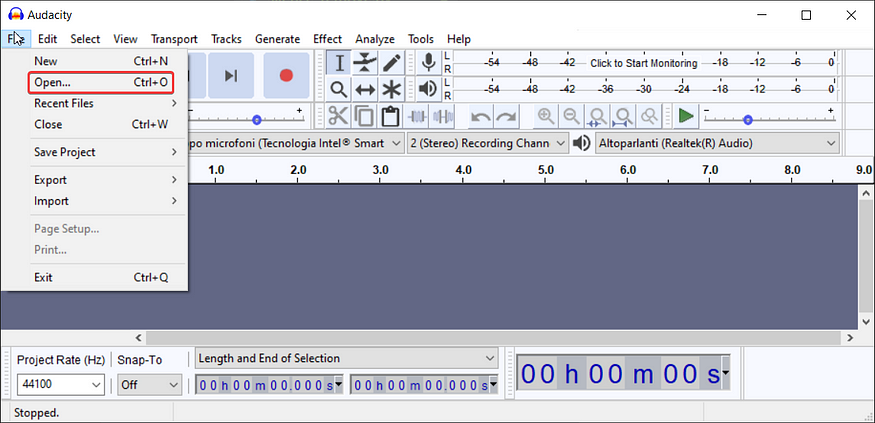
To check what's the dB level of our file, we need to open the audio in audacity:
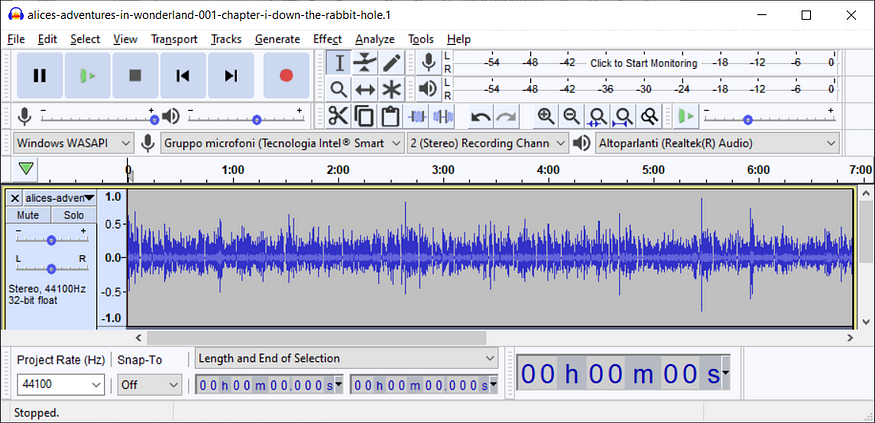
Once you've loaded the file you should see something like this:
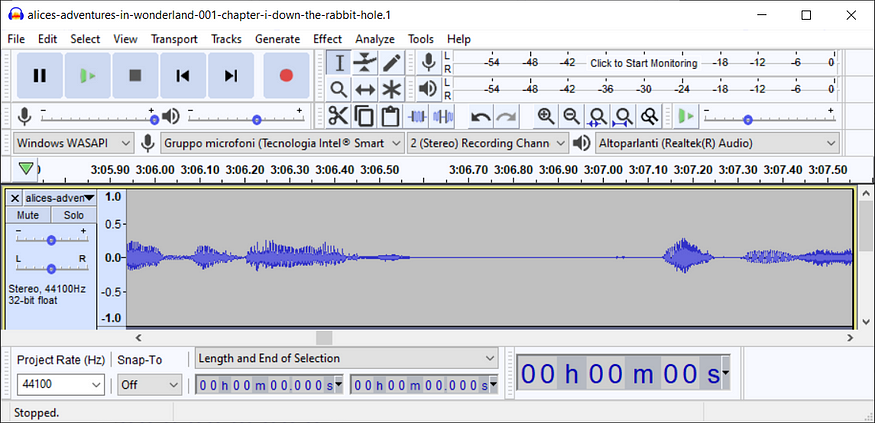
We now need to zoom in to find a point where the audio is quiet (ctrl+scroll wheel):
Now we need to change the scale from linear to dB by right-clicking on the numbers on the left of the waveform:

And now you should see the correct scale:
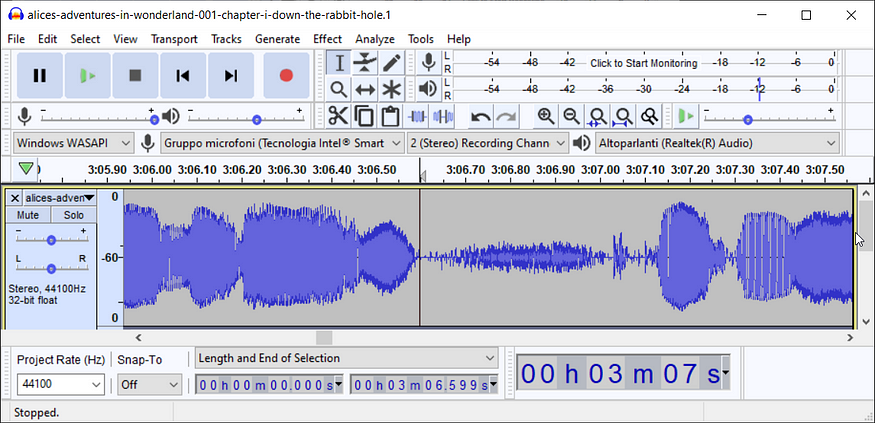
You can stretch the window vertically to show a more detailed scale
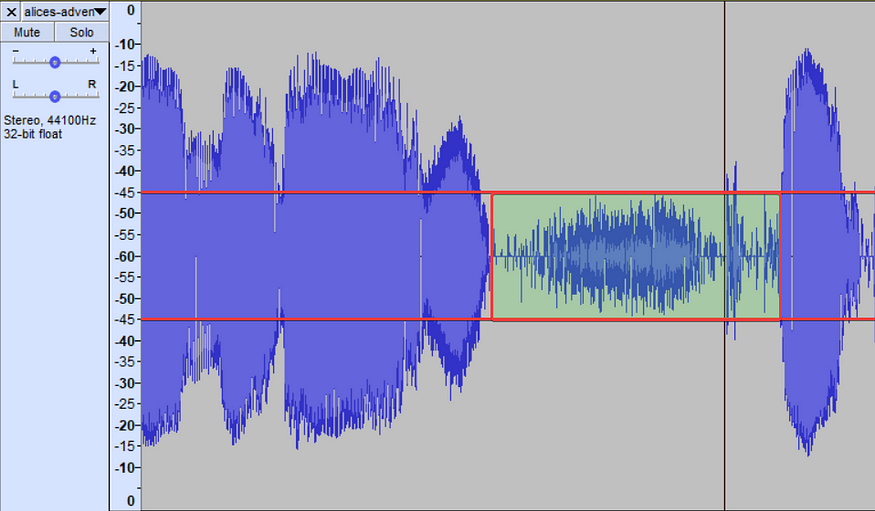
As you can see from the screenshot above the range we need to remove is around -45db. Don't worry if some of the silence has a higher dB value than the range we've found, we are going to manage this in the Python script.
4. Python Code
from pydub import AudioSegment
from pydub.silence import split_on_silence

# Variables for the audio file
# You need to download this file from here: https://etc.usf.edu/lit2go/1/alices-adventures-in-wonderland/1/chapter-i-down-the-rabbit-hole/
file_path = "./audio/alices-adventures-in-wonderland-001-chapter-i-down-the-rabbit-hole.1.mp3"
file_name = file_path.split('/')[-1]
audio_format = "mp3"

# Reading and splitting the audio file into chunks
sound = AudioSegment.from_file(file_path, format = audio_format)
audio_chunks = split_on_silence(sound
                            ,min_silence_len = 100
                            ,silence_thresh = -45
                            ,keep_silence = 50
                        )

# Putting the file back together
combined = AudioSegment.empty()
for chunk in audio_chunks:
    combined += chunk
combined.export(f'./output/{file_name}', format = audio_format)
As you can see from the snippet above, the code is pretty short and straightforward:
1. Variables
The first part is just a bunch of variables we are going to use to read the file. If you are going to use your own audio file, make sure to change these to match your use case.
2. Reading and splitting the audio
Here's where the magic happens. First, we load our audio file by using the from_file method of the AudioSegment class.
After that, we use the split_on_silence function to split our audio into multiple chunks. In this function we use 3 parameters:
- min_silence_len: this parameter defines how long (in ms) the silence must be to be considered when splitting our audio
- silence_tresh: this parameter defines the dB below which we are going to consider the audio as silent (in our case -45 dB as we've found in the previous paragraph)
- keep_silence: this parameter keeps the silence at the end of the chunk. If you want to remove it entirely just set this parameter to false, otherwise you can define how long do you want the silence to be (in our case 50 ms)
3. Putting the audio back together
Now that we've collected our audio chunks, we can put them together by using a for loop appending to a blank audio segment.
Finally, we export the file inside our output path.
And that's all for today. As usual, you can find the full example on my GitHub.
If you'd like to support me, consider subscribing to Medium using my referral.
Other URLs:
Social Links:
Comments
Loading comments…