What’s a Search Bar?
Okay, so we probably all know what a search bar is at this point but let me quickly explain. A search bar is an input box that appears on browsers, websites, and applications. It takes in a user’s search query and allows you to search for some type of information.
A search engine is the software system behind the scenes that handles searches on the web.
Did you know the world wide web was entirely indexed by hand prior to the first web search engines? I can probably write a whole article about the history of search engines but today we’re just going to be building a basic search bar for a web application.
Building a Search Bar
To begin to create our search bar feature we should think about several concepts that go into a working version of it. We know that we’re going to need an empty search bar that takes in user input. We also need a way to capture that input and handle it to start finding what the user is searching for while they are typing it in. To find and render this data to the user we should store whatever type of data is being searched. In this case, we’re going to be working with a social app that allows users to search their list of friends out using a search bar.
To start building out our search bar we’re going to need to set up the HTML first to make it appear on our app. We can build out the basic structure to get something showing up on the page.
<html>
  <head>
    <link rel="stylesheet" href="styles.css" />

    <link
      rel="stylesheet"
      href="https://cdnjs.cloudflare.com/ajax/libs/font-awesome/4.7.0/css/font-awesome.min.css"
    />
  </head>

  <body>
    <div id="container">
      <div id="search">
        <label for="searchInput"
          >Find <i class="fa fa-search"></i>Friends</label
        >

        <input id="searchInput" type="text" placeholder="Search" />
      </div>

      <ul id="results">
        <li class="name">Bob</li>

        <li class="name">Kate</li>

        <li class="name">Cindy</li>

        <li class="name">Kelly</li>

        <li class="name">Frank</li>

        <li class="name">Joe</li>

        <li class="name">Malaysia</li>

        <li class="name">Brittney</li>

        <li class="name">Mike</li>

        <li class="name">Julian</li>

        <li class="name">David</li>

        <li class="name">Fred</li>

        <li class="name">Jason</li>
      </ul>
    </div>

    <script src="index.js"></script>
  </body>
</html>
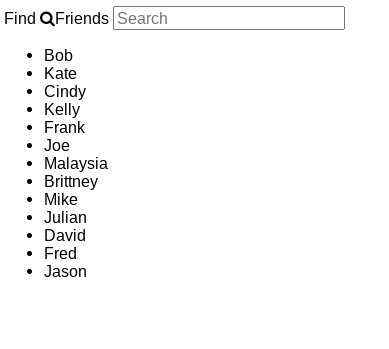
Let’s check out what our search feature is looking like after setting everything up with HTML.

Not the best-looking search app yet but we’re getting somewhere. We’ll give it some styling to make it more user-friendly.
html, body {

margin: 0;

padding: 0;

}

#container {

width: 50%;

margin: 0 auto;

margin-top: 20px;

background-color: royalblue;

}

#search {

display: flex;

padding: 20px;

background-color: cornflowerblue;

}

#search label {

font-size: 24px;

font-weight: bold;

margin-right: 15px;

}

#searchInput {

display: inherit;

width: 100%;

padding: 1em 1em;

}

#results {

display: block;

padding: 10px;

}

#results .name {

width: 100%;

padding: 10px 0;

text-align: center;

background-color: white;

margin-bottom: 10px;

list-style-type: none;
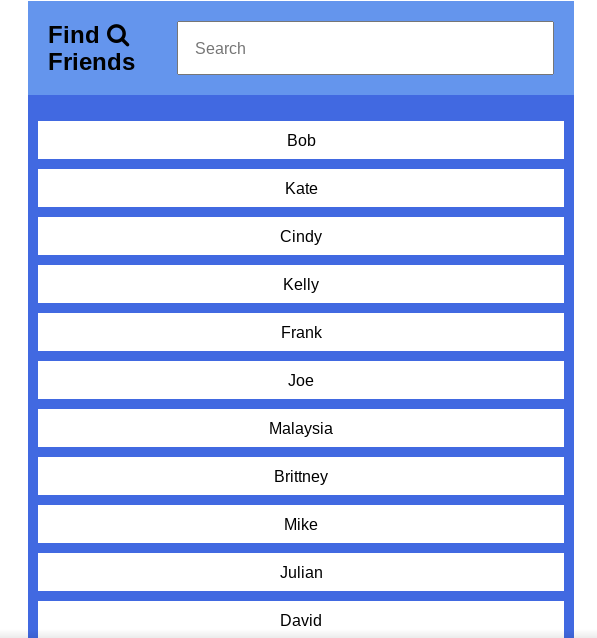
This should give us a much nicer-looking app to work with.

Great! Now we can build the functionality to give our app the ability to search friends by typing in their names and having them render on the page. To do this we need to think about how we can handle the user event of typing in the search box using JavaScript. We need to compare their search input to the names we have in our friend list. Let’s list the several steps we’ll take to implement this before writing out our JavaScript.
- Grab the
searchInputandnameelements from the DOM and store them in variables - Add an event listener on the
searchInputto listen for[keyup](https://developer.mozilla.org/en-US/docs/Web/API/Document/keyup_event)events - Get user input once the event is triggered
- Search name elements and convert text to lowercase for case insensitive comparisons
- Compare names to the search query using the string method
[includes()](https://developer.mozilla.org/en-US/docs/Web/JavaScript/Reference/Global_Objects/String/includes) - Update name element styles to display matching names
// get search bar element

const searchInput = document.getElementById("searchInput");

// store name elements in array-like object

const namesFromDOM = document.getElementsByClassName("name");

// listen for user events

searchInput.addEventListener("keyup", (event) => {
  const { value } = event.target;

  // get user search input converted to lowercase

  const searchQuery = value.toLowerCase();

  for (const nameElement of namesFromDOM) {
    // store name text and convert to lowercase

    let name = nameElement.textContent.toLowerCase();

    // compare current name to search input

    if (name.includes(searchQuery)) {
      // found name matching search, display it

      nameElement.style.display = "block";
    } else {
      // no match, don't display name

      nameElement.style.display = "none";
    }
  }
});
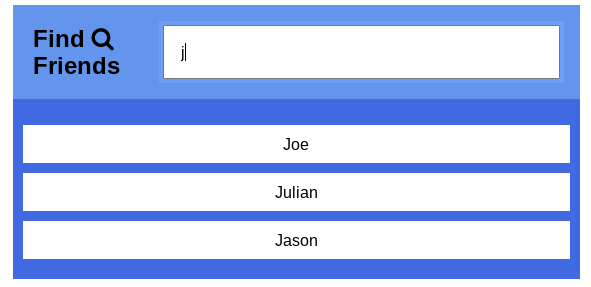
Now that we have our JavaScript setup let’s test out our new search feature by starting to enter some input in the search bar.

It works! Now our search bar will give us the closest matching name results based on what letter characters we’re typing in.
Summary
Search bars are a common feature of most web and mobile applications. They usually appear somewhere at the top corner of a web page and persist across the website for user convenience. Depending on the specifics of your application, search bars can be a great addition to it. For example, if your app holds a lot of information for the user it can greatly improve the user experience.