Python Flask is probably one of the simplest frameworks for Python beginners to get into web development. This article attempts to display as simply as possible how we can create a form in Python flask asking for a name and an email, and how this form data can be passed back to our Python code.
Let’s Start With A Basic Flask App
app.py
from flask import *
app = Flask(__name__)

@app.route("/")
def home():
    return render_template("home.html")

if __name__ == "__main__":
    app.run()
templates/home.html
<h1>this is home.html</h1>
Note: remember to put home.html in a folder templates
Adding Inputs To Our HTML File
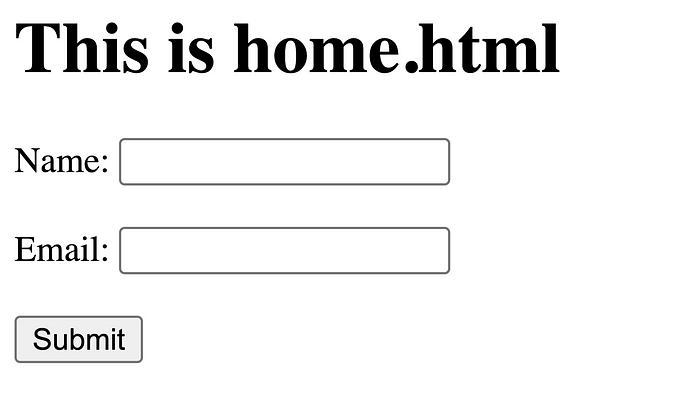
Here, we wish to add input fields into our HTML file, home.html, in order to ask our user for a name and an email. This is what our webpage should roughly look like:
templates/home.html
<h1>
    This is home.html
</h1>
<form method="post">
  Name: <input name="name"/>
  <br/><br/>
  Email: <input name="email"/>
  <br/><br/>
  <button type="submit">Submit</button>
</form>
Stuff to remember:
- Put the input elements in a form
- Set the form method as
"post" - Add
nameattributes to our input fields — thesenameattributes will be how Python Flask identifies our input fields - Add a submit button with
type="submit"
If we add these, we’ll be able to see the newly added input fields when we visit our / endpoint. However, this won’t have any real functionality yet.
Linking This To Python Flask
@app.route("/", methods=["GET", "POST"])
def home():
    if request.method == "POST":
        print(request.form["name"])
        print(request.form["email"])
        return

    return render_template("home.html")
First, remember to add methods=["GET", "POST"] to our app.route decorator. When we click on the submit button in our form, it makes a POST request to our Python Flask backend. The methods=["GET", "POST"] keyword argument allows our home function to process both GET and POST requests.
Next, let’s add an if statement if request.method == "POST". This if runs when we make a POST request to our Python Flask backend, which happens when we click on the submit button.
You can think of request.form as a dictionary containing a bunch of key-value pairs, keys being the name attributes in our input fields, and the values being the values of the input fields (essentially what we enter into the input fields).
We have 2 input fields, 1 with the name name and another with the name email. request.form["name"] returns whatever we enter into the name input field, and request.form["email"] returns whatever we enter into the email input field.
Testing Our Form
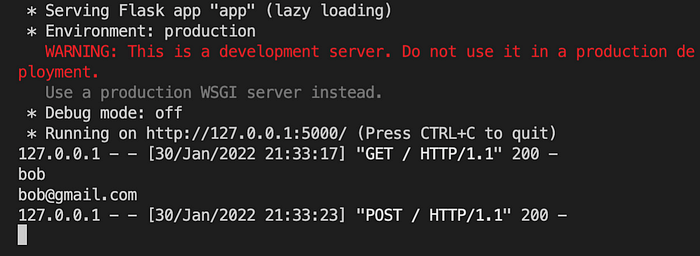
Try entering a name and an email into your form, then click on the submit button. Check the terminal you used to run your Python Flask application — the name and email you entered into your form should be printed there.
What’s Next
Now that we’ve verified that we’re able to print the values of our inputs, we can then write additional code to process them — do more processing, add them into some database, or whatever you wish to do with your inputs.
Comments
Loading comments…