
P.S — No modules were used while writing this code.
If you're looking for the source code then it's available in the video.
Please support by watching this video.
Basic HTML — CSS layout of the cursor
We're gonna start with writing the JSX(HTML) for cursor dot and cursor outline.
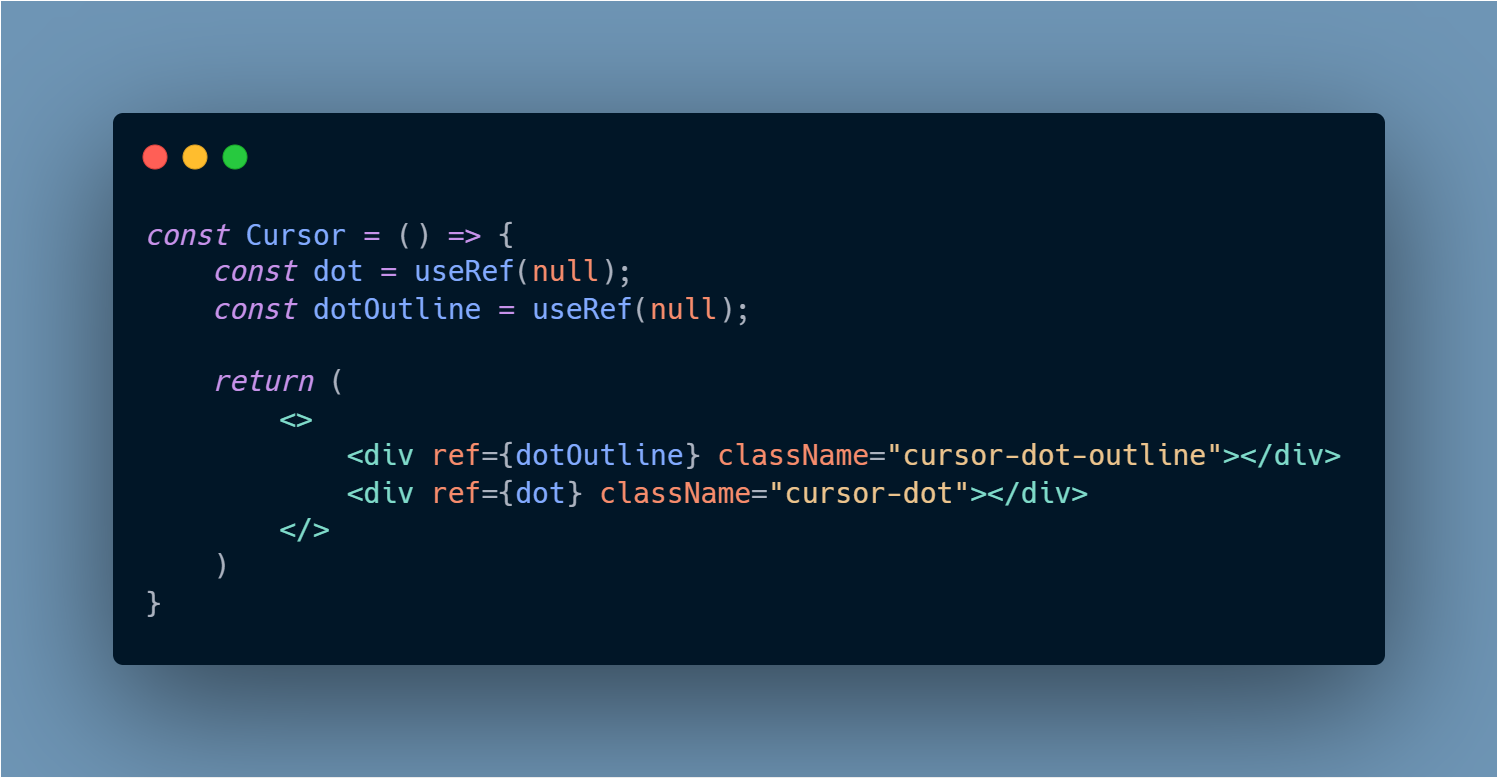
Cursor HTML/JSX (cursor.jsx)
We also created the ref for these elements so that we can access the DOM elements later on.
Next, we're gonna add the CSS styling to these elements.

Cursor CSS
cursor: none is added to the universal selector * because we want to hide the default cursor.
pointer-events: none so that this element doesn't become a target of the pointer-events. MDN pointer-events
position: absolute;
top: 50%;
left: 50%;
transform: translate(-50%, -50%);
This code snippet is used to move both elements in the center.
opacity: 1; is used so that later on we can hide and show our cursor based on mouseenter and mouseleave event. That's why transition is also used on the opacity property.
Transition on transform is used so that we can increase and reduce the size of the dot and outline based on some mouse events (will soon get to know which one).
It'll look something like this.
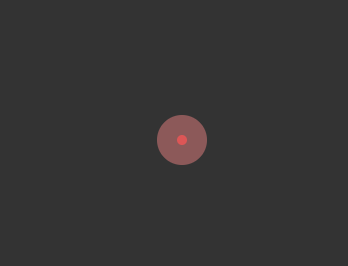
The basic layout of the cursor
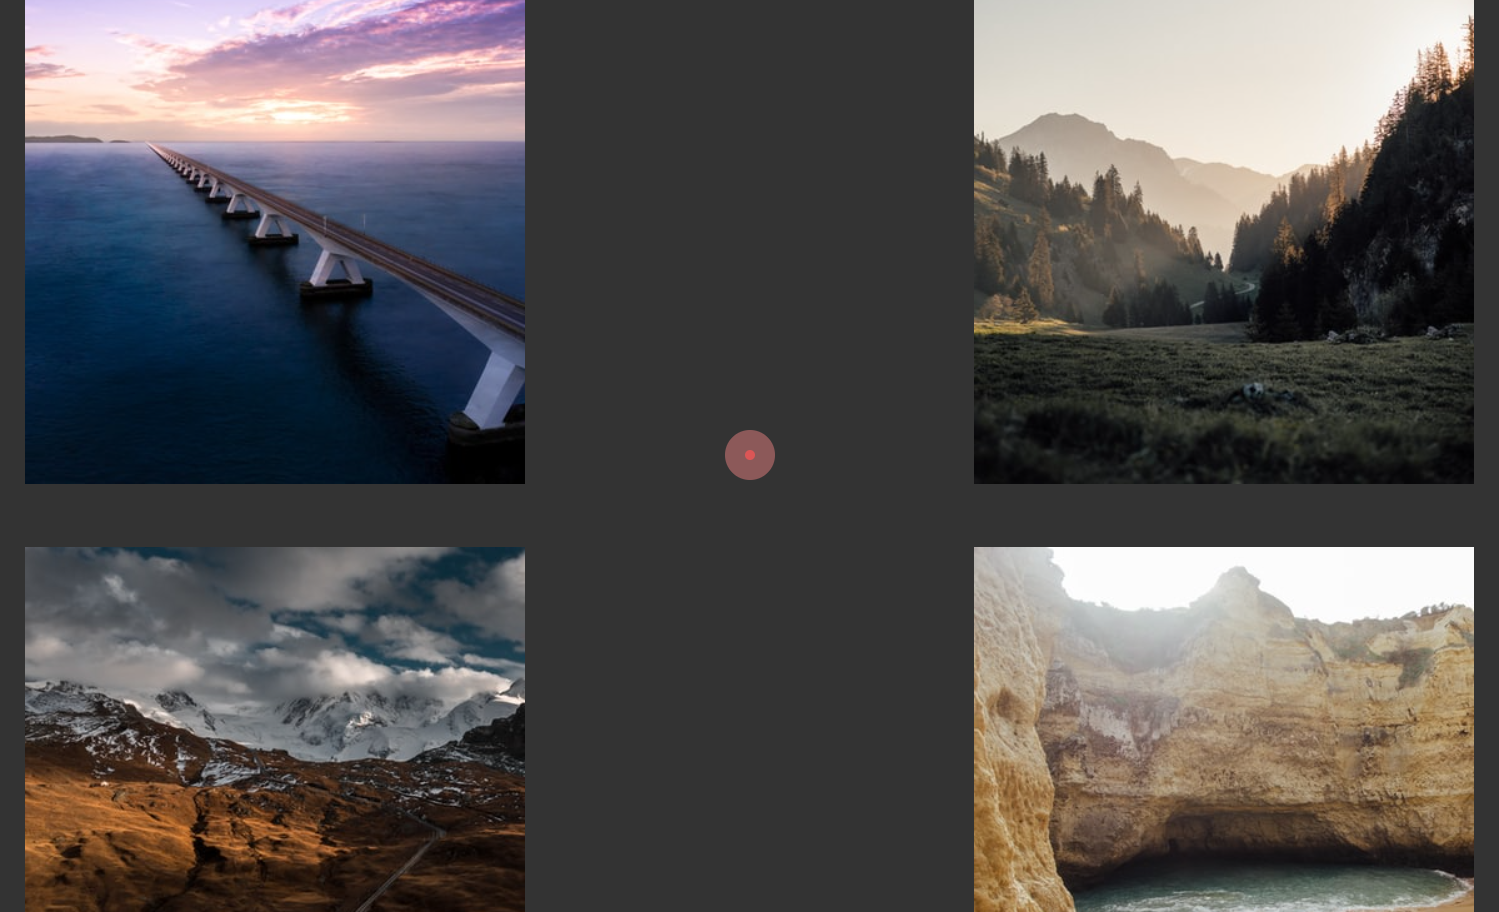
Adding images to show cursor hover effect
We're gonna add some images to show that smooth cursor hover transition.
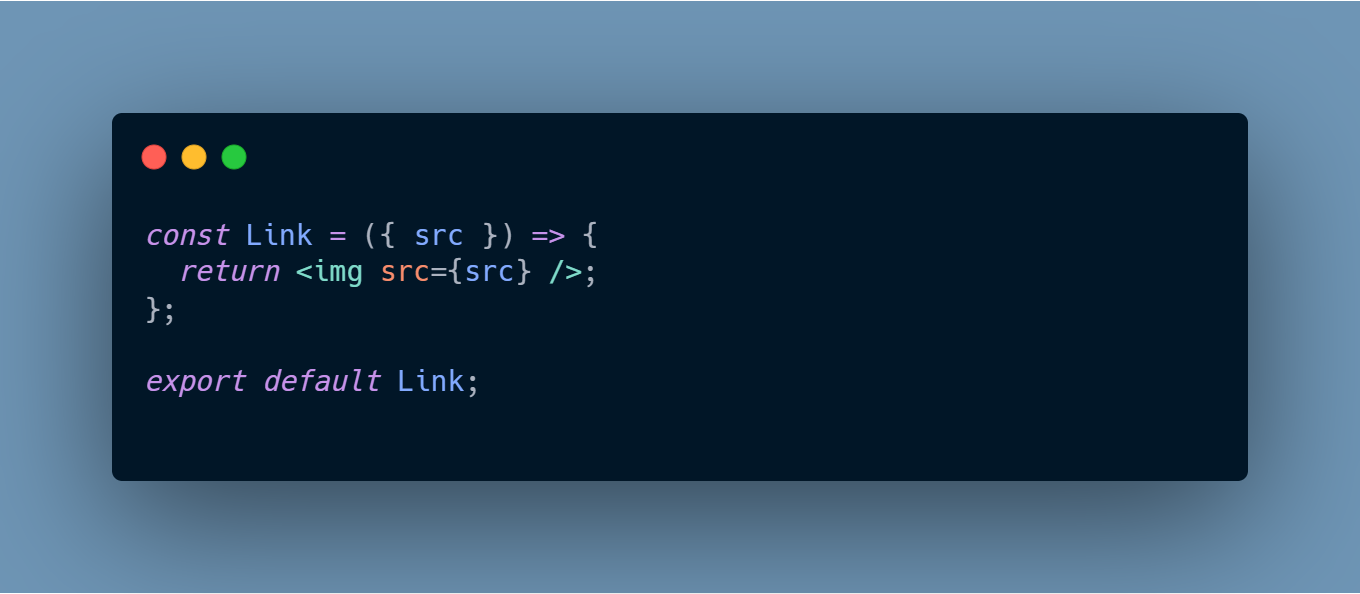
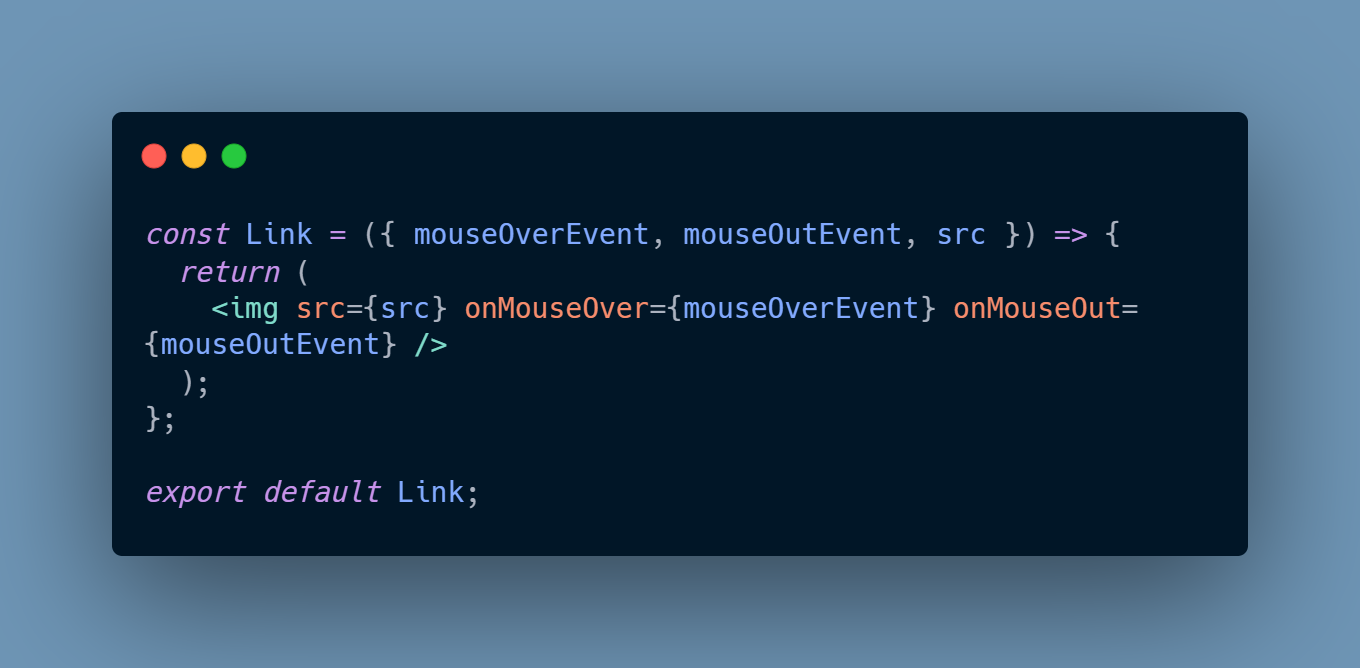
Link.jsx
Created this <Link /> component which can be reused for displaying the images.
Now, we need to import this into our <Cursor /> component and pass the images.
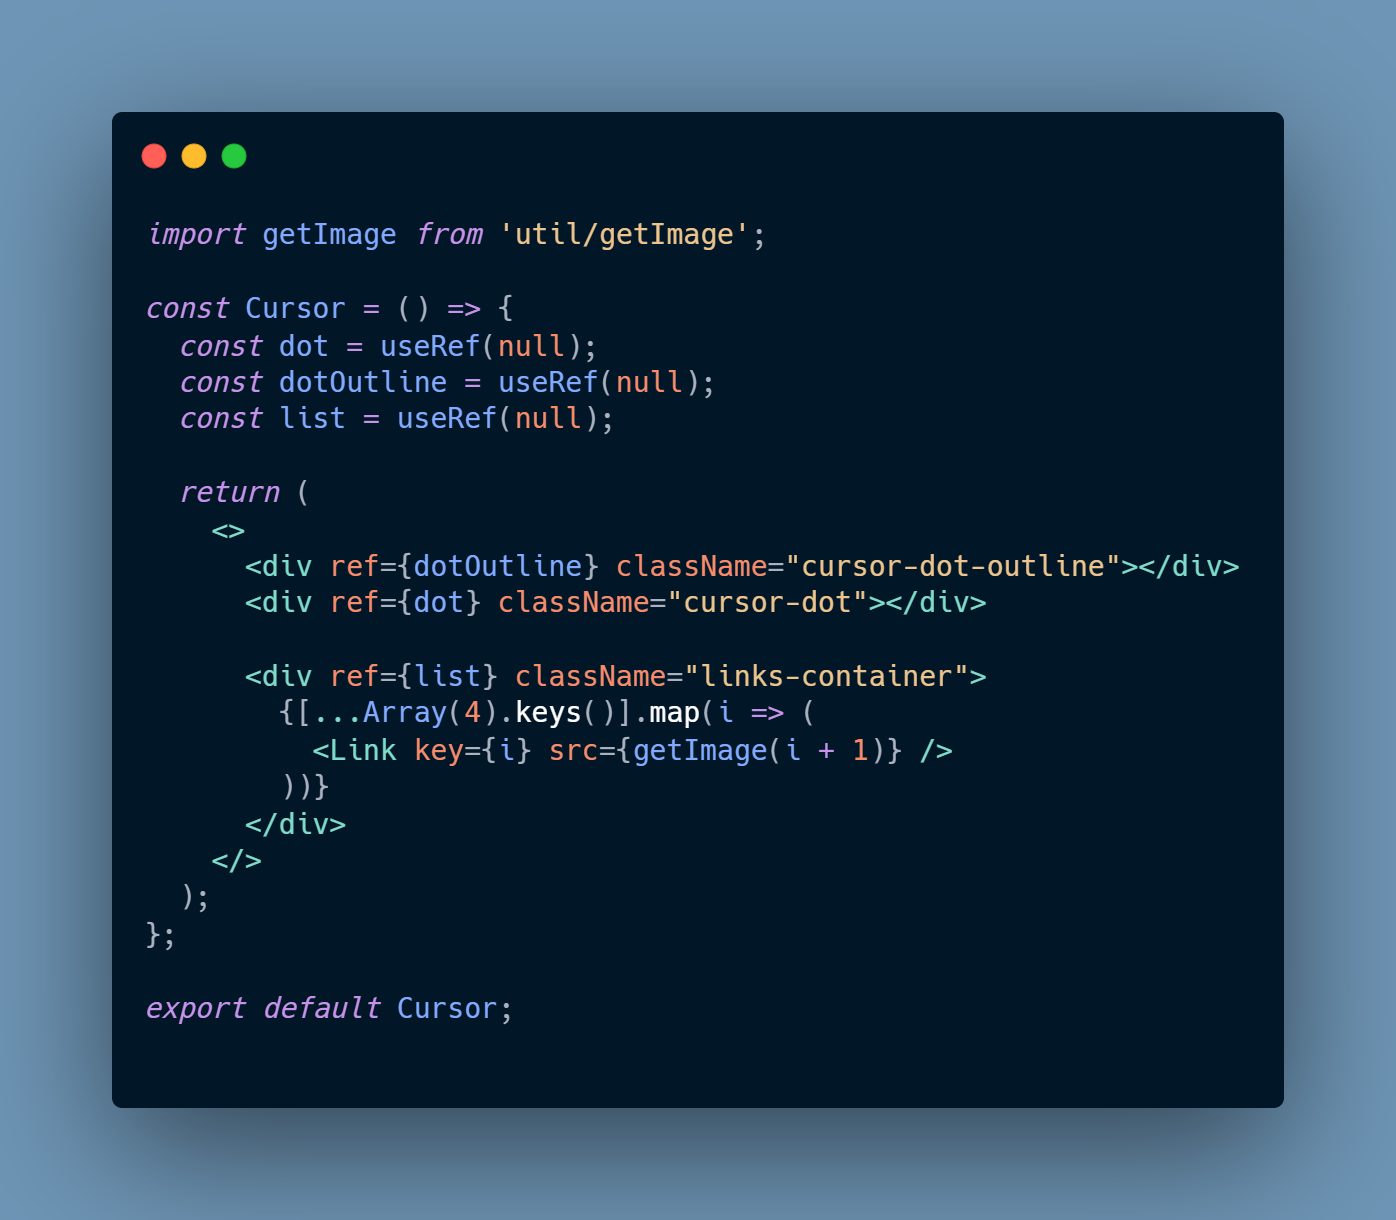
Updated cursor.jsx
We've added ref to its container because we'll be adding the mouse events to all those images.
The getImage is a util function that I created in order to get the images based on the index value provided by the map function. You can find the function in the source code (not adding any image because it isn't that important. Sorry getImage function!).
Bonus Points
- The import statement's path
In order to use that I used jsconfig.json. You can add this file at the root of your project and add the baseUrl property inside compilerOptions.
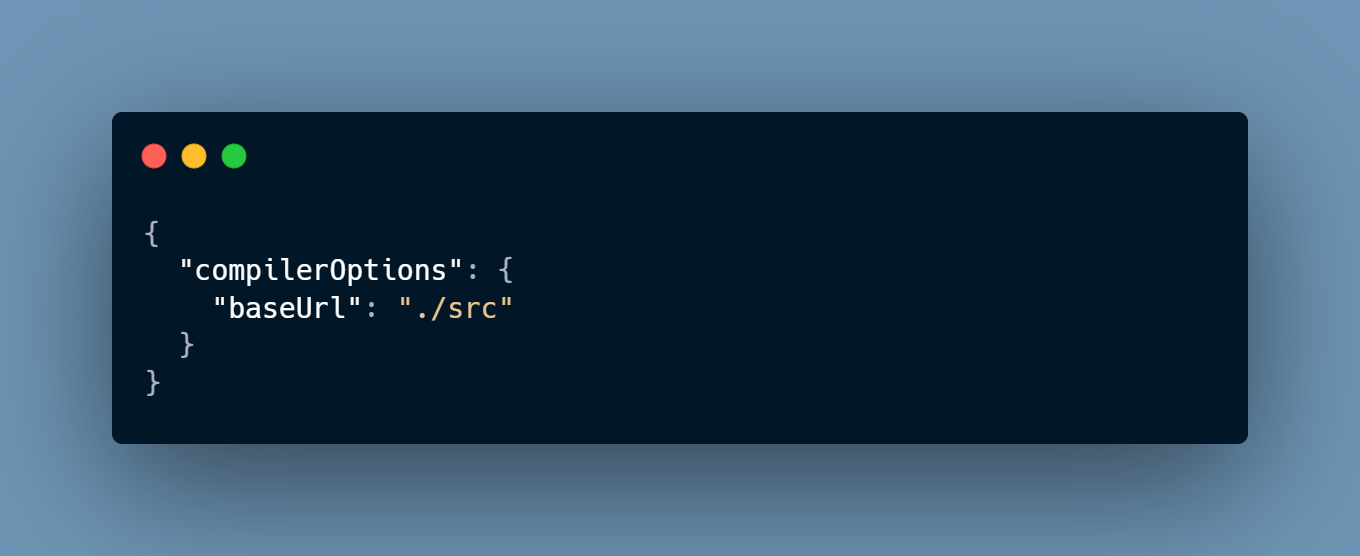
jsconfig.json
- The
[...Array(4).keys()]code snippet
The Array(4) will create an empty array of size 4.
The keys() method returns a new Array Iterator object that contains the keys for each index in the array.
And spreading the array will give us an array — [0, 1, 2, 3]
Okay, let's get back to what we were doing 😅.
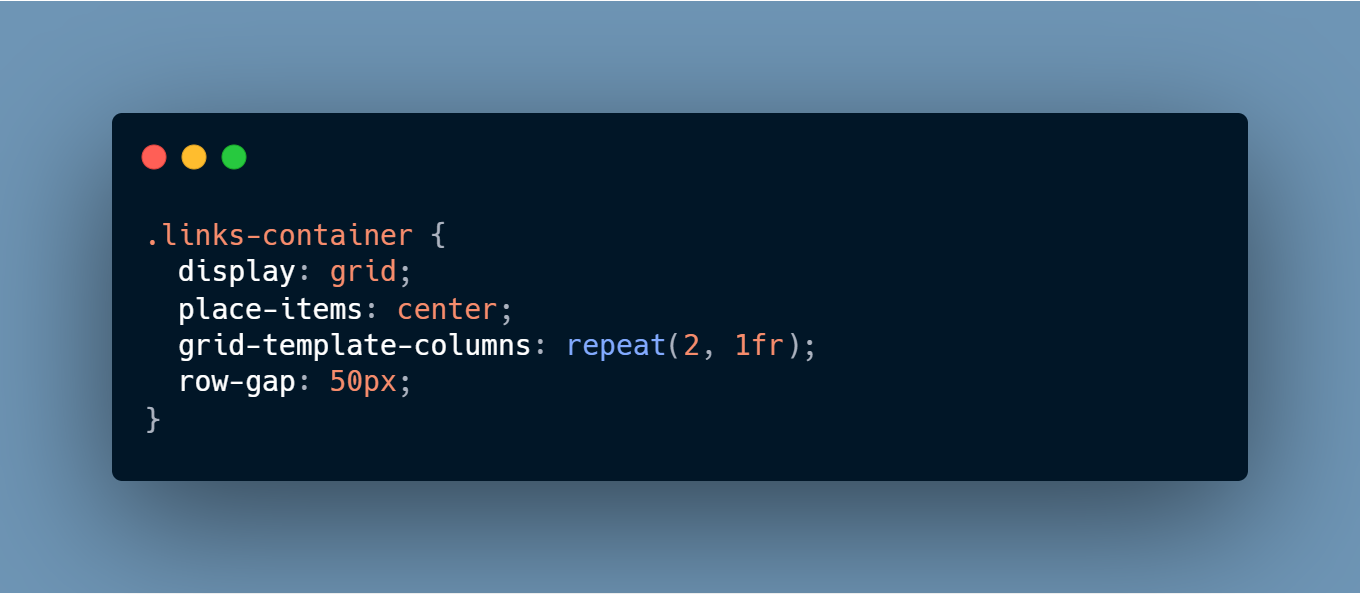
The final thing is to add a bit of styling to our images container.
And now the final outcome will look something like this —
Adding Animation to our cursor
Finally, the time has come to add the animation to our cursor (poor cursor sitting alone at the center of the screen).
Adding ref variables
We need to add some more refs to our Cursor component so that we can update the changes.

delay will be used as a factor by which we will change how quickly or slowly the cursor outline should follow the cursor dot. A higher number means slow and vice versa.
cursorVisible will help in toggling the visibility of the cursor.
cursorEnlarged will help in toggling the size of the cursor.
endX is the X-position of the cursor dot. We will be saving the X position of the dot in this variable. It is initialized with window.innerWidth/2 because that's mid of X-axis.
endY is the Y-position of the cursor dot. We will be saving the Y position of the dot in this variable. The concept is the same as endX.
_x is the X-position of the cursor outline. We will be saving the X position of the outline in this variable. It's initialized with 0 because we want to show movement animation. (The outline coming from the top left corner of the screen to the middle point where the dot is present at the start of the application).
_y is the Y-position of the cursor outline. We will be saving the Y position of the outline in this variable. The concept is the same as _x.
requestRef will save an ID returned from one important function (will see it when we add an animation to the cursor outline).
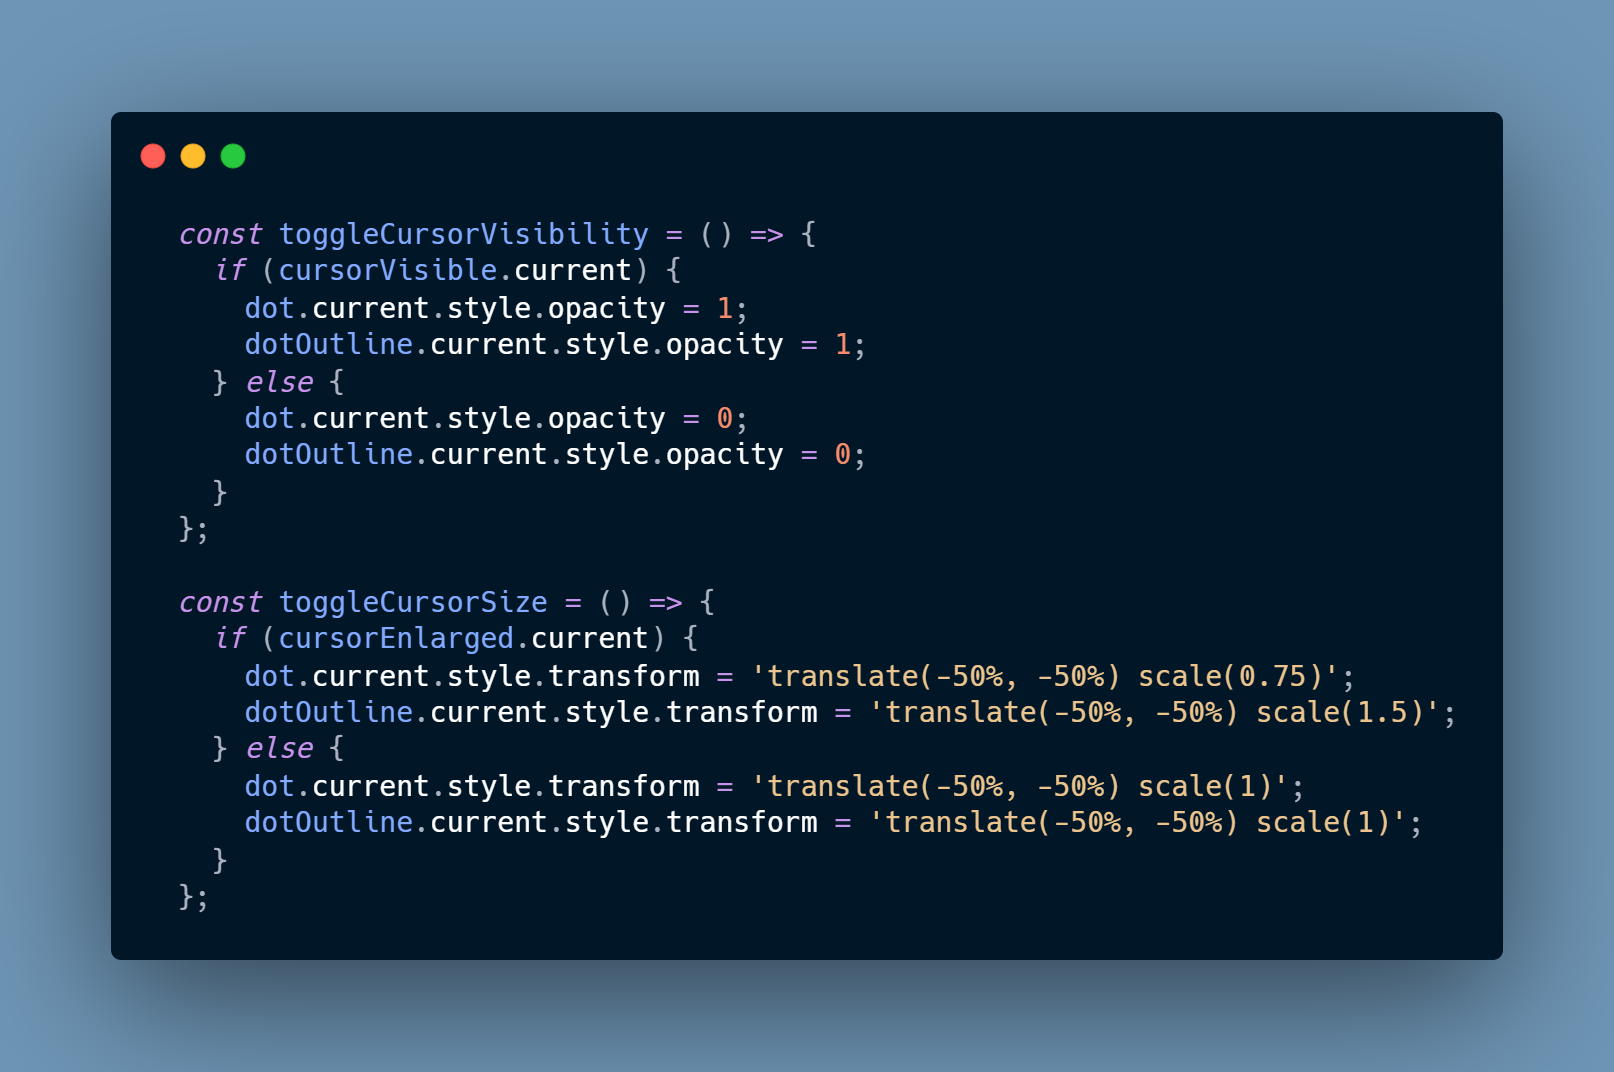
Adding cursor toggle functions
-
toggleCursorVisibility — If the cursor is visible then we will change the opacity to 1 otherwise we will change it to 0.
-
toggleCursorSize — If the cursorEnlarged is true then we will decrease the size of the dot and increase the size of the outline. In case of a false, we will change it back to the original size.
Adding over, out, enter, leave mouse events
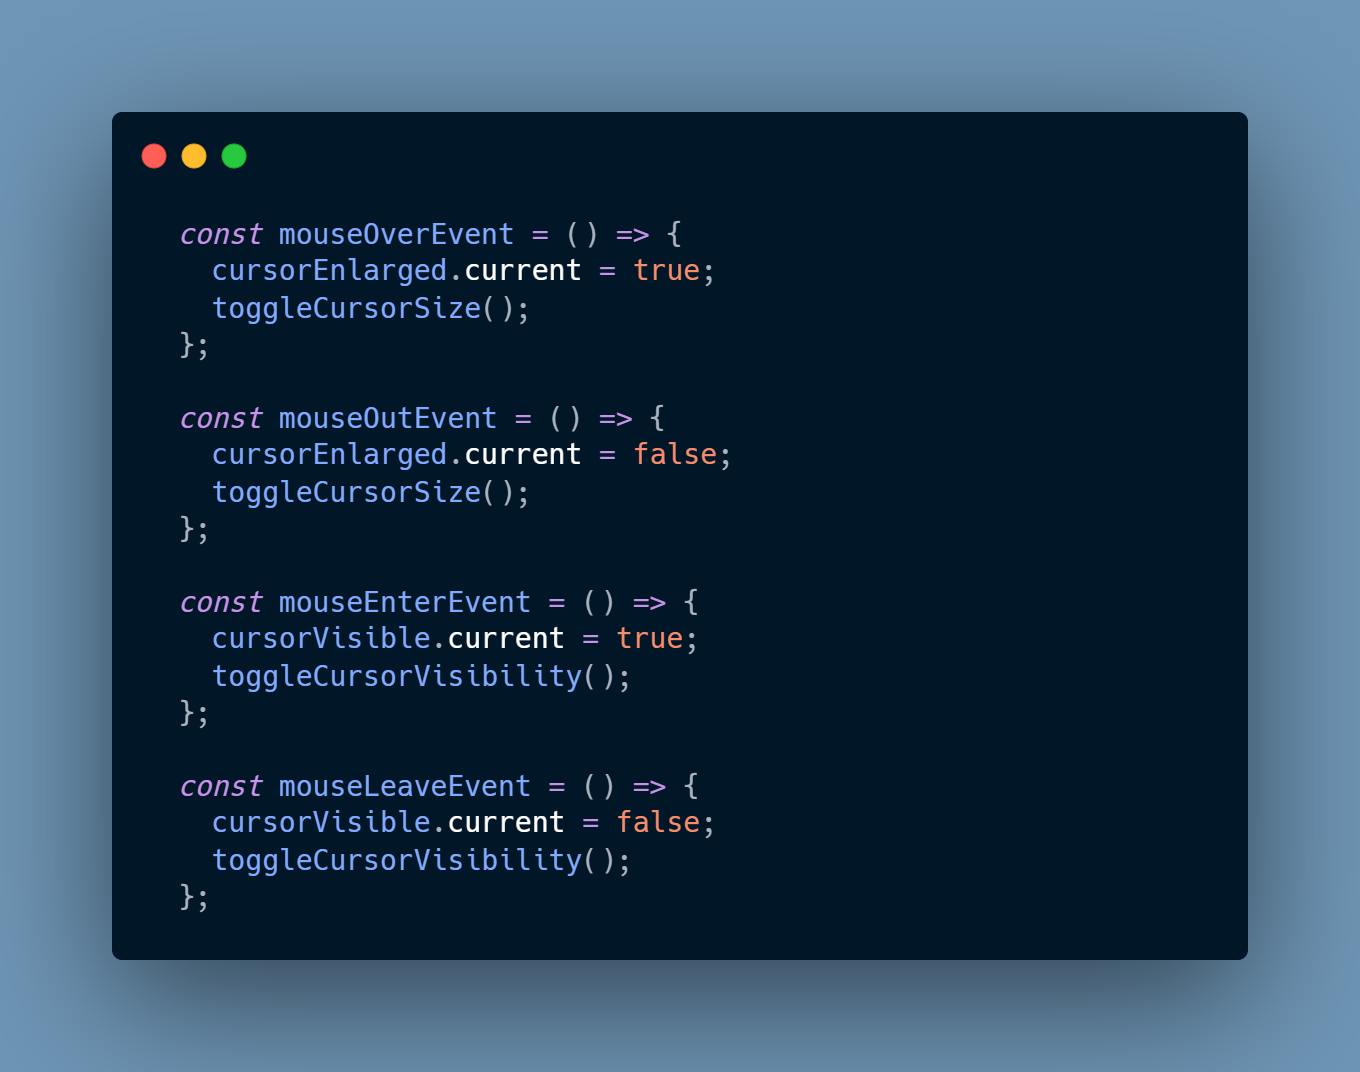
'mouseover' — The mouseover event is fired when the cursor comes on top of the element or its children.
'mouseout' — The mouseout event is fired when the cursor is not on top of the element or its children.
'mouseleave' — The mouseleave event is fired when we leave the page viewport.
'mouseenter' — The mouseenter event is fired when we enter the page viewport.
Now, we can pass mouseOverEvent and mouseOutEvent to our image component.
These functions will be called whenever the mouse cursor comes on top of the image.
Adding mousemove event
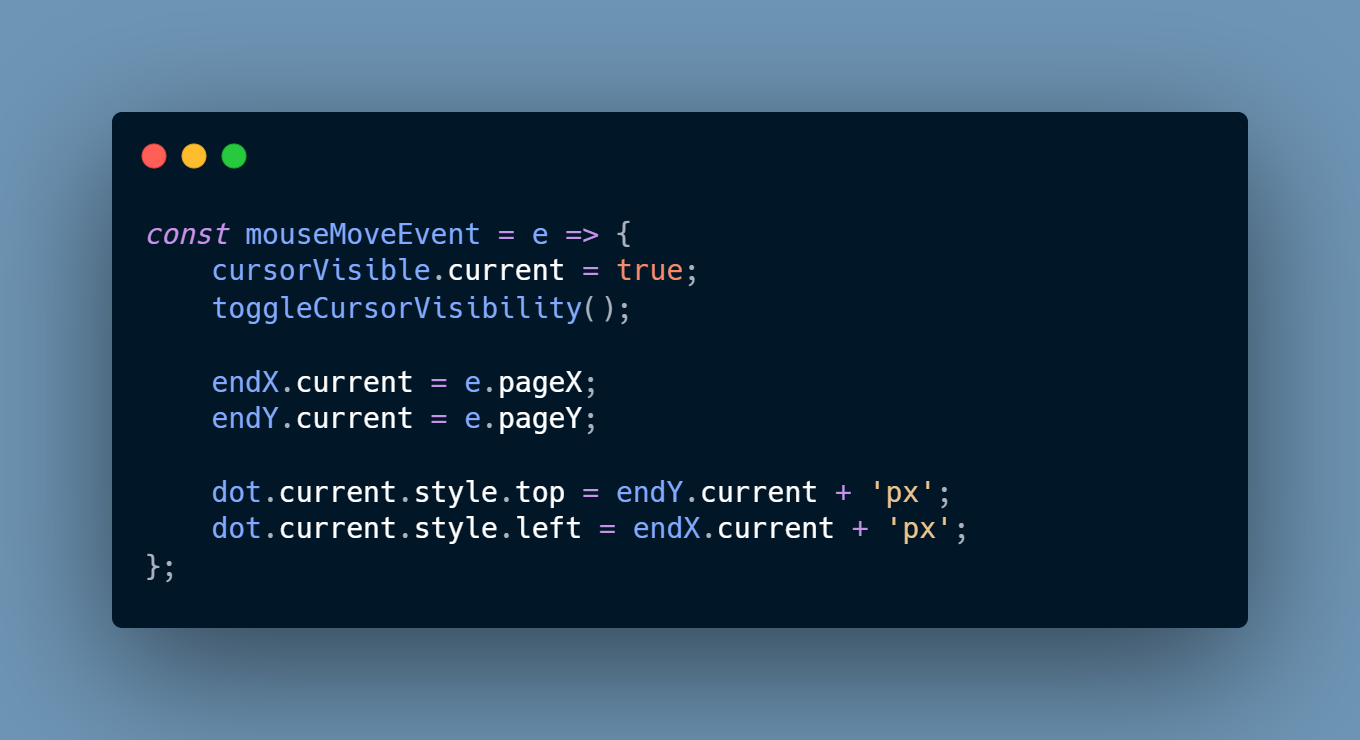
The first thing we need to make sure is that our cursor is visible, that's why we've updated the currentVisible and called the toggleCursorVisibility function.
Then, we are taking the current position of the cursor with the help of pageX and pageY. The next step is to update the top and left property of the dot cursor to show it moving around on the page.
P.S — This StackOverflow answer has a very good explanation about the difference between clientX and pageX.
Adding cursor outline animation
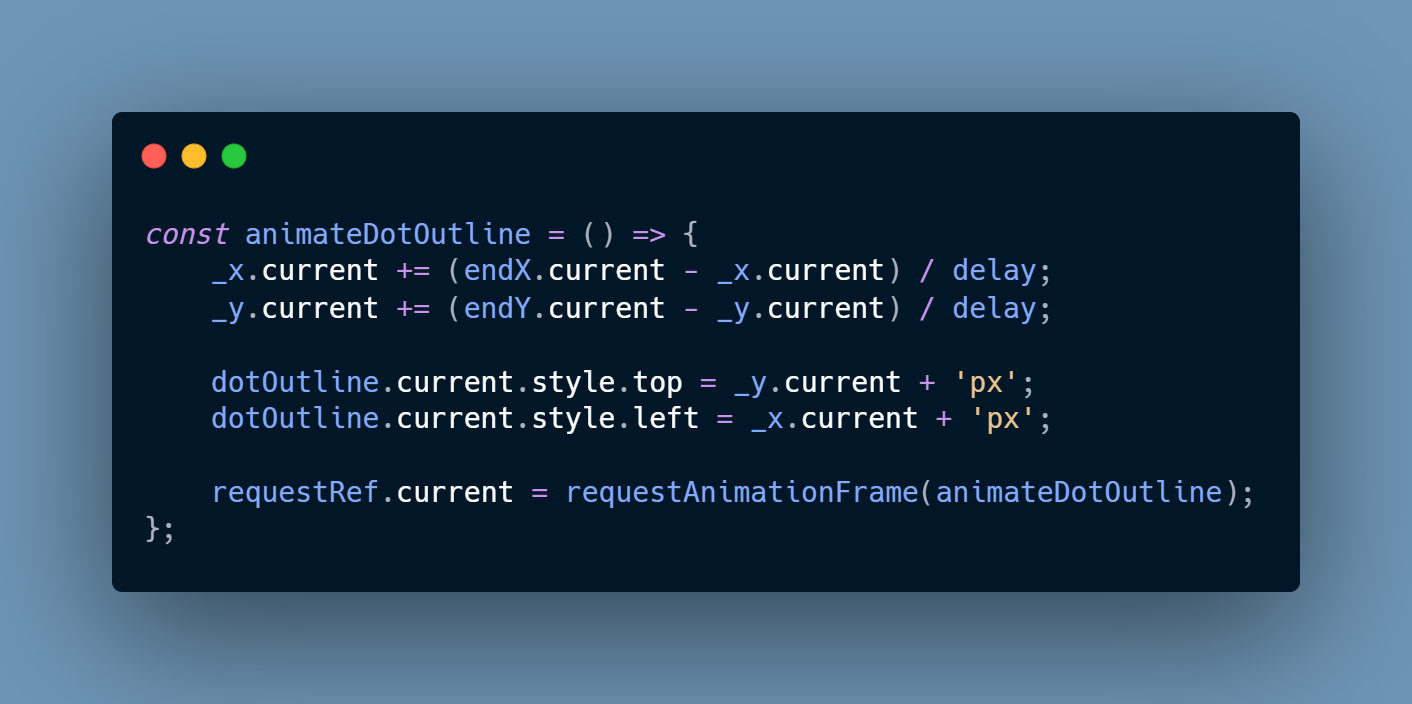
This is a special recursive function that we call inside requestAnimationFrame function. In this function, we update the position of the cursor outline with respect to the position of the cursor dot.
The mathematical explanation for this is present in part 2 of the article.
This article is great to understand how requestAnimationFrame works and why it was created.
Calling all event functions
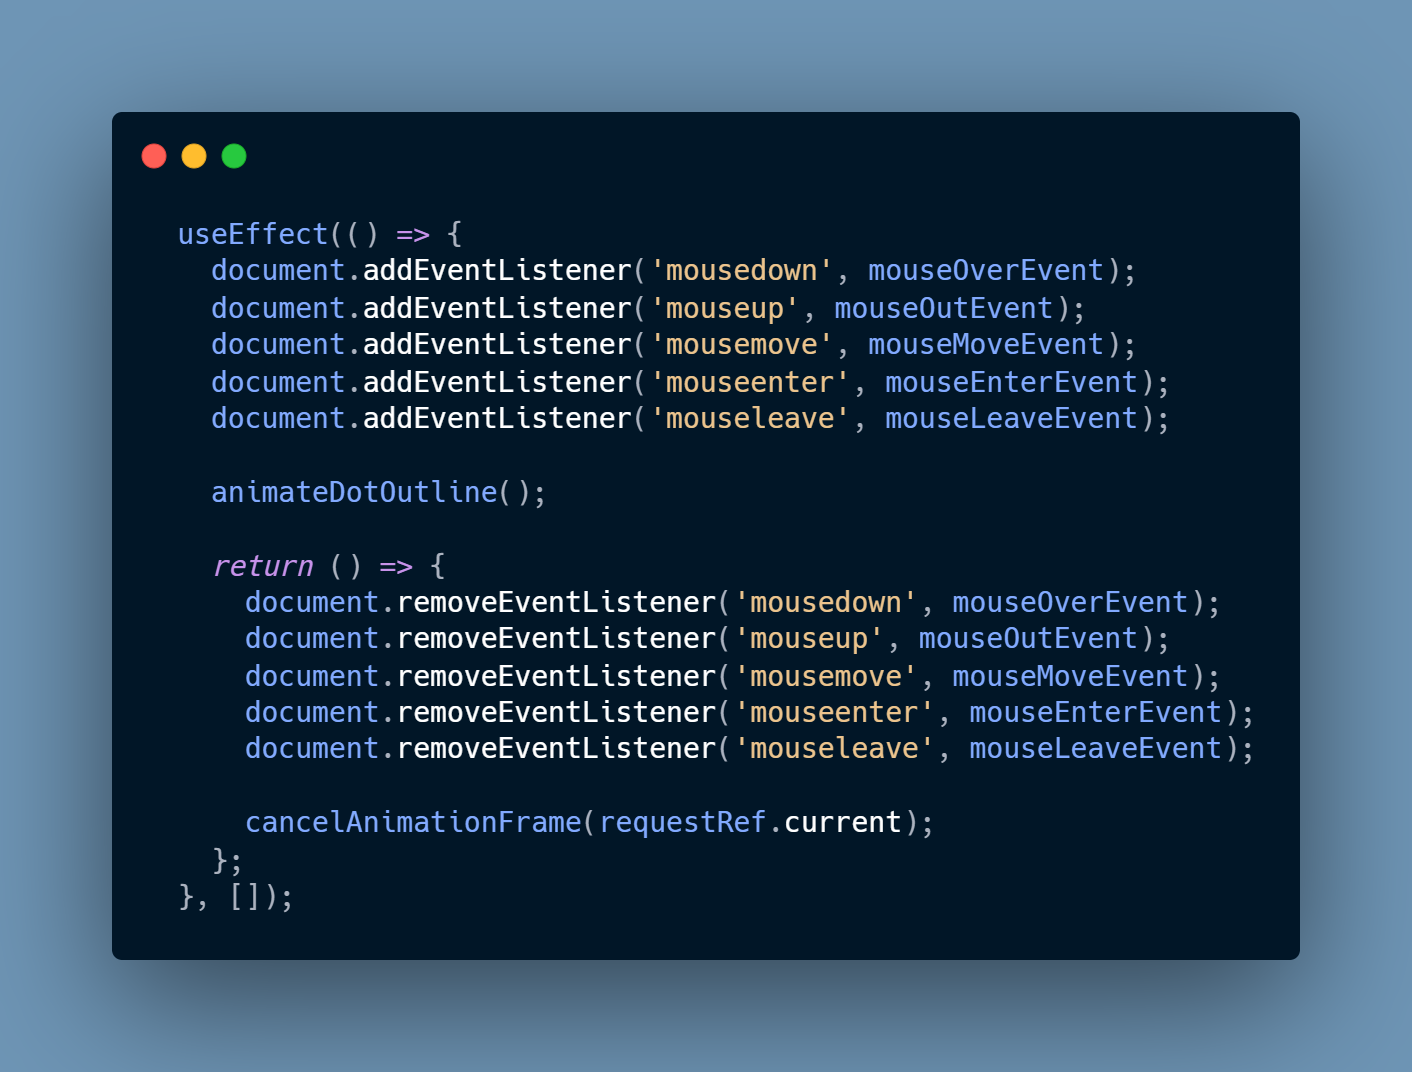
We can call all our event functions inside useEffect (componentDidMount). At the time of unmounting, we should remove all the event listeners and also cancel the requestAnimationFrame using cancelAnimationFrame function.
And with all these functions, our poor cursor can finally move.
Part 2 of the article is having a little bit of mathematical explanation. So you can check it out if you want to.
Some of the important links —
-
MDN requestAnimationFrame — https://developer.mozilla.org/en-US/docs/Web/API/window/requestAnimationFrame
-
StackOverflow answer on requestAnimationFrame — https://stackoverflow.com/questions/52212703/using-requestanimationframe-in-react/52213728
-
Using requestAnimationFrame in React — https://css-tricks.com/using-requestanimationframe-with-react-hooks/
-
Using event listeners in React — https://www.pluralsight.com/guides/event-listeners-in-react-components
-
VanillaJS codepen for custom cursor — https://codepen.io/kjbrum/pen/qooQJJ
Comments
Loading comments…